


Capturing images of your screen is a great way to share information.
But, what happens when there’s something in the screenshot you don’t want to share? Meet the blur screenshot tool.
Once you start using screenshots, they form a helpful routine that makes it easy to be clear and concise. As you use screenshots more and more, it’s important to have a set of tools that allow you to identify what is important in an image. You don’t need fancy image editing tools just to blur an image.
Additionally, you will run into times when there is content in a screenshot that you’d prefer not to share, but cannot be completely removed. When this happens, it shouldn’t stop you from using screen captures.
There are many ways to hide or de-emphasize content in a screenshot. My colleague, Dayna, has an excellent post detailing some great ways to do this. She suggests blurring out undesirable portions of images. Most high-quality screen capture software has a tool that lets you blur out part or all of an image.
Here are five ways TechSmith employees use blurring with their screenshots.
Get the best screenshot blur tool
Snagit is high-quality screen capture software that lets you blur your images. Try it today for free!
1. Remove personal information from a screenshot
Our tech support team does awesome work every day, providing chat, email, and phone help to our users. This work requires them to take a lot of screenshots. Often, the screen grabs include email and other account information.
Our agents use Snagit’s blur tool to remove personal information, like their email address, from a screenshot.
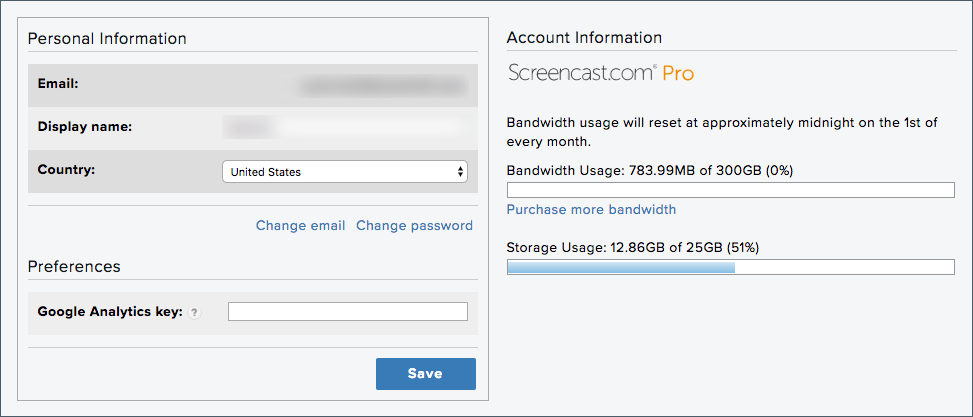
In the screenshot above, one of our techs needed to show a user how to change an account setting on Screencast.com. He was able to blur out his email address and display name without the capture losing any of its context or meaning. Pretty sweet.
2. Screenshots of user feedback
One of the most important parts of our software building process is listening to our users.
We run beta tests, communicate with user groups, conduct surveys, and maintain a feedback community, among many other input-gathering strategies. While planning new features, we make sure everyone working on our software has heard the voice of our users.
To do this, we create resources and share them throughout the team. The names or information of individual users, often collected in surveys, is not necessary to include. So, we usually blur it out.
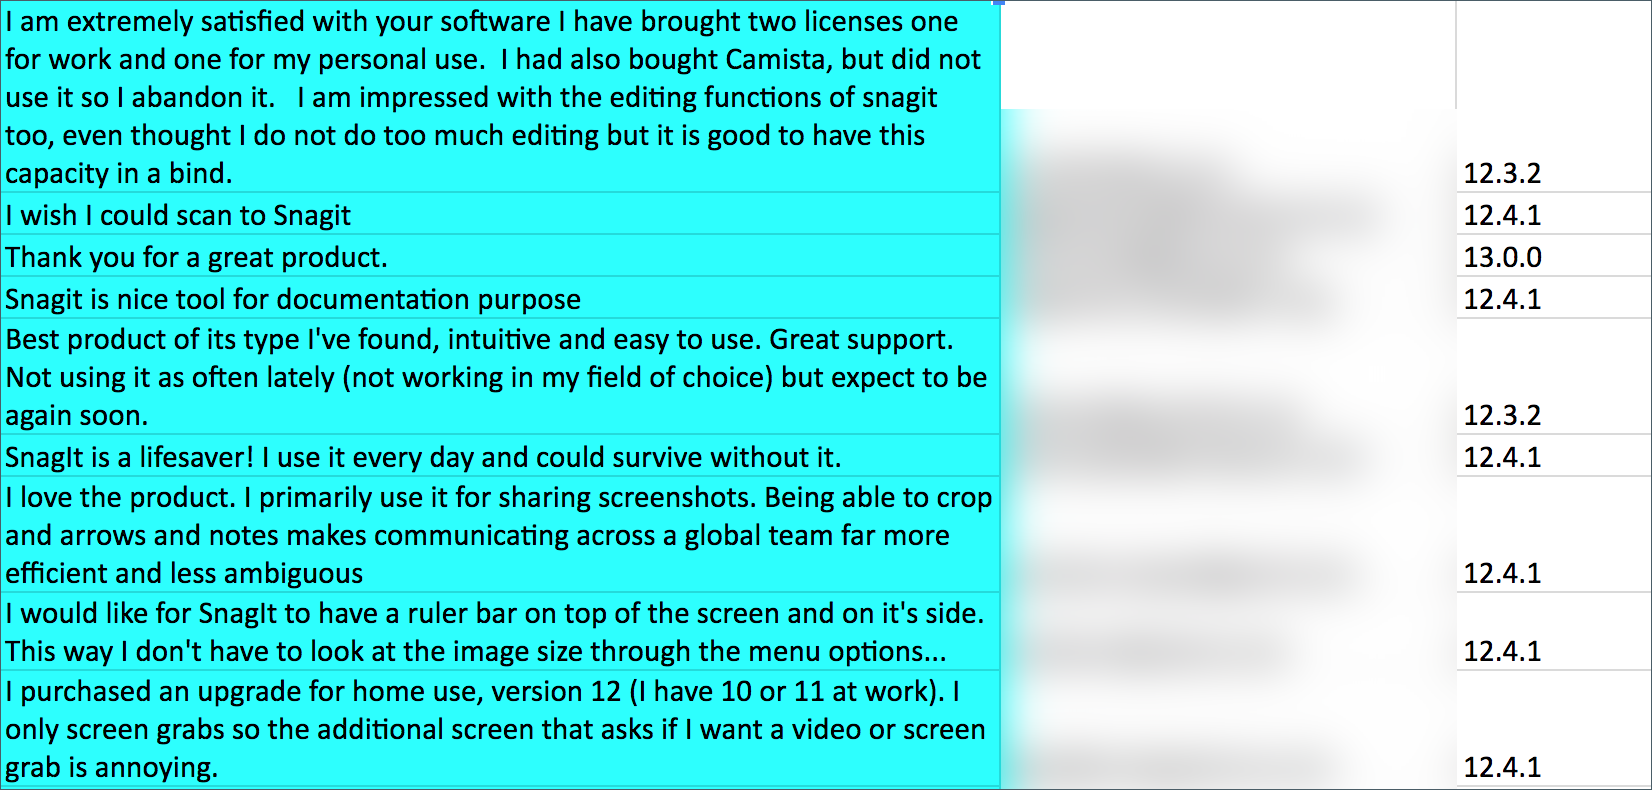
The screenshot below is from a spreadsheet containing user feedback with the ‘email address’ column blurred out.
3. Remove unnecessary information
Sometimes the reason for blurring isn’t about hiding identifying or sensitive information.
Instead, there is irrelevant or unnecessary content that you want to de-emphasize. This is a tactic one of our trainers uses to direct the focus for example screenshots.
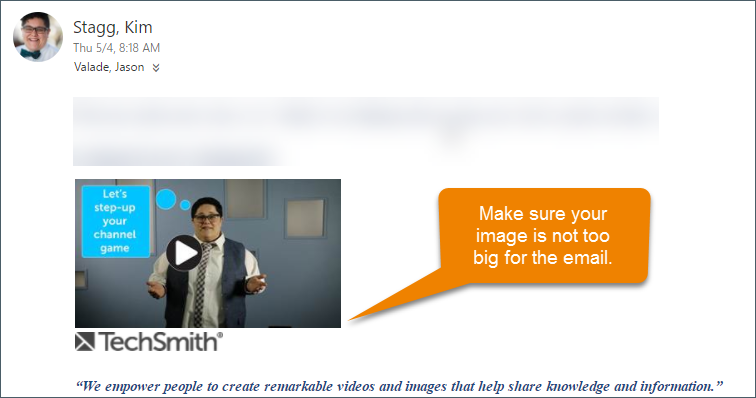
He grabs an image to include in a presentation and then blurs out the parts that could distract from the subject. In the screenshot below, he blurred text that was not pertinent to what he was explaining.
4. Use blur to highlight
I’ve talked about how blur tools can hide information. But blurring also can be used to emphasize a particular part of a screenshot or video.
By blurring out the unimportant parts of any image, you can draw a viewer’s eye to a particular section of an image or video. This technique is useful when you still want to maintain context in your screenshot.
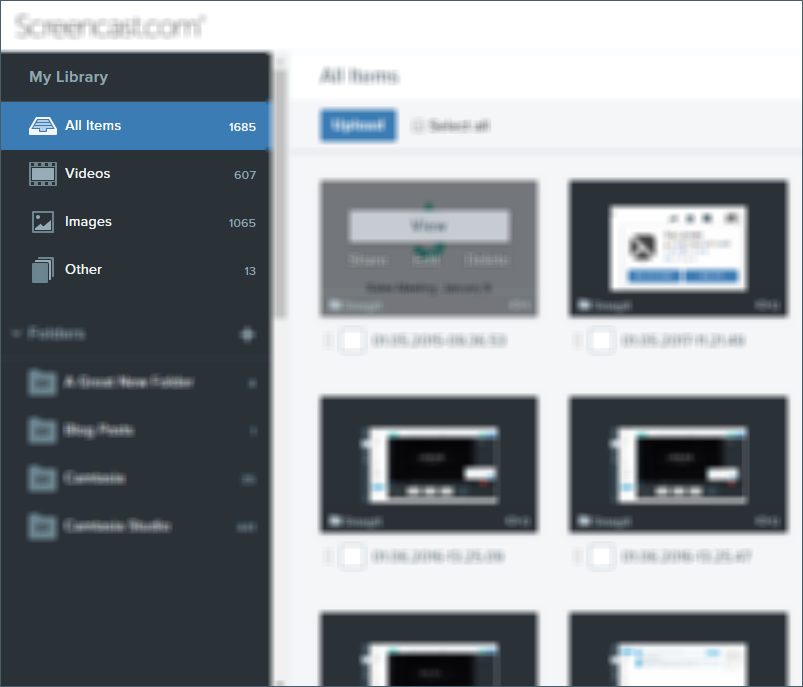
In this example, I’ve blurred the rest of the interface in order to draw attention to the menu in the upper left.
5. Progressive reveal
When explaining a complicated interface or diagram, some people like to use blur to do a progressive reveal of portions of an image. This is a great tactic in slide decks and presentations.
It also works well in step-by-step processes. By blurring parts of the image, you can be sure the people you’re presenting to know exactly what part of the interface or image you are talking about. Below is a GIF I created to show how a progressive reveal can be done with a screenshot.

There are tons more ways to use blur in images. Download Snagit to start capturing images and try out the blur tool for yourself!
Get the best screenshot blur tool
Snagit is high-quality screen capture software that lets you blur your images. Try it today for free!
