Learn how to use Camtasia Editor
We'll guide you through making your first video.
We'll guide you through making your first video.
Try one of our recommended lessons or scroll down to browse all available topics.
beginner
3 videos
A helpful beginner's guide to basic video editing.
beginner
14 videos
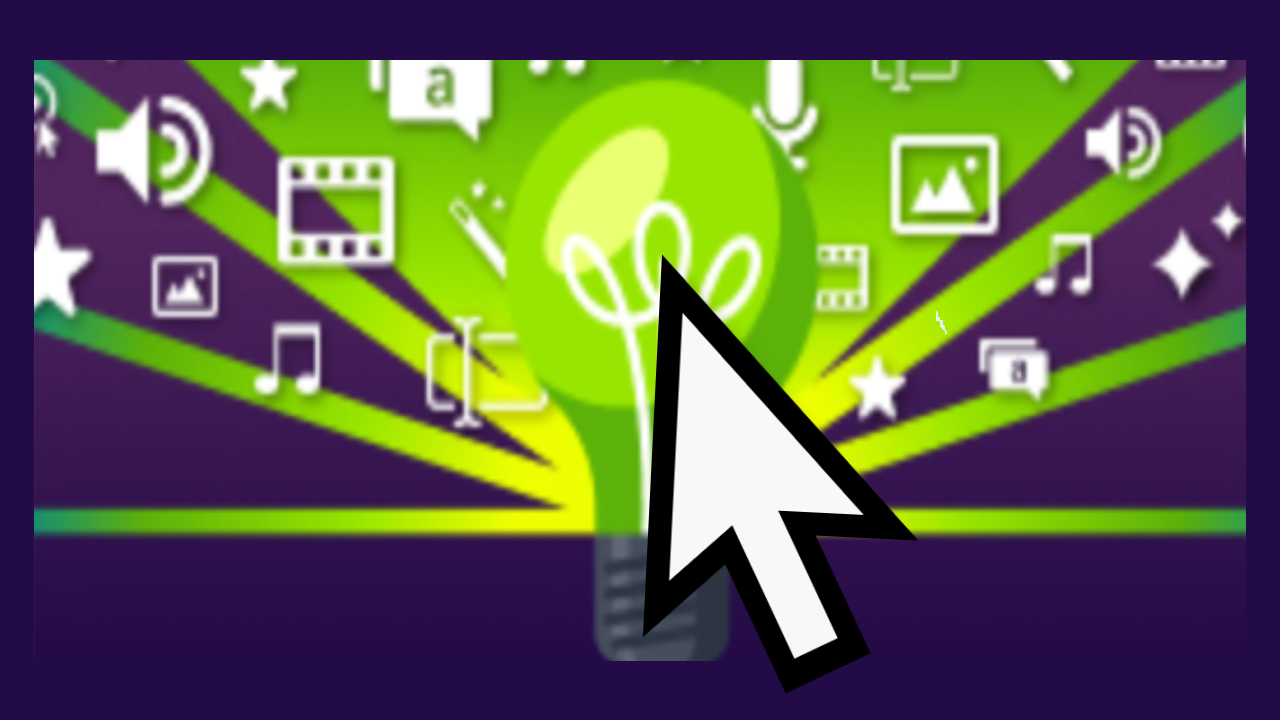
Learn how to complete common edits on the timeline.

beginner
5 videos
Follow a sample project to add and animate video text.
intermediate
Learn about the latest features and improvements in Camtasia Editor.
What's New in Camtasia Editor
Build Your First Video
Basic Edits After Recording
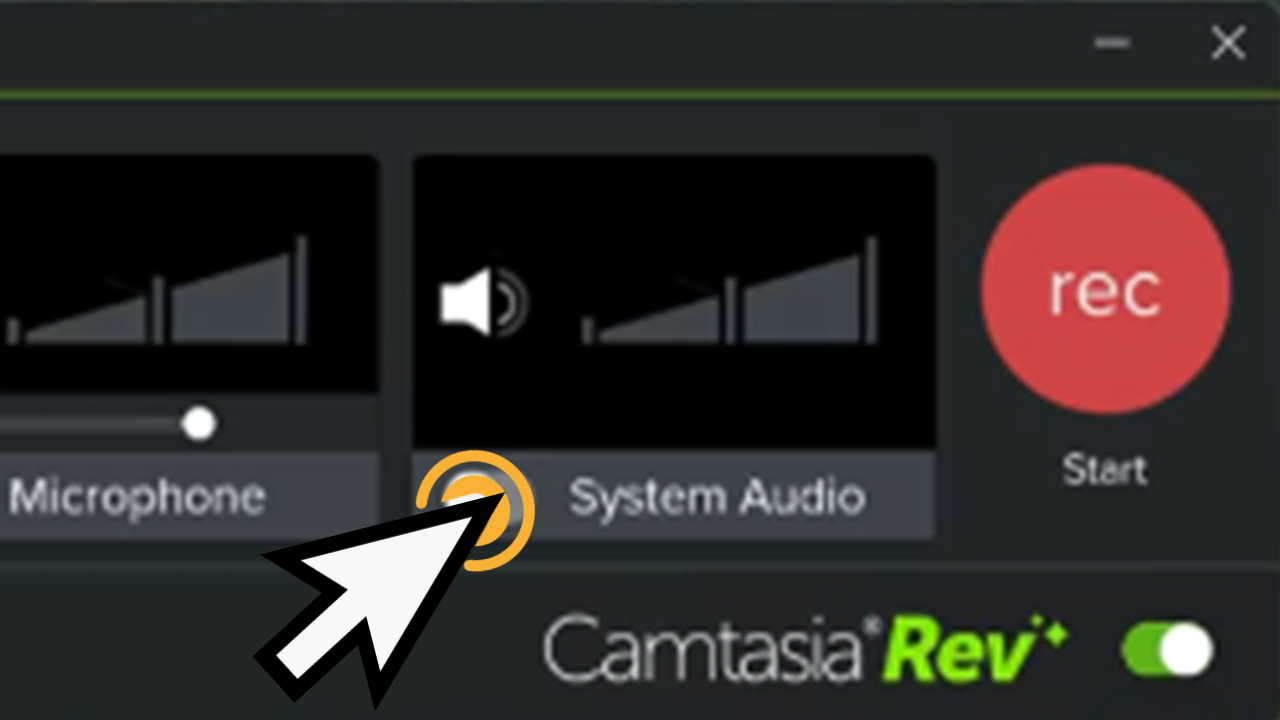
Introduction to Camtasia Recorder
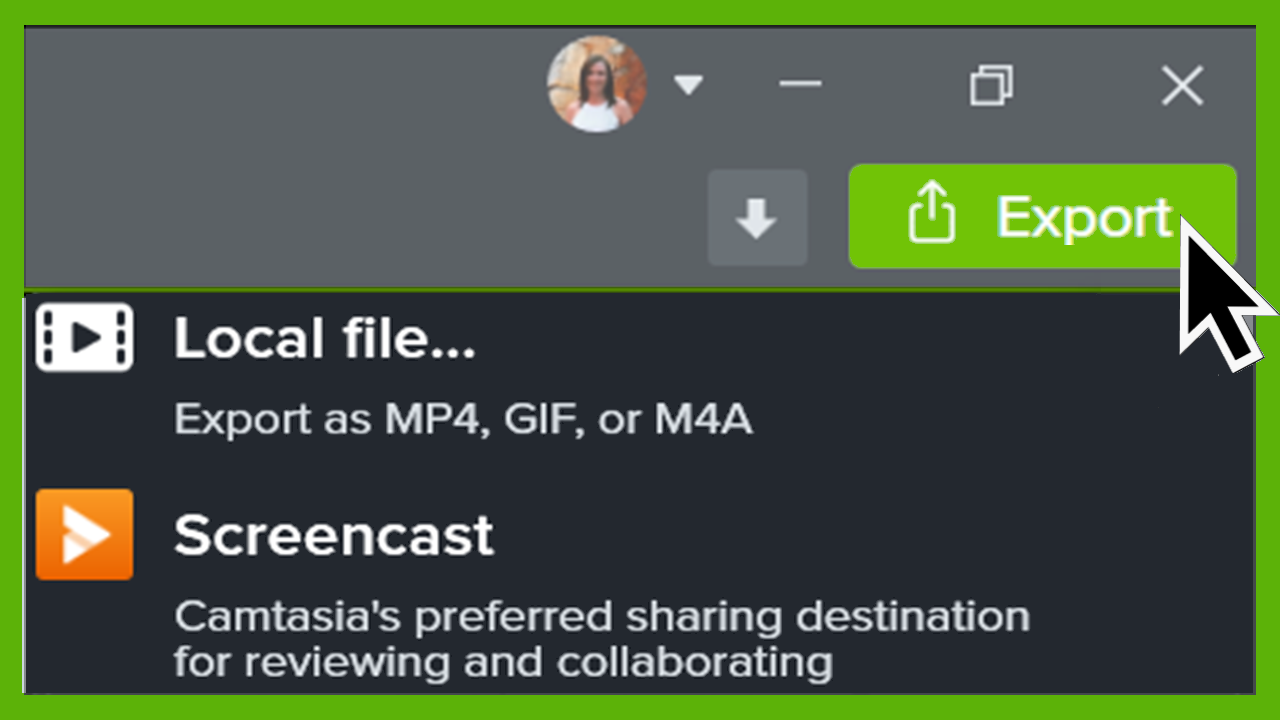
Export & Share Your Video
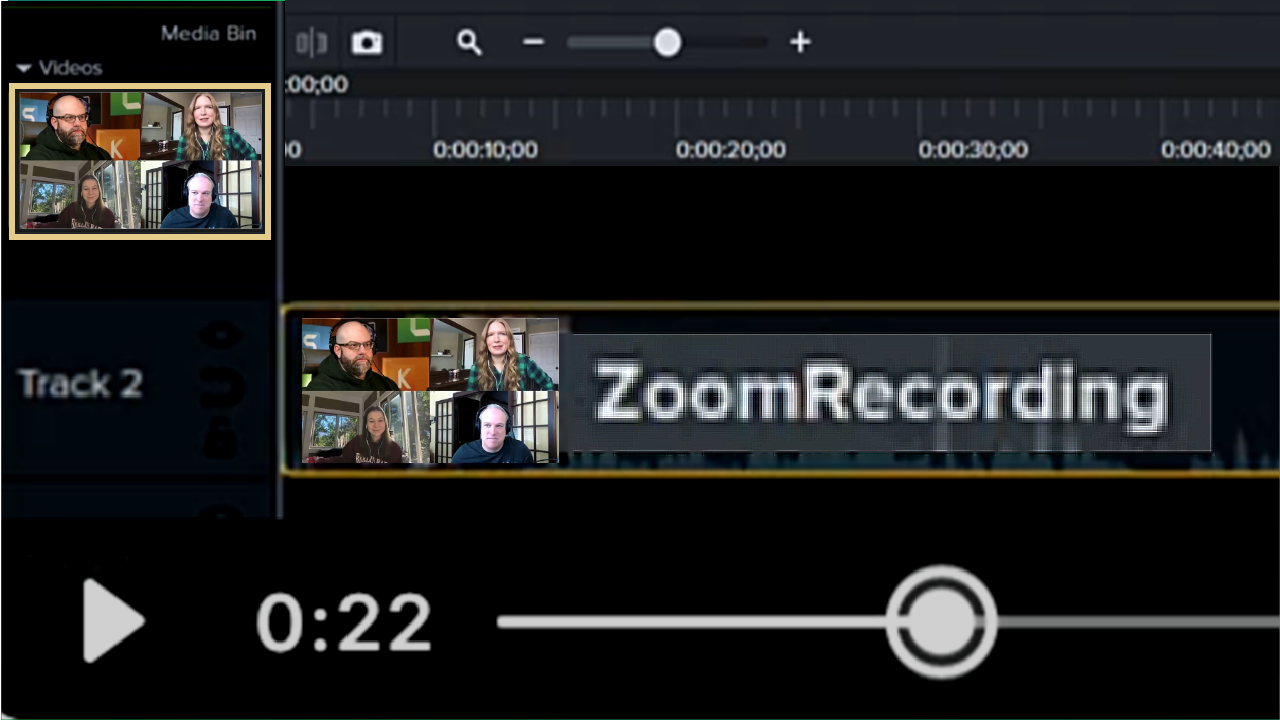
Edit Zoom Recordings
Import & Manage Your Project Media (Media Bin)
Edit Microsoft Teams & Other Meeting Recordings
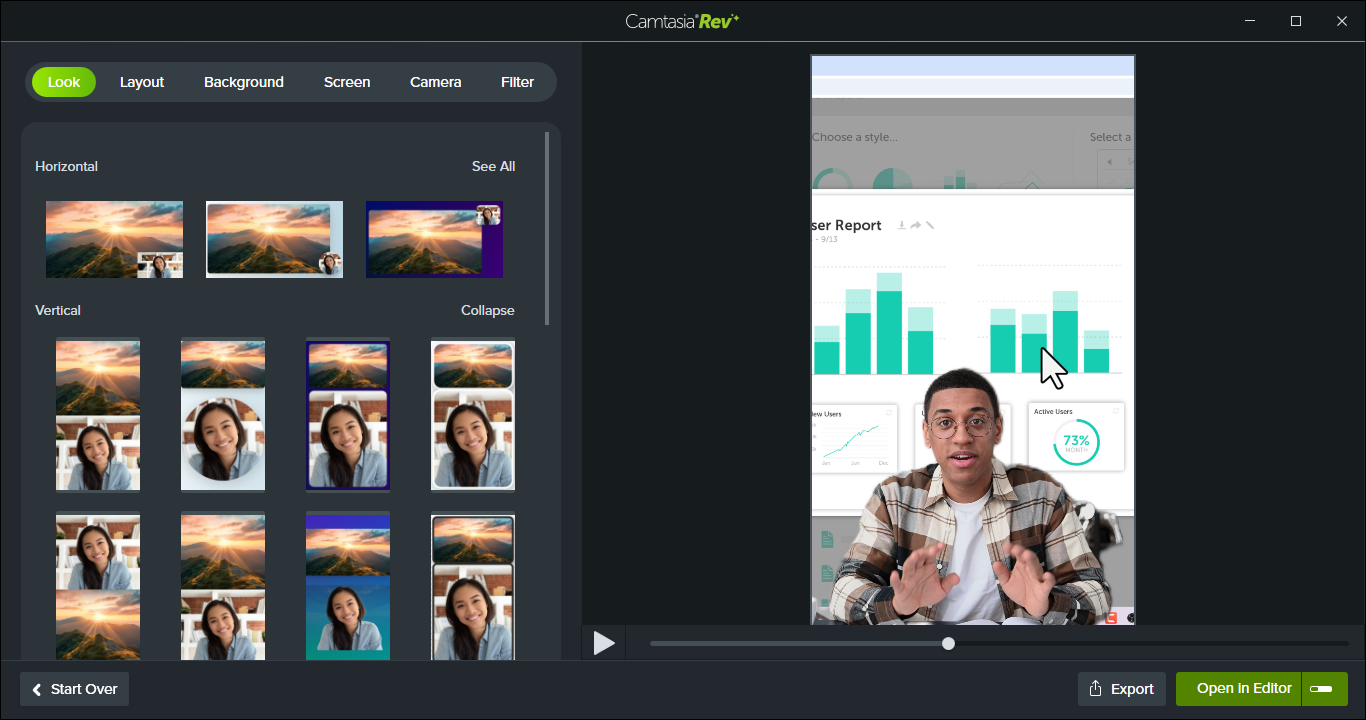
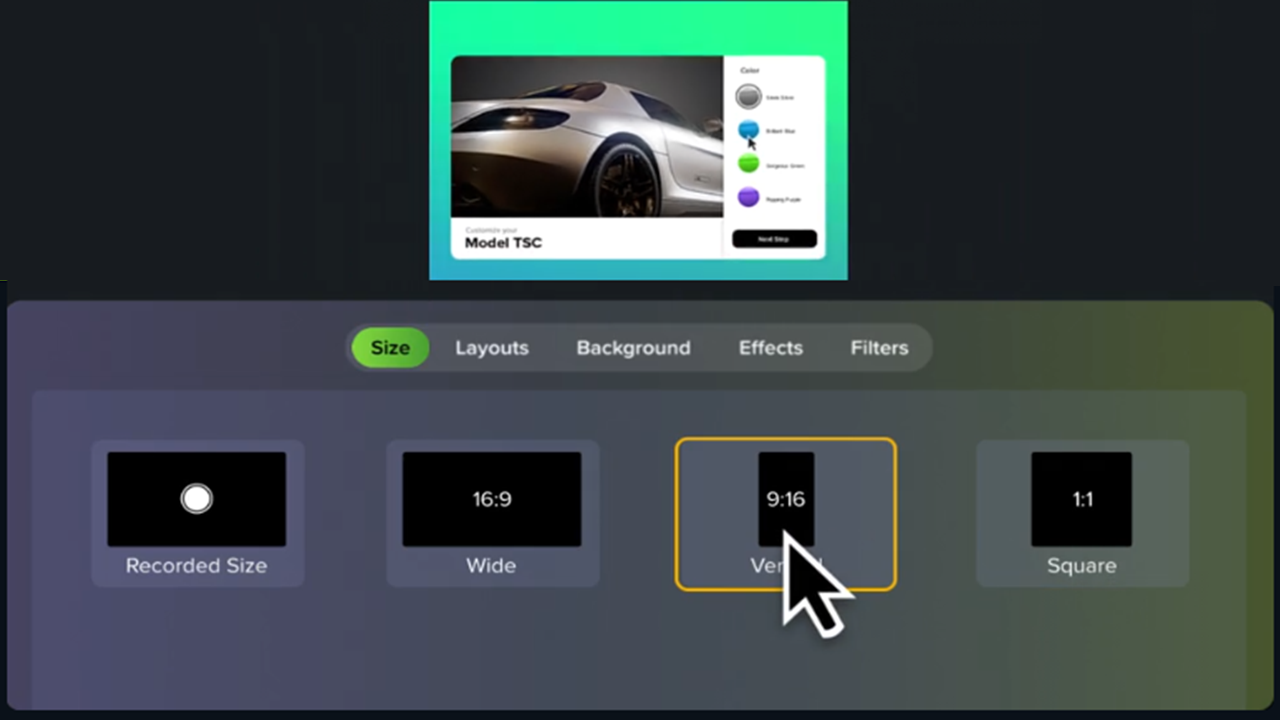
Create Vertical Videos
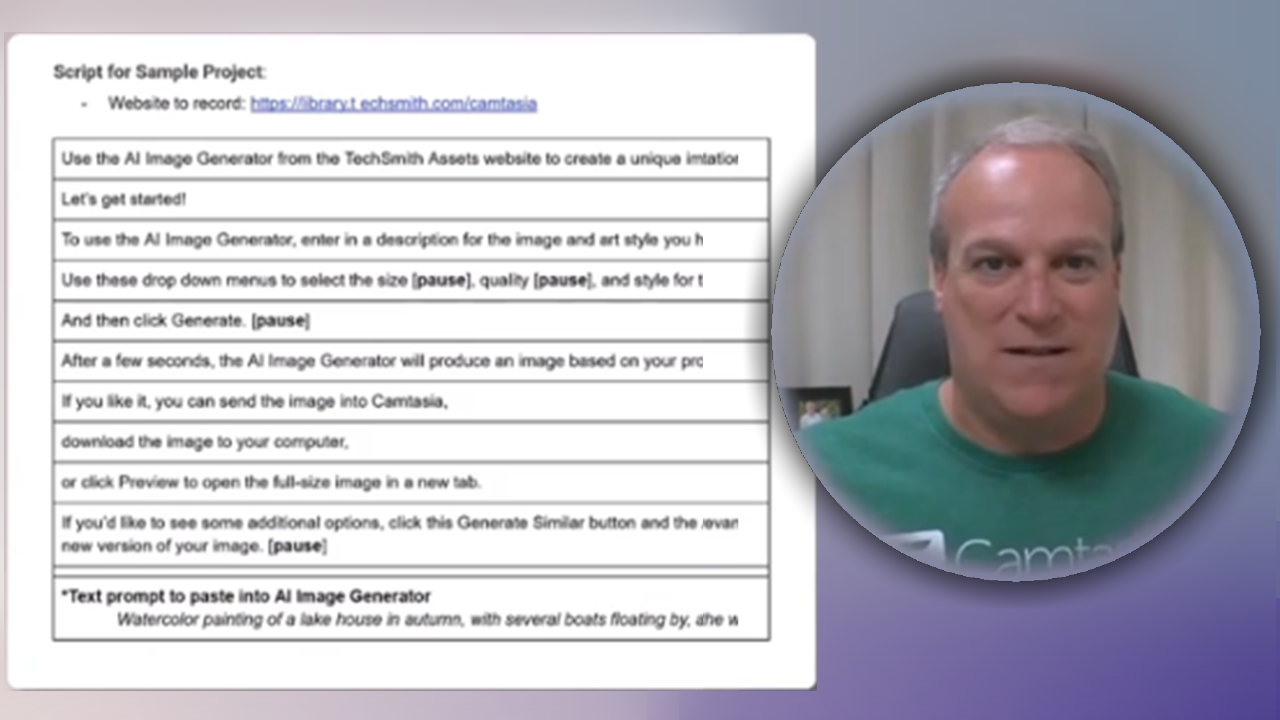
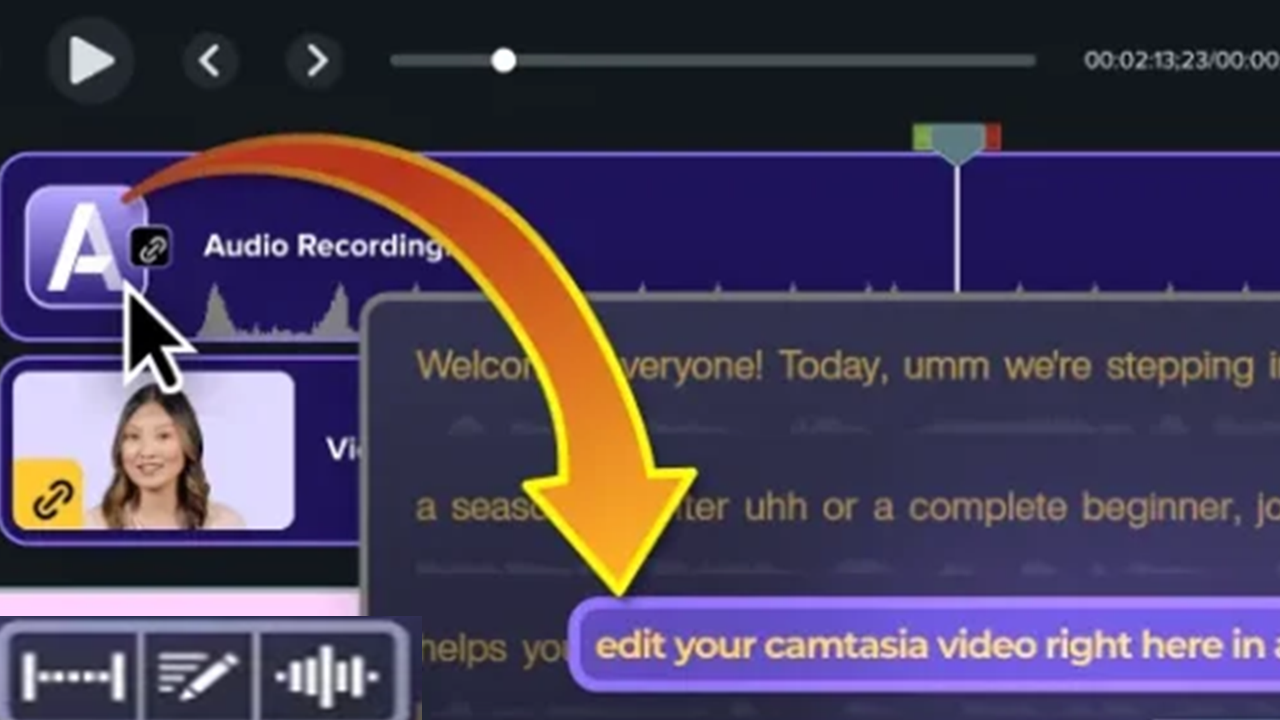
Create a Video from a Script
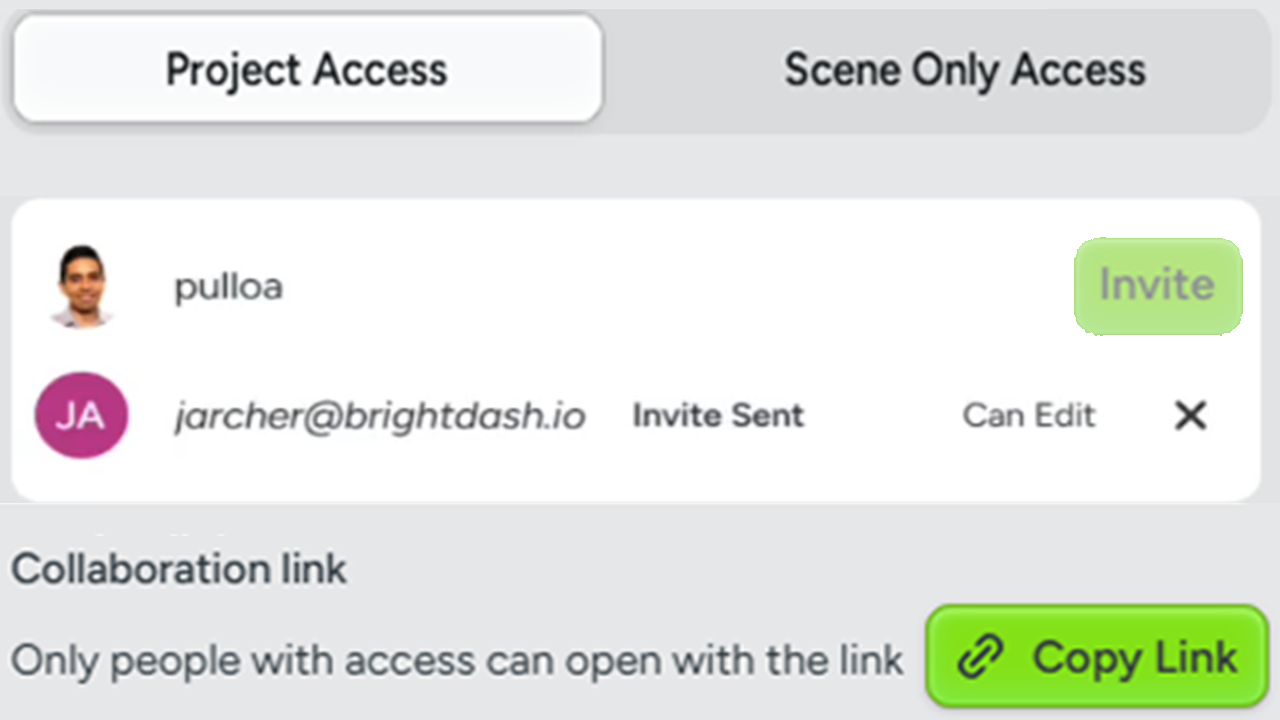
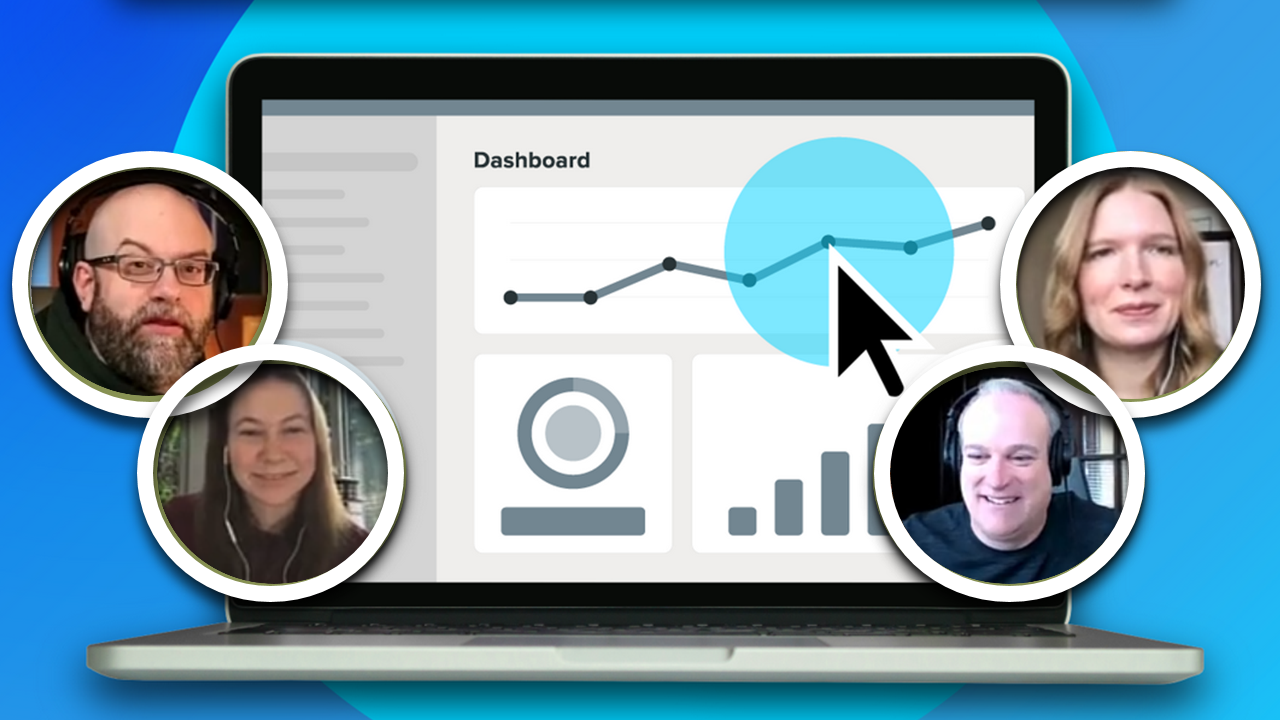
Collaborate on a Video Project
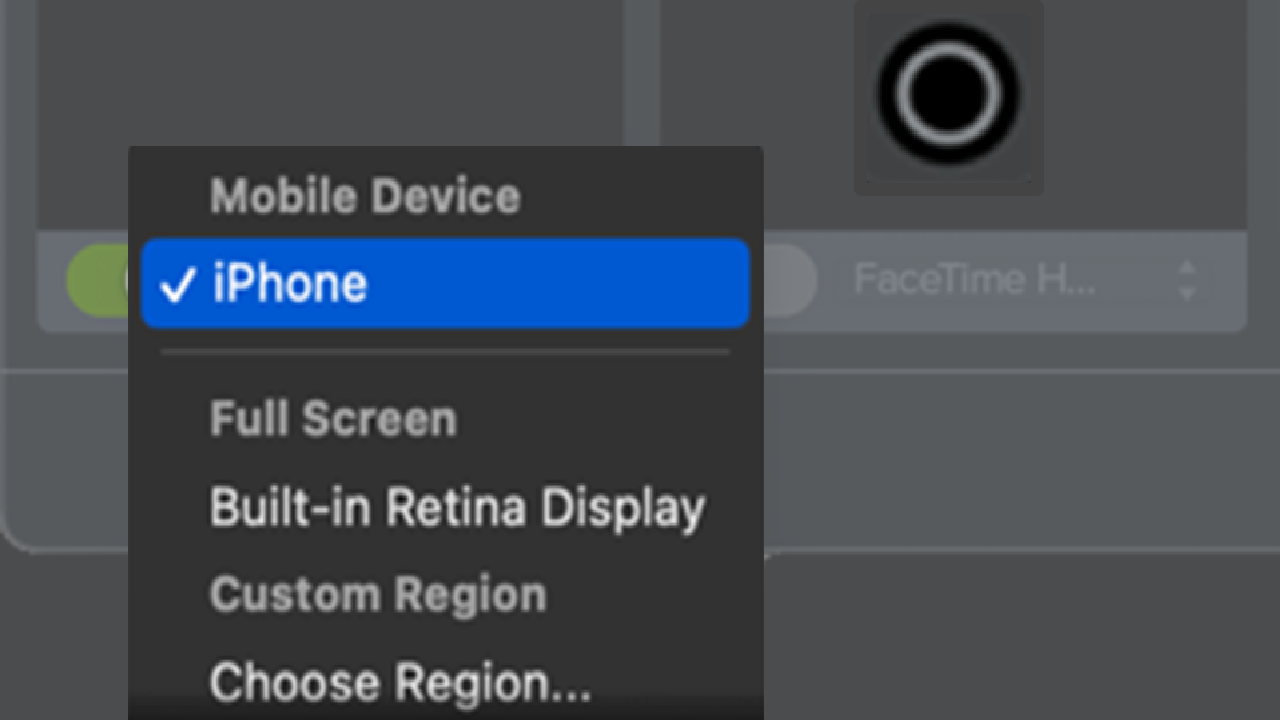
Record an iOS Demo or Tutorial
Record a PowerPoint Presentation
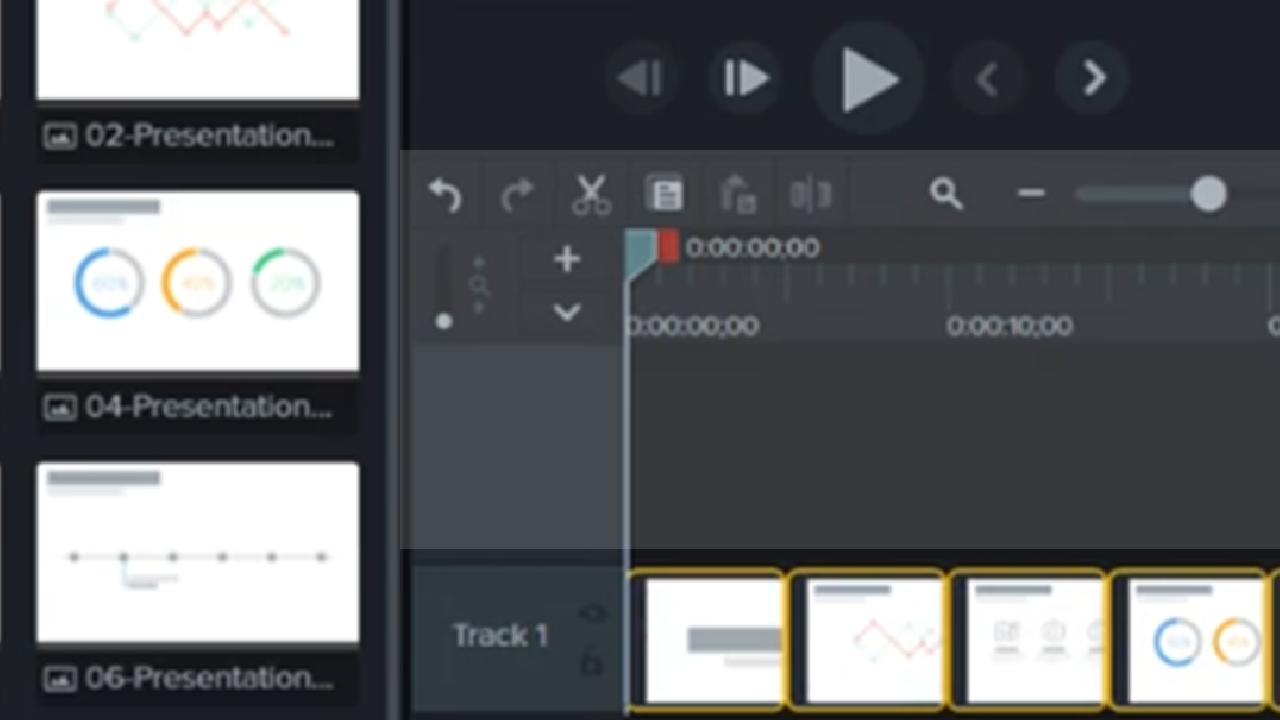
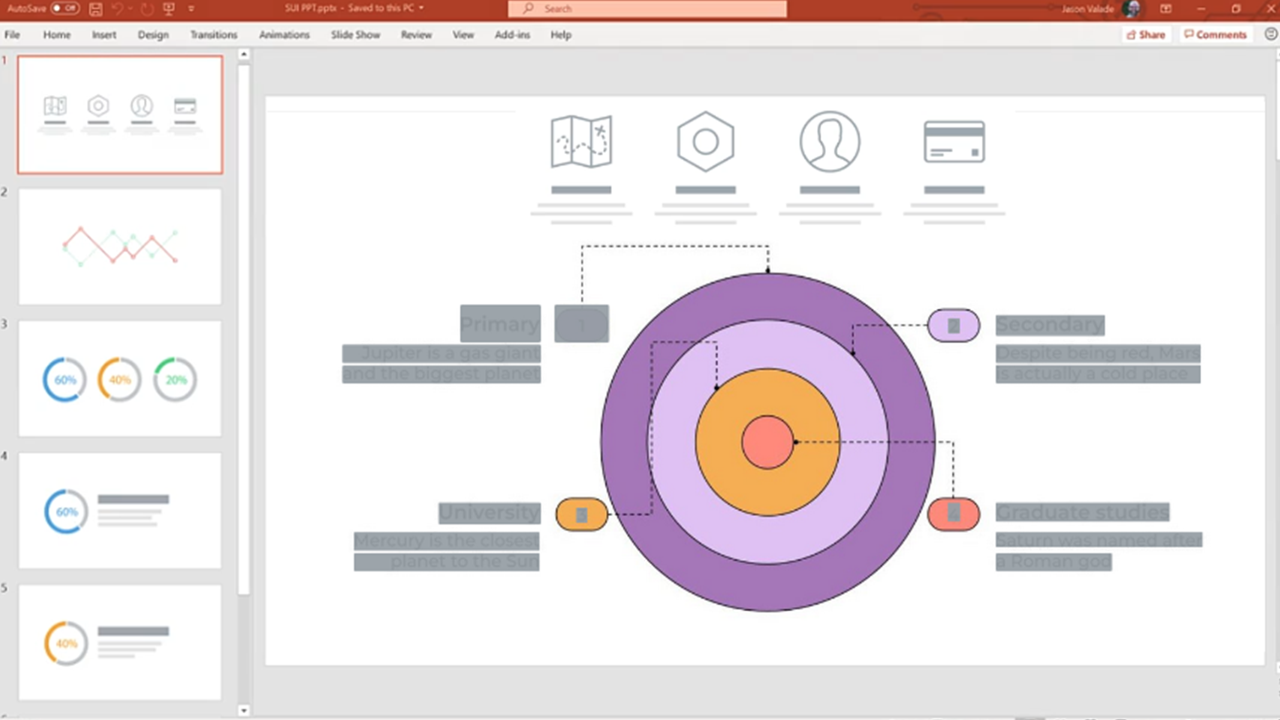
Import Presentation Slides
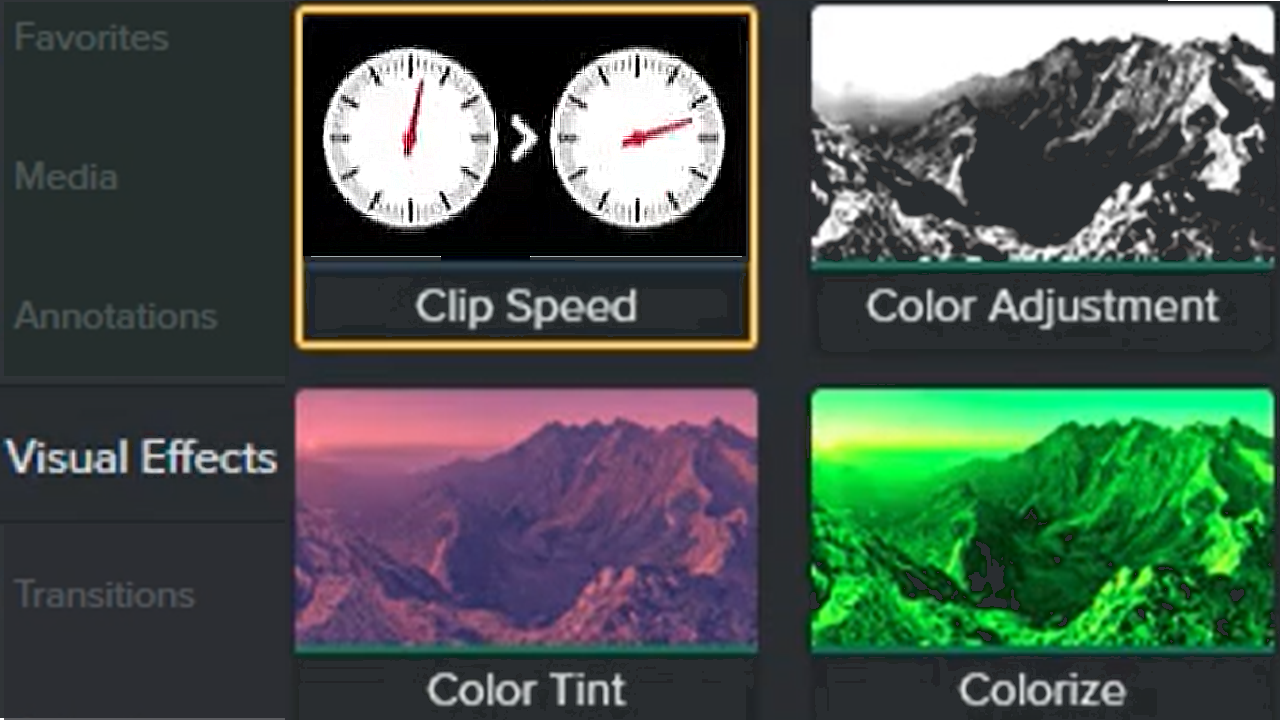
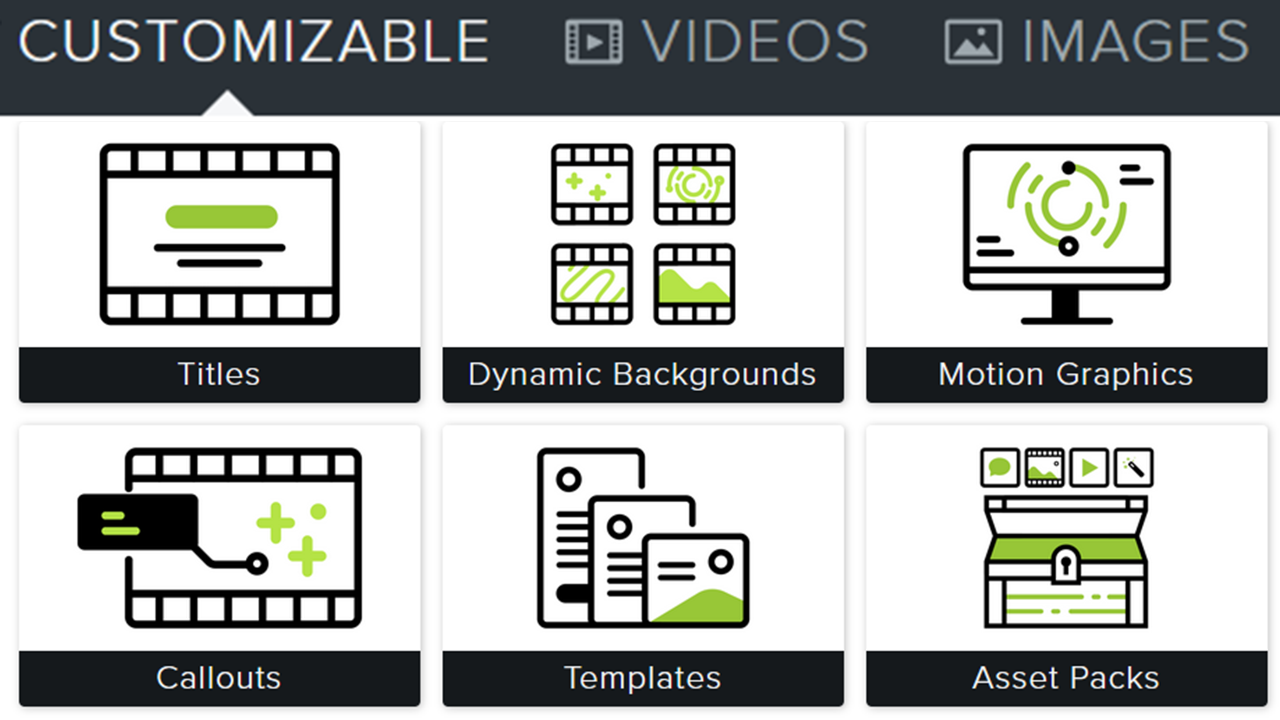
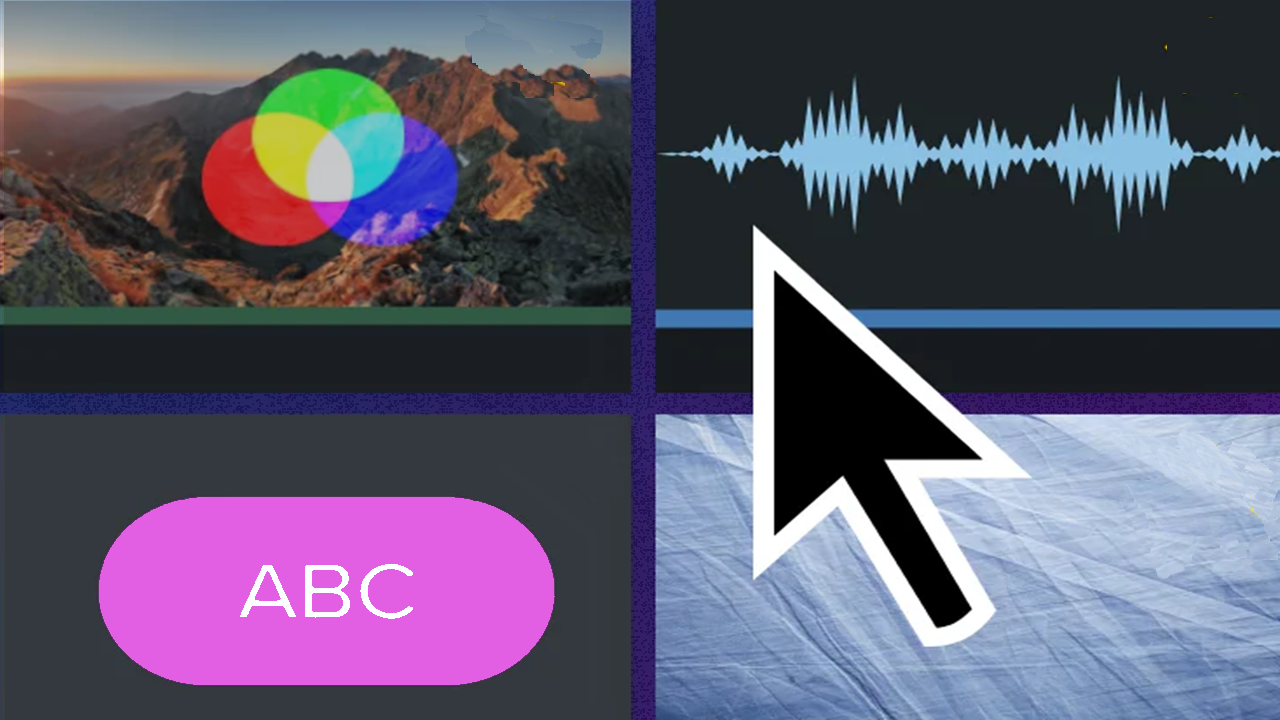
Visual Effects Overview
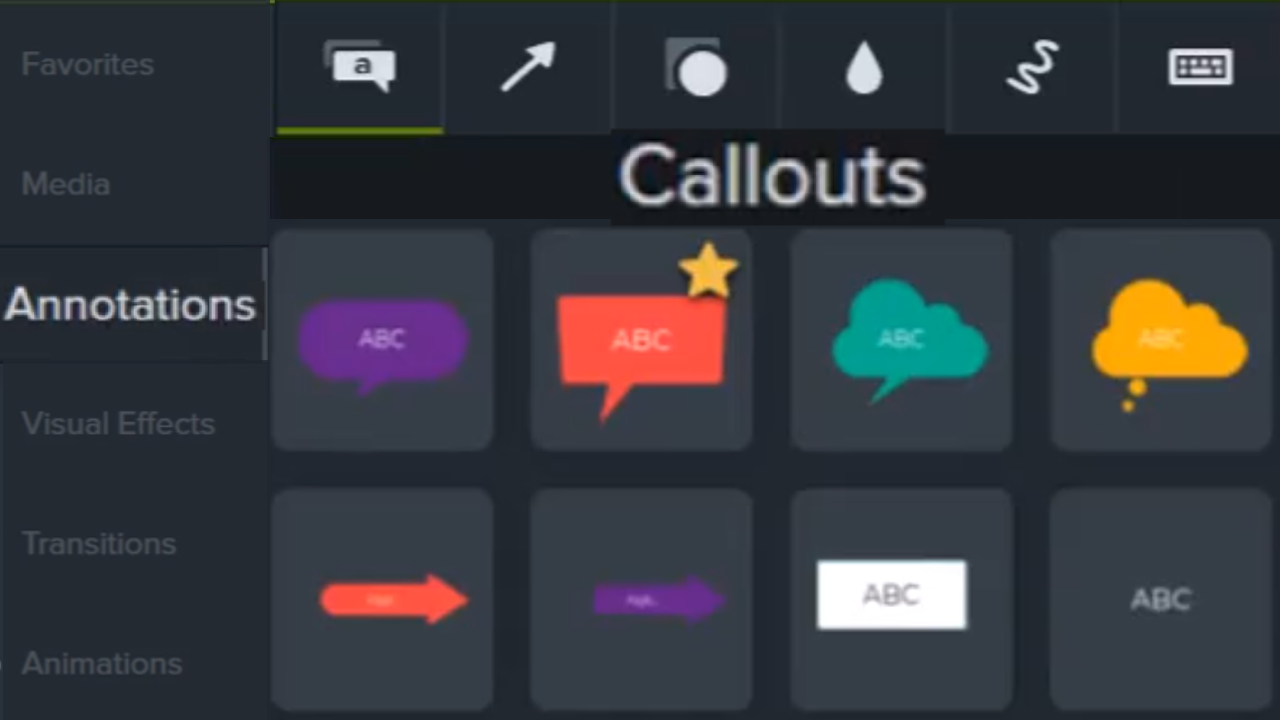
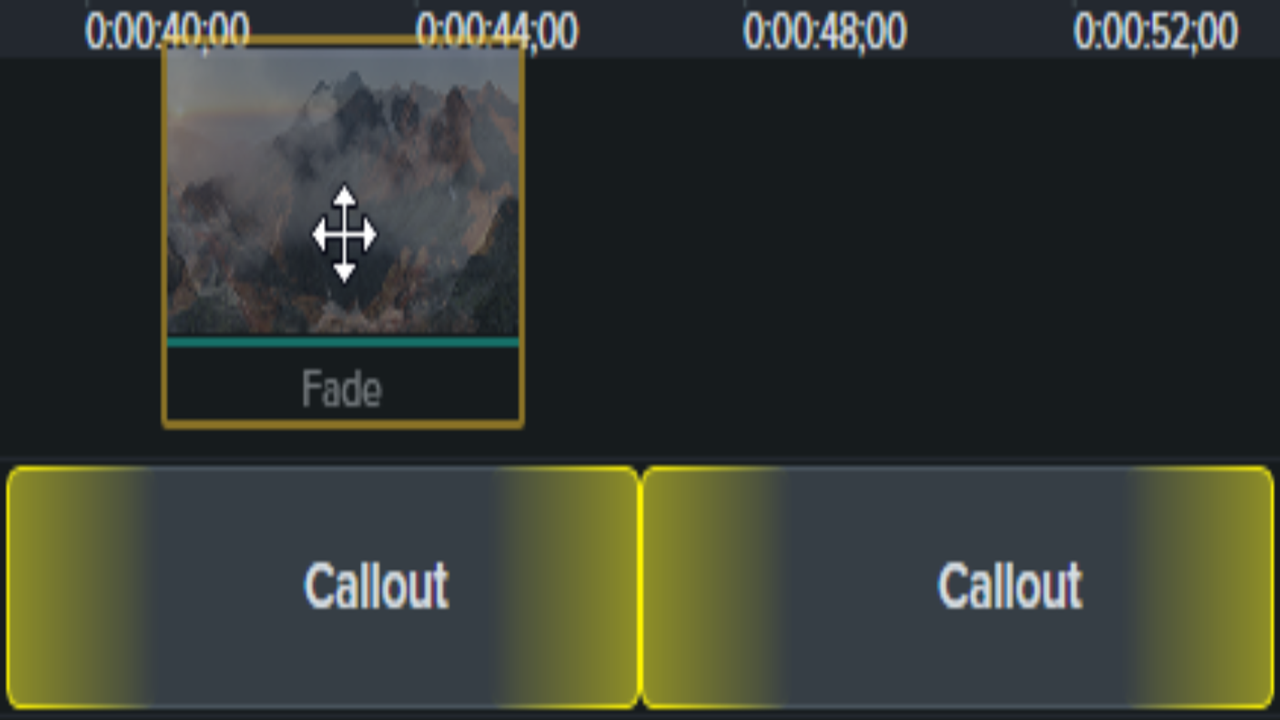
Add Arrows, Shapes, & Callouts
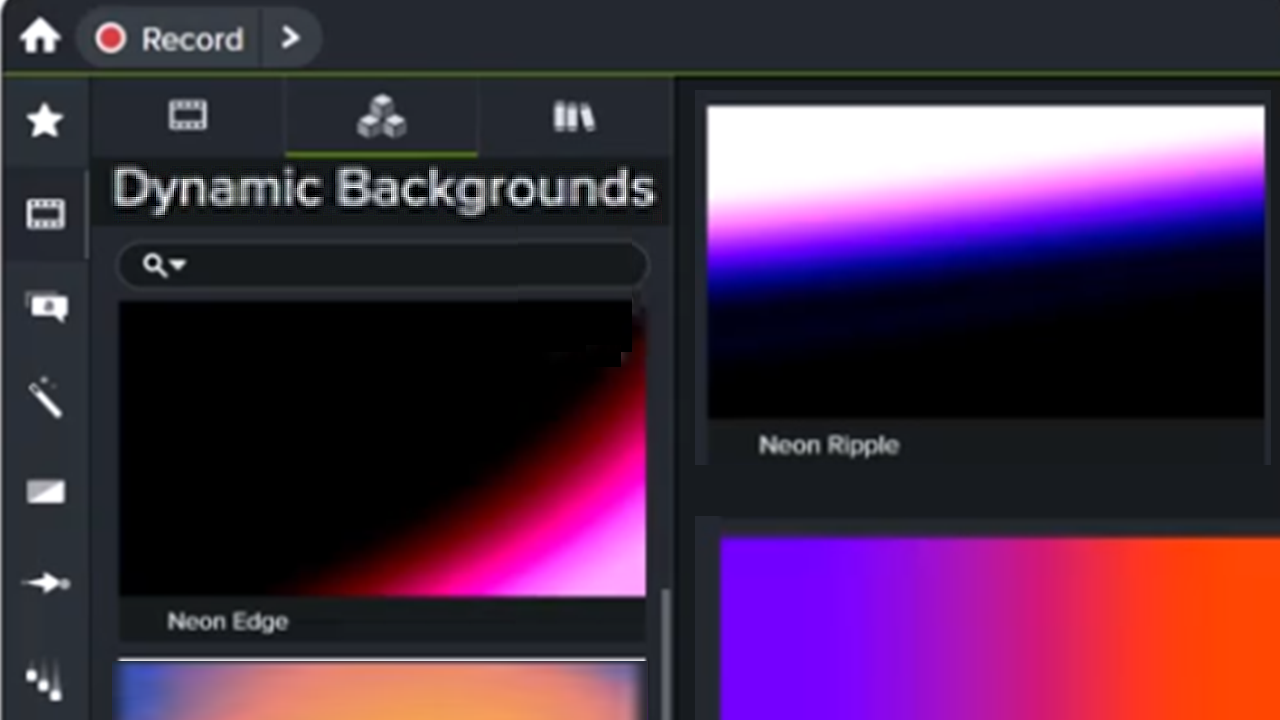
Add a Dynamic Background
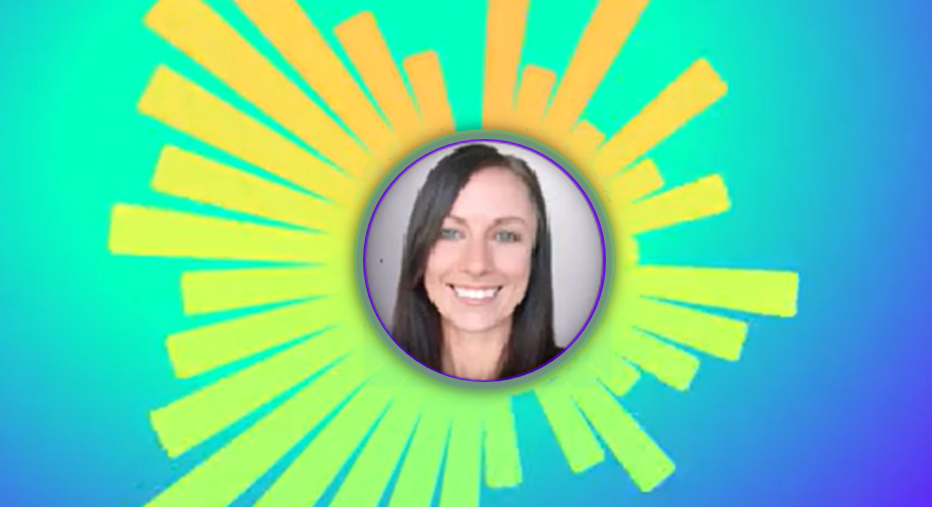
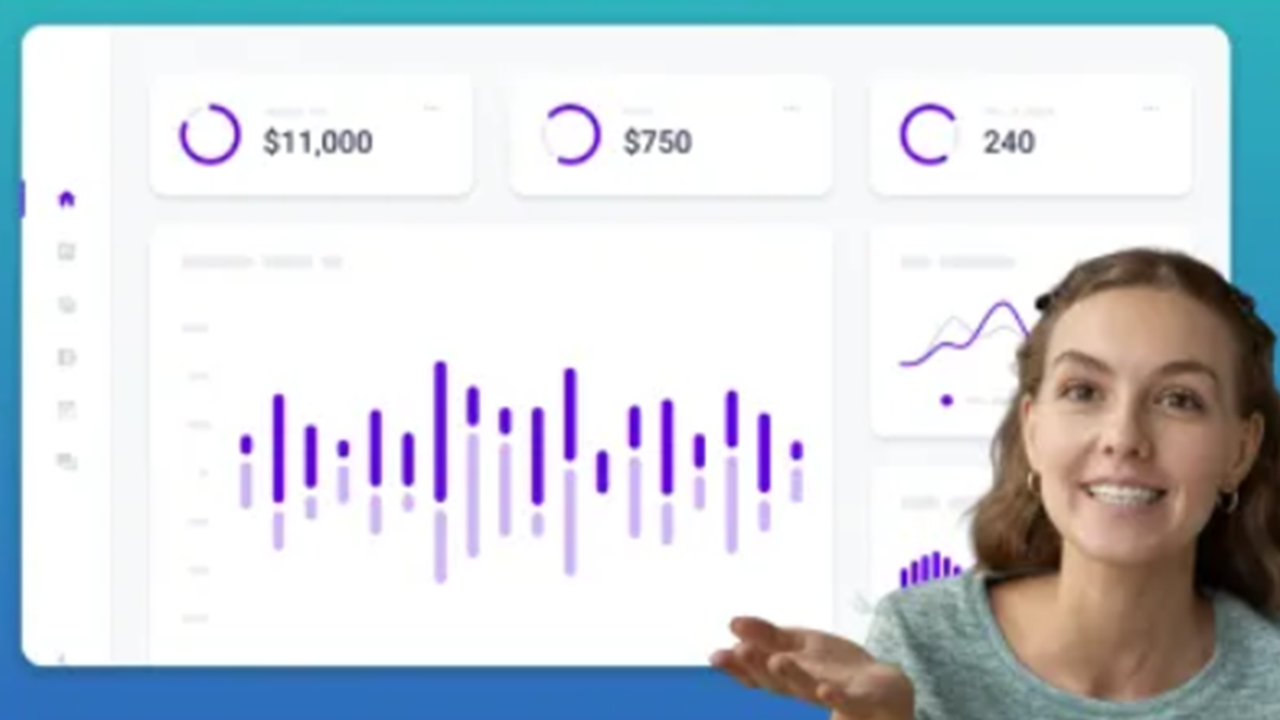
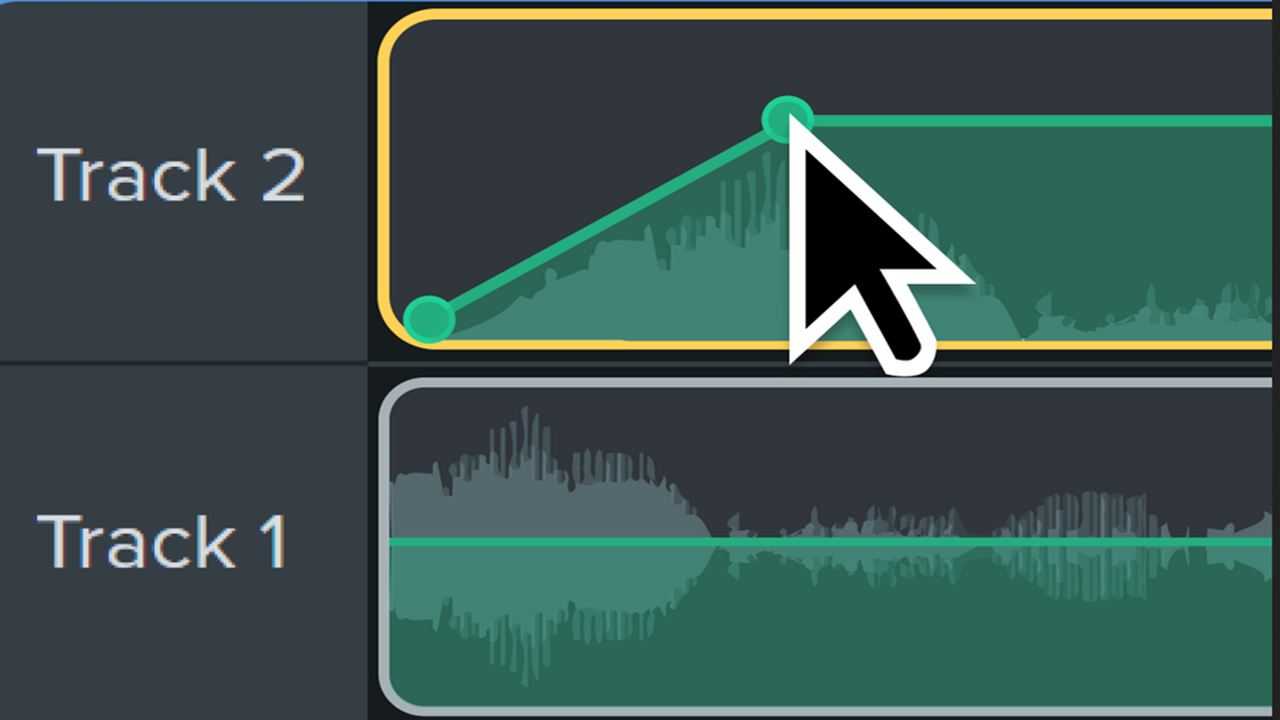
4 Ways to Visualize Your Audio
Create the Illusion of 3D Perspective (Corner Pinning)

Remove a Background from Your Video
Enhance Your Video Overview
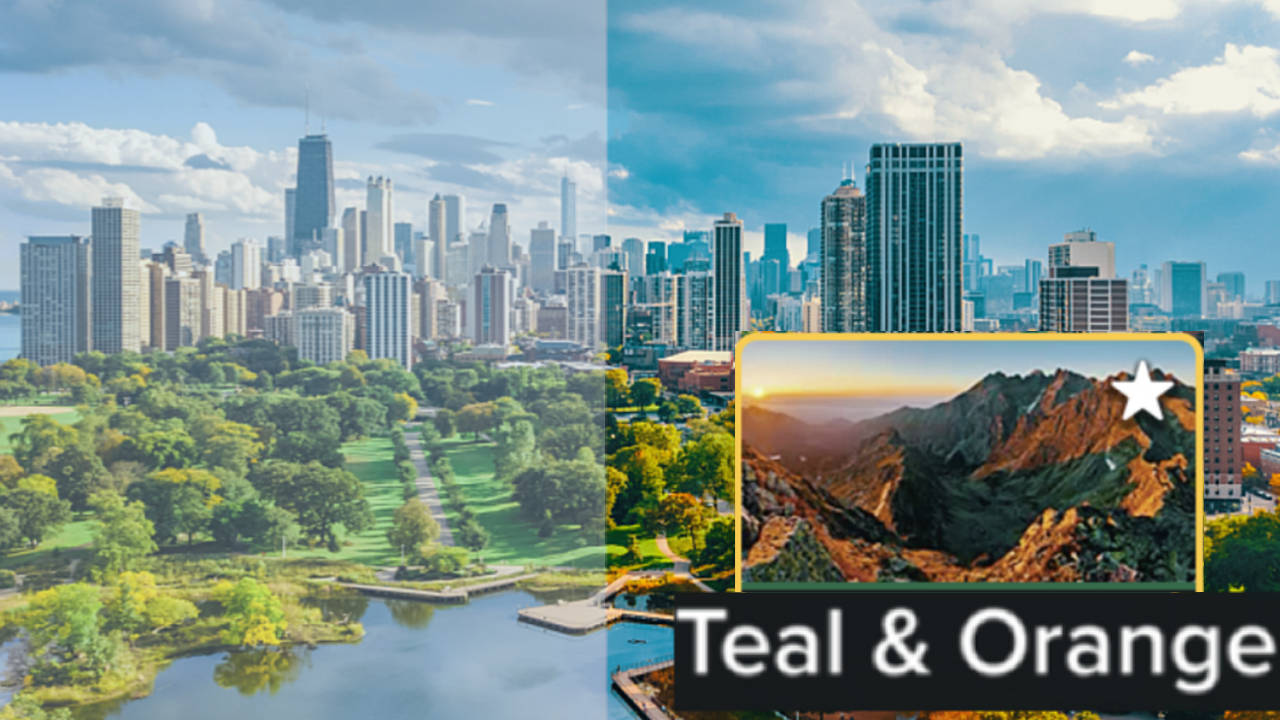
Add Video Filters

Provide Context with Device Frames
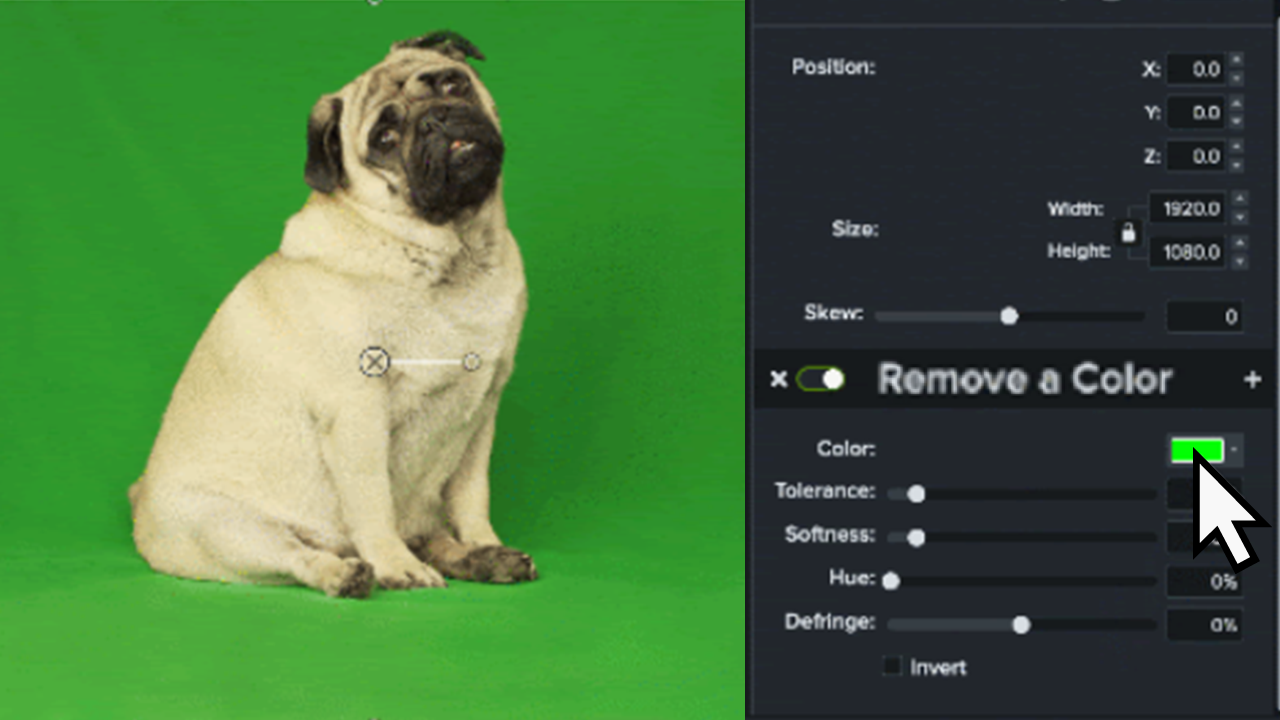
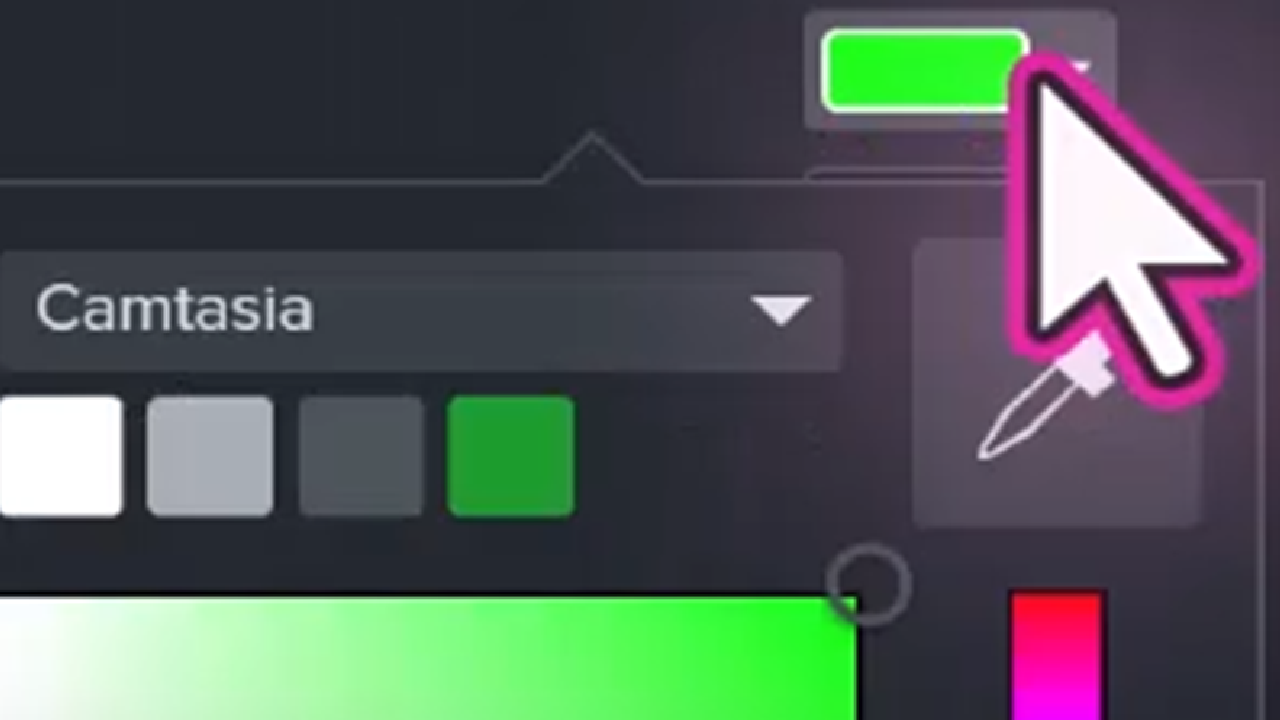
Remove A Color (Green Screen)
Video Editing Quick Guide
Basic Edits After Recording

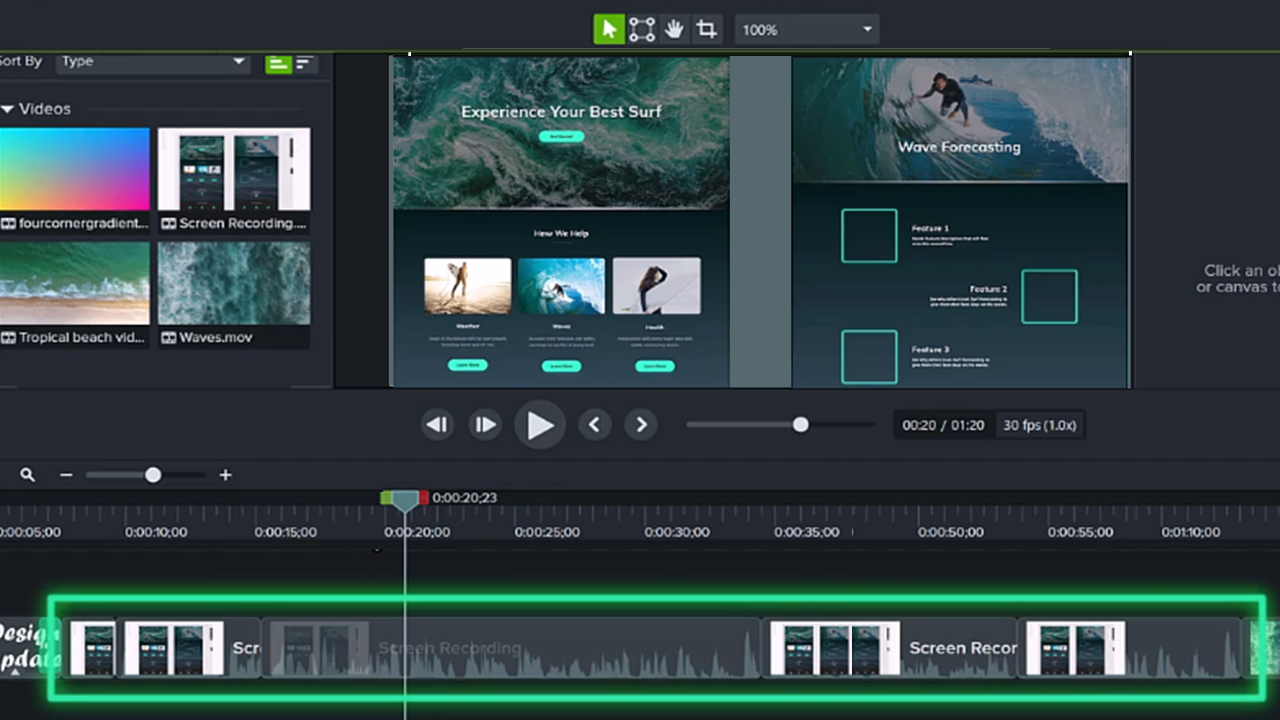
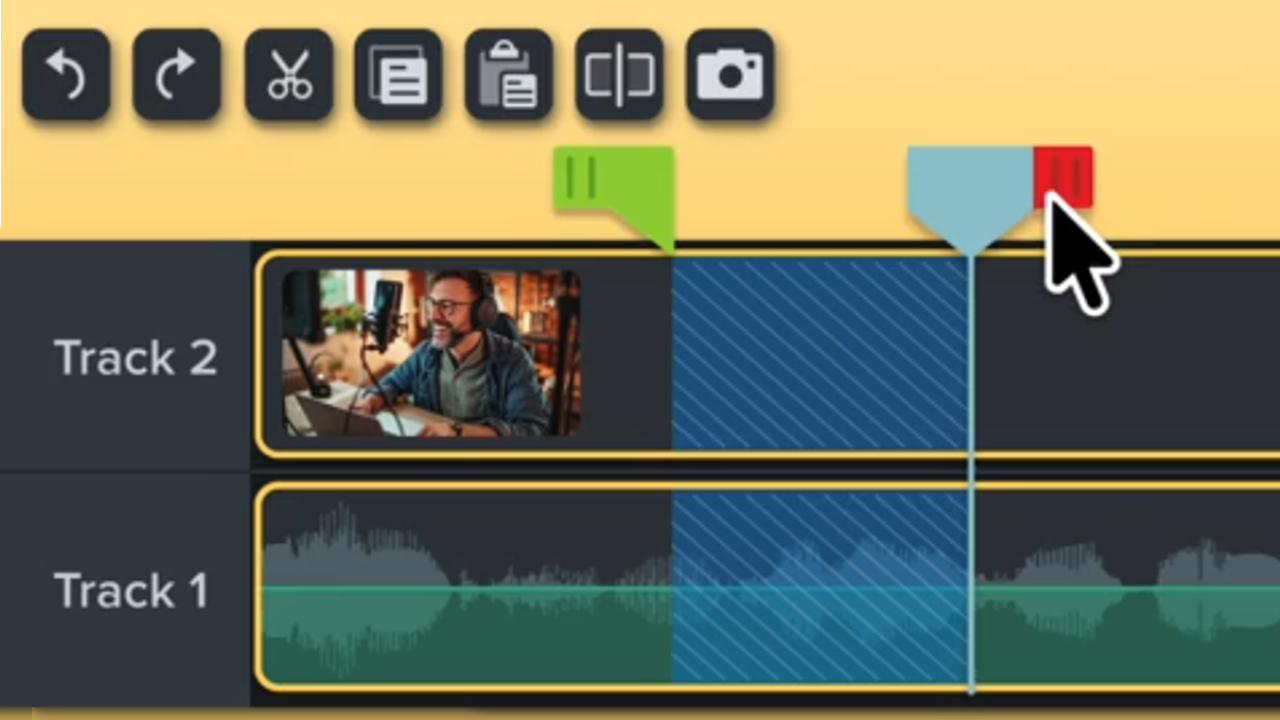
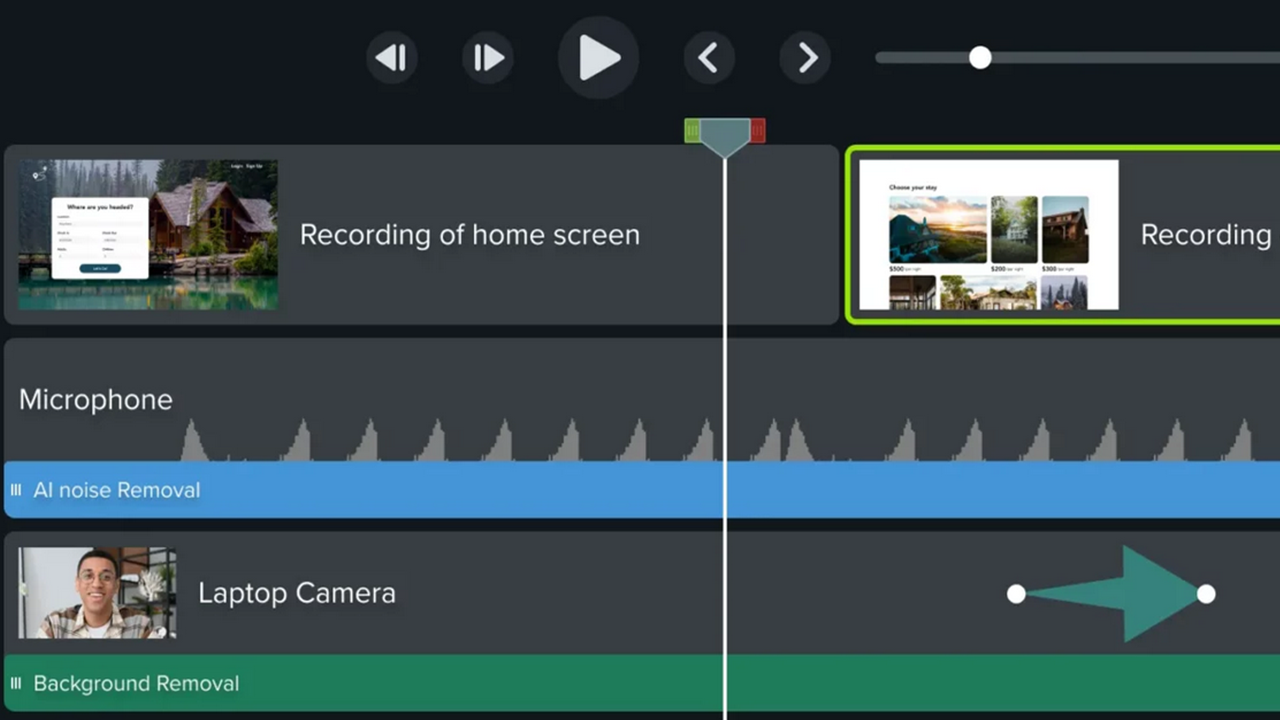
3 Keys to the Camtasia Editor Timeline
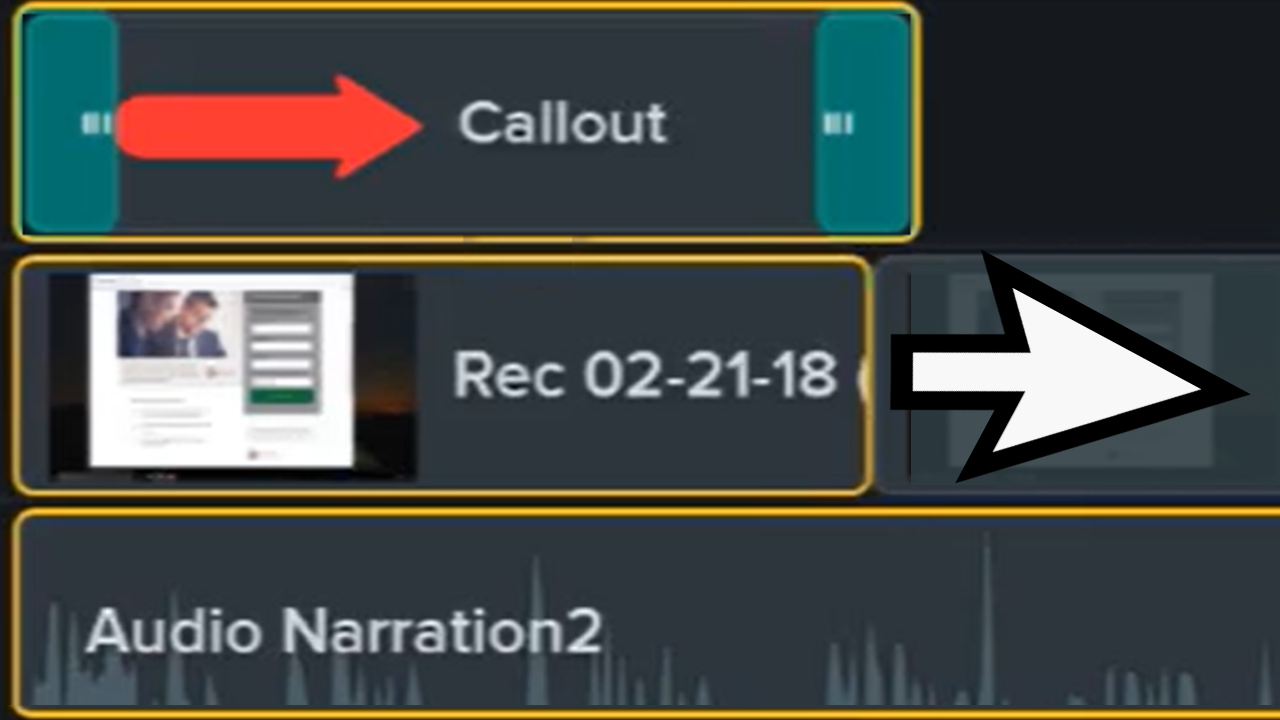
Explore the Timeline
Add Markers & Video Table of Contents
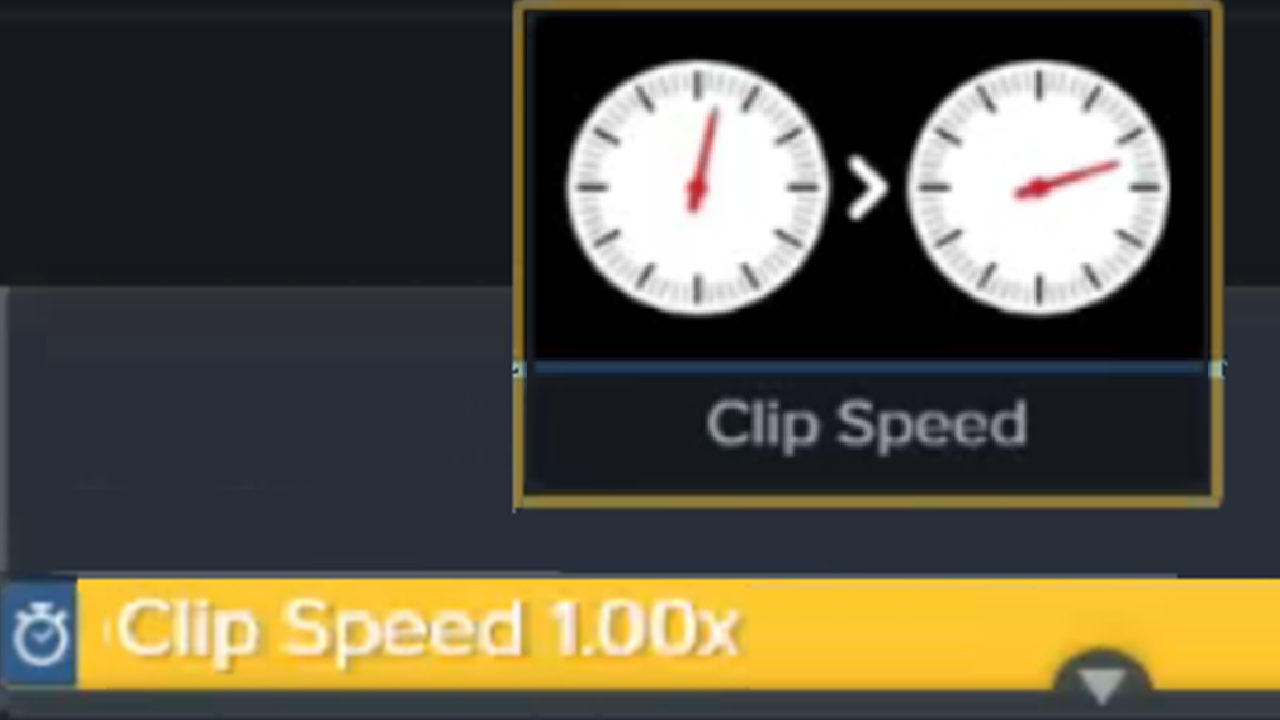
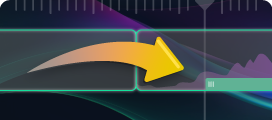
Speed Up & Slow Down Video Clips
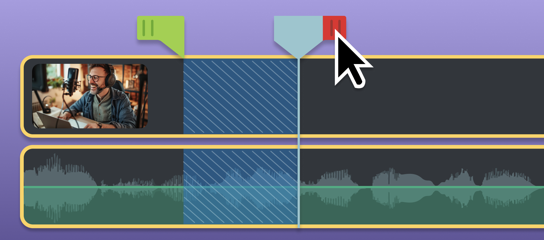
Join Clips Together
Move Multiple Clips at Once
Ripple Move & Extend Frame
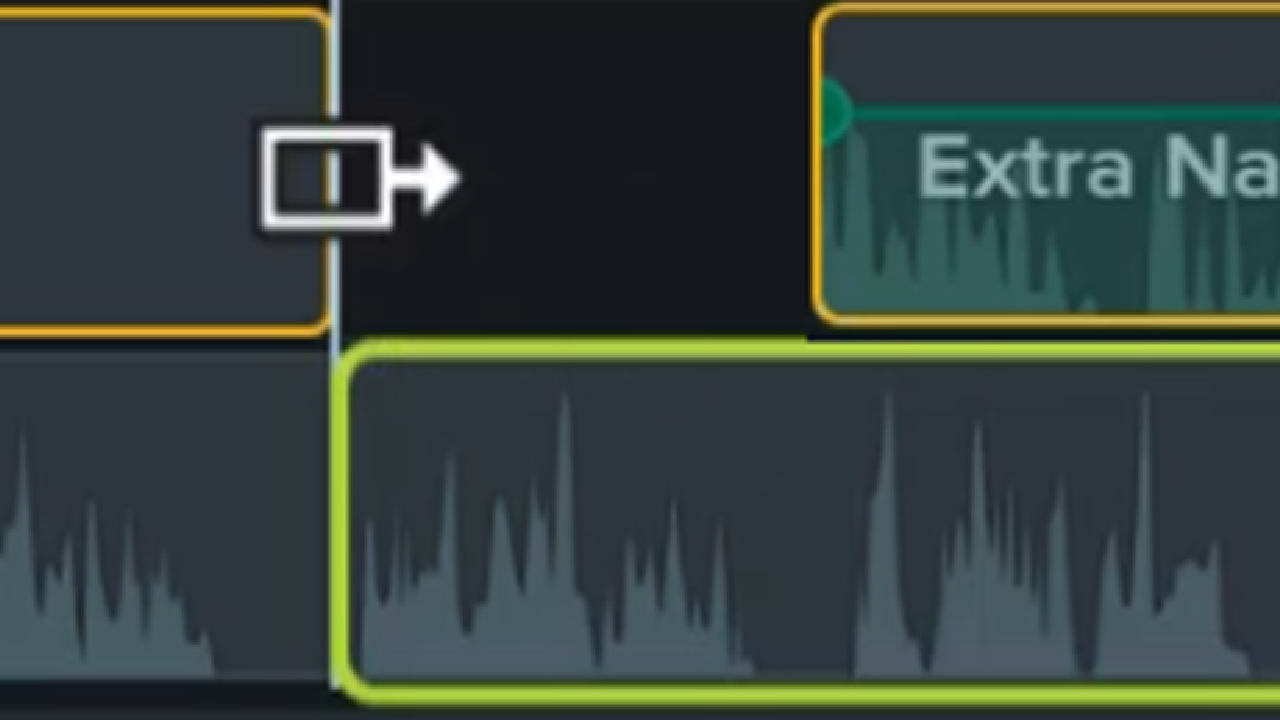
Close Timeline Gaps with Magnetic Tracks
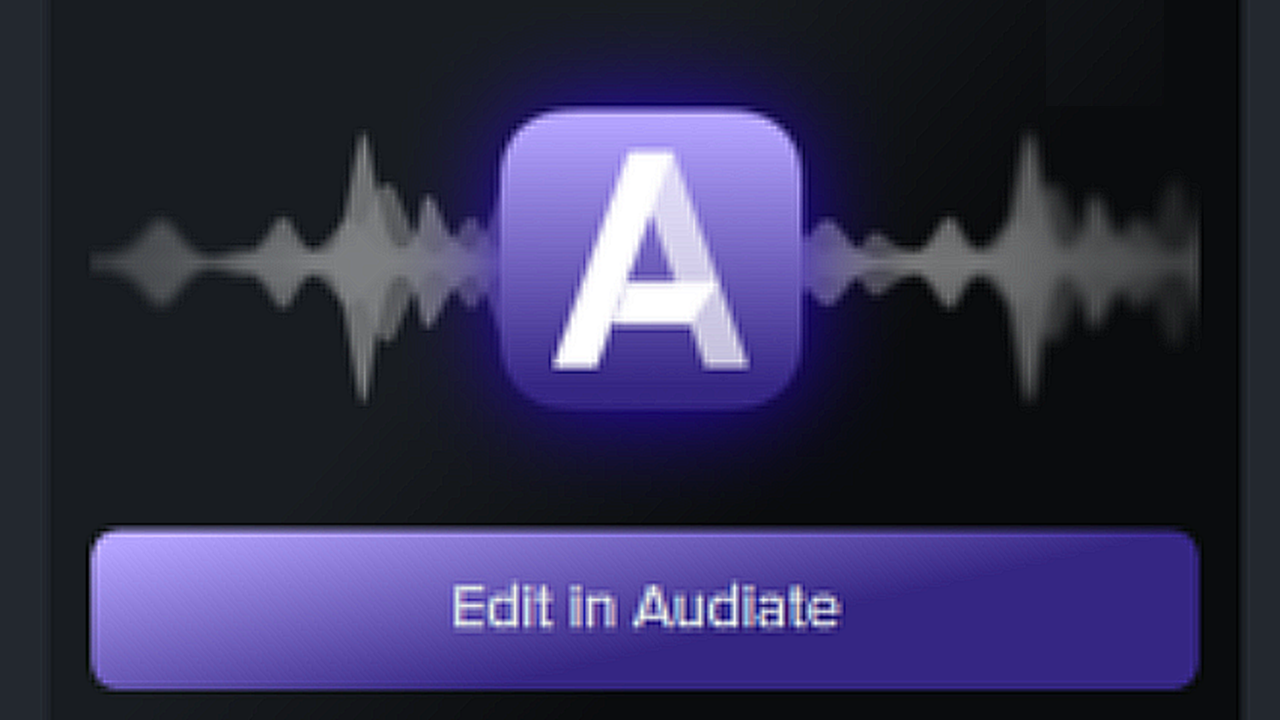
Speed Up Editing with Camtasia Audiate
Introduction to AI Video Generation
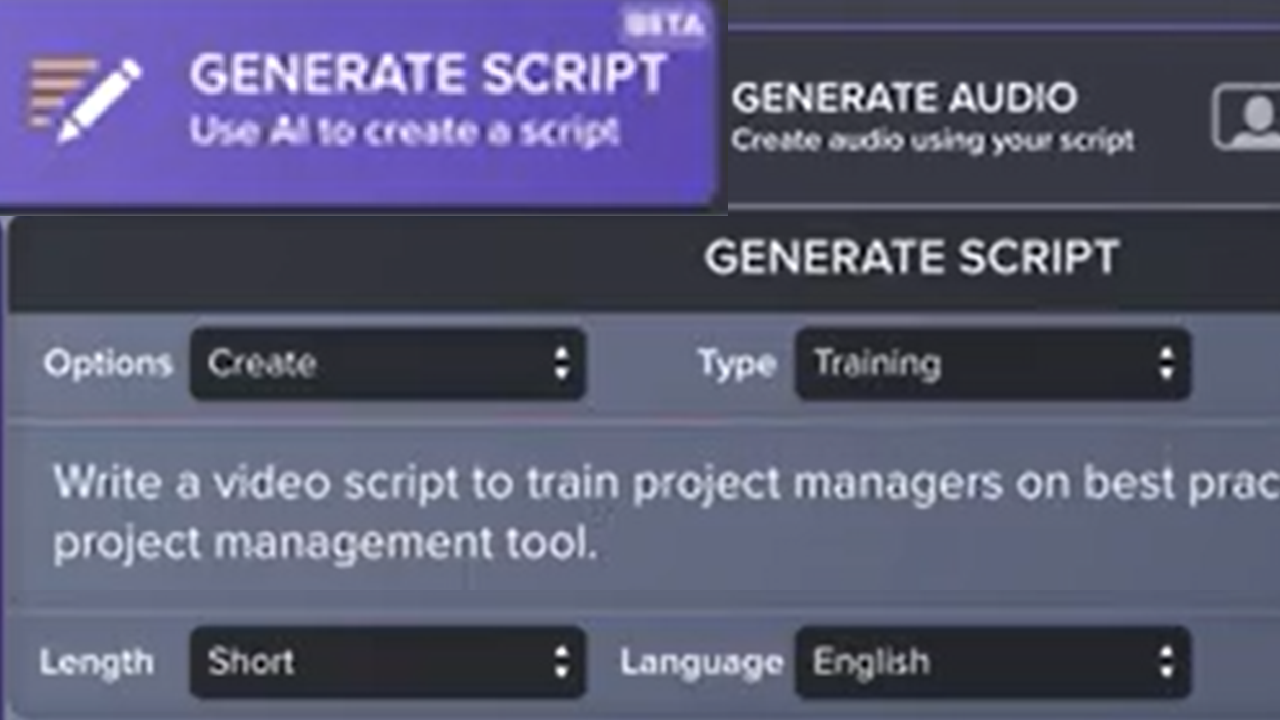
Generate a Script with AI
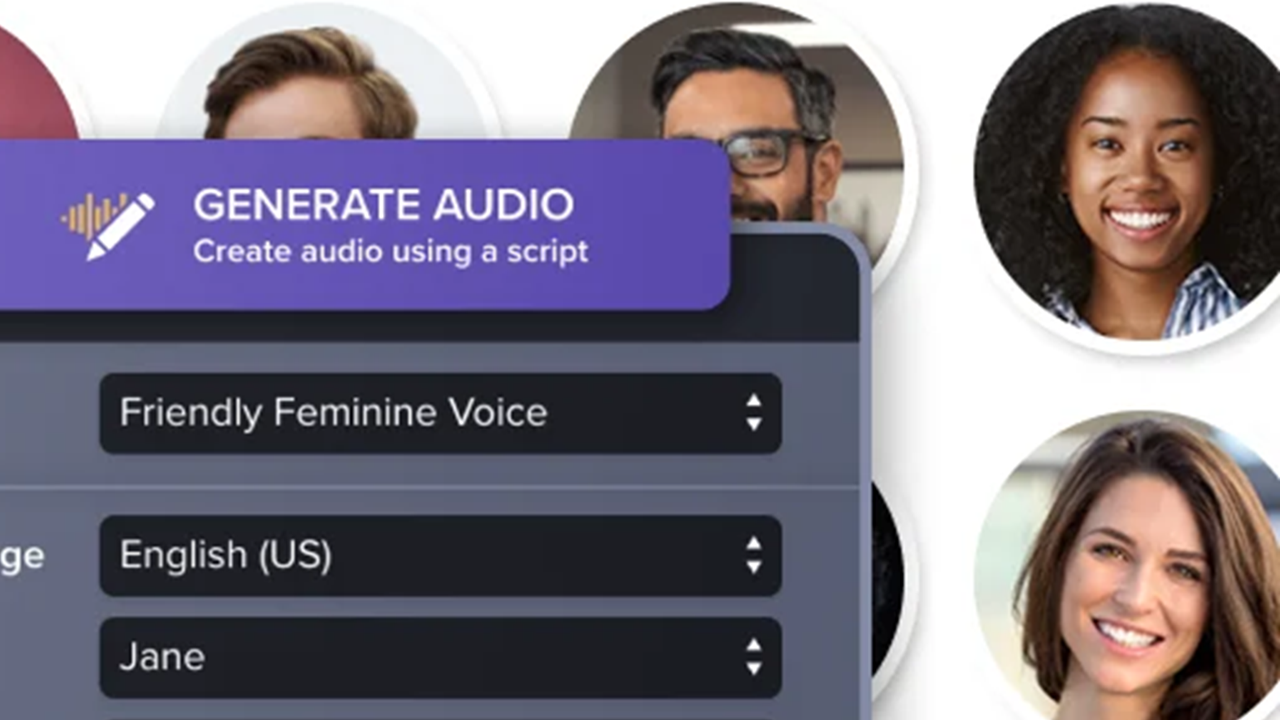
Generate AI Voices from Text or a Script
Generate AI Avatars
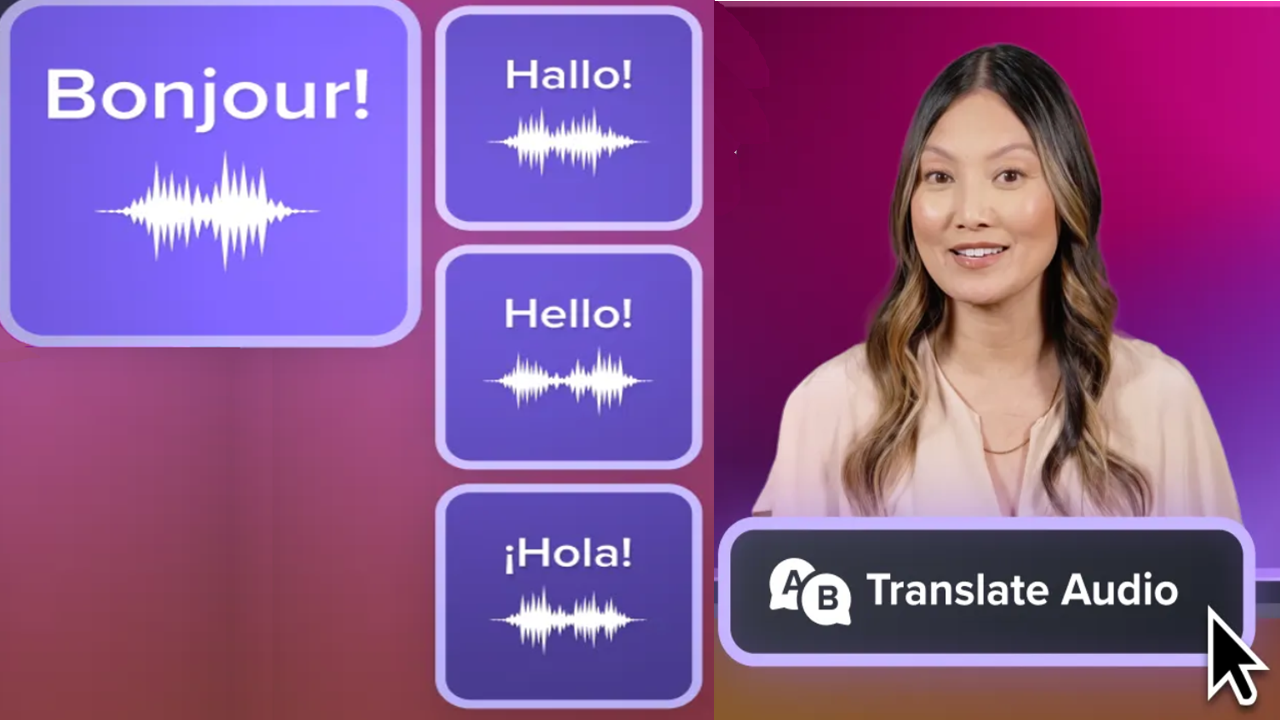
Translate Your Script, Audio, and Captions
Speed Up Editing with Camtasia Audiate
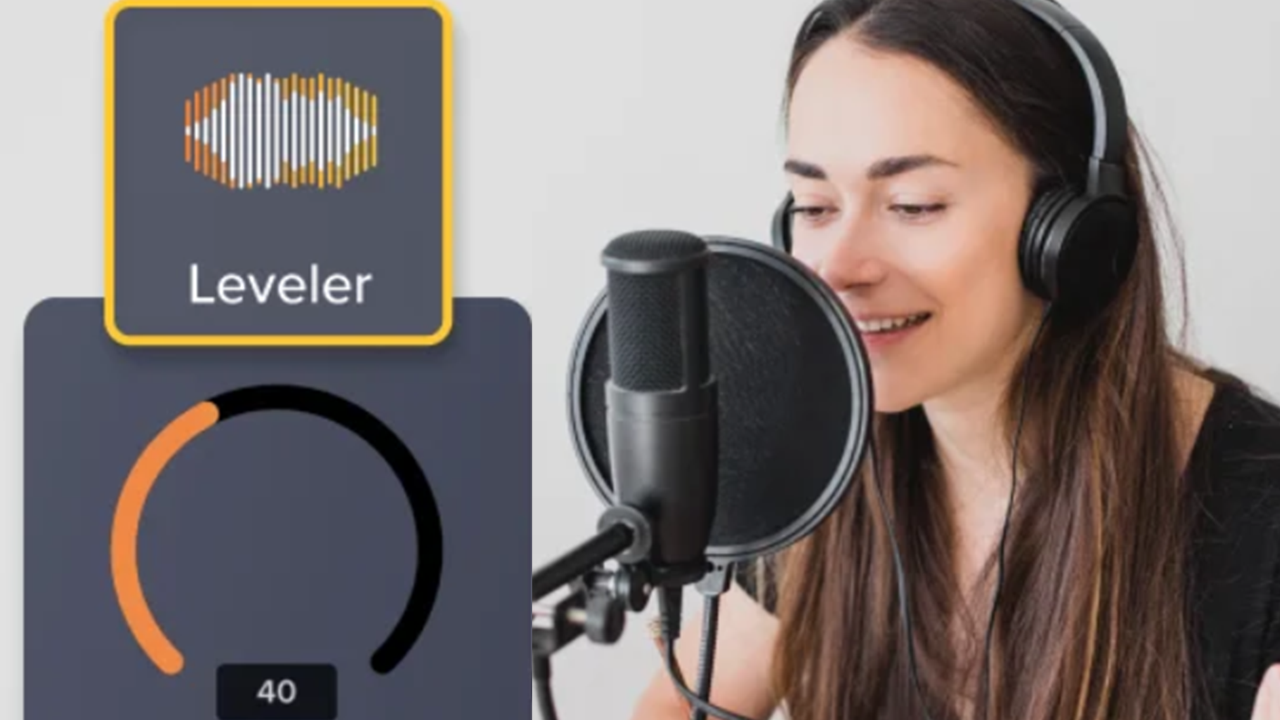
Recommended Audio Edits
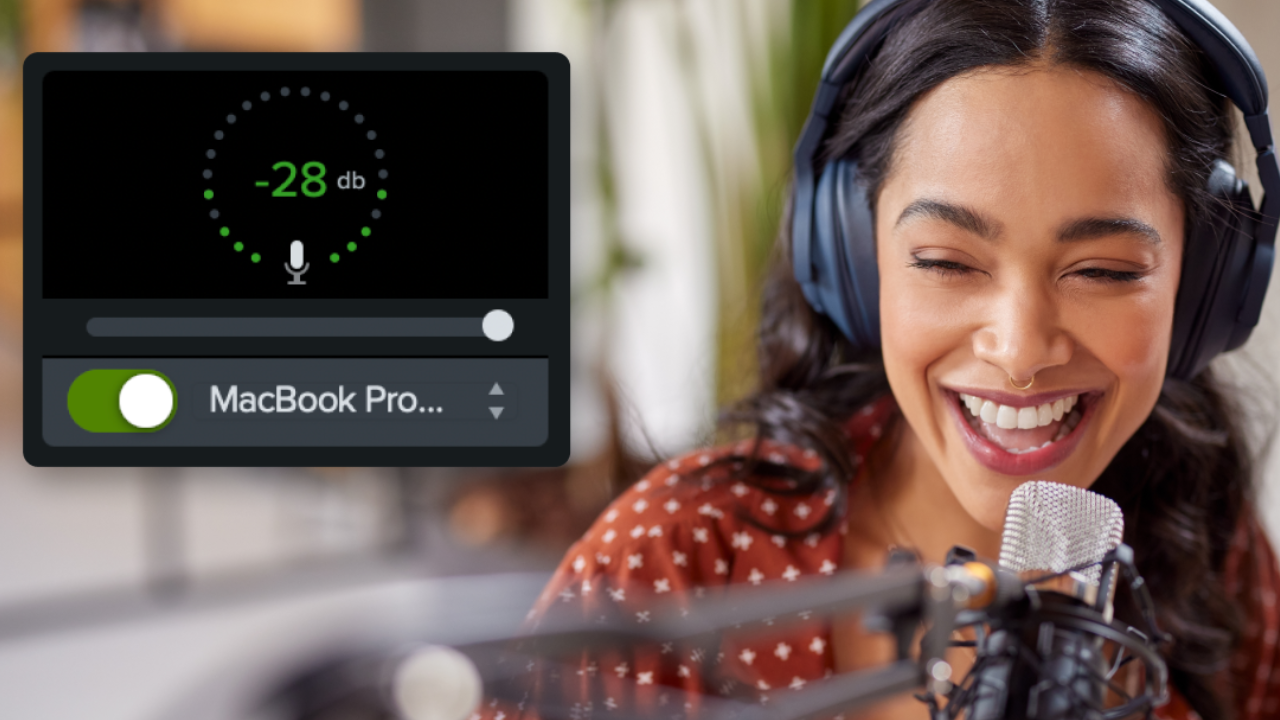
Tips for Getting the Best Audio
Set the Tone with Background Music
4 Ways to Visualize Your Audio
Edit Audio
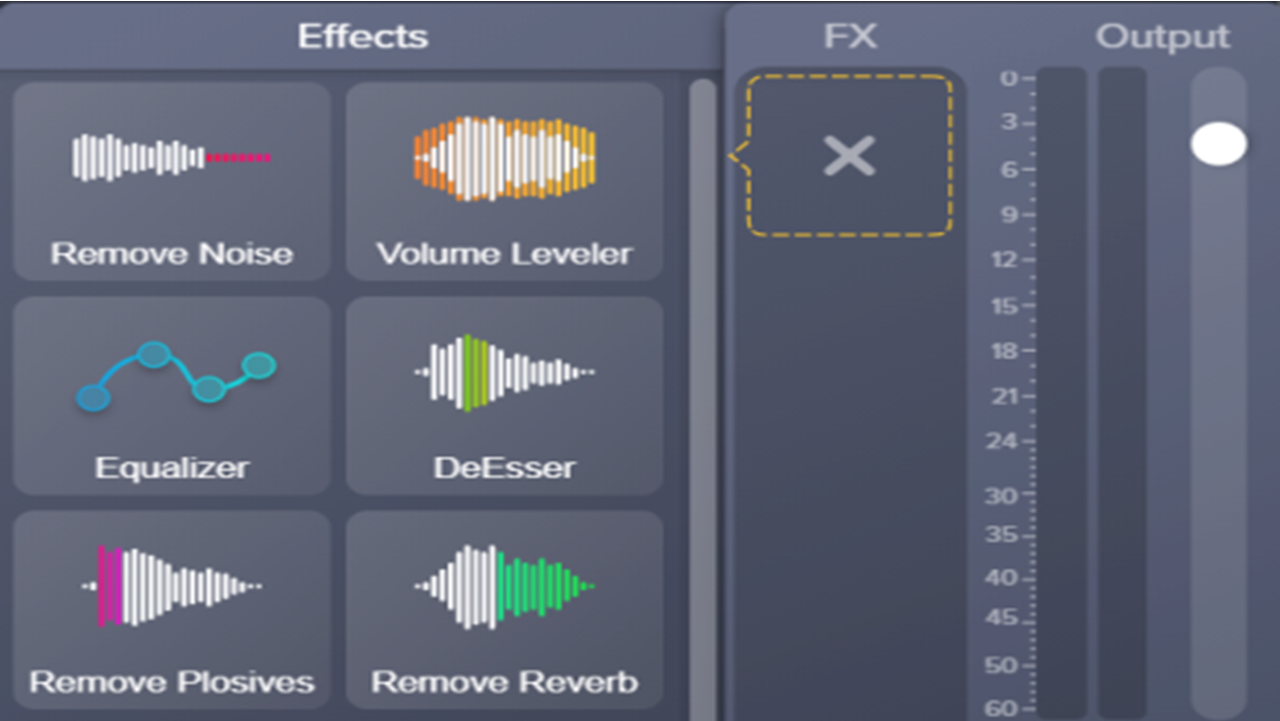
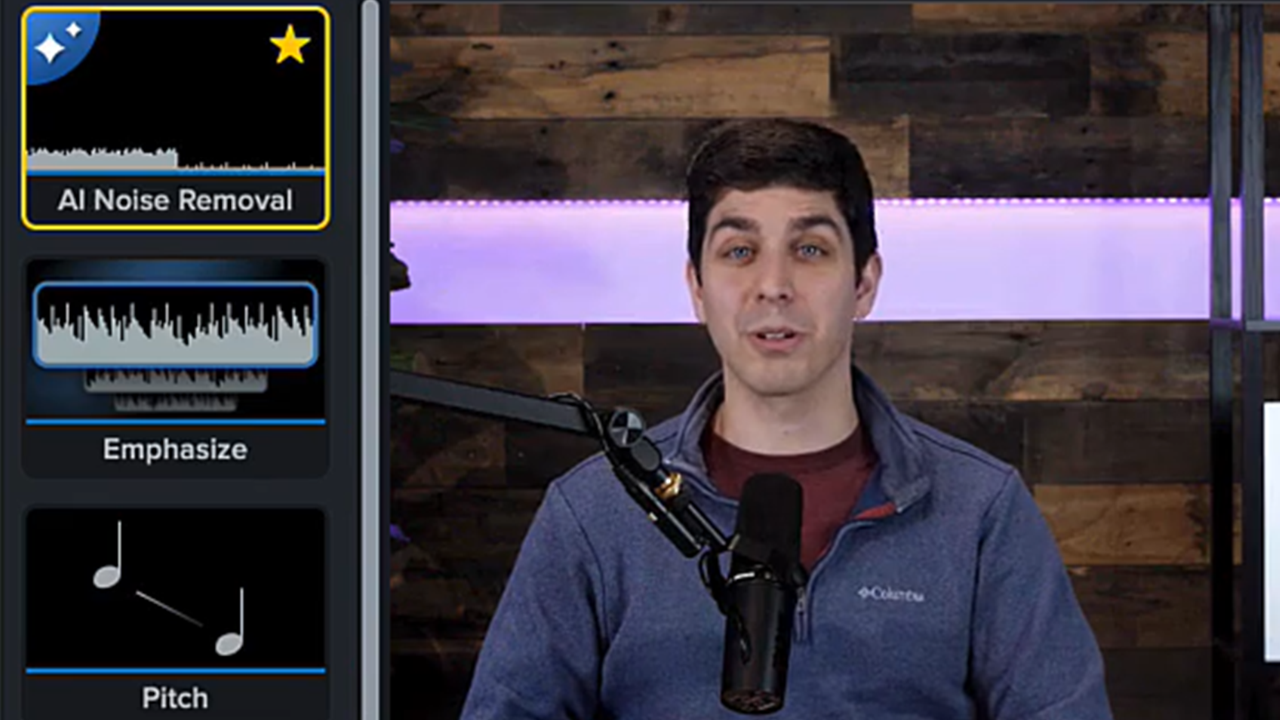
Add Audio Effects
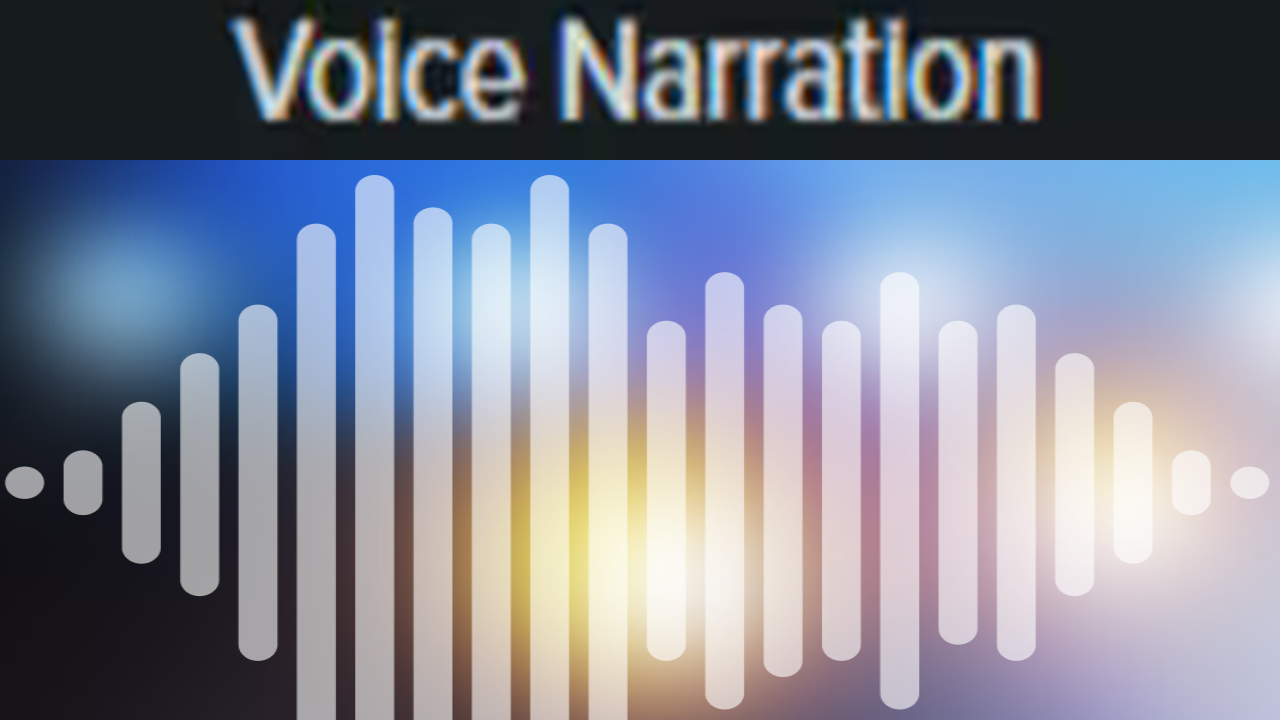
Record Voice Narration
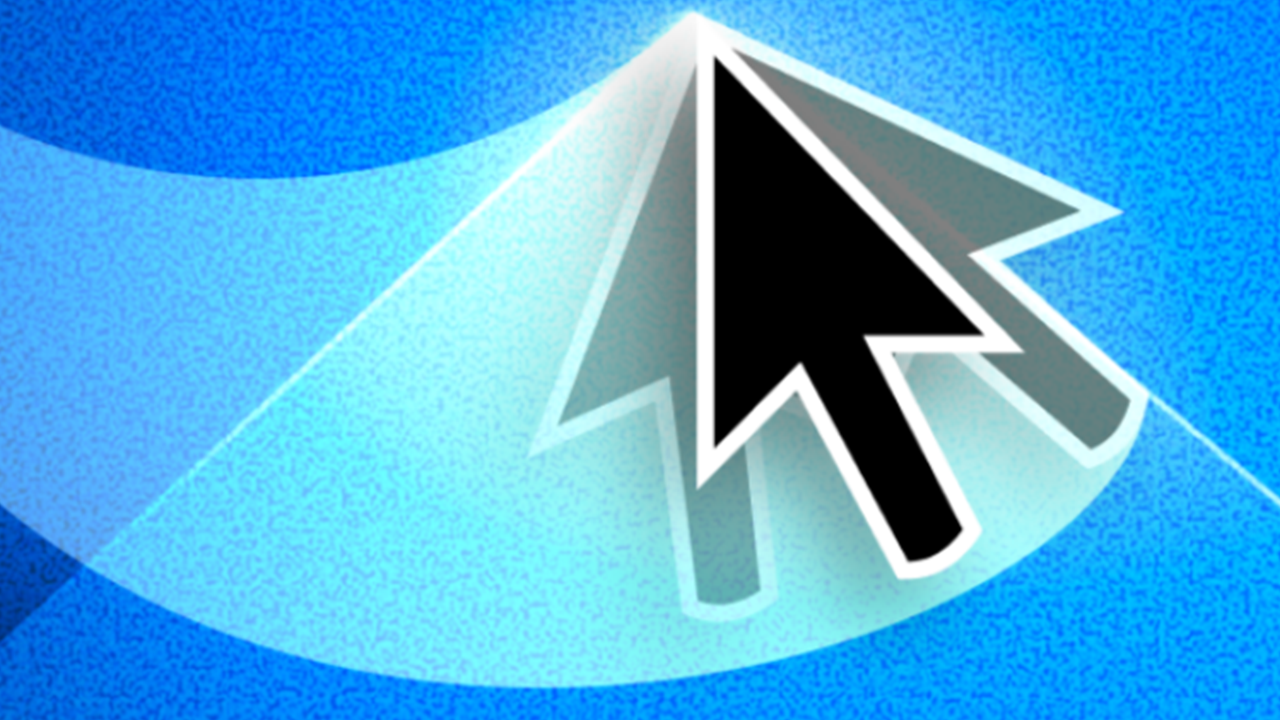
Add Cursor Effects
Introduction to Cursor Editing
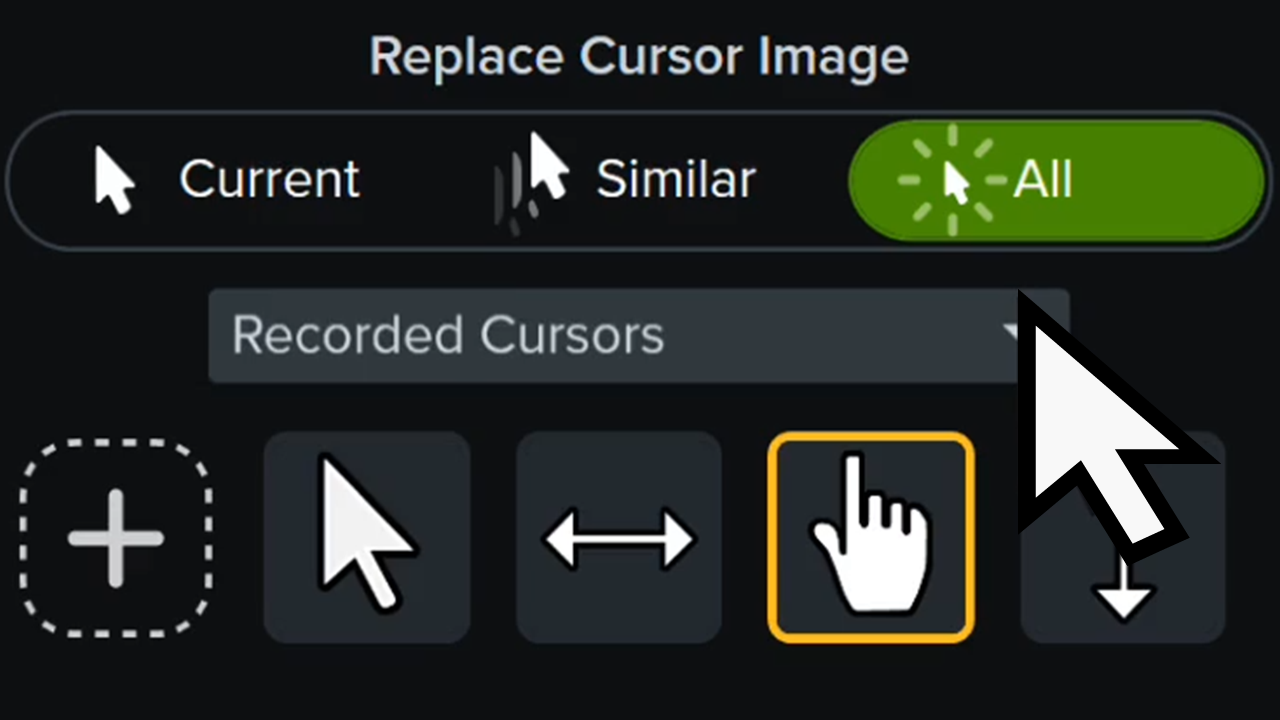
Replace the Cursor
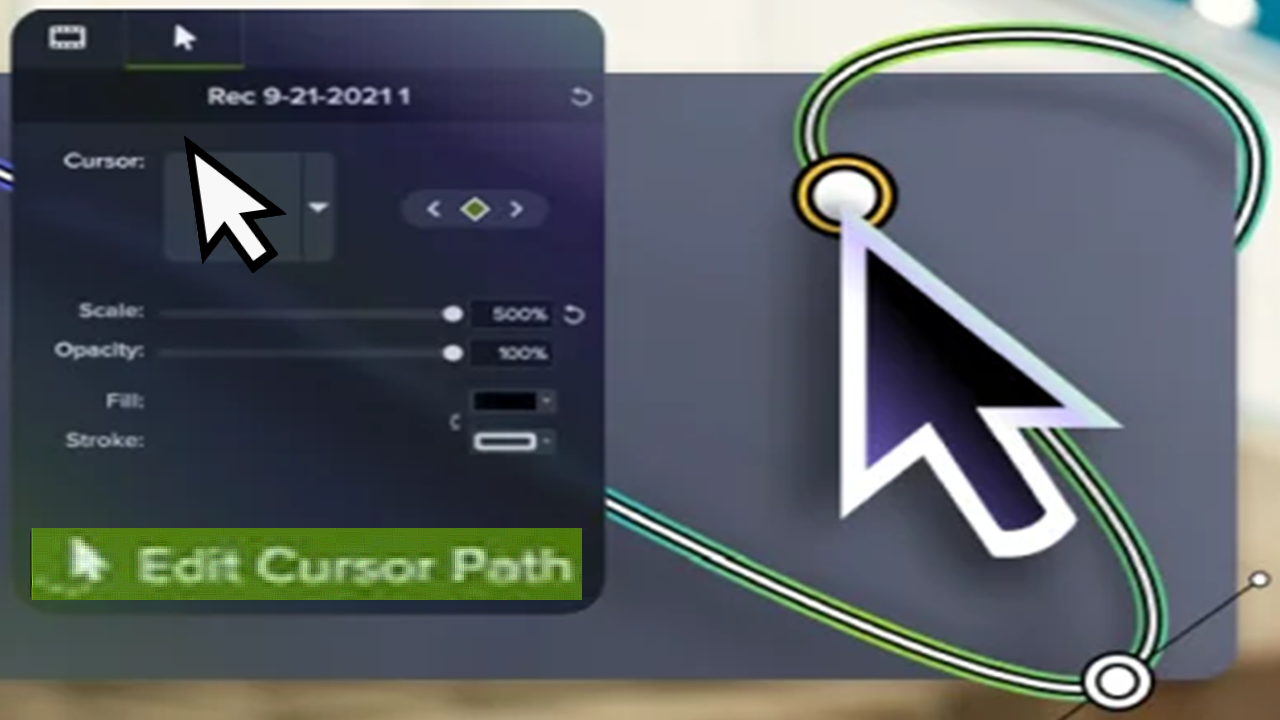
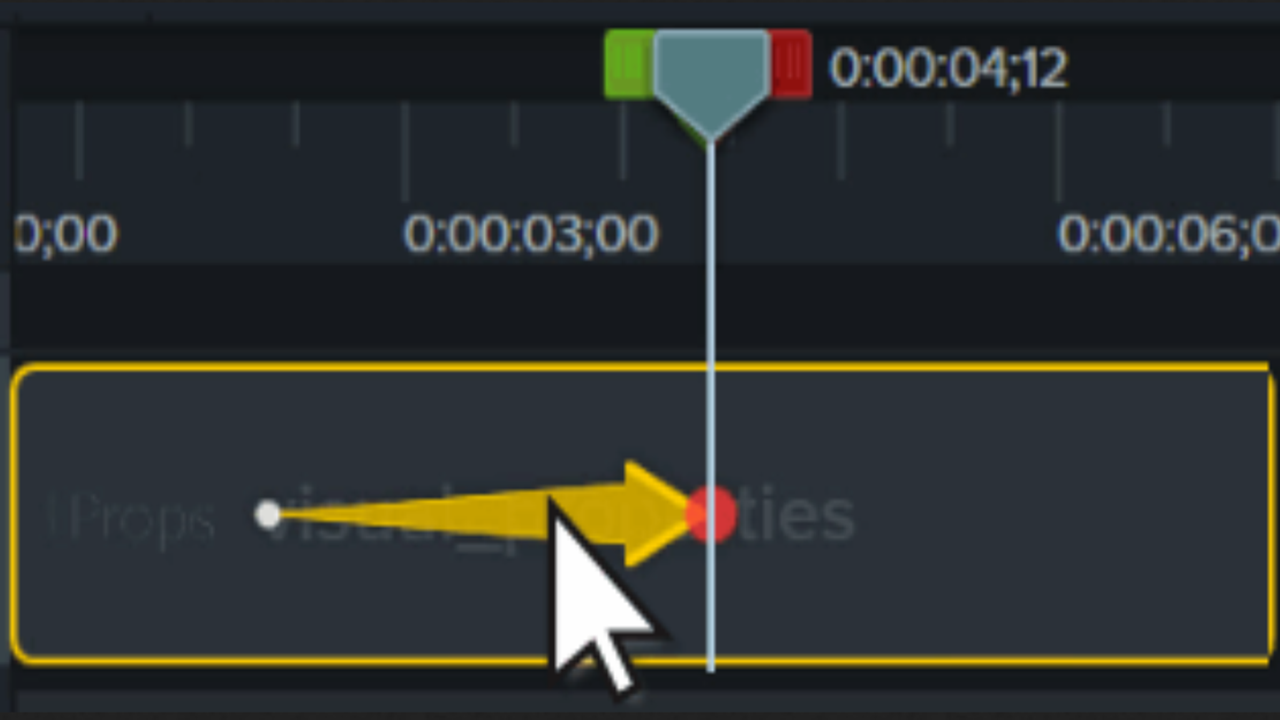
Customize the Cursor Path
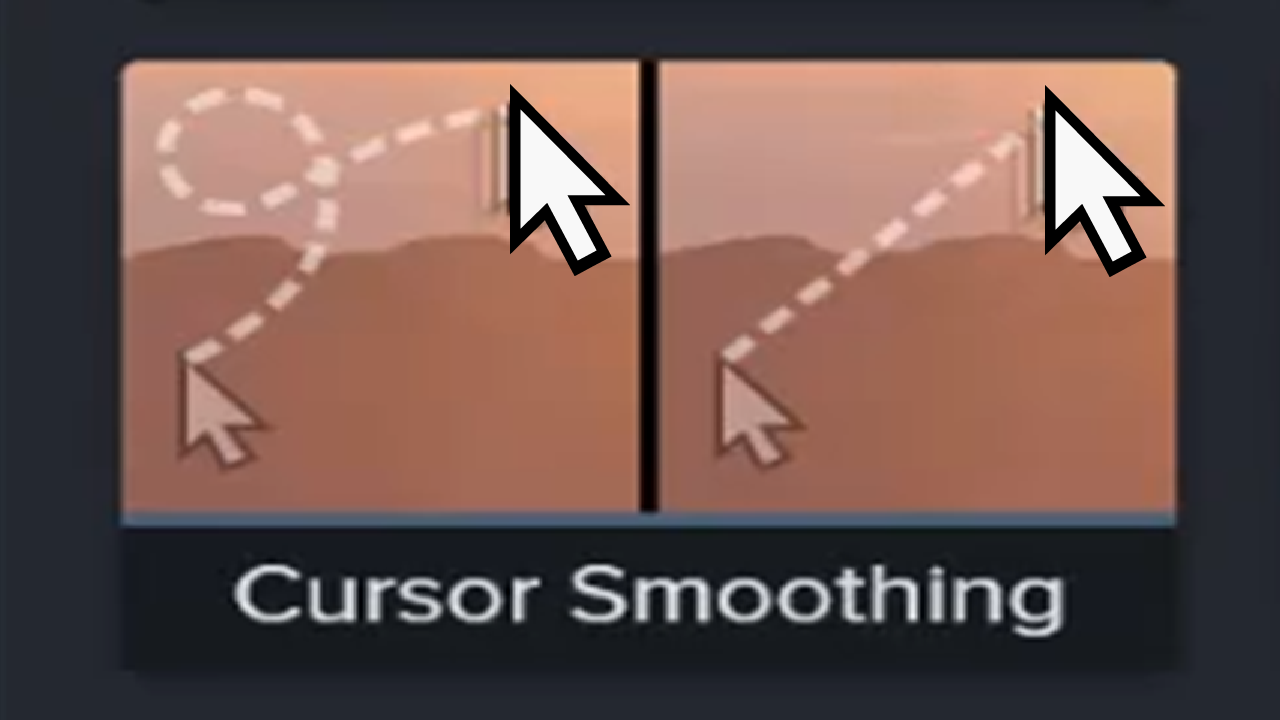
Quickly Smooth Cursor Movements
Zoom In to Focus Attention
Add a Transition
Animations In-Depth
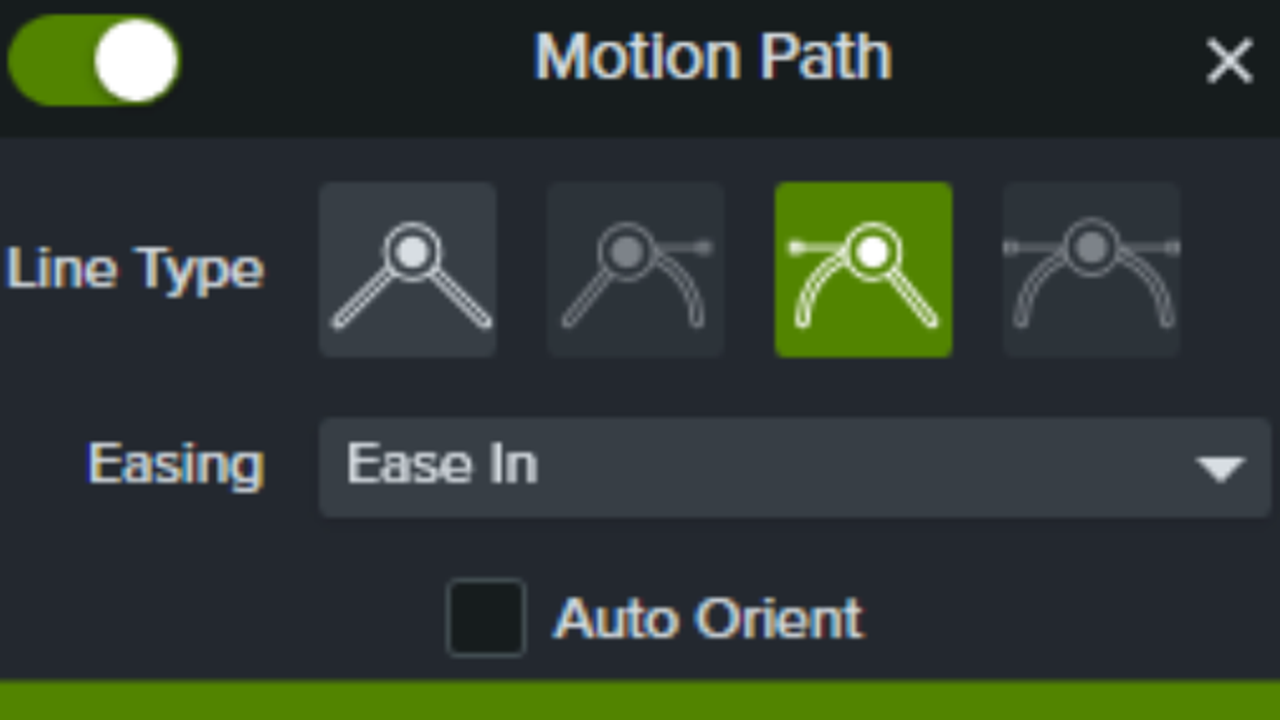
Add Movement to Any Object (Motion Paths)
Blur or Mask a Video
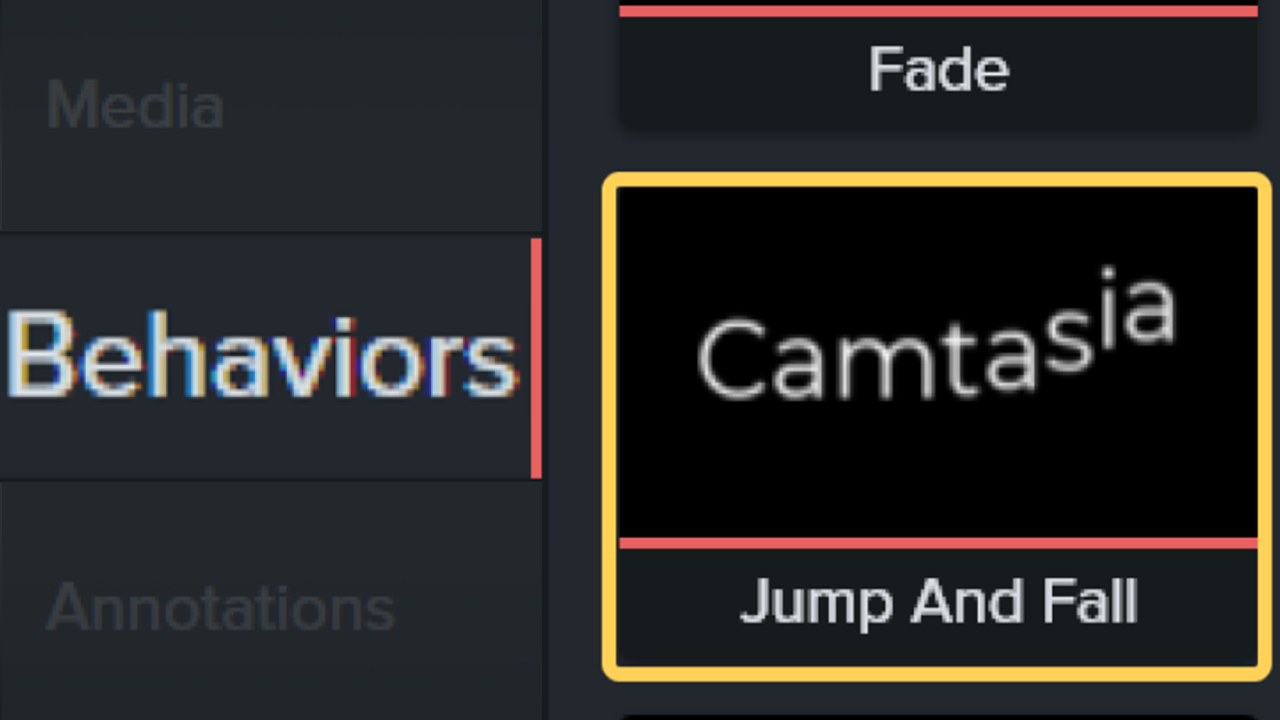
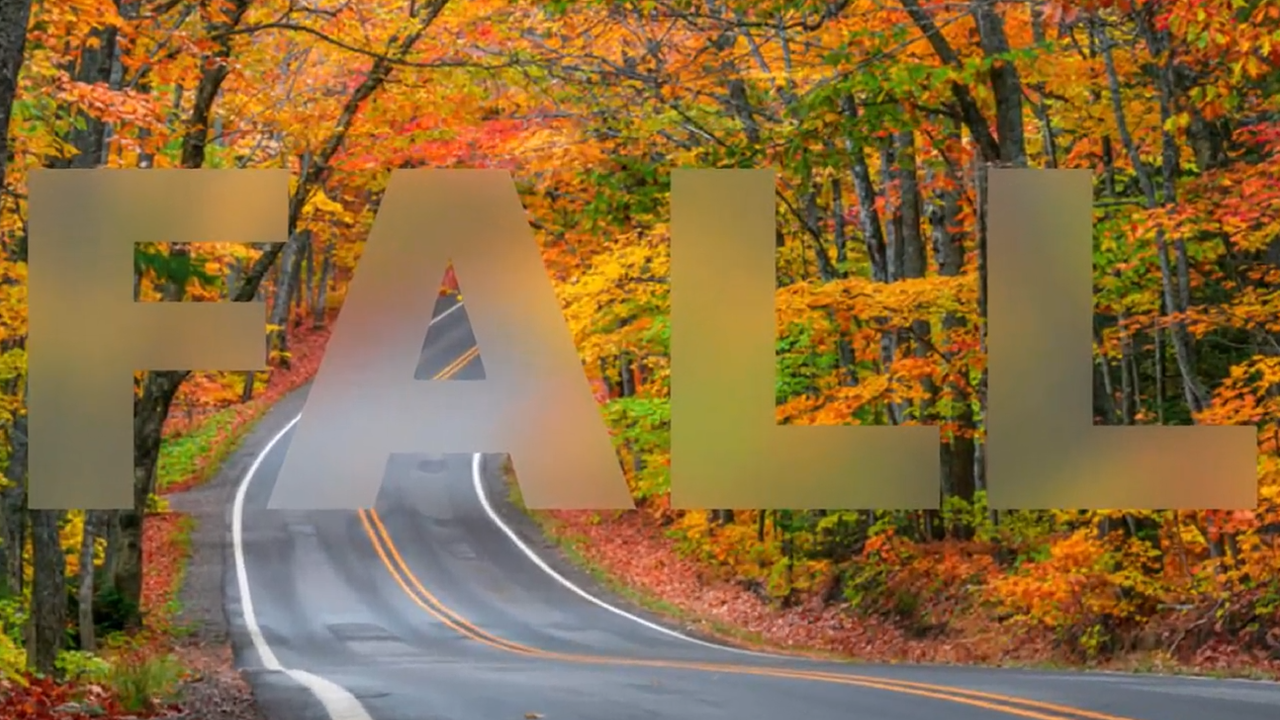
Animate Text & Images with Behaviors
Create Stunning Animations with Media Mattes
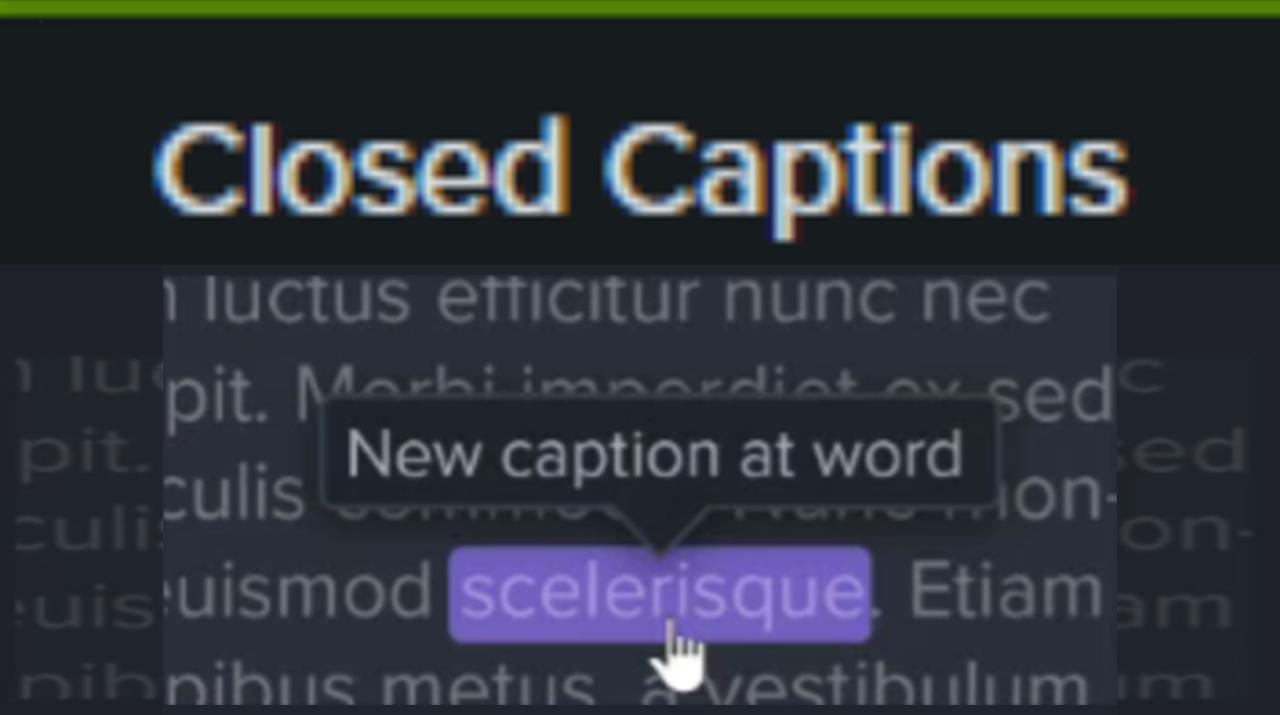
Add Closed Captions to a Video
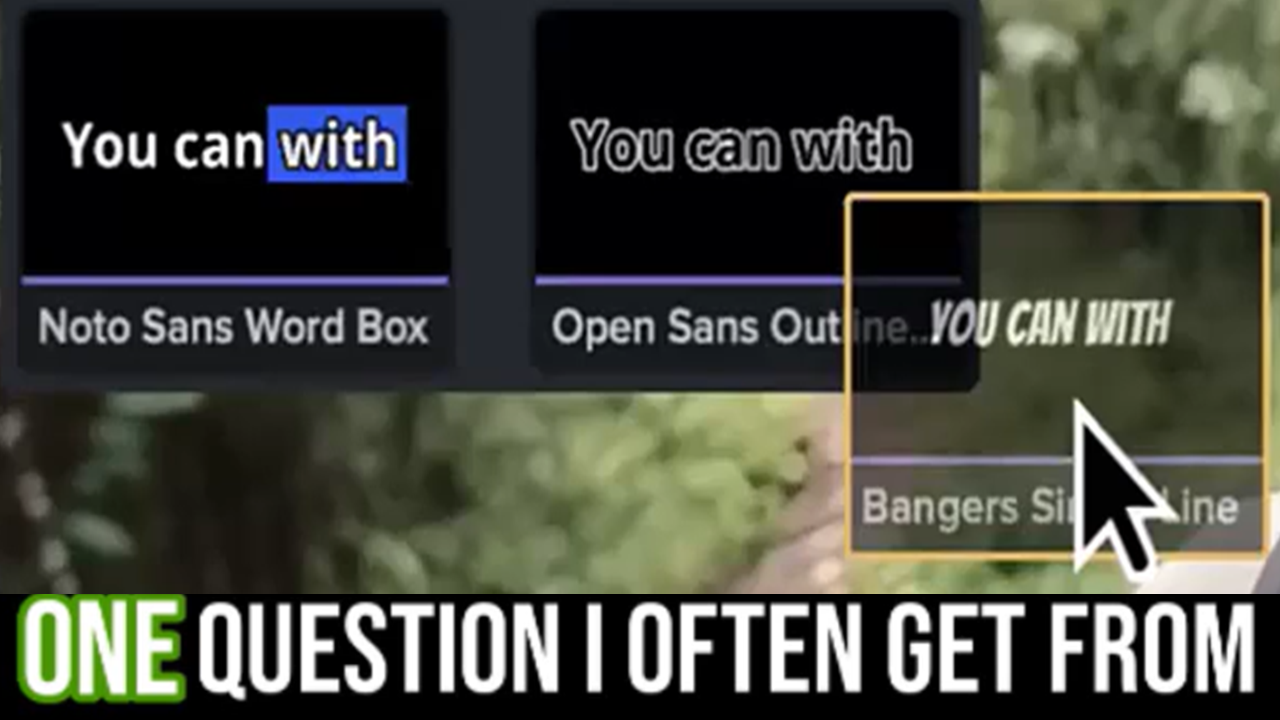
Add Dynamic Captions
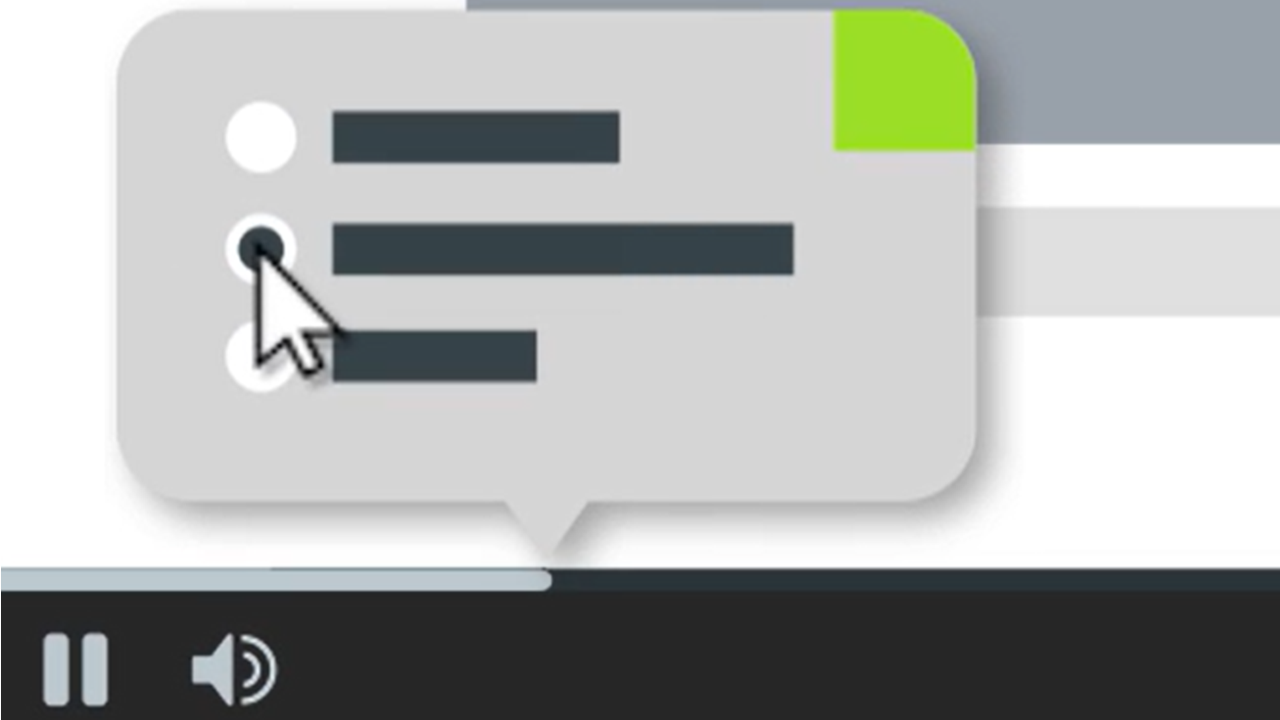
Build Quizzes & Surveys
Add Markers & Video Table of Contents
Add Hotspots (Interactive Videos)
Use Camtasia Videos in Your LMS
Export & Share Your Video
Watermark Your Videos (Windows)
Batch Export Videos

Export an Audio File
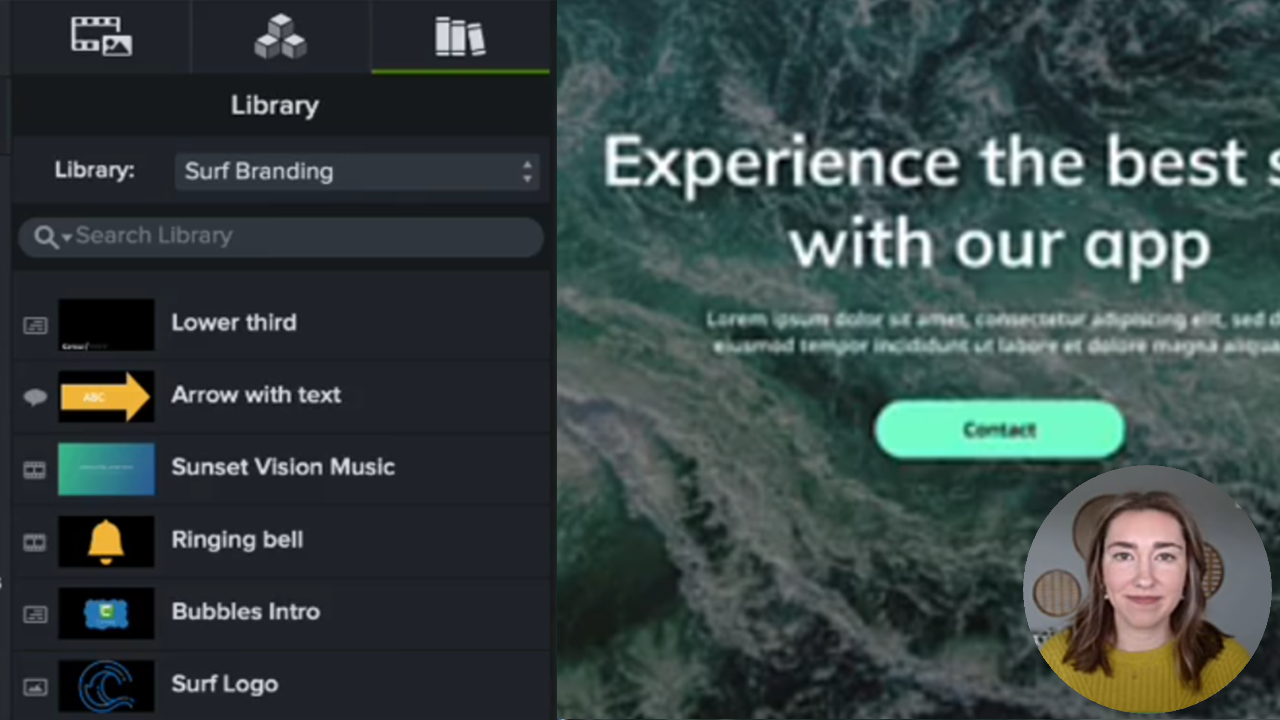
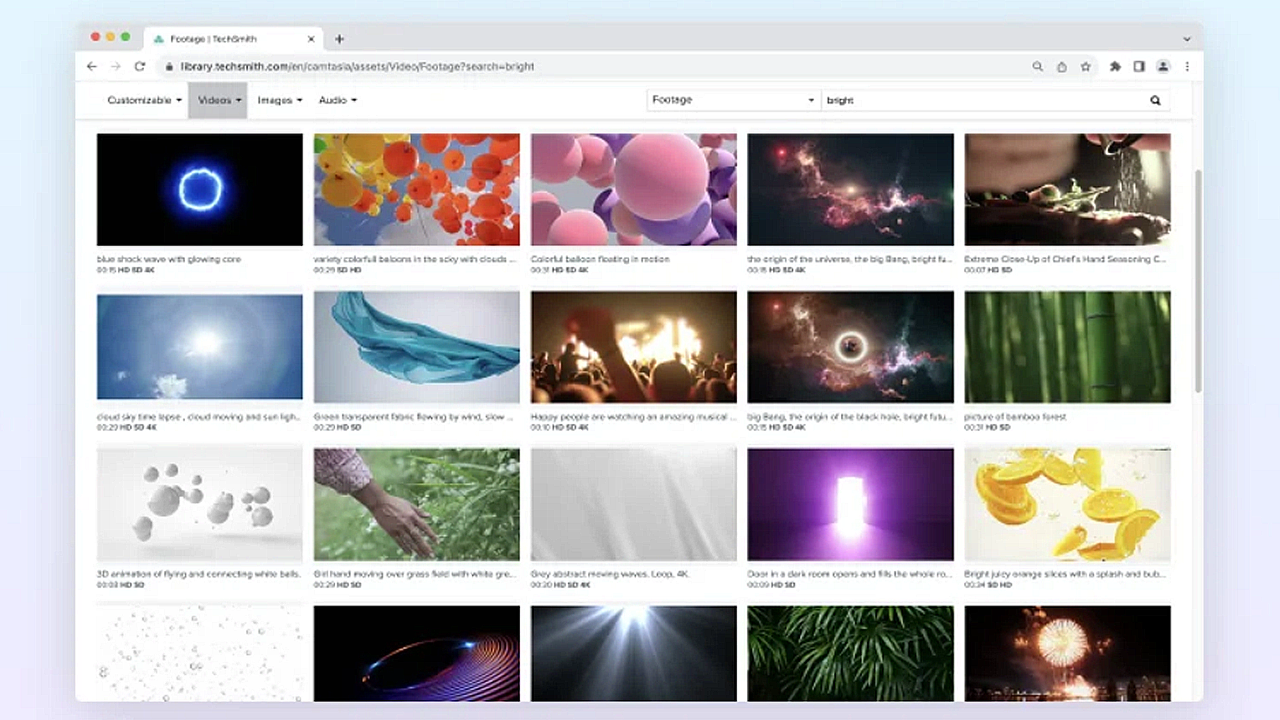
Reuse Media Across Projects (Library)
Customize Camtasia Editor
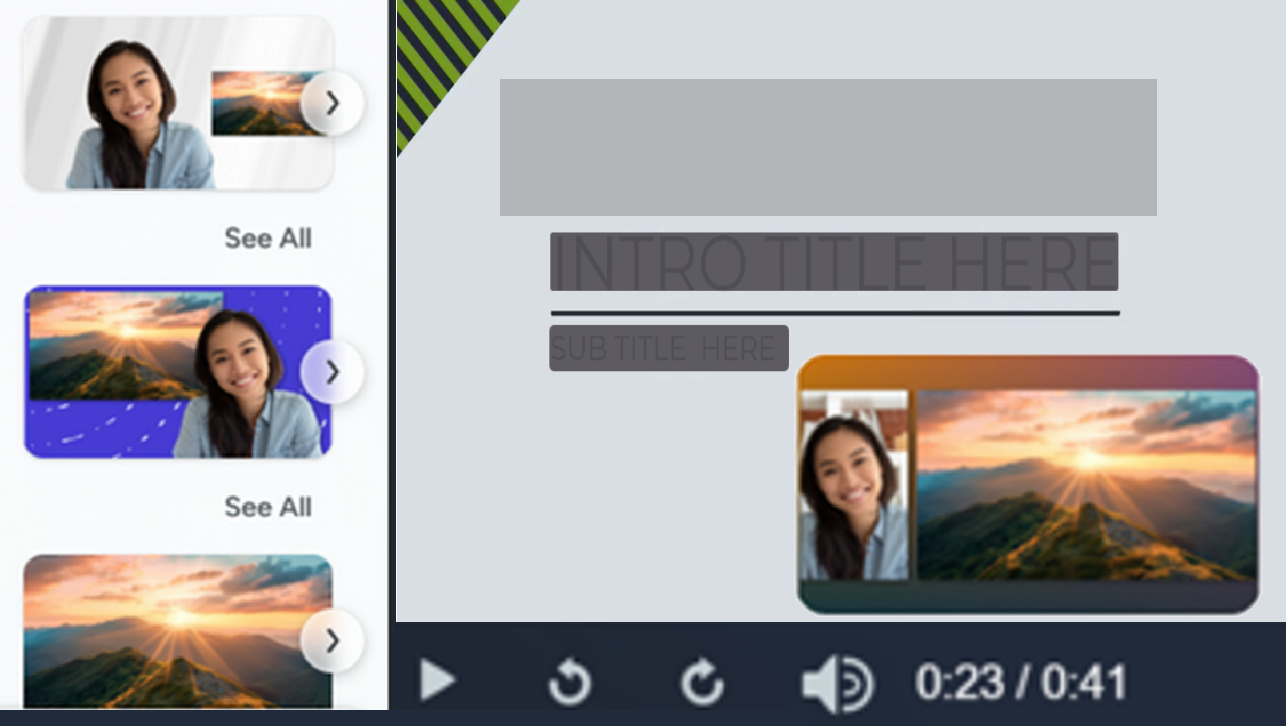
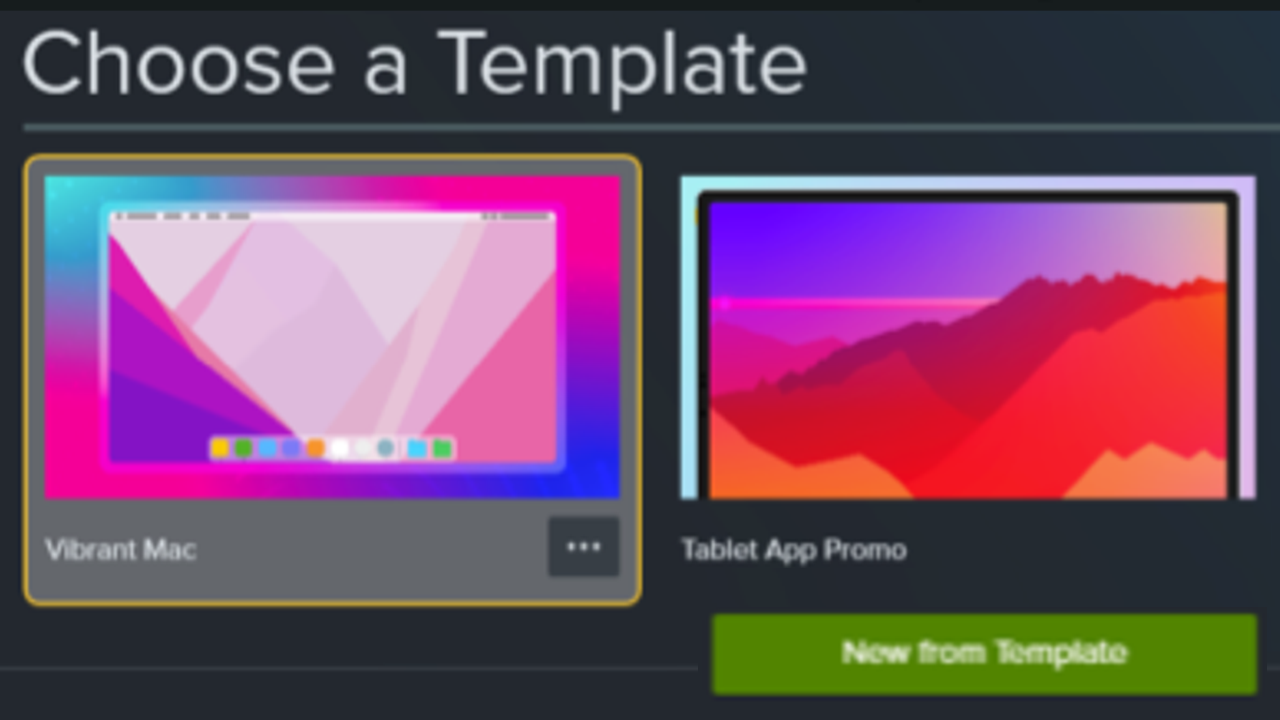
How to Use a Template
Build a Video Template to Share
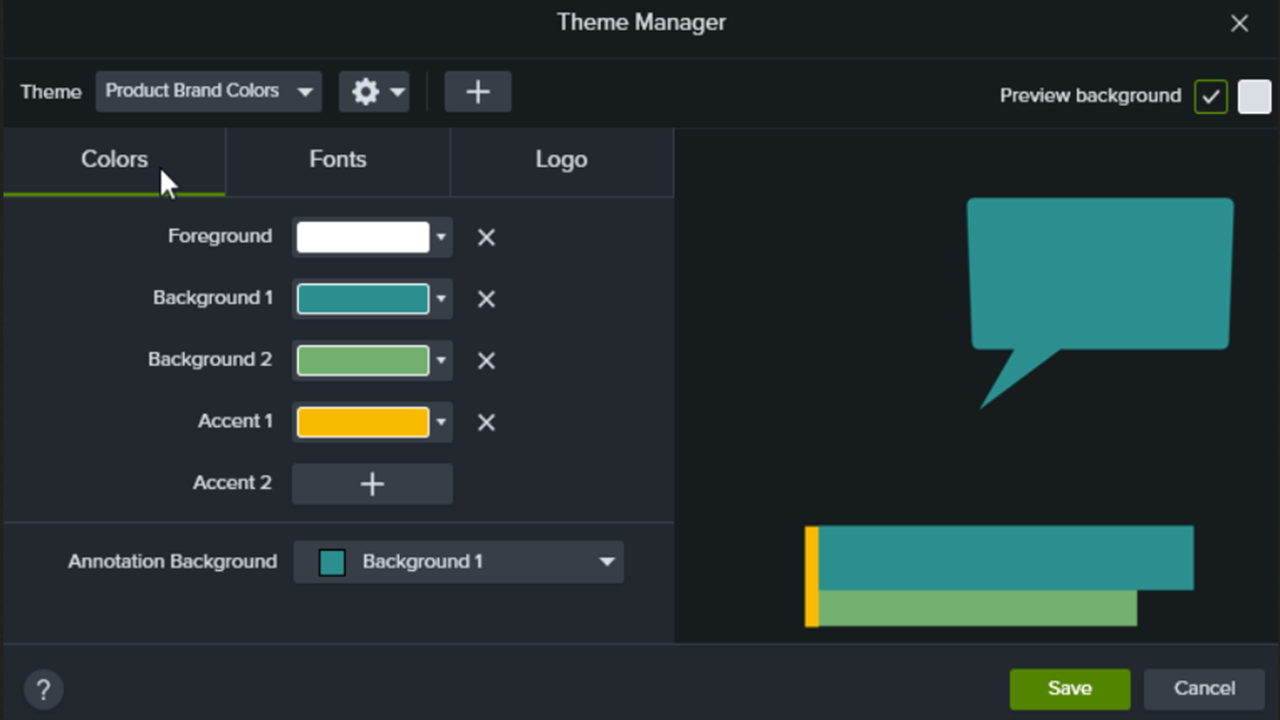
Build Your Color Palette (Themes)
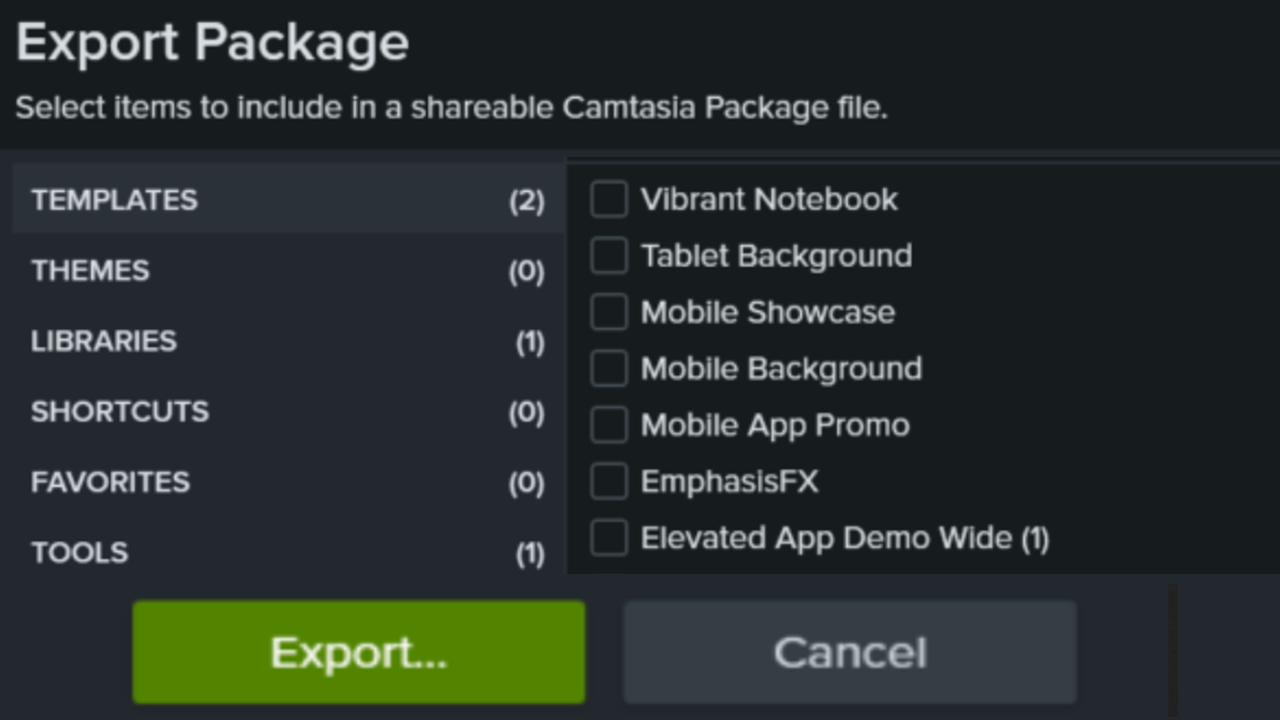
Package & Share Camtasia Editor Resources

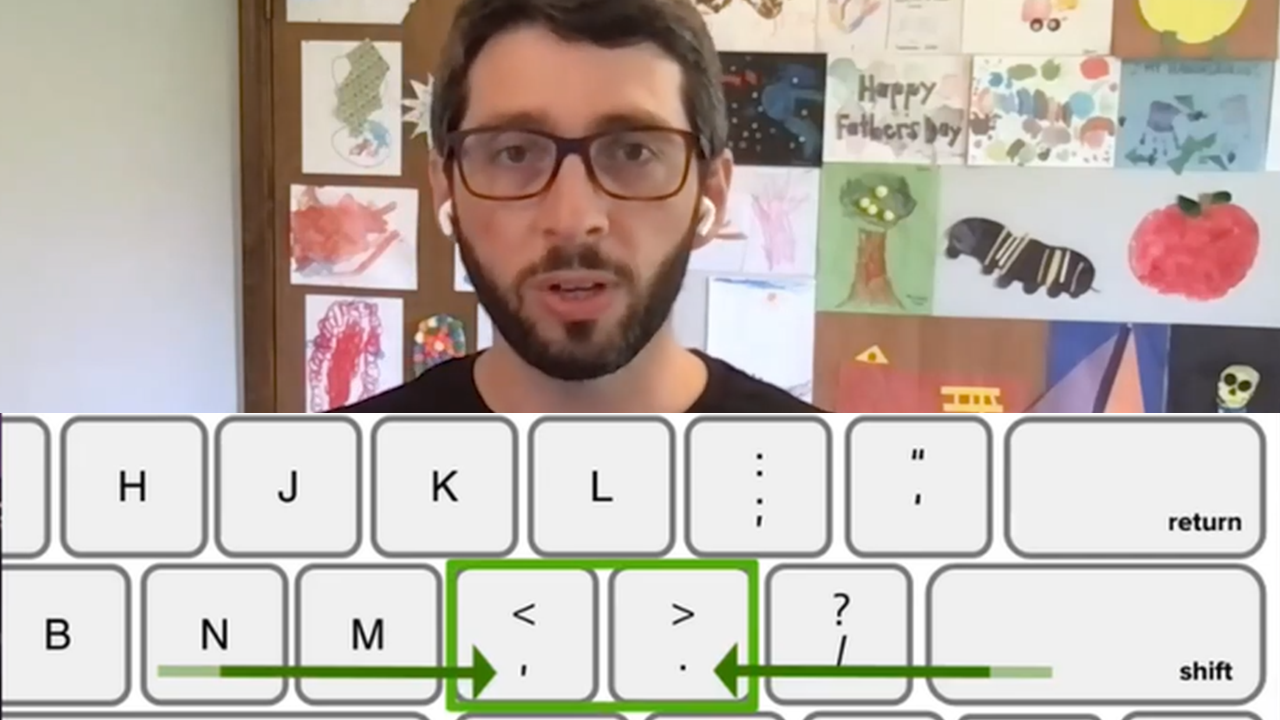
Customize Shortcuts
Create Custom Assets
Getting Started in Camtasia Online
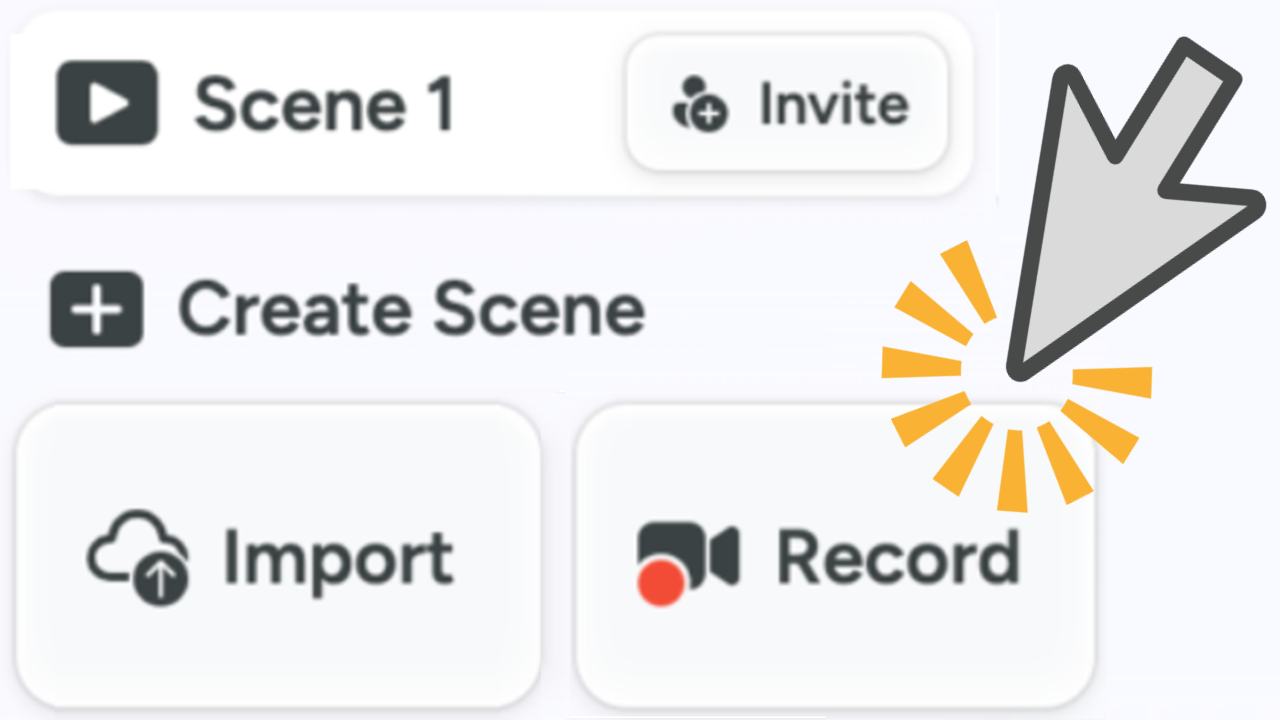
Record a Scene
Customize a Scene
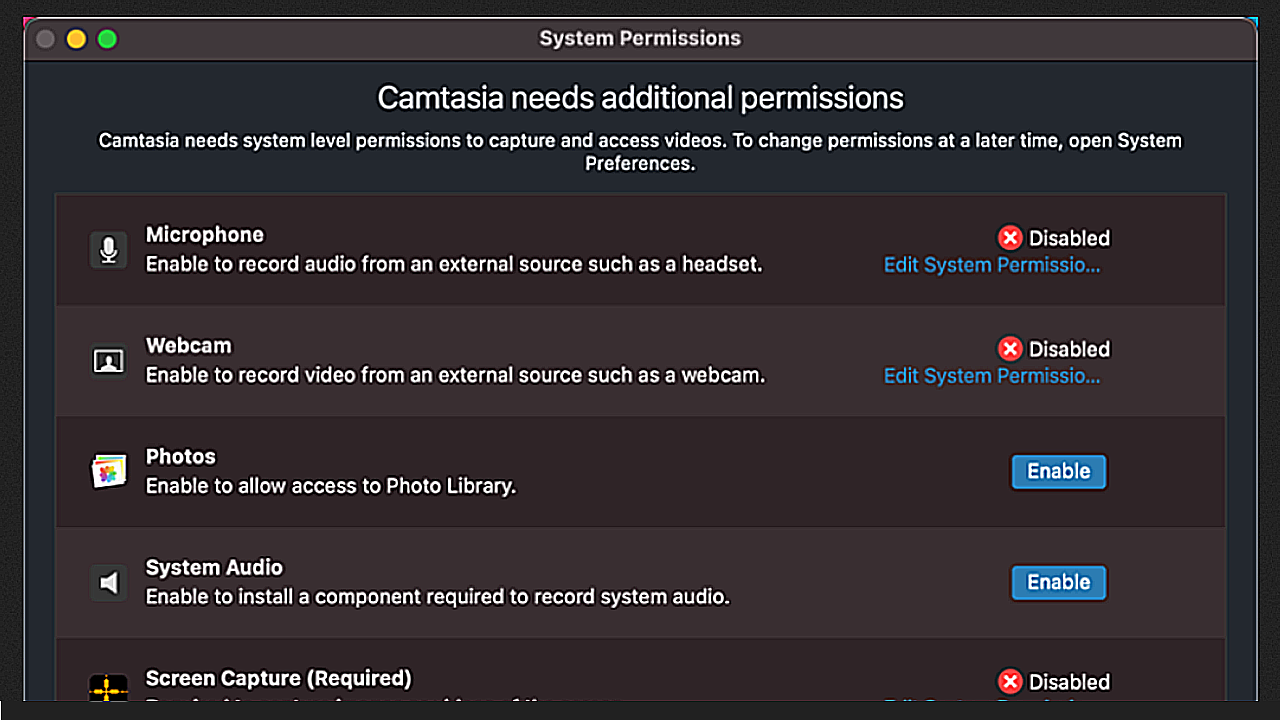
Setup & Permissions
Image to Video Maker with Camtasia Online
Check for Camtasia Editor Installation
Export & Share Videos from Camtasia Online
Collaborate on a Video Project
Recommended Edits for Camtasia Online Videos
Import & Manage Your Project Media (Media Bin)
Introduction to Rev Media
Introduction to Camtasia Recorder
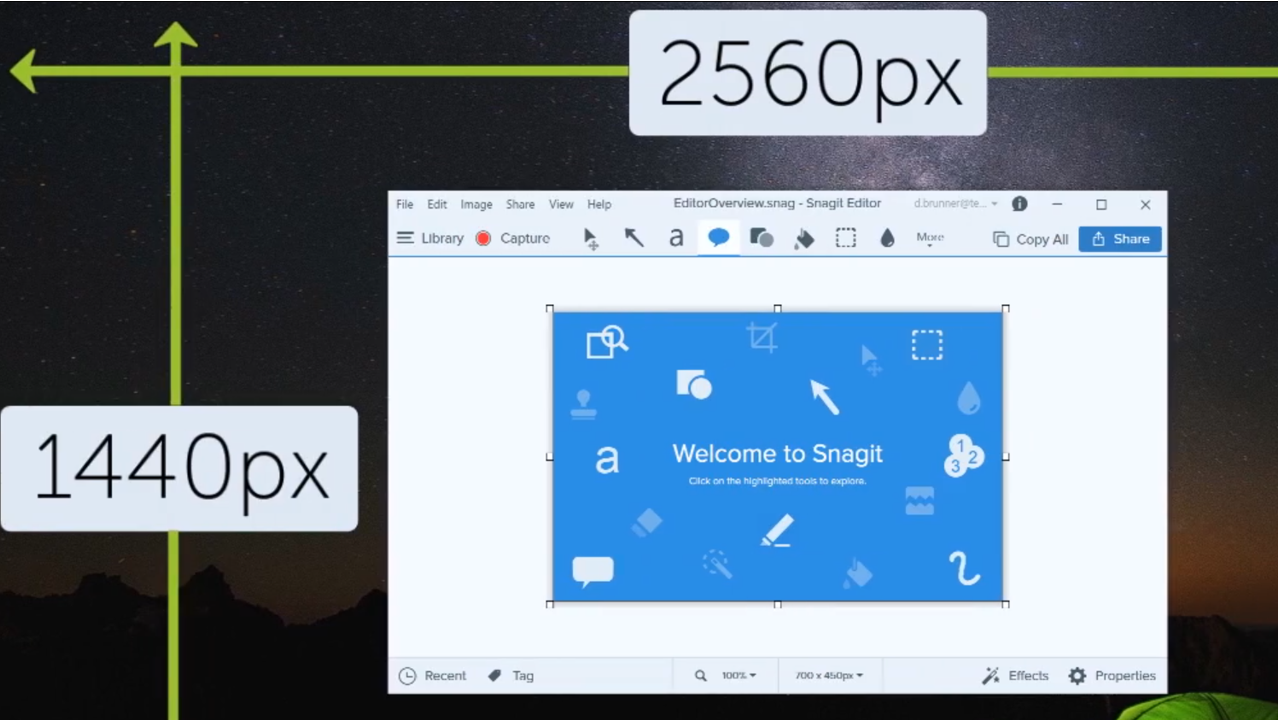
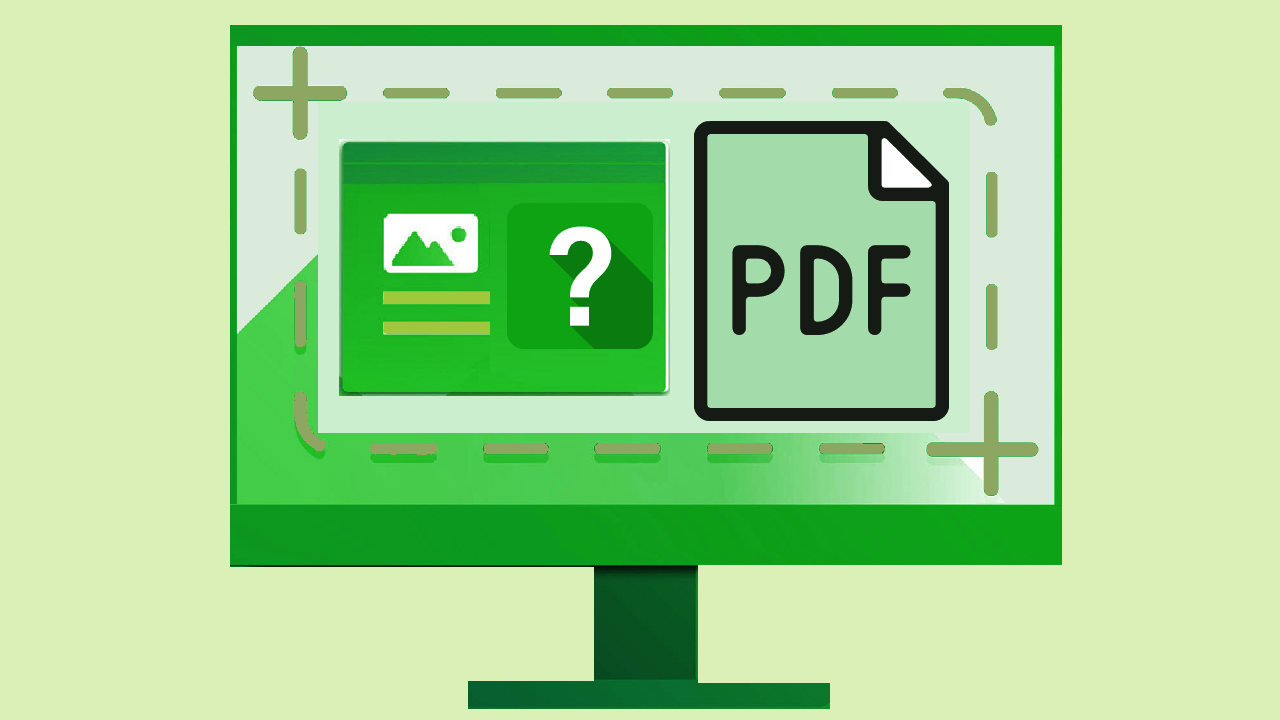
Learn About Camtasia Editor Files
Explore the Timeline
Edit Zoom Recordings
Import & Manage Your Project Media (Media Bin)
Edit Microsoft Teams & Other Meeting Recordings
Position Media on the Canvas
Reuse Media Across Projects (Library)
Assemble Your Video
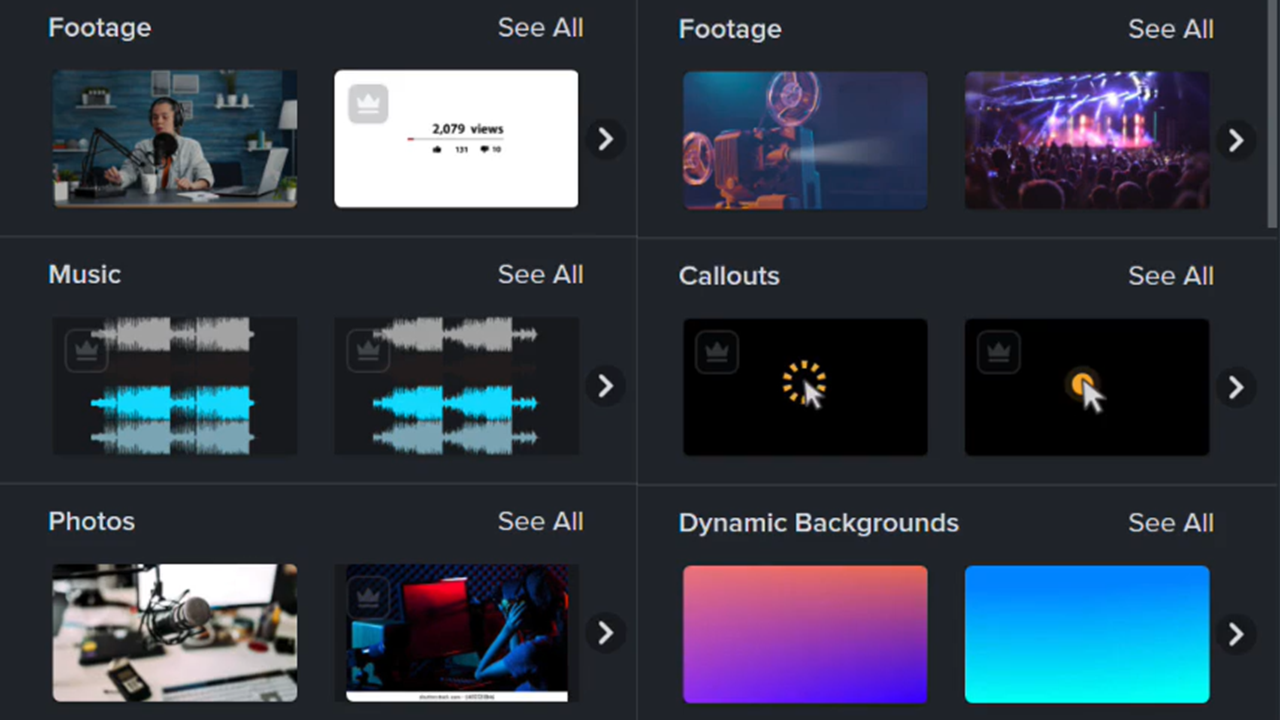
Enhance Your Video with Camtasia Assets
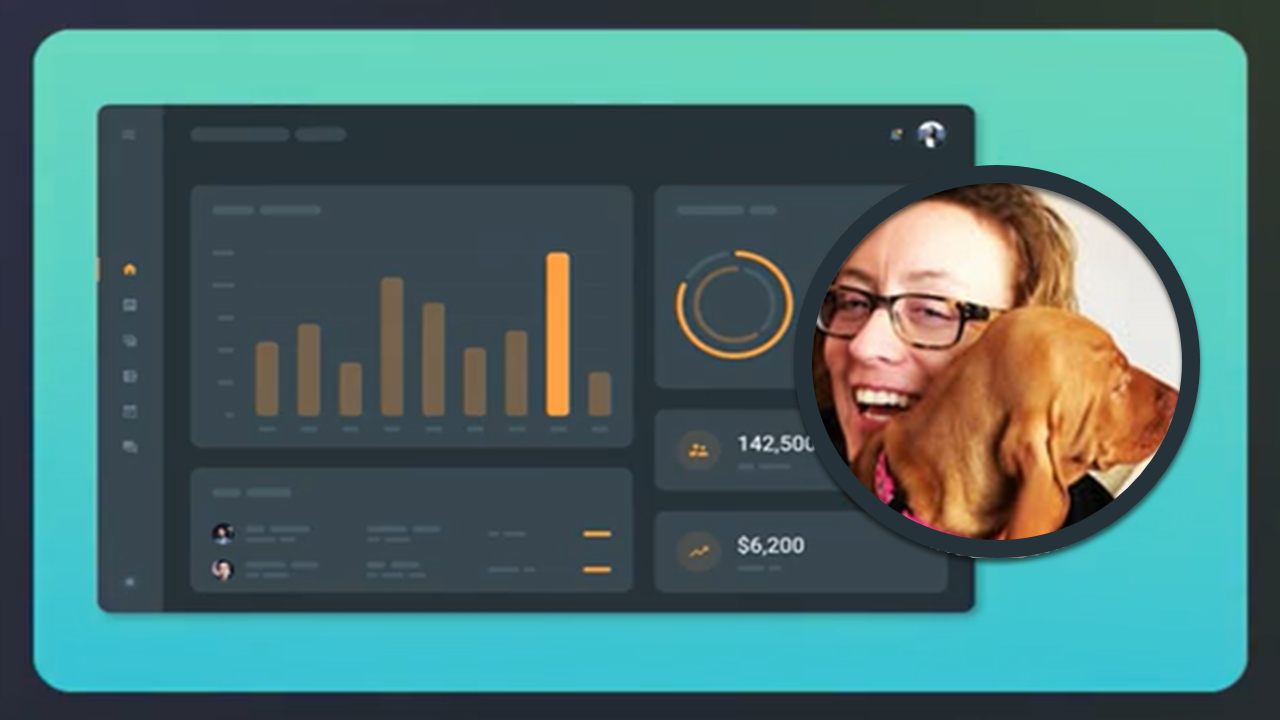
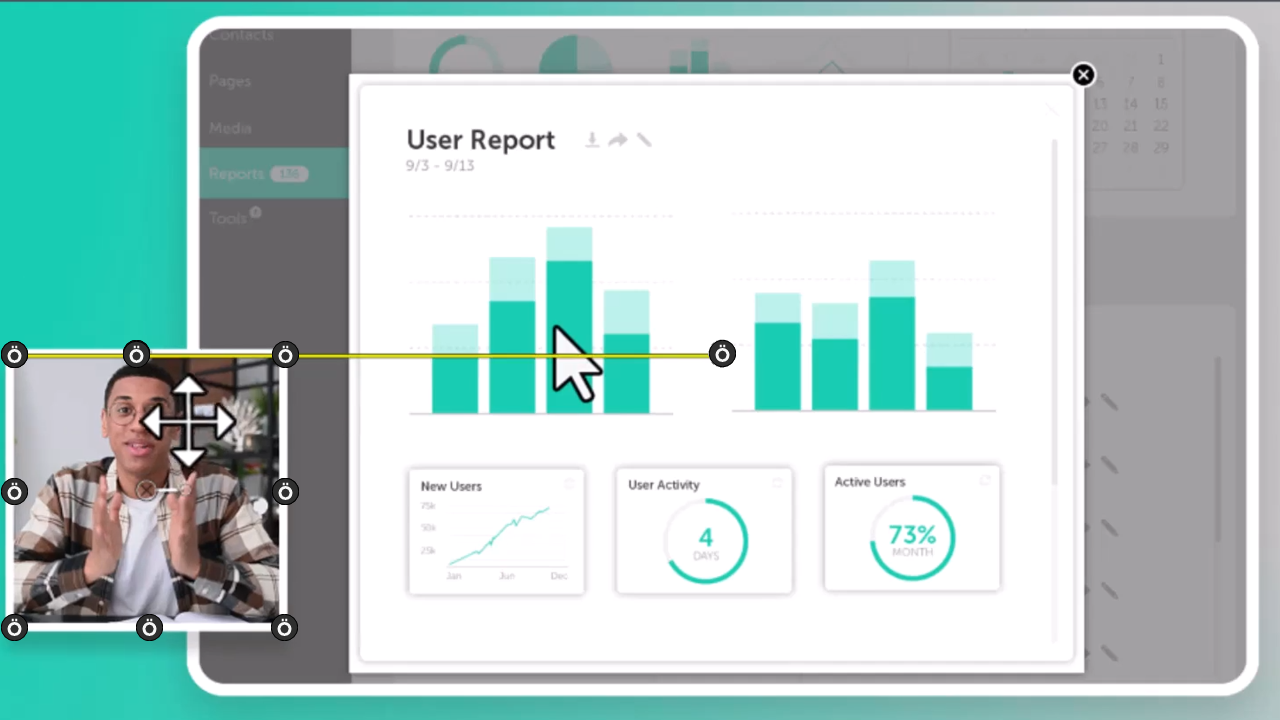
Record & Edit Camera Video (Picture-in-Picture)
Record an iOS Demo or Tutorial
How to Use a Template