Position Media on the Canvas
Learn how to preview and arrange media on the canvas for your video.
Learn how to preview and arrange media on the canvas for your video.
In this tutorial:
The canvas is the working area where you preview, arrange, rotate, resize, and order the appearance of media in your video.
Complete any of the following edits on the canvas to position the appearance of media in your video.
Move
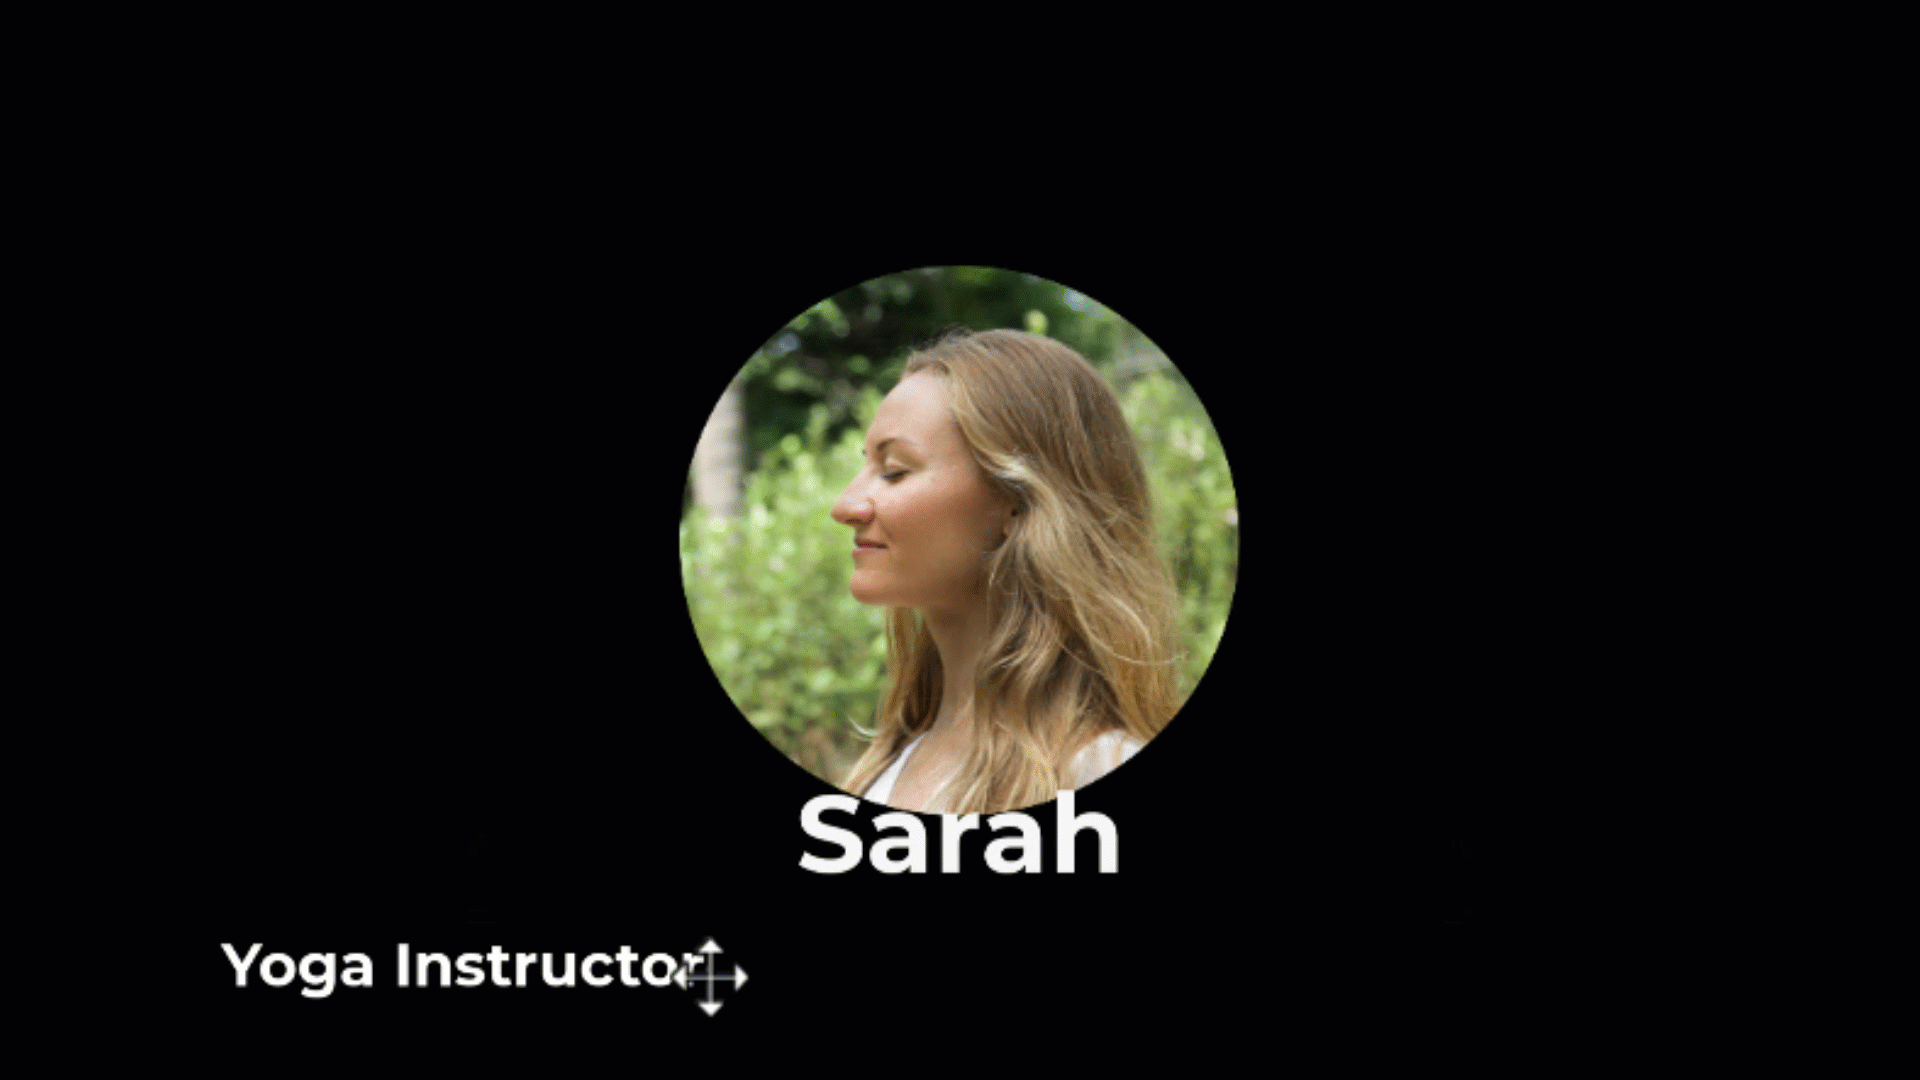
Click and drag media to move to a new location on the canvas.

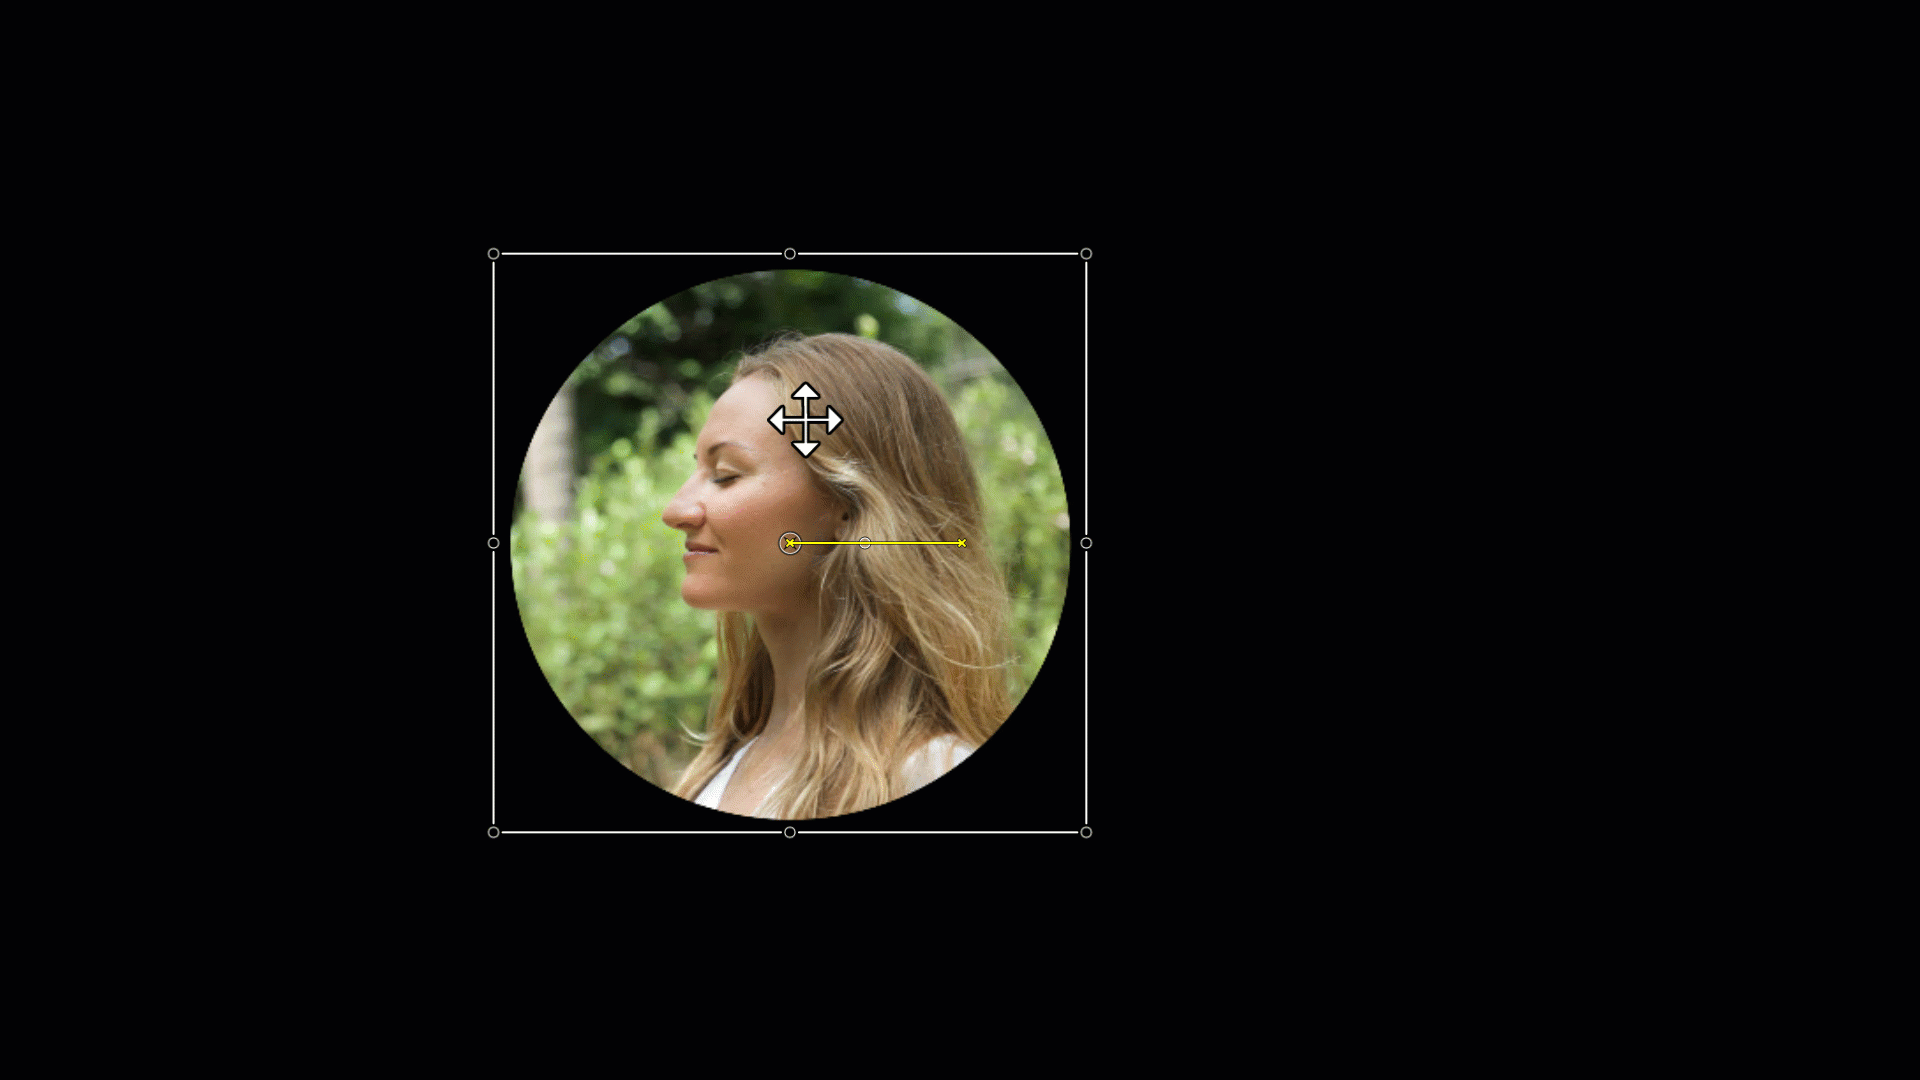
Resize / Scale
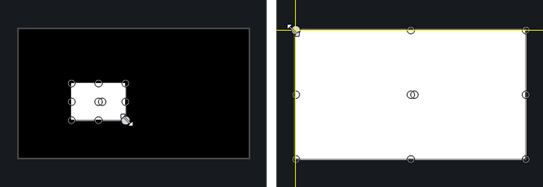
Click to select media on canvas. Drag white media handle in or out.
Rotate
Click to select media on canvas. Drag the center handle in media to rotate around the anchor point.

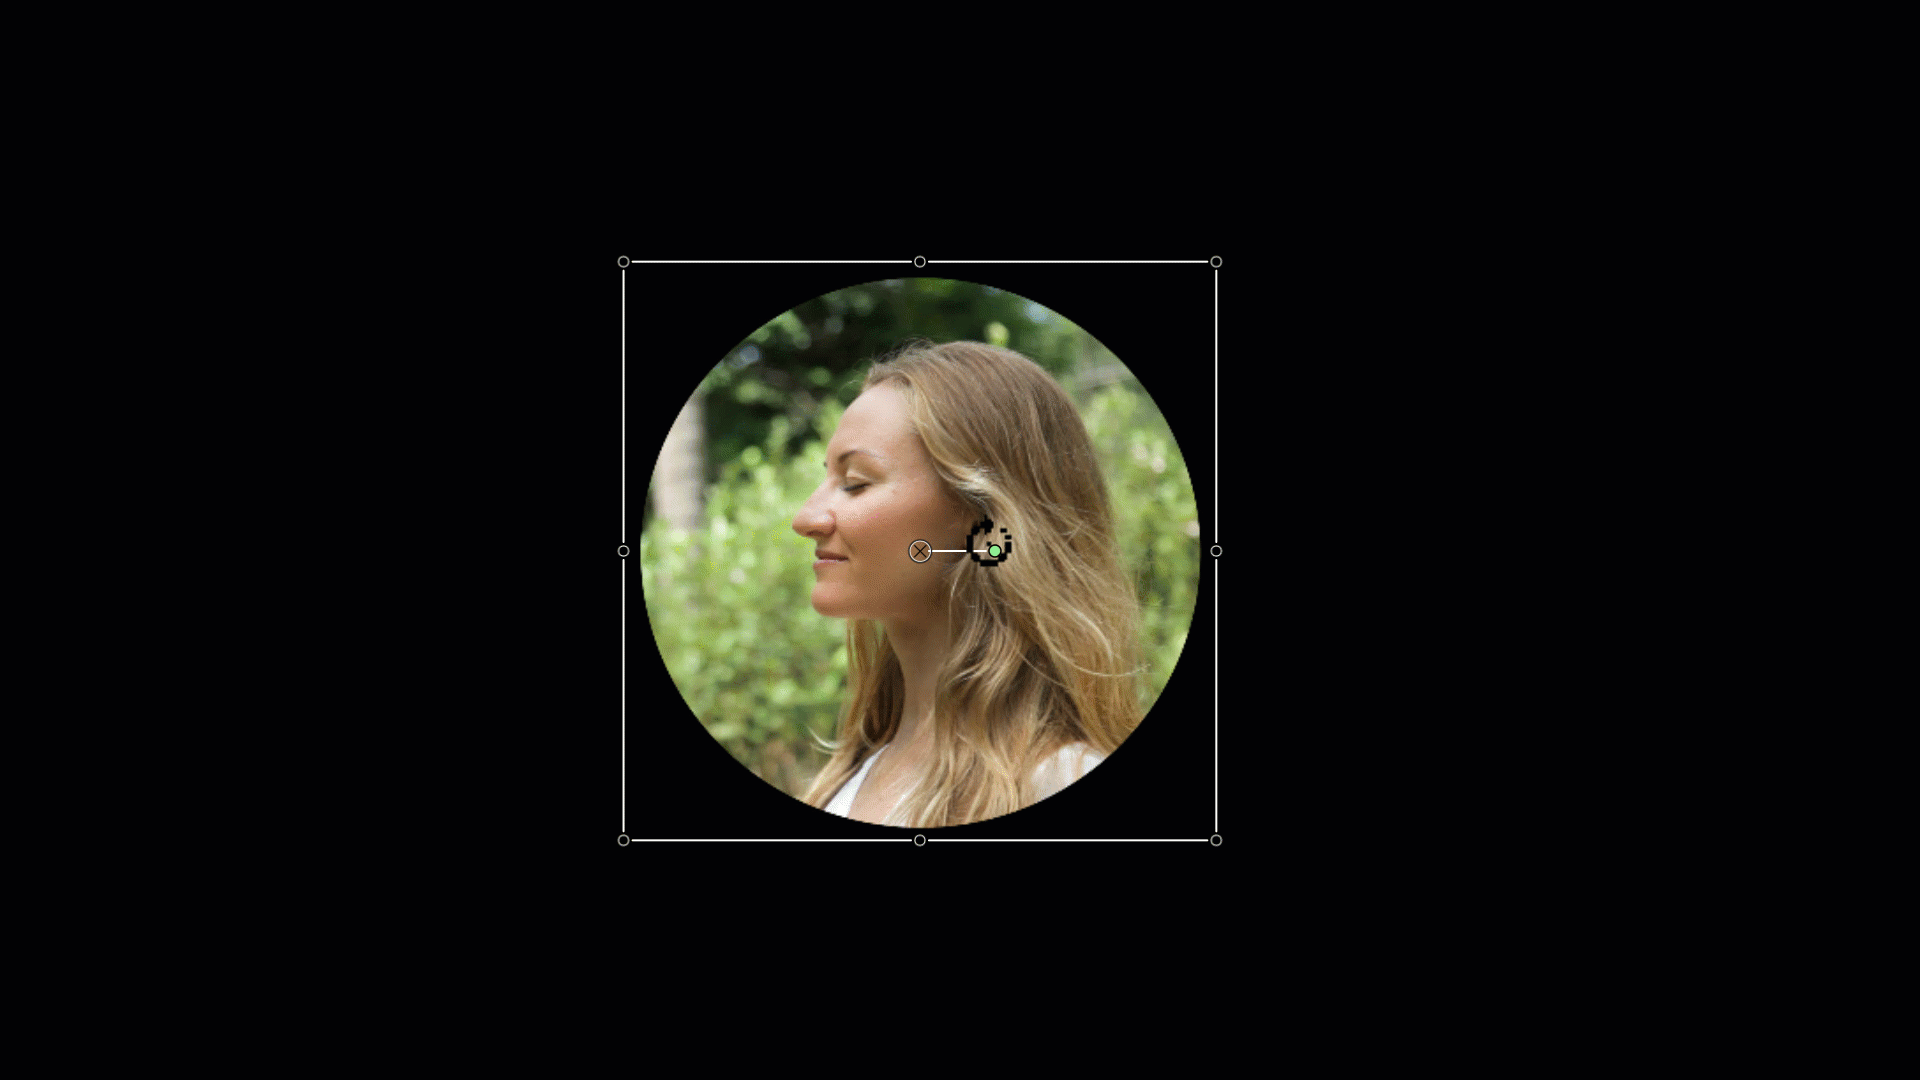
Crop
Align
The canvas offers boundary guidelines to help you snap media to the edge, center, or align with other media.
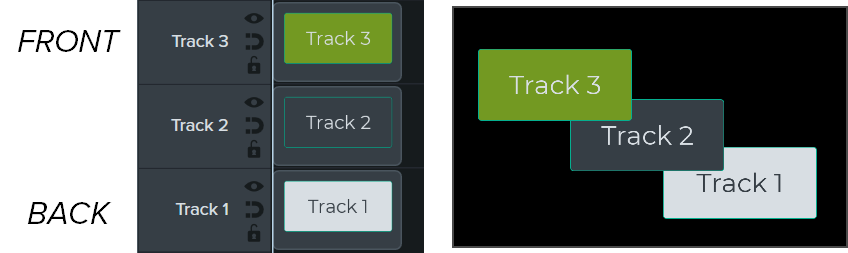
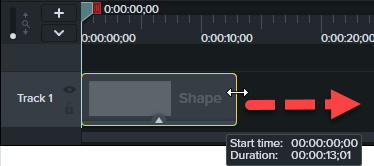
Arrange – Timeline Z-Order
To reorder media on the canvas, right-click (Windows) or Control+click (Mac) and select Arrange.
The z-order position of media on the canvas is set by the placement of media on the timeline. Media on the top timeline track appears in front of media on lower tracks on the canvas.
Tip: Open the Properties for precise canvas edits.
Click to select the media or asset on the canvas and click the Properties button to view the properties available. In the Properties, you can edit text, colors, styles, and other options. See Discover the Properties Panel.
The canvas tools are located in the toolbar above the canvas.
| Tool | Description |
|---|---|
| Edit mode (Default) | Select this mode to move, resize, and rotate media on the canvas. |
| Corner Pin mode | Select this mode to create a 3D perspective or to pin the corners of the media to fit within the boundaries of another object, such as a device frame. For example, replace what’s shown on a computer display with your own screen recording or simulate text on a whiteboard. See Create the Illusion of 3D Perspective (Corner Pinning). 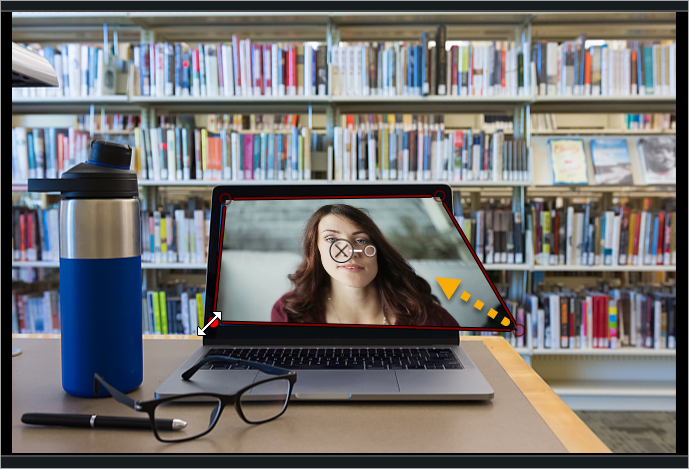 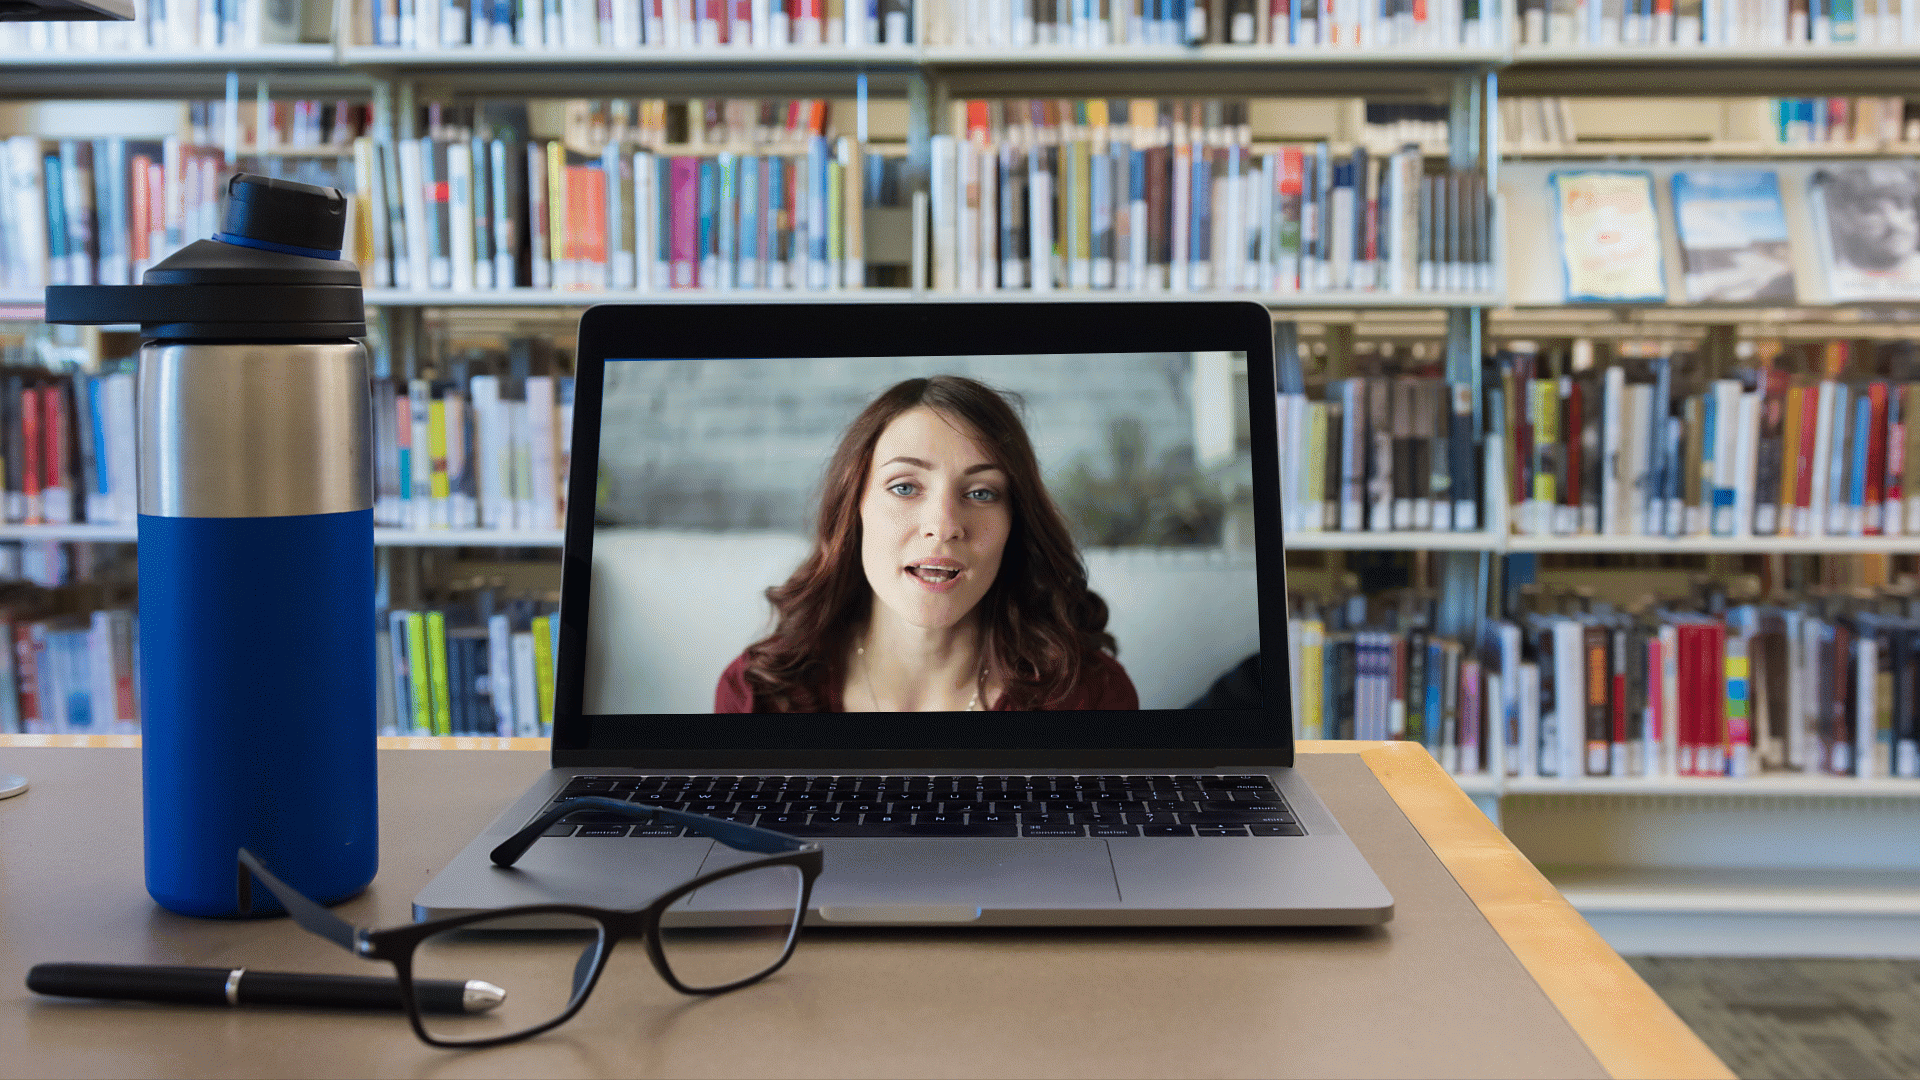 |
| Pan mode | If you are zoomed in and the entire canvas is not visible, select this mode or hold the Spacebar and drag to change the visible area on the canvas. Camtasia keeps the original position and size when panning. Canvas editing is disabled in Pan mode. |
| Crop mode | Select this mode to trim the unwanted areas from media.
You can also hold the Alt key (Windows) or the Option key (Mac) and drag to crop media while in another mode. |
| Detach / Attach Canvas | To view the video preview in full screen mode or for better viewing, detach the canvas from the Camtasia application window and move it to another location, such as onto another monitor. To detach the canvas: Right-click (Windows) or Control+click (Mac) an empty area on the canvas and select Detach Canvas. Drag the detached canvas to the desired location on your screen. To reattach the canvas: Right-click (Windows) or Control+click (Mac) an empty area on the canvas and select Attach Canvas. |
| Full Screen mode | If the canvas is detached from the Camtasia application window, you can expand the canvas to full screen mode. Press ESC to exit. |
Change the canvas magnification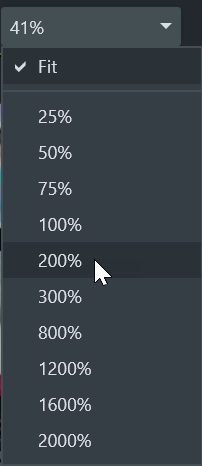 | To help preview or edit media in your video, you can adjust the canvas zoom level. Click the Canvas Options dropdown menu to select the zoom level.
|
| Project Settings | Set the canvas dimensions, editing frame rate, and audio level for your project. See Crisp and Clear Screen Recordings. |
If media or assets do not cover the entire canvas, the canvas background displays in the final video.
For the entire video:

For a portion of the video: