Making a webcam video can be difficult as we often stumble over our words or forget what we are trying to say. Despite the pain, with a little guidance and practice, we are confident that you will be able to make an intro video that establishes a personal connection with your students.
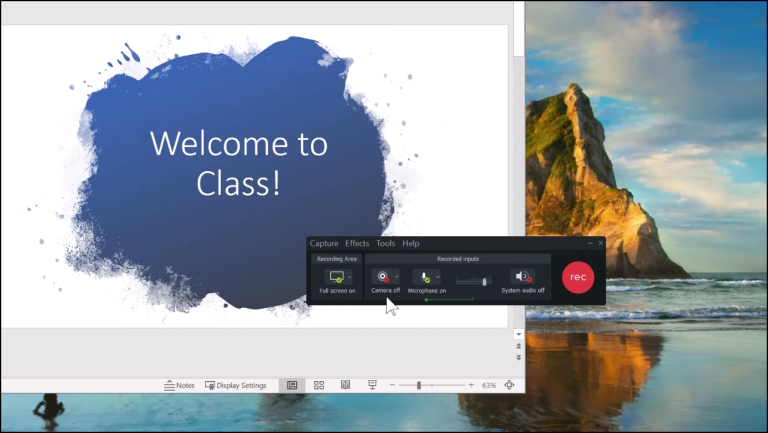
1. Adjust Recording Settings
Open your presentation and TechSmith Camtasia. Set the Camtasia recorder settings how you prefer, adjusting the screen capture region, webcam, microphone, and system audio.
If you choose to turn the webcam on while recording, the webcam minimizes but is still recording.
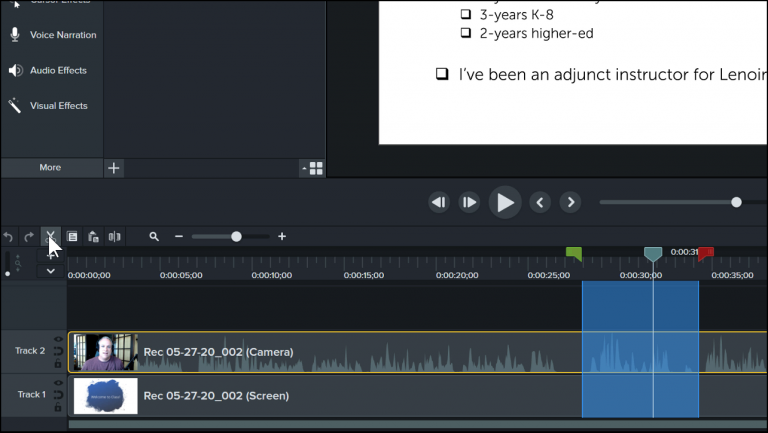
2. Recording Appears in the Camtasia Editor
After recording, the webcam, screen recording, and audio open in Camtasia. The Screen Recording appears on Track 1 and the Webcam and Audio appear on Track 2.
We recommend saving the project before you begin to edit. In the File menu, select Save As.
3. Edit Mistakes and Add Effects
Trim mistakes by selecting the part with the mistake and click the scissors icon to ripple cut the video.
Use animation effects to show, hide, and move the webcam clip in the video. To explore other fun effects, check out our Camtasia tutorials.
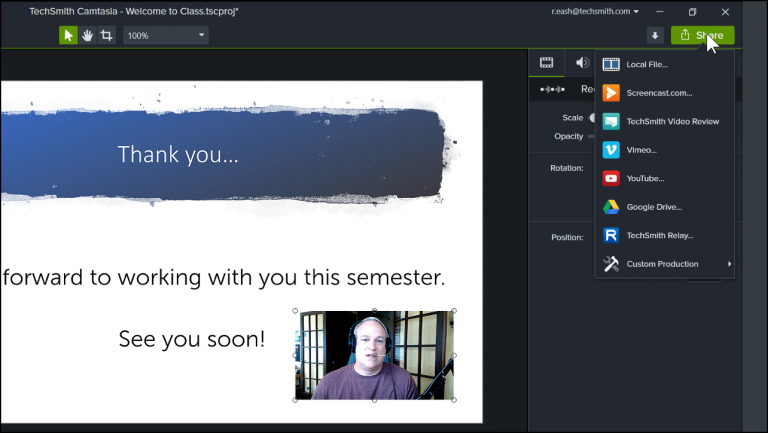
4. Export the Video
Export your video into a format that you can share with your students. There are some cloud outputs that you can share directly to, or choose a local file and produce an MP4 that you can upload or share to your destination of choice.