Remove Reverb Audio Effect
Learn how to apply the Remove Reverb audio effect to remove audio tails and echoes which commonly occur with recordings made in large, open spaces.
Learn how to apply the Remove Reverb audio effect to remove audio tails and echoes which commonly occur with recordings made in large, open spaces.
If you’ve ever listened to a recording in a lecture hall, church, or even an office, you’ve heard the audio tail that can make a recording lose clarity. Use the Remove Reverb effect to reduce the audio tails and make the recording sound as if it was recorded in a studio.

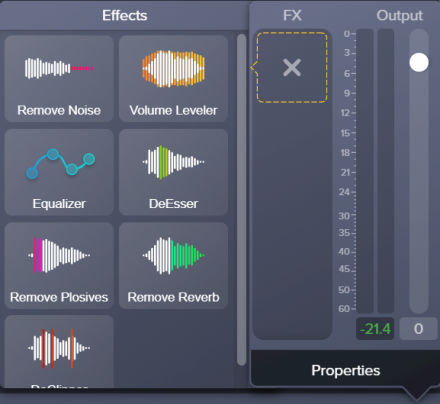
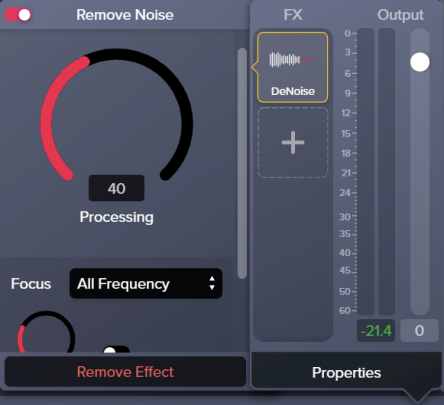
Tip: Remove Noise first
The Remove Noise effect helps improve the audio quality for most recordings. For the best result, apply Remove Noise to most recordings before applying other effects.

Note: To disable an applied effect and keep its properties settings, click the on/off toggle in the properties panel for the effect.![]()