


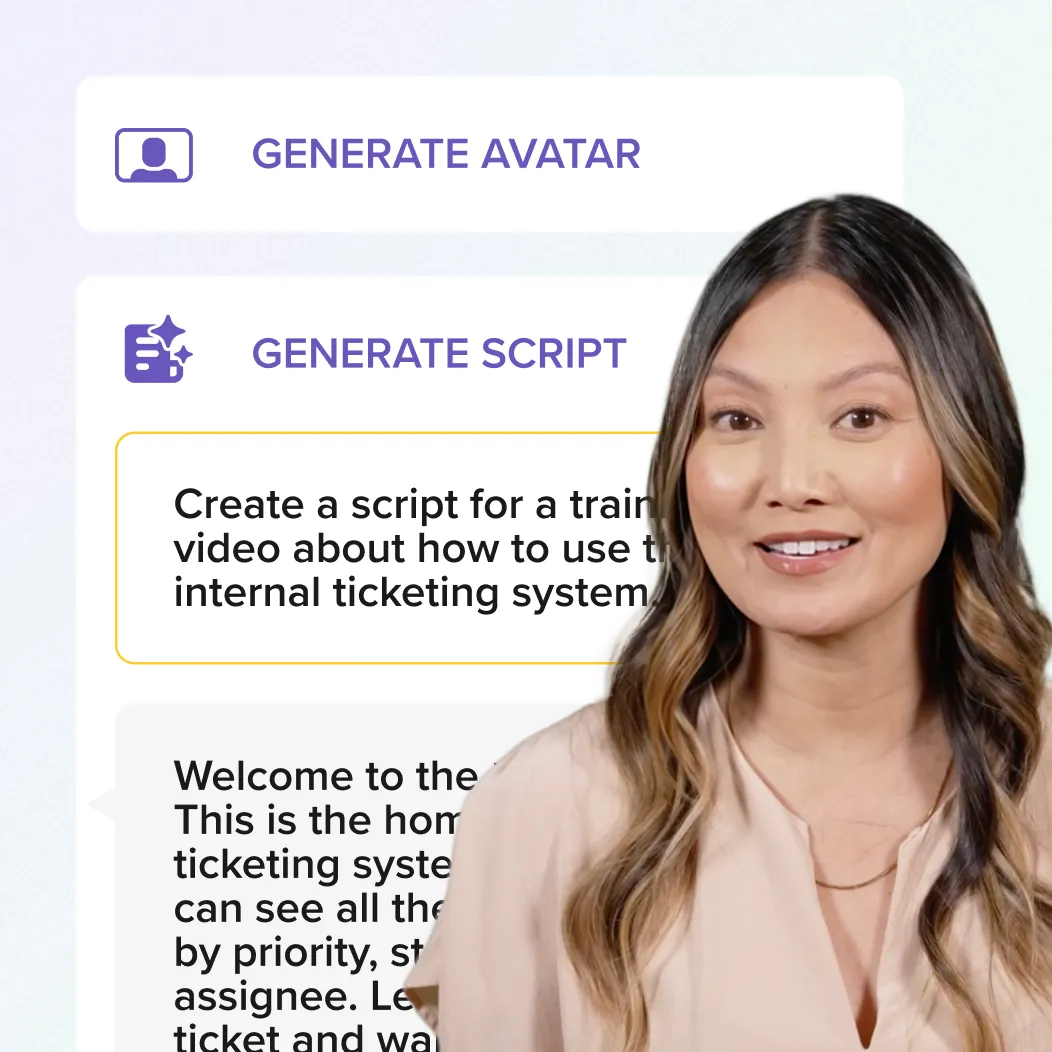


AI-powered screen recording and video editing


Break free from
locked-in recordings
Your all-in-one solution for screen-first video
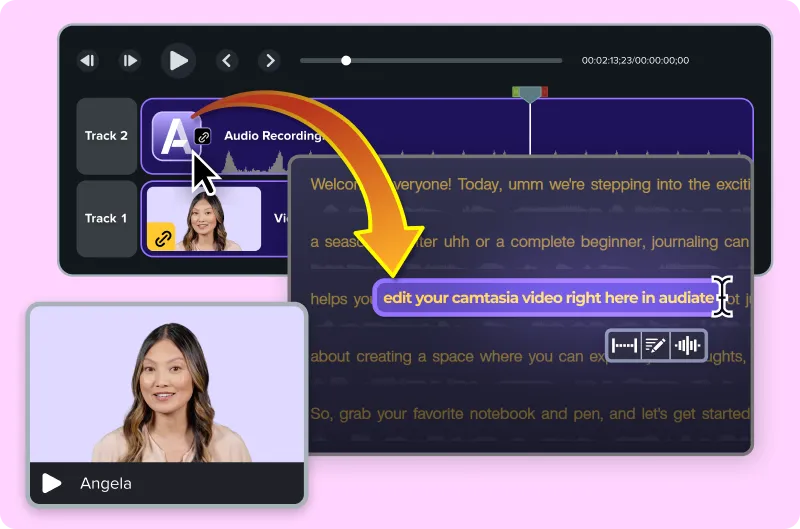
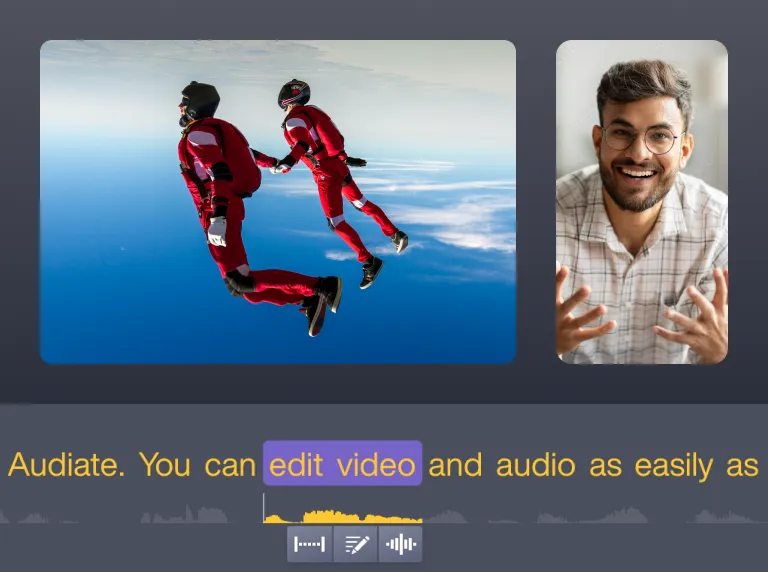
Edit your video by editing text
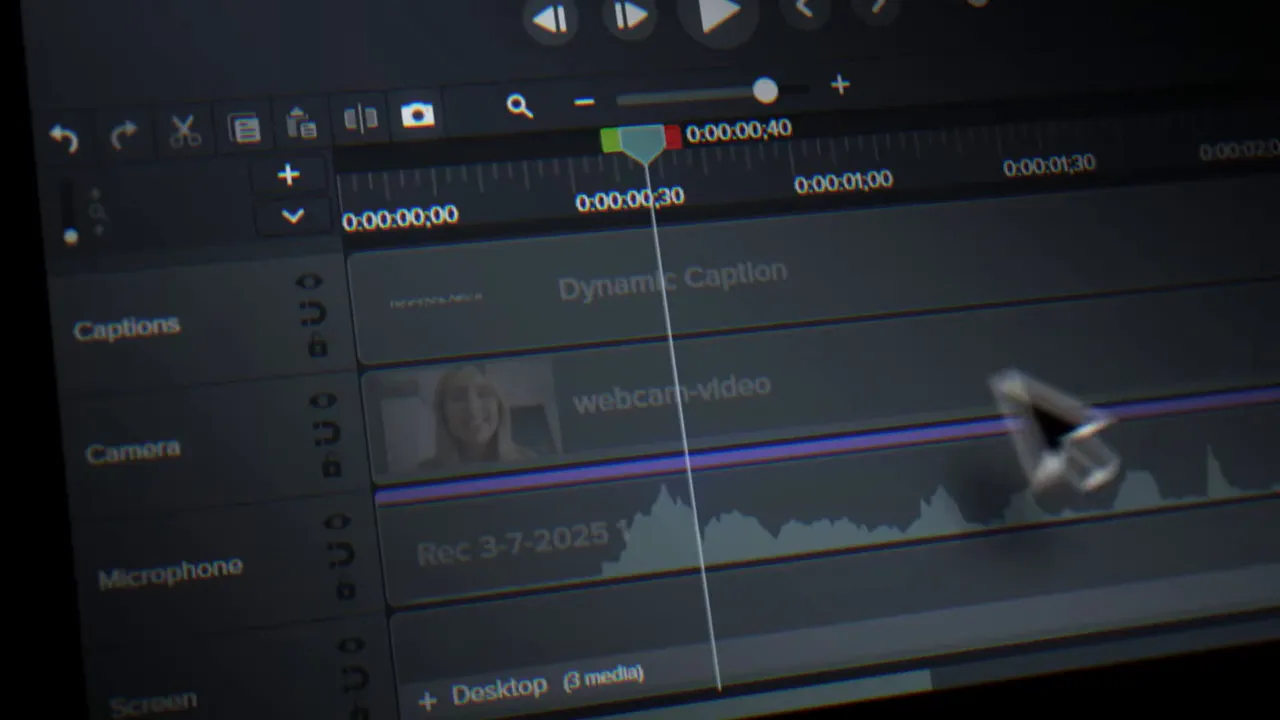
Simplify your workflow with drag-and-drop editing

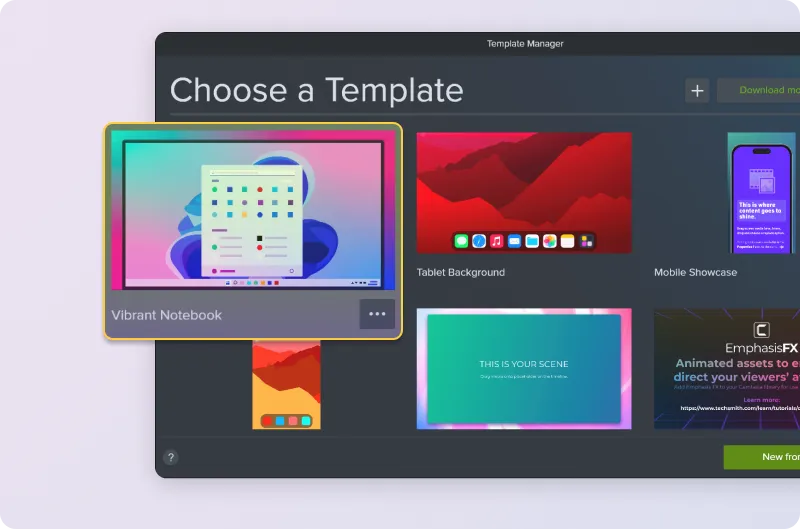
Stay on brand with custom themes and templates
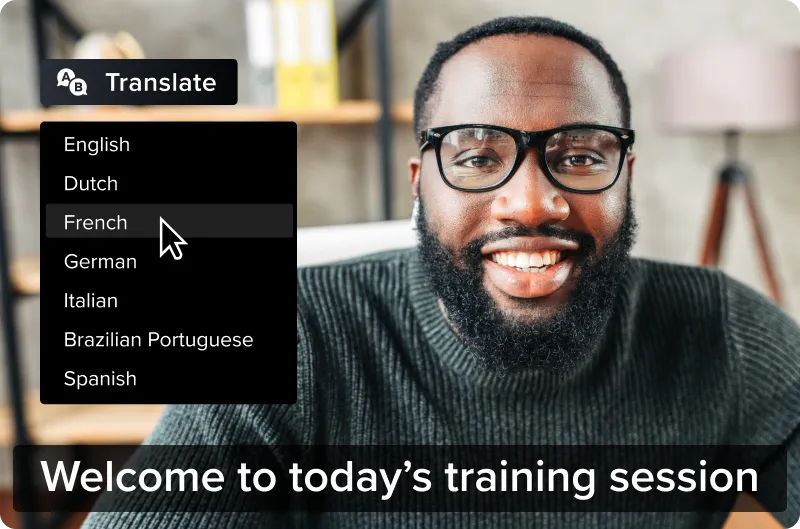
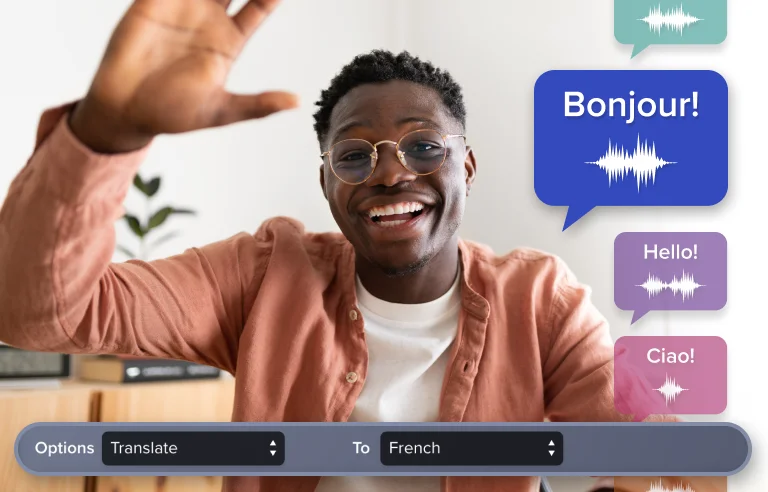
Accessibility features built right in
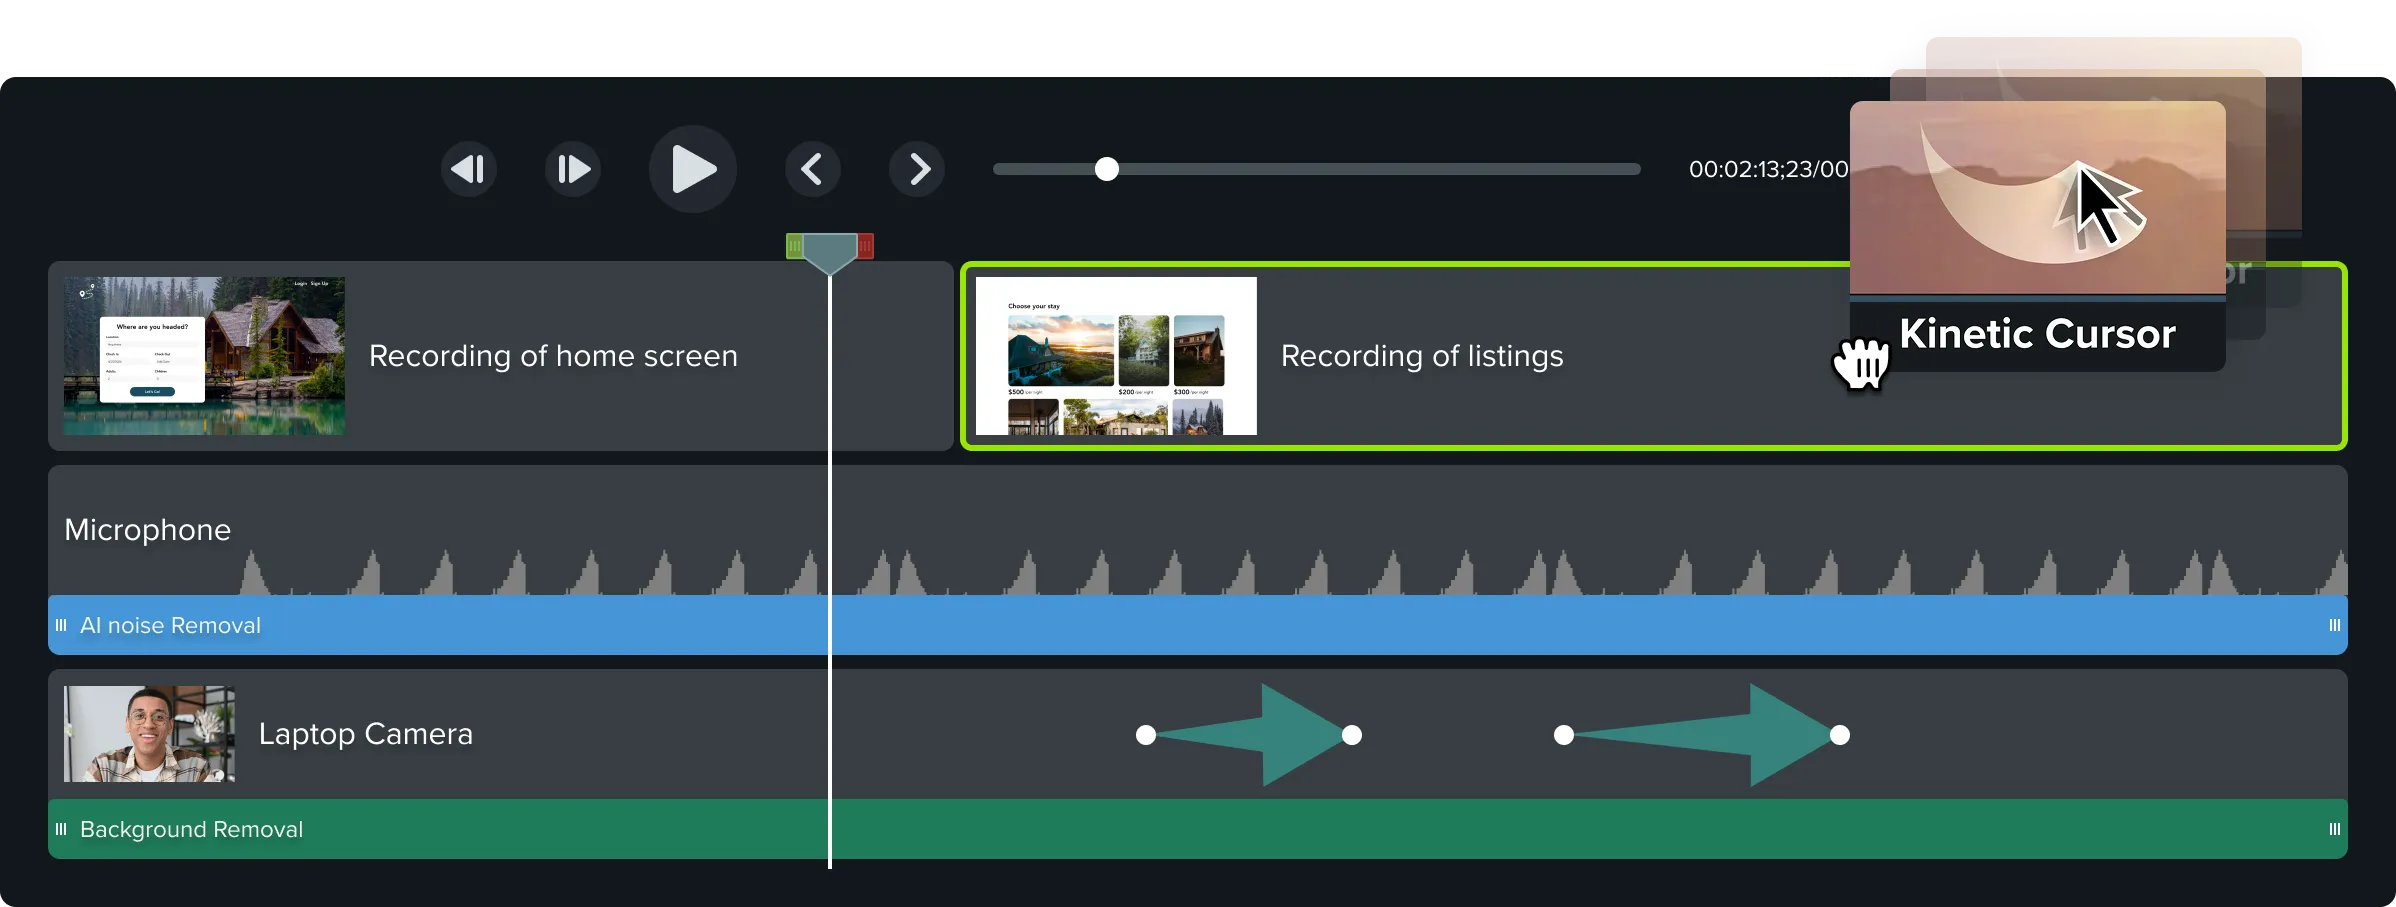
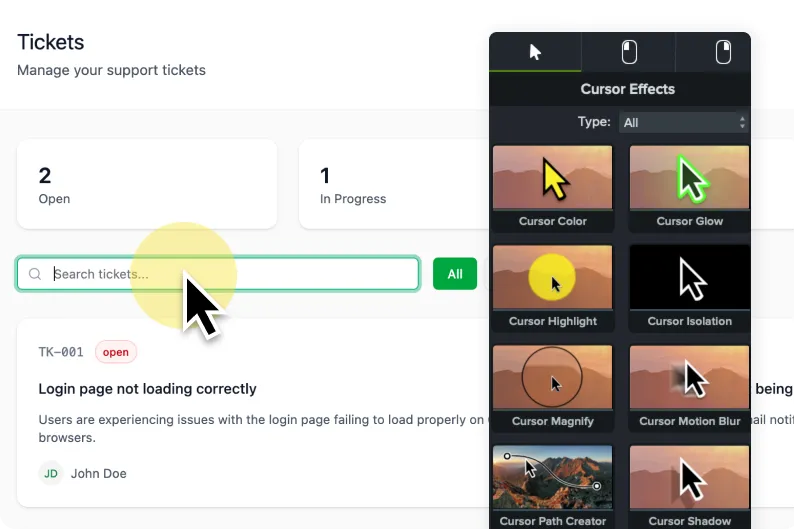
Cursor effects and annotations that clarify every step
See what people are saying
“I can create training videos even without prior editing experience! It saves me time, increases training reach, and helps standardize learning.”
“It saves me time, keeps my workflow smooth, and lets me focus on creating content instead of struggling with software.”
“Outstanding video editing software for beginners and professionals. I can produce polished videos with minimal effort!”
“Simplifies screen recording, video editing, and narration in a single platform. I can produce videos quickly without juggling multiple apps!”
“Makes complex video editing feel simple with built-in animations, cursor effects, & callouts. Saves me time and mental overhead.”
“Such a great video editor! It has features to help you make impactful videos. Transitions, easy edit features, etc. It’s got what you need.”
“I can produce videos faster and clean up audio effortlessly. It’s streamlined my workflow and made editing actually enjoyable.”
“It’s beginner-friendly yet packed with professional-grade features. I especially love the drag-and-drop editing & built-in transitions.”
“I can easily use advanced techniques in just a few clicks. I recently produced a video series in a very short time thanks to Camtasia.”
Everything you need, in one powerful tool


AI-assisted video background removal. Easier and better than green screen. Replace your background with an image or one of Camtasia’s dynamic backgrounds.

Automatically detect and remove filler word and hesitations.
“There’s an art to video where you need to be technical and also simple. Camtasia delivers both.”
Lisa Childs, Tried Tested & True
What will you create?
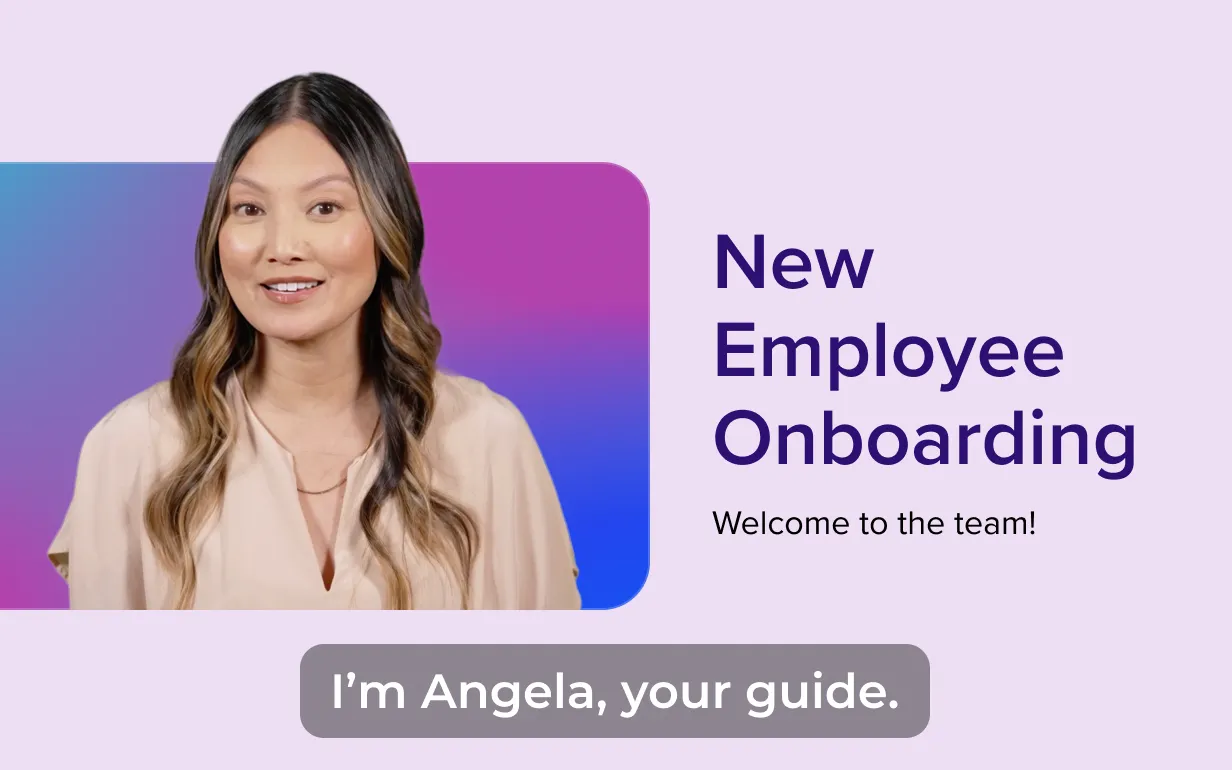
Videos that onboard and upskill your team
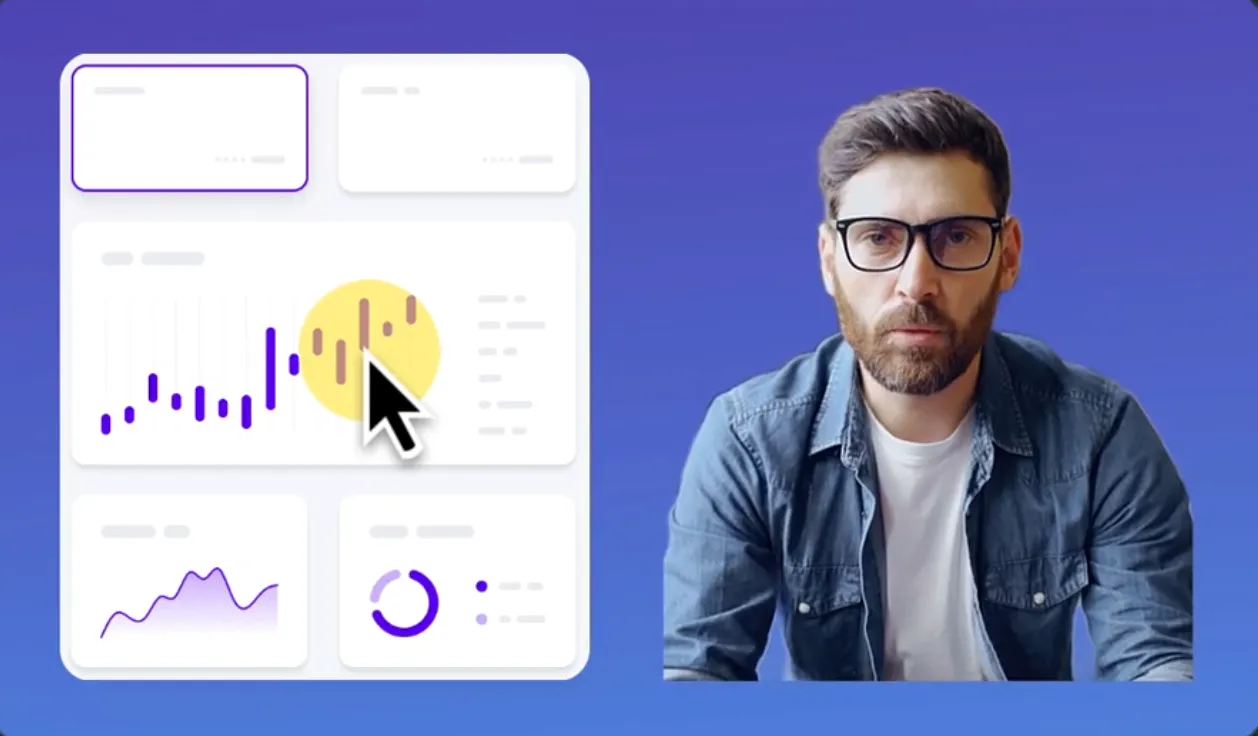
Videos that showcase your product

Videos that help users succeed
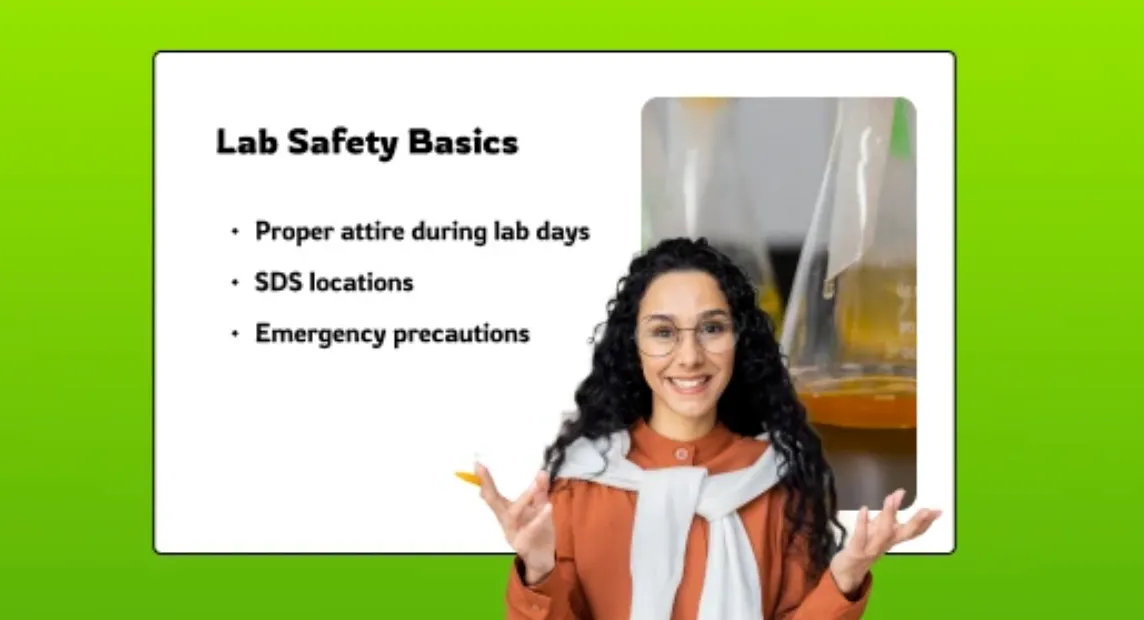
Videos that support learning
Videos that teach systems, software, and workflows
Top rated on G2
