


Whether you’re an educator, trainer, or workplace communicator, this guide shows you how to make great educational videos with a practical five-step process.
Done right, educational videos transform complex information into content people actually understand and remember. Whether you’re building workplace training, onboarding new employees, or creating customer support tutorials, video makes learning more engaging and effective than text alone.
We’ll walk you through how to plan, record, edit, and deliver educational videos that actually teach. We’ll also give you some tips on the right Camtasia tools to use to make the process easy and efficient, plus a free template to get you started.
Key Takeaways
- Start with one clear learning objective so viewers know exactly what they should be able to do after watching.
- Write a focused script and keep each section tied to one idea.
- Choose the right recording method for the lesson: screen recording, webcam, or a mix of both.
- Edit for clarity by trimming distractions, adding visual cues, and including captions.
- Share videos where learners can review them easily, then use feedback and engagement data to improve over time.
Why do educational videos work so well?
The goal of a pro-level educational video is to combine clear learning objectives with engaging visual storytelling. But professional doesn’t mean Hollywood-style video production — it means videos that help learners focus, retain information, and apply new skills.
Video is incredibly effective for learning because it offers:
- Visual clarity: You can show processes step-by-step with visuals, like animations or annotated screen recordings, instead of just describing them.
- Repeatability: Learners can pause, rewind, or review as needed.
- Flexibility: The format works for everything from onboarding and tutorials to classroom learning and software walk-throughs.
The catch? It all comes down to how well your educational videos are structured for learning. The best videos respect viewers’ time, use clear objectives, and apply thoughtful presentation techniques that maximize comprehension.
So it’s important to make sure your educational videos follow these best practices:
- Clear audio: Poor sound drives viewers away faster than imperfect visuals.
- Focused content: Each video addresses one learning objective.
- Visual variety: Mix talking head, screen recording, and animated video graphics to maintain attention.
- Appropriate length: Short videos (under 12 minutes) improve retention.
By combining visual demonstrations with audio explanation, you give learners multiple pathways to absorb information, making complex concepts easier to understand than text-only instructions.
Step 1: Plan your video with a purpose
Clarity starts before the camera rolls. Pre-production planning ensures your video will achieve its ultimate learning goals.
Define your learning objective
Every video should center on a single, specific outcome.
✅ “How to log into the dashboard” presents one clear skill learners can practice immediately.
✖ “Everything about the app” is too broad, feels overwhelming for viewers, and will be harder to retain.
Good objectives use action verbs and measurable outcomes, like “Explain the three steps to reset a password” vs. “Understand password management.”
Know your audience
Tailor tone, depth, and examples to your learners’ needs. New employees might need simple, step-by-step guides if they’re beginners, while advanced users expect concise troubleshooting tips.
So think about:
- Their familiarity with the subject
- Their role and how they’ll use the information
- Common questions or pain points
Match examples to everyday scenarios to make concepts stick.
Step 2: Write a script that keeps learners engaged
A well-written script prevents rambling and keeps the video goal-driven. Even for short tutorials, scripting ensures every second supports the learning objective, even if you’re using a premade template as a baseline for inspiration.
Keep it simple and focused
Each script section should reinforce one idea. For example, if your objective is logging into the dashboard, your script should show where to find the login button, how to enter credentials, and what the confirmation screen looks like. Extra details belong in a separate tutorial video.
Test your script by reading it out loud (or use Camtasia’s tools to make this easier). Written language often feels stiff when spoken, so edit until it sounds conversational.
Time it out for pacing
Most people talk at a pace of around 150 words per minute, so a 300-word script will be about two minutes long.
Aim for 2–5 minutes per video segment, or build a series of short videos for bigger topics.
Camtasia Audiate’s AI script generator can draft outlines based on your objectives, helping you save time while keeping focus.
Let Audiate write your script!
No more blank pages! Instantly generate amazing, customizable scripts in any length, tone, and style!
Get Audiate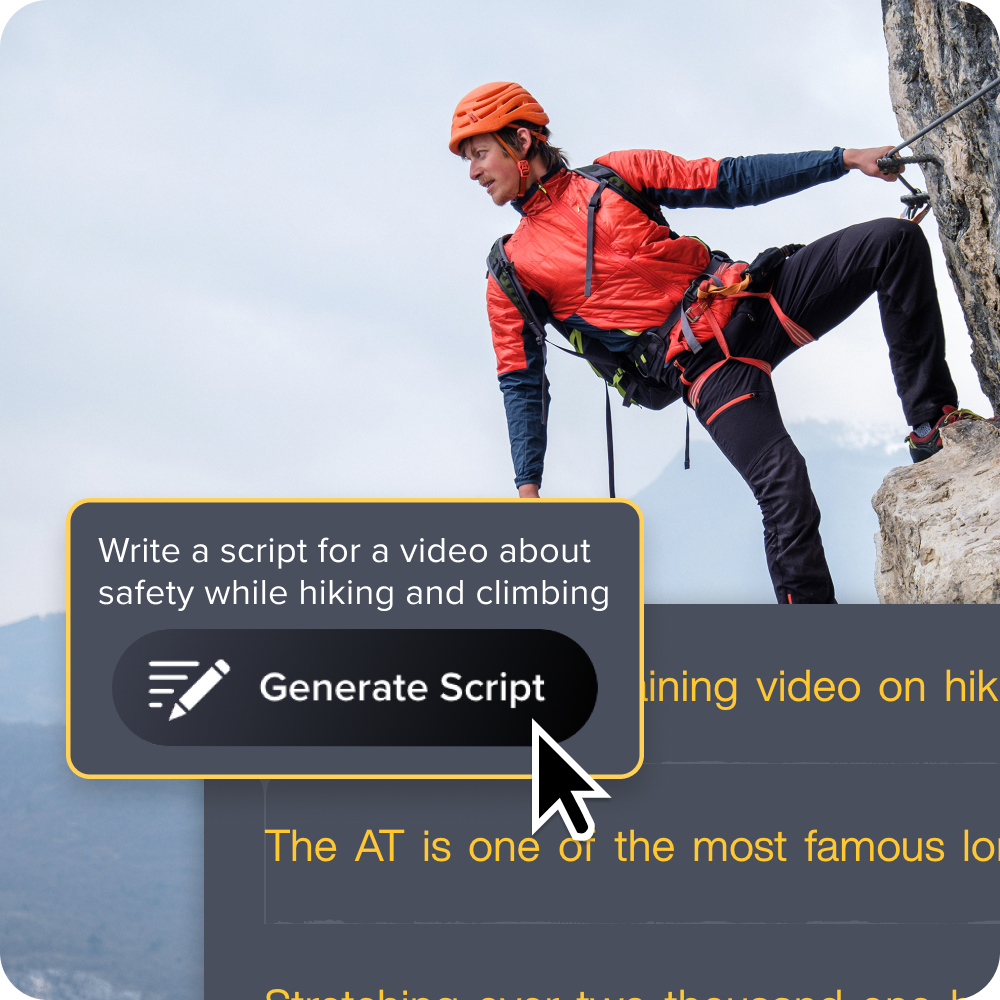
Format your script for easy recording
A two-column script format works best: narration on one side, on-screen visuals on the other.
| Narration | Visuals |
| “Click the Settings button in the top right corner.” | Show cursor moving to Settings with arrow annotation |
| “Enter your email address.” | Highlight email field |
Camtasia also offers teleprompter and script overlay features to keep delivery smooth. It also includes an AI voice generator to make voice-overs easy and cost-effective.
Step 3: Record with tools you already have
You don’t need a studio setup — just the right approach. A laptop, a decent mic, and a quiet space are enough for high-quality recordings.
Prioritize clear audio
Viewers will forgive imperfect visuals but not poor sound. So make sure you:
- Plug in a dedicated microphone if possible. Even a headset improves clarity.
- Record in a quiet space with soft furnishings to reduce echo.
- Place the mic about 6–8 inches from your mouth.
- Test with a short sample before recording a full video.
With Camtasia Audiate, you can remove background noise, level audio, and even cut out filler words like “um” or “uh” automatically.
Match recording method to purpose
You have a few different recording options, depending on your video goal:
- Screen recording: Perfect for tutorials, walkthroughs, and software demos.
- Webcam: Helps build connection when explaining concepts.
- Combination: Start with a webcam intro, then switch to a screencast for clarity.
Camtasia Snagit makes capturing quick screen recordings simple, while Camtasia Editor gives you full creative control with multi-track editing and effects.
Record your screen with Snagit
Snagit makes it easy to share quick updates and how-to’s by capturing exactly what’s happening on your screen.
Get Snagit
Record in short takes
Don’t try to capture everything in one go — that’s just asking for stress and fatigue. You’ll inevitably stumble over a few words or click the wrong button a few times, and you don’t want to have to start completely over from scratch.
Recording in small segments makes it easy to fix mistakes and speeds up video editing.
Step 4: Edit for clarity and retention
Editing turns raw footage into a polished, professional video that keeps learners engaged.
Trim distractions
Cut filler words, pauses, or tangents that don’t serve the learning goal. Camtasia Audiate features can help by automatically detecting and removing these, saving you hours of cleanup.
Because Camtasia Editor saves cursor movements, audio, and screen activity on separate tracks, you can adjust or replace specific elements of your recording without starting over. It’ll also come in handy when you want to make changes or updates down the road.
Add visual cues and annotations
Sometimes you need to direct viewers’ attention to a specific spot or highlight an element of extra importance. You can do this by adding effects and annotations like:
- Arrows and highlight boxes
- Zoom effects
- On-screen text callouts
Camtasia Snagit makes quick screen grabs and annotated screenshots easy, while Camtasia Editor offers drag-and-drop transitions and visual effects that add polish.
Include captions for accessibility
Captions improve accessibility for hearing-impaired or non-native speakers and support better comprehension. They’re also helpful for viewers who are watching in loud environments or can’t turn their sound on.
Camtasia Editor can generate captions automatically, and videos shared via Screencast Pro include AI-powered captions, chapter summaries, and searchable transcripts.
Go from screen recording to polished video
A screen recording is just the start. Camtasia’s editor helps you add the callouts, animations, and edits you need to create a truly professional video.
Free Download
Step 5: Deliver and measure impact
Creating the video is only half the process. The right distribution and feedback strategies ensure your educational content delivers results.
Choose the right platform
First, you’ll need to figure out the best way to share your video. Different platforms work better for different use cases and environments.
- Screencast: Share securely with analytics and auto-captions for easy, asynchronous access across your org.
- A learning management system (LMS): Best for structured training with quizzes and completion tracking.
- YouTube or social media: Ideal for public tutorials and broader reach.
- Internal file sharing: Useful for small teams.
Measure engagement and improve
Minor issues can have an outsized effect on learning outcomes, and even the best educational videos can lose their impact and effectiveness over time. So make sure you keep tracking engagement and performance, looking for areas that could use a tweak.
Pay special attention to:
- Where learners tend to stop watching: Are they getting bored? Confused? Overwhelmed?
- Sections rewatched frequently: The instructions might be unclear or incorrect.
- Quiz scores tied to video content: How well are learners retaining what they’ve watched?
- Feedback surveys: Don’t forget to ask real users about their experiences. A quick survey with prompts like “Was anything unclear?” and “Did the video fully answer your questions?” can tell you exactly what your viewers need from you.
Create engaging educational videos that actually teach
The journey from basic screen recording to professional video creation can feel overwhelming, but really, it all boils down to a few simple best practices:
- Plan with purpose and set focused learning objectives.
- Write a clear script that keeps learners engaged.
- Capture high-quality recordings by prioritizing sound and segmenting your takes.
- Edit strategically by removing distractions and adding visual cues.
- Distribute smartly, then track performance and refine over time.
And you don’t have to tackle all these strategies, all at once. Start small, don’t be afraid to experiment, and make sure you have the right tools for the job. Camtasia Editor and Camtasia Snagit can make the whole process more efficient, from capturing and editing to polishing audio and measuring success.
Respect learners’ time, structure content around clear goals, and use the right tools, and you’ll create effective educational videos that stick.
Ready to level up your training videos and tutorials? Check out all of Camtasia’s products today!
Make great educational videos
Create engaging videos that drive student success with Camtasia’s easy drag-and-drop editing.
Free Download
FAQs
What are educational videos?
Educational videos are built around clear learning objectives and visual explanations that help people understand and apply new skills. They can be used for workplace training, onboarding, customer support tutorials, classroom learning, and software walk-throughs. The goal is practical teaching, not flashy production.
What makes a good educational video?
A good educational video starts with clear audio, focused content, and one learning objective per video. It should use visuals that support the explanation, such as screen recordings, annotations, zoom effects, or on-screen text when they help direct attention. Captions matter too, because accessibility supports better comprehension and helps more people follow along.
What is the best tool to create educational videos?
The best tool depends on the kind of video you need to make. Camtasia Editor is useful when you want full control over recording and editing, Camtasia Snagit is helpful for quick screen recordings and annotated screenshots, and Camtasia Audiate can help with scripts and audio cleanup. Screencast is a good fit when you need to share finished videos for easy, asynchronous access.
How long should an educational video be?
Short, focused videos are easier for learners to review and retain. Appropriate length: Short videos (under 12 minutes) improve retention. Aim for 2–5 minutes per video segment, or build a series of short videos for bigger topics.
Share