
Large file sizes are a common frustration for video users everywhere. Issues arise anywhere from struggling to send a file via email, waiting for slow uploads, and hitting platform limits.
There are a few reasons behind these hindrances. High resolutions, long runtimes, uncompressed formats, and heavy effect usage can all balloon file size, making handling them more complex down the road.
Video compression can be daunting at first, but there’s no need to worry. By using Camtasia editor, you can compress video file size without a big learning curve or sacrificing file size.
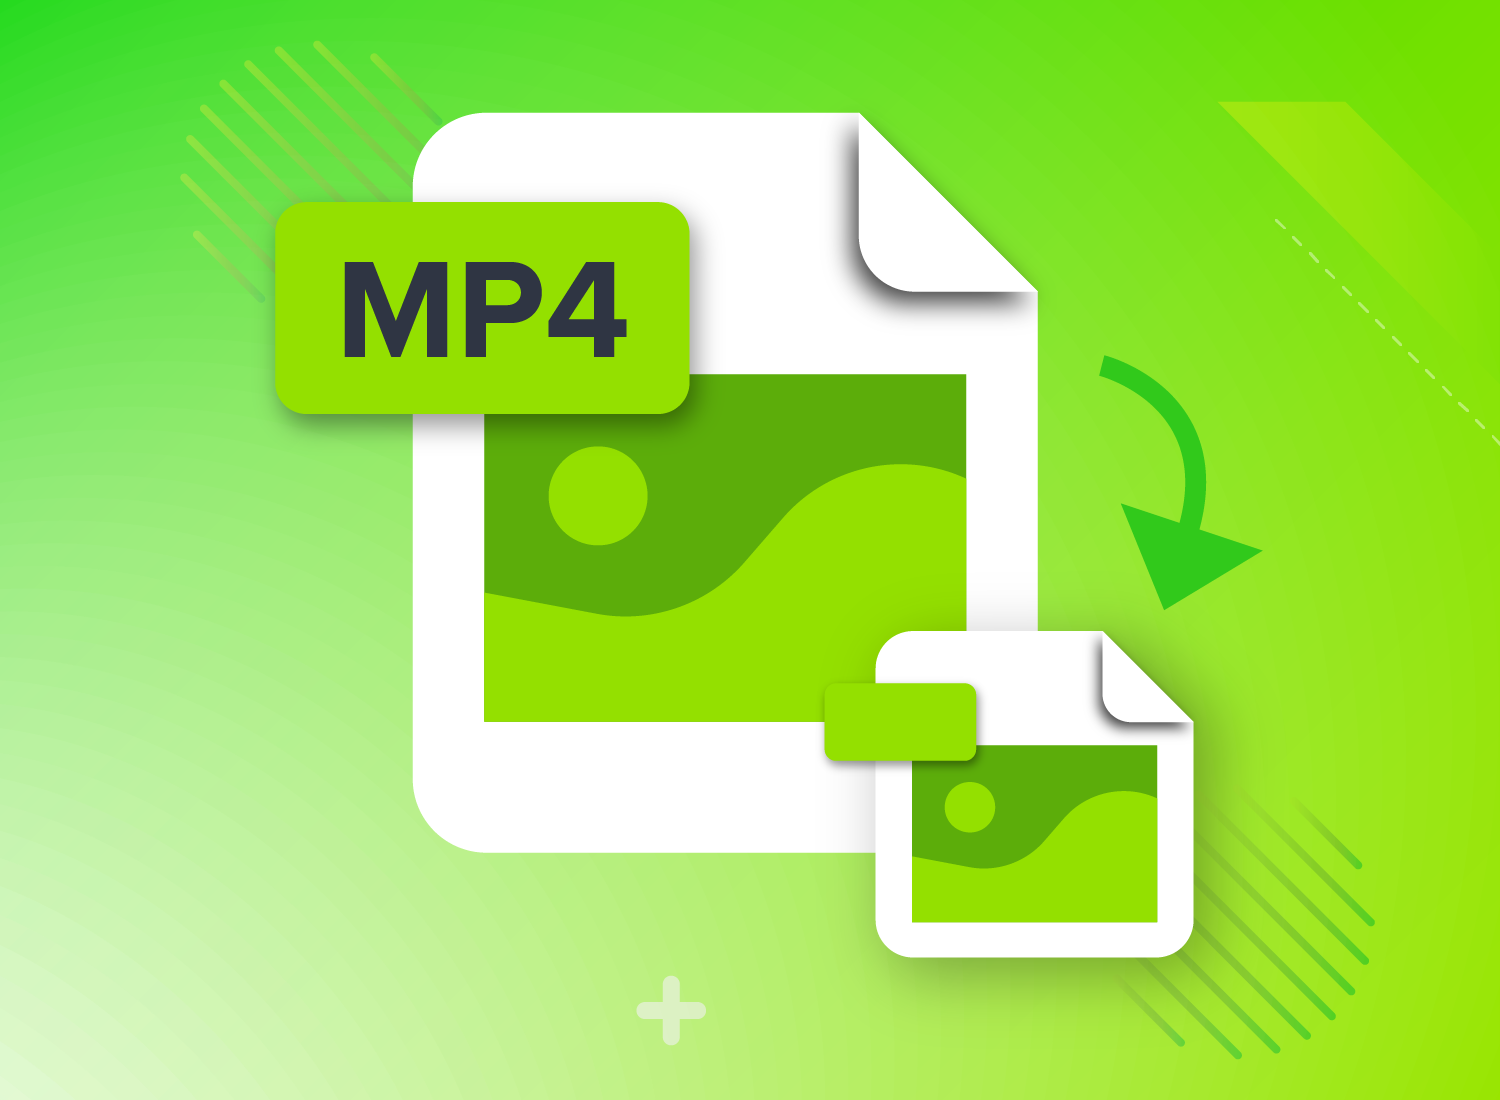
Go from screen recording to polished video
A screen recording is just the start. Camtasia’s editor helps you add the callouts, animations, and edits you need to create a truly professional video.
Free Download
Why video files get so large in the first place
There are a few key culprits that lead to large files:
- High resolution (4k+)
- Long duration
- Uncompressed audio/video
- Complex animations or transitions
These underlying reasons are why most people need to find a solution to reduce their file size. But that doesn’t mean you need to avoid them altogether. There are easy ways to compress file size without sacrificing quality by using a video compressor.
Lossy compression vs. lossless compression: What’s the difference?
These two terms are important to understand before we get started because compression always takes one of these two forms.
Lossy compression refers to any type of compression that reduces file size by removing data from your video. It’s called “lossy” because your video will lose data with this method. While lossy compression is super common and easy to achieve, it can seriously impact the quality of your video if you overdo it.
Lossless compression uses mathematics to reduce file size while keeping all of the original data in your video. Lossless videos can be decompressed to the original size at any time without data loss. The quality advantage of lossless compression is great, but it may not be able to compress your video as much as you desire.
How to reduce your video file size quickly
So you’ve got the perfect video, but it’s too large for email size limits, taking forever to upload, or eating up your storage space. Not only is this annoying, but it can lead to missed deadlines, frustrated viewers waiting for downloads, and high cloud storage costs.
By actively striving for quality compression of your videos, you’ll ensure videos remain clear, keeping marketing content professional, and maintaining the impact of your visual communication. So, let’s dive into the steps needed to compress and preserve your videos effectively.
1. Choose the right video format
There are many different video file formats you could export your finished video into, including MP4, MOV, AVI, WMV, and WEBM. But which video file type is the best in terms of file size?
MP4 is typically the best balance of quality and file size. Because of this, MP4 is most popular for web-based delivery, including YouTube, Facebook, Twitter, and Instagram. MP4 uses lossy compression.
MOV is Apple’s native video format, but it is compatible with Windows. It has very high-quality options, which make it a professional standard. Depending on the encoding process you select, MOV can be either lossy OR lossless, which makes it one of the most versatile options on this list.
AVI is Microsoft’s answer to MOV, but it is not compatible with Mac. Developed in 1995, it is one of the oldest formats in existence. Like MOV, AVI can be either lossy or lossless based on the encoding process you choose.
WMV is the only format that beats MP4 in terms of compressed file size. However, the video quality loss is high, and this format is incompatible with Mac. You should only use WMV if file size takes priority over everything else.
Camtasia and Snagit video outputs default to the MP4 file format. Camtasia also exports videos using an H.264 codec, which is the most compatible format with MP4. We recommend using MP4 in the majority of cases for online sharing.
Record your screen with Snagit
Snagit makes it easy to share quick updates and how-to’s by capturing exactly what’s happening on your screen.
Get Snagit
In summary:
- Use MP4 for smaller files that are shareable
- Use MOV or AVI while video editing, then compress
- Avoid WMV unless the size is greater than the quality
2. Resize videos and simplify your content
If you have a long video that contains multiple sections, one of the easiest ways to reduce video size is to cut it up. Simply cut the footage into each section and export them individually. Each file should have a much lower size than before.
If length isn’t the problem, it could be the number of animations and effects you used. Color effects are known to have a significant effect on the overall file size. So, consider removing unnecessary effects to reduce the overall file size.
Additionally, the resolution of a video determines the size in height and width that the video will be created in. In Camtasia, you can change the project settings to produce your video at any desired resolution. Just remember, larger resolution videos mean larger files, so consider lowering the resolution from 1080p to 720p when editing.
So, don’t record your entire screen unless it’s necessary. Better yet, consider using zoom-and-pan actions while editing your video. This way, you can scale the video down, which helps focus the viewer’s attention on a specific portion of the screen.
4. Adjust frame rate to lower file size
The frame rate is the number of frames displayed per second, which, when balanced with the bitrate, produces high-quality video.
Most films are shot at 24 fps. Home videos and camcorders typically default to 30 fps. Some mobile phones even default to 60 fps. Which is best? That depends on your intended audience.
The custom production settings in Camtasia allow for between 1 and 30 frames per second (fps). While the default, 30 fps, is standard for video, if you’re looking to get more cinematic, you can lower it to 24 fps. And if you recorded on your phone, definitely change it from 60 fps to 30.
You can access compression settings and change the frame rate in Camtasia using the following steps:
- Right-click (Windows) or Control+click (Mac) the media in the Media Bin and select Details to view the actual media frame rate
- Select the Magnification dropdown > Project Settings > Frame Rate dropdown to change the editing frame rate
- Click Apply
In some instances, it makes more sense not to lower the frame rate at all. Fast-paced gameplay and tutorials with cursor movements are two great examples of that.
Some quick guidelines include:
- 720p for email and messaging
- 1080p for most social media, but check recommendations first
- 1080p or higher for professional presentations
4. Compress your audio when exporting
Sometimes audio can create large video files, though most of the time recording devices and software will compress your audio so as not to create large file sizes. It is very rare that uncompressed audio is going to make an audible difference to your viewers.
After you’re done editing your video (and a quick playback to ensure quality), make sure to export with compressed audio. Default outputs for Camtasia and Snagit MP4 format use AAC audio compression, which has a good combination of sound quality and file size.
Camtasia’s Audiate features also let you clean up audio pre-export by removing hesitations and background noise, so you don’t need to worry about it later on.
If you can edit a doc, you can edit a video
Stop fearing the timeline. Camtasia Audiate transcribes your recording so you can edit your video just by editing the text.
Free Download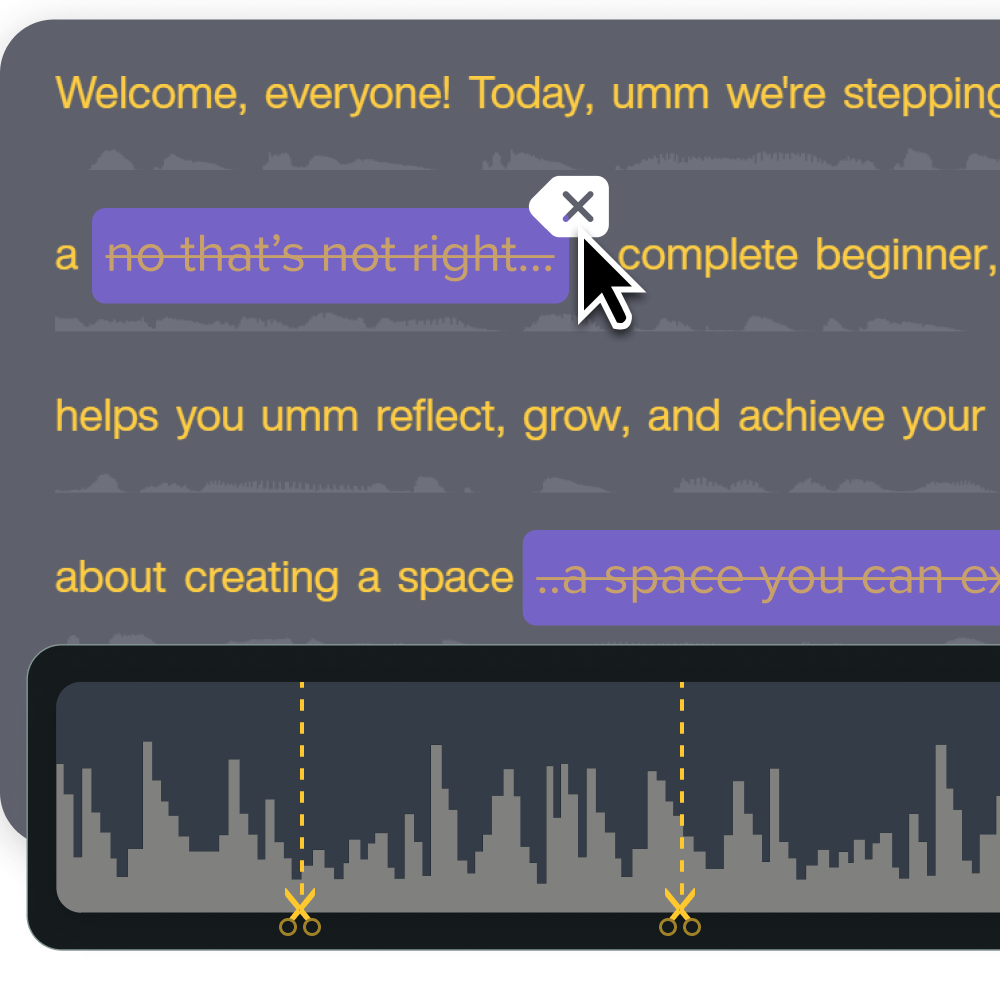
(Optional) Zip your final video for sharing
On both Mac and Windows, zipped folders use lossless compression. So, you don’t need to worry about losing any quality on your final take. You can upload zipped files to Google Drive, send them via email, and easily share them across operating systems.
To create a zipped folder on Windows, simply right-click your video file, then select New > “Create zipped folder.”
Simply select your file, right-click to bring up the context menu. Then, click “Compress”
Instead of a zipped folder, you can also share your video using Screencast, a hosting platform integration with Camtasia. Screencast allows for passphrase-protected sharing that can be more scalable than zipping and emailing files.
By keeping all of your videos in a centralized knowledge base, you ensure your videos are easy to search for and embed into Dropbox, PowerPoint, and other online tools.
Reduce file size faster (and easier) with Camtasia
There’s no reason for you to be stuck with giant, unshareable video files anymore. By following the above steps, you’ll be able to choose which compression format, resolution, frame rate, and more to adjust in your video. All of that can be done without being a video pro, we promise.
Check out Camtasia’s all-in-one screen recorder and video editor, and other TechSmith products to make your video production easier than ever.
Share