
Screen recording on Windows 10 gives you an easy, built-in way to capture tutorials, document bugs, or create training content — no extra hardware or expensive software required. While built-in tools may cover the basics, they often lack the flexibility, editing options, and consistency you need for professional-quality captures, especially across Chrome, desktop apps, and more.
In this step-by-step screen recording tutorial, you’ll learn how to make the most of Windows 10’s native functionality, troubleshoot common issues, and know when it’s time to step up to a professional screen recording tool like Snagit or Camtasia.
When and why to use screen recording in Windows 10
Screen capture lets others see exactly what’s happening on your computer screen — paired with system audio or microphone input, it’s an efficient way to share information visually. Whether you’re showing how software works, documenting a bug, or answering a repeated question, recording a video of your screen can save time and prevent miscommunication.
It’s especially helpful when:
- You need visual clarity to walk someone through a process
- You want to save time explaining something you can just show
- You’re trying to reduce back-and-forth or confusion
- You’re sharing knowledge across teams, classrooms, or projects
Typical use cases for screen recording software include tutorials, gameplay captures, PowerPoint presentations, and troubleshooting walk-throughs.
How to screen record on Windows 10 with built-in tools
The Xbox Game Bar is Microsoft’s built-in screen recorder for Windows 10. While it was originally designed for capturing gameplay, its functionality extends to just about any screen recording task.
Enable the Xbox Game Bar
Xbox Game Bar comes pre-installed on Windows 10, but you may need to turn it on manually.
- Press Windows key + I to open Settings.
- Click Gaming > Xbox Game Bar.
- Toggle it On.
Pro tip: You can also use the keyboard shortcut: Windows key + G.
If you’re having trouble enabling it, start by updating to the latest version of Windows 10. Make sure you’re using either Windows 10 Home or Pro — other editions may not support this feature. Still having trouble? Try closing unnecessary background apps to improve performance.
Record screen with system audio
Once you enable the Game Bar, you’re ready to record! Here’s how:
- Press Windows key + G to open it.
- In the Capture widget (camera icon), check your audio settings.
- Enable “System audio” and your microphone if needed.
- Click the Record button or press Windows key + Alt + R.
Adjust system and mic volume before you start to ensure everything sounds clear.
Save and access your clips
When you stop recording, your video is saved automatically, making it easy to access later. To find your clips, open File Explorer and navigate to This PC > Videos > Captures, where you’ll see MP4 files named with the app and timestamp.
To keep your recordings organized, consider renaming files with clear titles right away and sorting them into folders by project or type. It’s also a good idea to back up important content to cloud storage and delete any test clips you no longer need to free up space.
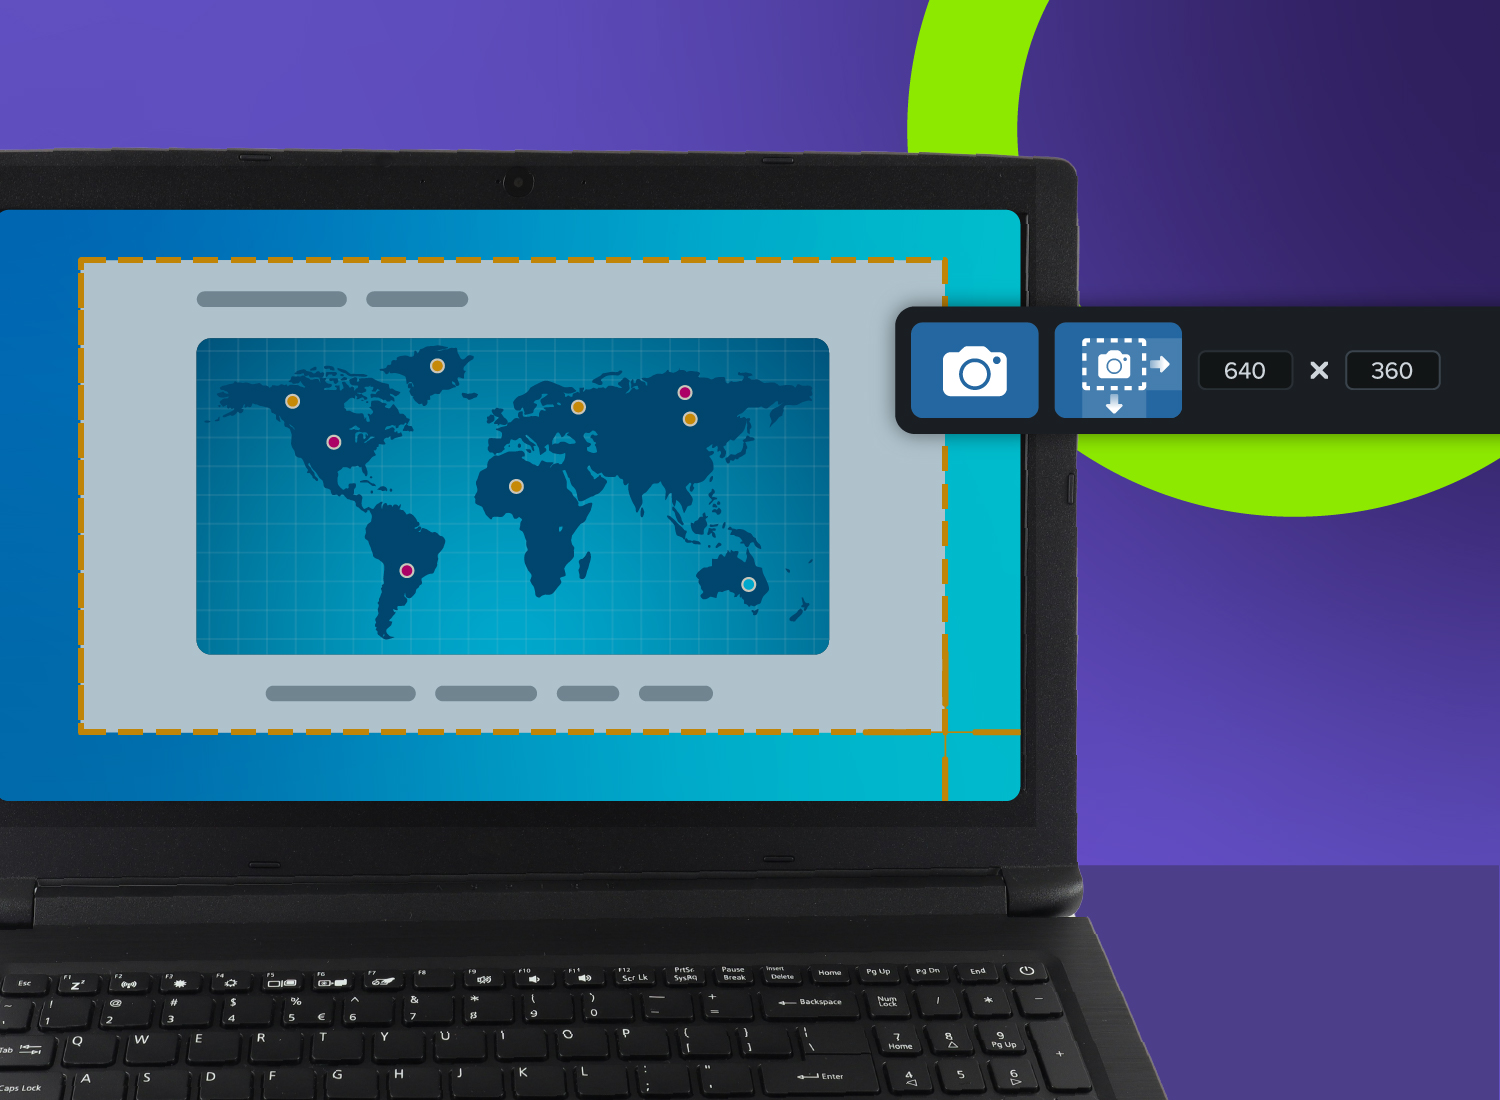
How to capture your full screen and audio
The Xbox Game Bar doesn’t record File Explorer or your desktop. To record your entire screen (or areas Game Bar doesn’t cover), you’ll need an alternate method.
Check your display settings
Before you start recording, it’s important to check your display settings to ensure the best results.
Right-click your desktop and select Display settings. Set your primary monitor, and make sure the resolution is 1920×1080 or higher for optimal clarity. Set the scaling to 100% to keep text sharp and readable. For a pro-level final video, keep your desktop clean and use a neutral background to keep things looking neat and professional.
Choose the entire display or a specific area
When you’re ready to record, think about what makes the most sense for what you’re showing. Need to jump between apps? Go with full screen. Focusing on just one program? A single window is probably your best bet. Want to zoom in on something specific? A custom region gives you that control.
And if you’re using PowerPoint, there’s a handy screen recording tool built right in. Just head to Insert > Screen Recording, select the full screen, turn on audio, and hit Record. It’s a simple way to capture everything (even File Explorer) with no time limits!
Troubleshooting common recording issues
If something isn’t working, here are quick fixes:
- No audio recorded: Check privacy settings and mic permissions.
- Black screen or flickering: Update graphics drivers and disable hardware acceleration.
- Laggy performance: Close background apps and reduce video quality settings.
- Missing recordings: Double-check your Captures folder or look in temporary files.
Still stuck? Restart your computer or run the Windows Troubleshooter (Settings > Update & Security > Troubleshoot).
Advanced screen recording software for Windows 10: Camtasia and Snagit
Windows 10’s built-in tools are great for quick captures, but they fall short when you need advanced video editing, higher-quality outputs, or polished tutorials without a watermark.
That’s where TechSmith’s screen recording software comes in. Camtasia Online is free, browser-based, and built for collaboration, making it easy to invite others to contribute their own recordings to your video. It’s a great option for quick, no-install projects where you just need to record, combine clips, and share. While it includes some basic editing tools, its capabilities are limited compared to full-featured desktop software.
Need to show your screen?
Skip the downloads. Use Camtasia online to record your screen, camera, and microphone right in your browser for free.
Start Recording
However, if you need advanced editing tools or higher-quality output, software like Snagit (for simple captures and edits) or Camtasia Editor (for more advanced video creation) may be worth considering.
Snagit is perfect for capturing quick screenshots or screen recordings. It lets you trim clips, add basic annotations while recording, and share instantly — ideal for documentation, bug reports, or training content.
Record your screen with Snagit
Snagit makes it easy to share quick updates and how-to’s by capturing exactly what’s happening on your screen.
Get Snagit
Camtasia is a full-featured video editor for screen recordings. It allows you to record audio and webcam together, use multi-track timeline editing features, and add transitions, callouts, cursor effects, and more. It’s a great option for video walkthroughs, onboarding, or instructional design.
Here’s a quick comparison:
| Tool | Best For | Key Features |
| Snagit | Quick informal screen videos | Trim and combine clips, record screen and camera at the same time, share with a link |
| Camtasia | Full video editing & production | Timeline editor, cursor effects, transitions |
| Camtasia Online | Free, collaborative, browser-based editing | Record in browser, invite contributors, combine clips, basic trimming tools |
Still not sure which is right for your project? Check out Snagit vs. Camtasia for a side-by-side comparison.
Crystal-clear screen recording
Why settle for blurry screen content? Camtasia Editor’s screen recorder captures everything at up to 4K!
Free Download
Where your recordings are saved and how to share them
Knowing where your files are saved makes it easy to organize and share your content.
Default save locations
By default, recordings from the Xbox Game Bar are saved to the Videos > Captures folder, while PowerPoint saves recordings in the same folder as your presentation. If you’re using tools like Snagit or Camtasia, files typically land in your Documents folder or wherever you’ve set a custom path.
Here are some tips for keeping your screen recordings tidy:
- Name files clearly with project and date.
- Organize by purpose or client.
- Back up important work to the cloud.
- Monitor storage — high-quality MP4 files can add up quickly.
Sharing your recordings
Once your screen recording is ready, the next step is getting it into the right hands. The best way to share your video depends on its size, who you’re sharing it with, and how you want it to be viewed.
For short clips under 25MB, email is a quick and easy option. If your file is larger or you need to collaborate, cloud storage tools like OneDrive, Google Drive, or Dropbox let you share links and manage access. Creating tutorials or walkthroughs? YouTube is perfect for that — just make sure to set the privacy to Unlisted or Private if you don’t want it public. And if you’re sending a large file directly, services like WeTransfer are a simple, no-login-required solution.
Here’s a quick breakdown of common sharing options:
| Sharing Method | Best For | Limitations |
| OneDrive | Microsoft Teams users | Requires a Microsoft account |
| Google Drive | Gmail users | Limited free storage |
| YouTube | Public or private tutorials | Videos are public by default |
| Team chat apps | Internal communication | File size limits may apply |
Before sharing your video, double-check its privacy settings and add a clear, descriptive title and summary so viewers know what to expect. And, perhaps most importantly, always test the link before you send it — nothing’s worse than realizing your video won’t play when someone tries to open it!
Take your recordings further with TechSmith
Creating a screen capture is just the first step. To make your content stand out, you can enhance it with effects like annotations, zooms, text overlays, or webcam video.
Adding features like cursor highlights or step-by-step annotations can help viewers follow along more easily. A simple zoom can draw attention to a detail that might otherwise go unnoticed. And if you make a mistake? Just trim it out with basic video editing tools — no need to start over.
While the built-in Windows screen recorder is great for beginners, it doesn’t offer much in terms of video quality enhancements or editing tools. That’s where Snagit and Camtasia really shine. Snagit is perfect for capturing and marking up quick clips, while Camtasia gives you the full screen recording software experience with everything from audio recording to animations.
Looking for professional screen recording software?
From simple screen captures to polished video editing, TechSmith has everything you need to create professional-quality content.
Learn More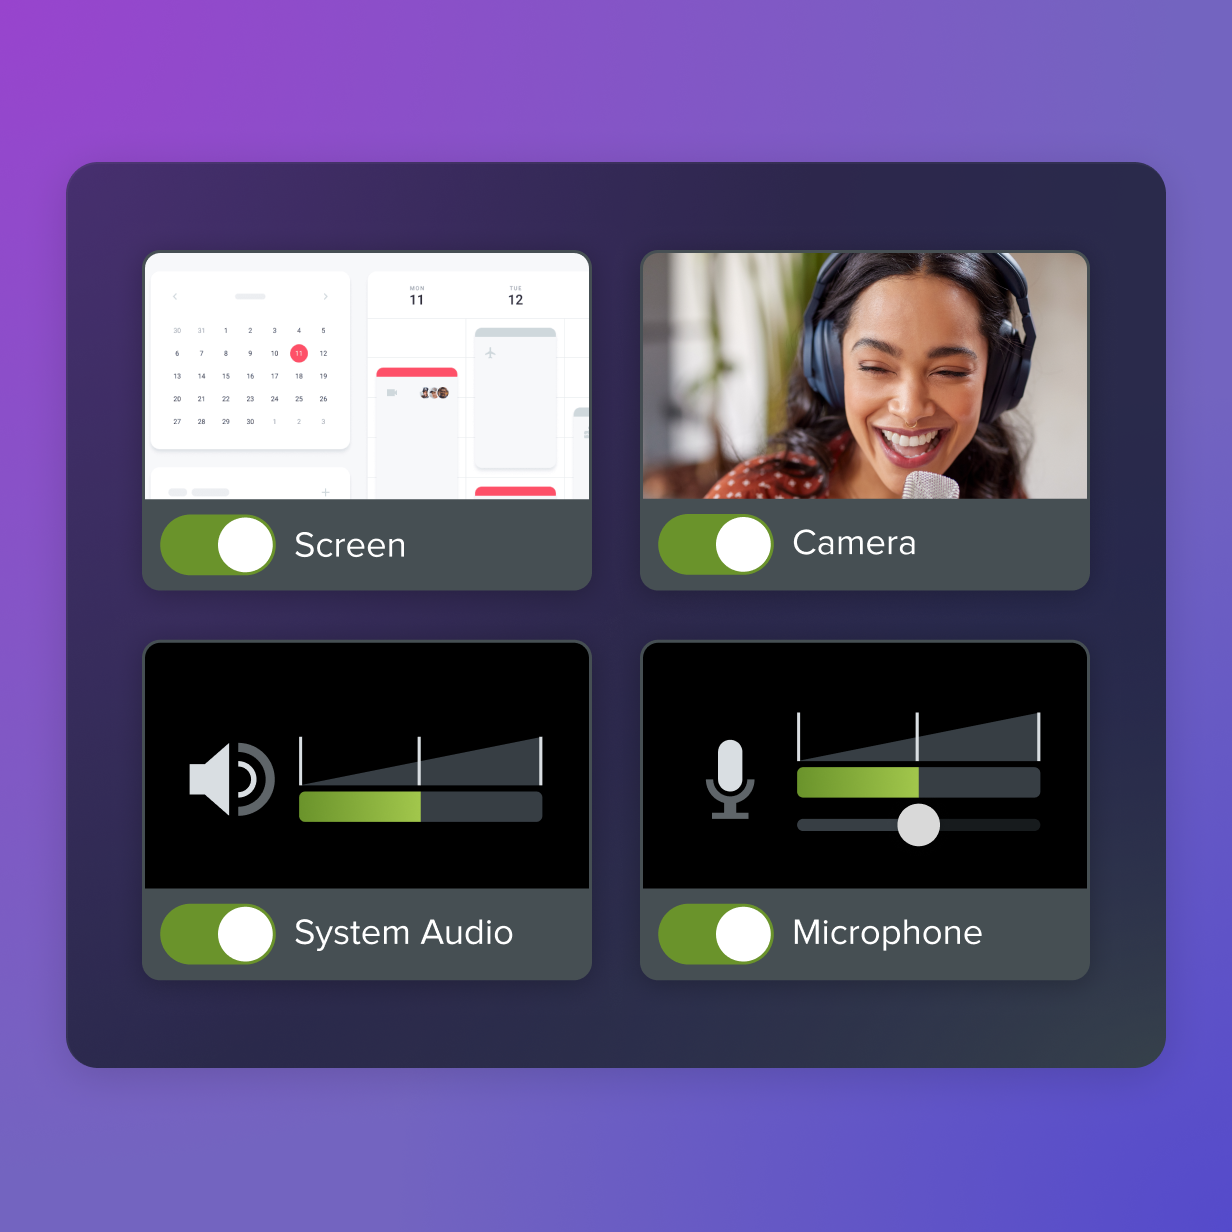
Share