


The size of your YouTube thumbnail image can be the difference between a scroll-past and a click. Get the dimensions wrong, and your image might look blurry, get awkwardly cropped, or not upload at all.
YouTube shows thumbnails in dozens of places, from mobile search to desktop suggestions, and each one needs to be formatted properly to look polished. A thumbnail that looks great on desktop can turn blurry on mobile if it isn’t sized just right, especially for mobile-first social media viewers.
We’ll walk you through the best YouTube thumbnail size, how it impacts visibility, step-by-step upload instructions, and proven design tips to boost clicks, whether you’re a seasoned content creator or just getting started with your YouTube channel.
What size thumbnail is best for YouTube?
The best size for a YouTube video thumbnail is 1280 × 720 pixels, using an aspect ratio of 16:9. This resolution keeps your image sharp across every device and viewing context, essential for anyone creating video content that needs to stand out.
Here’s a quick reference for the key specs, and why each one matters:
| Specification | Requirement | Why It Matters | Common Mistakes |
| Dimensions | 1280 x 720 pixels | Ensures clarity on all devices | Using smaller images that get blurry when scaled up |
| Aspect Ratio | 16:9 | Matches YouTube player dimensions | Creating square or vertical thumbnails |
| File Size | Maximum 2MB | Balances quality with upload speed | Uploading uncompressed files that exceed the maximum file size |
| File Types | JPG, PNG, GIF | Ensures compatibility with YouTube’s accepted image formats | Using unsupported formats like BMP or TIFF |
| Minimum Width | 640 pixels | Prevents pixelation | Using low-res screenshots from phones |
When you’re designing thumbnails, you’ll run into a few technical terms. Here’s a quick breakdown:
Pixels: The tiny dots of colors that make up a digital image. The more pixels an image has, the more detailed the image looks.
Thumbnail resolution: The total number of pixels — 1280 × 720 equals 921,600 pixels. If your image size is smaller than 1280 × 720, YouTube will automatically stretch it to fit, which causes pixelation. Your text will likely be difficult to read and look unprofessional.
Aspect ratio: The relationship between width and height — 16:9 means it’s 1.78x wider than it is tall. If you use an aspect ratio of 4:3, your video will look distorted in YouTube’s 16:9 aspect ratio.
Image format: YouTube accepts three image formats for thumbnails:
- JPG: Great for photos and images with lots of detail, creates smaller file sizes
- PNG: Best for text-heavy graphics or transparent backgrounds
- GIF: Works for simple graphics (but not animation — only the first frame shows)
File size: All files must stay under the 2MB size limit to upload successfully.
How your thumbnail dimensions impact visibility
Beyond visual appeal, thumbnail dimensions affect how YouTube’s algorithm treats your video content: it favors properly formatted thumbnails because they help deliver a better viewing experience, especially across mobile and desktop.
Getting the size right is one of the easiest ways to optimize your video’s performance. A well-sized YouTube thumbnail image sends a signal to YouTube that your content is high-quality and worth promoting in:
- Search results: Thumbnails appear at medium size, so 1280 × 720 resolution keeps text and graphics readable when viewers scan through results.
- Suggested videos: Thumbnails display smaller in the sidebar, making high resolution critical for maintaining visual clarity.
- Homepage feed: Thumbnails appear larger and more prominent, where sizing helps videos stand out.
- Mobile viewing: The 16:9 ratio prevents awkward cropping or black bars on vertical screens.
The aspect ratio of 16:9 matches YouTube’s standard player. Using anything else (like 4:3) creates pillarboxing — those black bars on the sides that waste space and make your videos look outdated.
While it’s important to understand guidelines and best practices for creating YouTube thumbnails and videos, you’ll also want to keep in mind that people process visuals faster than text. This means your thumbnail may be your best shot at making a great first impression.
Our research supports this: “Around 60% of the human brain is involved in visual processing, so visuals play a huge role in how we communicate with each other,” says Dr. Alastair Goode, who conducted research for TechSmith. “The research shows that in a business scenario, visuals prompt a deeper level of understanding than nonvisual communications — proving humans react to visual stimuli in the same way at work as they do in any other situation.”

How to upload a custom thumbnail
Once you’ve designed an image with the right YouTube thumbnail dimensions and file type, uploading is simple. Just make sure your account is verified and follow these quick steps in YouTube Studio.
1. Sign in to YouTube Studio
Start by signing in to YouTube Studio, the dashboard for managing your channel. Go to studio.youtube.com or click your profile picture and select YouTube Studio.
If your account isn’t verified yet, you’ll need to verify your phone number first. Managing more than one channel? Use the account switcher in the top right to make sure you’re in the right place.
Troubleshooting tip: If you don’t see your channel, double-check that you’re signed into the correct Google account.
2. Select your video
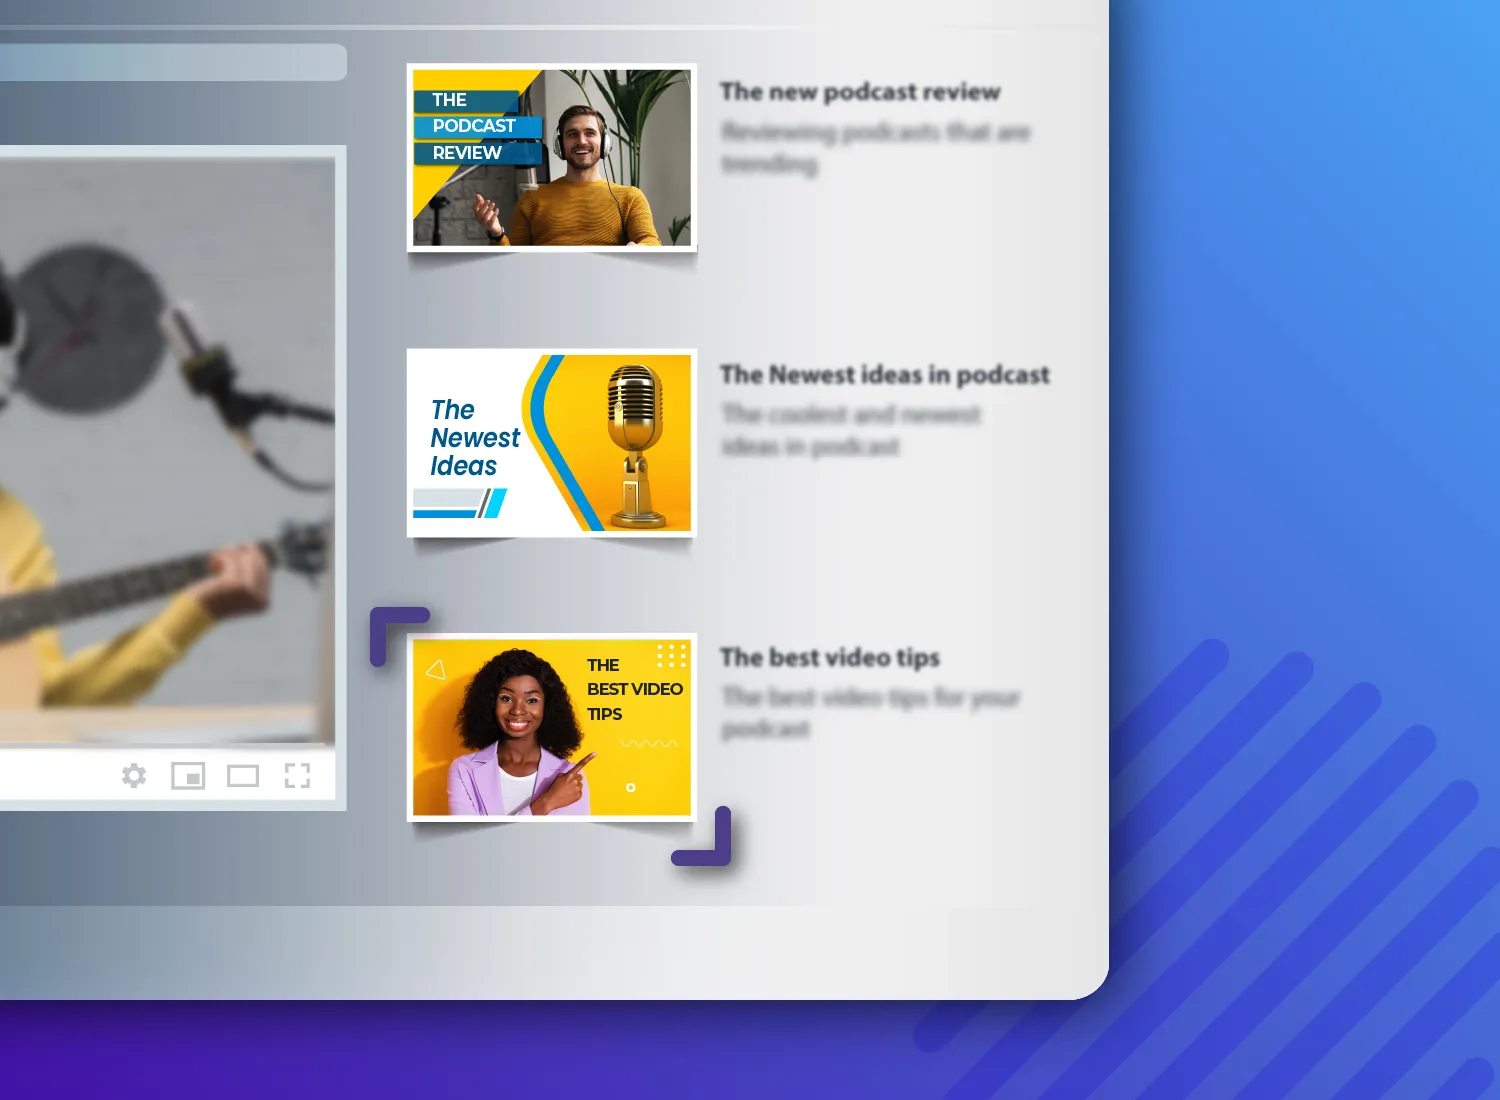
You can add thumbnails when you first upload a video or to videos already on your channel. Many creators like to refresh their existing videos by going to Content on the left-hand menu in YouTube Studio, where all your uploads are listed. You can easily find specific videos using the search bar or filters.
You’ll see the current thumbnail in the video list. While you can’t upload the same thumbnail to a bunch of videos at once, you can quickly move between videos with keyboard shortcuts like J and K.
3. Click the thumbnail option
On the video details page, go to the Thumbnail section. You’ll see three automatically generated thumbnail options from your video. If you have a verified account, you’ll also see an Upload thumbnail button. The thumbnail that’s currently active will have a blue border around it.
You should see your custom thumbnails within minutes, but processing could take up to two hours during high-traffic periods.
4. Add your image
Before uploading, double-check that your image meets the size requirements of 1280 × 720 pixels and is under 2MB. YouTube will reject images that don’t meet these specifications. So, if the file’s too big, use an image editor to compress it.
When your image meets the size requirements:
- Click Upload thumbnail.
- Choose your image file.
- YouTube will show a preview.
If you need help changing your image size to meet YouTube’s requirements, check out this guide on how to resize an image correctly.
5. Save changes
Click Save in the top right corner, as YouTube doesn’t automatically save your thumbnail. You should see a confirmation message, and the new image will show up across YouTube in about 5–10 minutes.
Pro tip: Open your channel in an incognito window to see how the new thumbnail appears to viewers.
Best practices you should know for YouTube thumbnail design
The right size won’t help a thumbnail that doesn’t stand out. Technical specs get you in the door; great design is what gets people to click.
Want to level up your whole video strategy? Check out our guide to making YouTube videos.
Choose bold text and contrasting colors
There’s an unspoken “three-second rule” in video marketing: If you don’t grab your audience’s attention in the first few seconds, they’re more likely to stop watching. That means your thumbnail text needs to be big, bold, and readable (even on a phone screen) to pull in viewers so that they’ll click through to watch.
- Contrast ratio: Aim for at least 4.5:1 between text and background for better readability.
- Color psychology: Warm colors like red and orange can increase click-through rates compared to cooler tones.
- Font weight: Bold or semi-bold fonts maintain readability when scaled down.
- Font style: Sans-serif fonts typically perform better than serif fonts because they retain clarity at small sizes.
Skip “YouTube red” for play buttons or icons, as it can blend in with YouTube’s interface and confuse viewers.
Pro tip: Snagit makes it easy to add arrows, shapes, callouts, and other eye-catching elements, and you don’t need advanced design skills.
Include your branding
Consistent branding builds channel recognition and viewer trust. Creating thumbnail templates that reinforce your visual identity helps viewers recognize your content in crowded feeds.
Here’s how to brand your thumbnails effectively:
- Place logos in one of the four corners, typically in the top-left or bottom-right.
- Keep logos visible but not overpowering — roughly 5-10% of the thumbnail width.
- Stick to a consistent color scheme, font combination, and layout style across thumbnails.
Consistent branding is especially important for educational or professional channels; credibility matters, and a polished look helps build it quickly.
Pro tip: Camtasia templates and asset libraries make it easy to place logos and brand colors in a consistent location on each thumbnail.
Go from screen recording to polished video
A screen recording is just the start. Camtasia’s editor helps you add the callouts, animations, and edits you need to create a truly professional video.
Free Download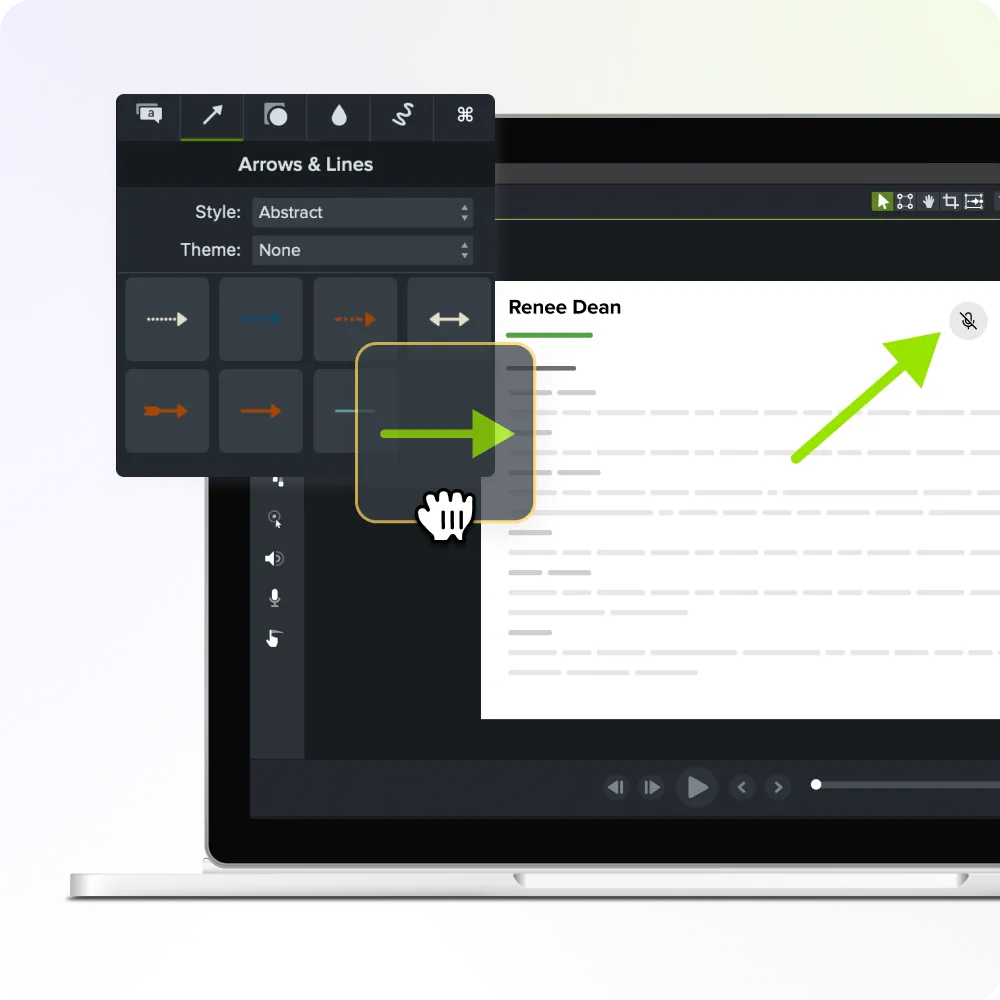
For more strategies to boost engagement and grow your channel, check out these tips on building a YouTube audience.
Keep the layout simple
Your thumbnail needs to stand out in a sea of videos. If the layout’s too busy, people will scroll right past.
- Maximum of three elements: Limit thumbnails to one focal image, one line of text, and one logo or icon.
- Rule of thirds: Place key elements in the left third or right third to guide the viewer’s eye and improve visual balance. This also works for the top third and the bottom third.
- Whitespace matters: Leave intentional empty space to avoid clutter and improve readability.
- Mobile-first design: 69% of YouTube views happen on mobile devices, so test thumbnails at 120p wide.
Simple wins. Every extra element you add may make your message harder to spot, especially when viewers are scrolling quickly.
Use clear, high-resolution images
If your thumbnail looks low quality, people may assume your video is, too.
Maintain a 1280 × 720 pixel resolution at a 16:9 aspect ratio for sharp, clear thumbnail images. Lower-resolution images appear blurry when YouTube scales them up for different display contexts.
Screenshots from paused video frames typically lack adequate resolution unless processed with editing tools. Export a frame or use a high-quality screenshot tool instead.
You’ll get the best results by:
- Using PNG format for graphics with text or logos.
- Choosing JPG for photo-based thumbnails with gradients.
Pro tip: Stay under the 2MB upload limit and maintain quality by using optimized export settings in Camtasia and Snagit.
Faster video creation with Rev
Make videos as easy as click, click, done! Camtasia Rev is so fast it’s like magic!
Learn More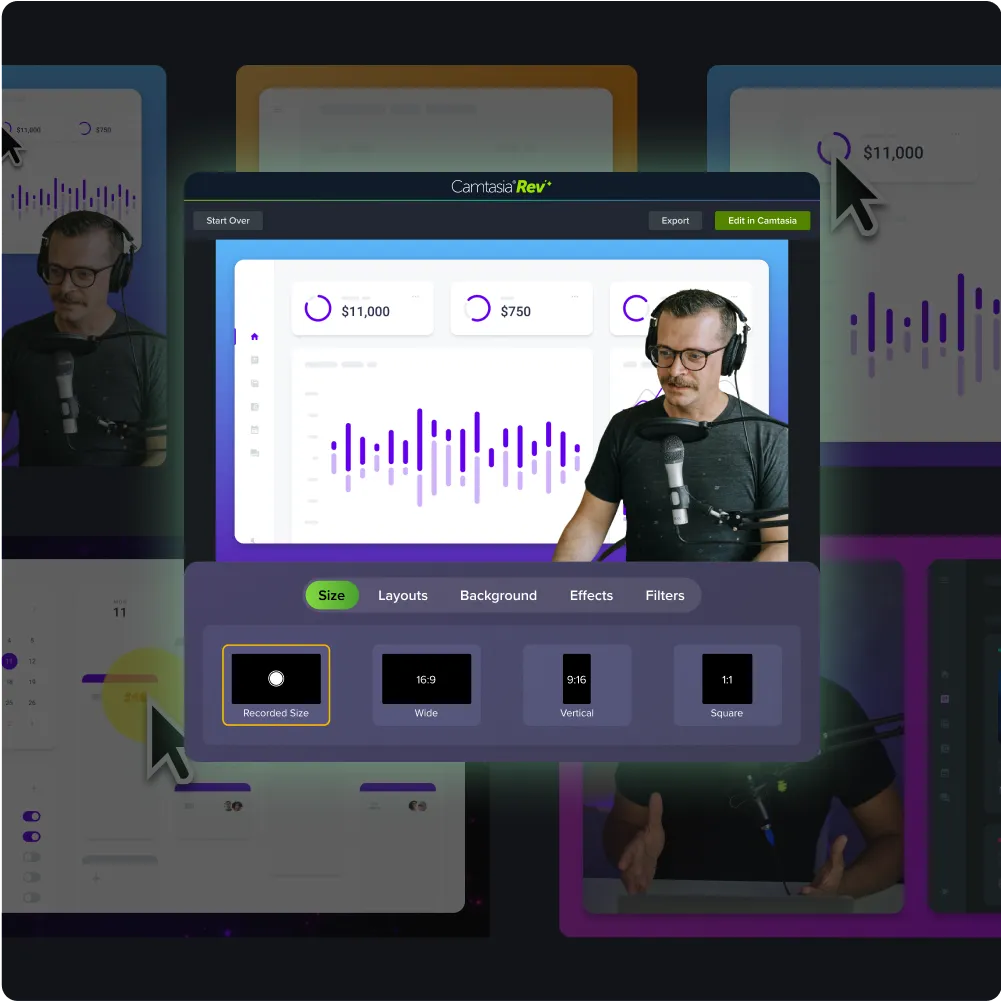
If you’re unsure which file type to use for your thumbnails, read up on the differences in this comparison of JPG vs PNG.
Common file types and resolutions
Knowing the right file format and resolution helps you balance image quality, file size, and upload success so your thumbnails look great and load without a hitch.
JPG
JPG is a great choice for photos or thumbnails with a lot of gradients. It keeps file sizes small (usually 100–500KB), but the compression can sometimes make text look a little fuzzy, so avoid it for text-heavy design elements.
PNG
PNG is best for graphics with text, logos, or flat color backgrounds. It keeps edges sharp and supports transparency, which is ideal for layered designs. Just watch your file size; PNGs are usually larger (up to 2MB).
GIF
YouTube accepts GIFs, but remember that they won’t animate. For still images, GIFs work for basic graphics, but a PNG usually does a better job with quality and flexibility.
Pro tip: Snagit and Camtasia support PNG, JPG, and GIF outputs.
Annotate and edit screenshots with Snagit
Professional mark-up tools and powerful features make it easy to create helpful images.
Try it Free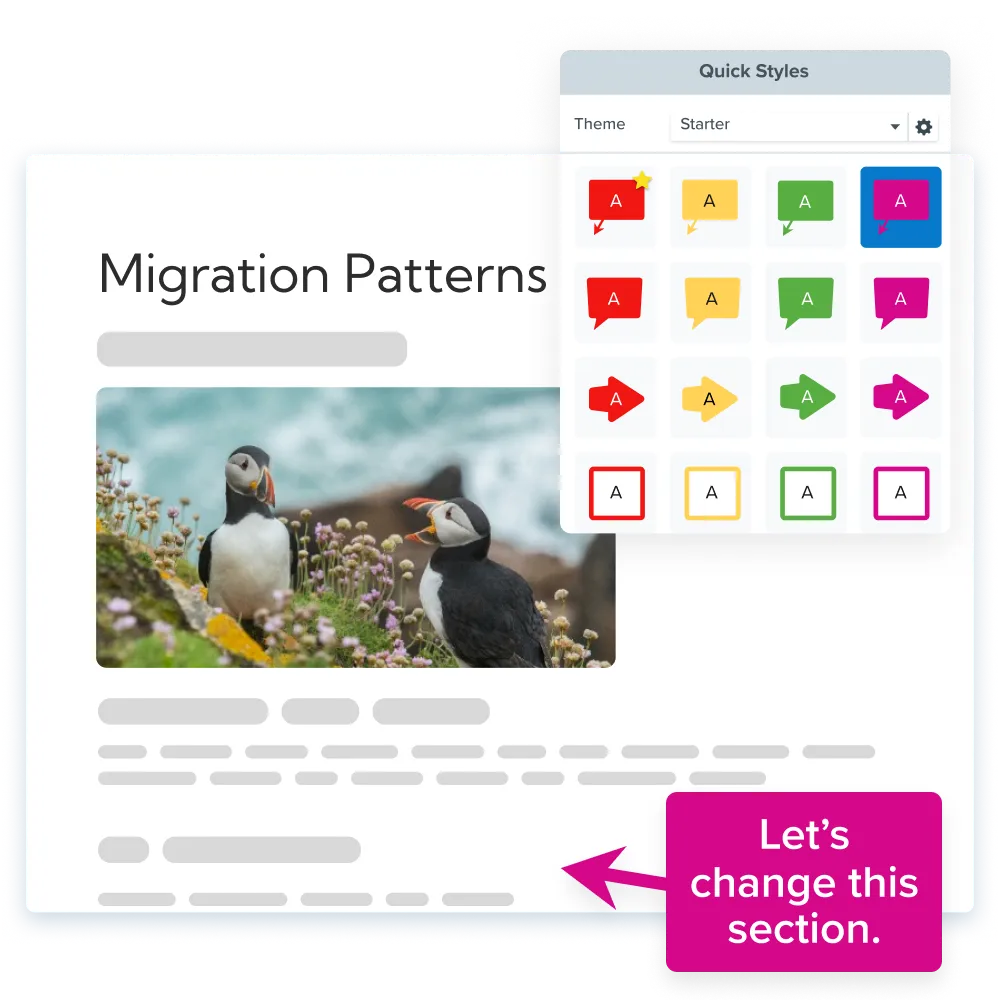
Resolution choices affect both image quality and file size:
- 1280 × 720 pixels: The standard that works perfectly across all YouTube contexts
- 1920 × 1080 pixels: Uploads successfully but offers no visible improvement over 1280 × 720
- Below 1280 × 720: Forces YouTube to upscale images, creating blurriness and pixelation
- 4K (3840 × 2160): Exceeds YouTube’s requirements and may cause upload issues
Note: DPI (dots per inch) only matters for print, not screens. A 1280 × 720 image at 72 DPI looks the same as one at 300 DPI on YouTube. What matters online are pixel dimensions, not necessarily print resolution.
Take your YouTube thumbnails to the next level
Thumbnails are what motivate people to press play.
Getting the size and specs right is the foundation, but design is what drives real results for YouTubers. When you combine the 1280 × 720 resolution, 16:9 aspect ratio, and a solid visual strategy, your thumbnails become powerful tools for engagement.
Batch-creating thumbnails helps speed up your workflow and keeps your brand consistent. Try designing 5–10 variations before filming; it’s a smart way to align your visuals with the content and build a look viewers will recognize.
A little time spent on thumbnail design can go a long way. In many cases, 30 minutes refining your image can boost click-through rates more than hours of post-production editing. Using YouTube thumbnail templates saves time and keeps your thumbnails on-brand. With preset colors, fonts, and layout styles, you can build a consistent look while still customizing each video’s message.Want to create high-quality videos that keep your viewers engaged? TechSmith’s suite of tools makes it easy. Get started today!
Frequently Asked Questions
YouTube will accept smaller thumbnails but will stretch them to fit the player dimensions, which often results in blurry, pixelated images that look unprofessional and reduce click-through rates.
Yes, but YouTube will automatically add black bars to the sides or top and bottom to make it fit the 16:9 player window, which wastes valuable visual space and looks less professional.
YouTube displays thumbnails at different sizes on different platforms. A thumbnail might appear clear on desktop but pixelated on mobile if it doesn’t meet the minimum resolution requirements of 1280 × 720 pixels.
Use large, bold fonts with high contrast against the background. Text should be limited to 3–5 words maximum and sized large enough to read even when the thumbnail appears in suggested videos at a smaller size.
No, even though YouTube accepts GIF files for thumbnails, the animation feature doesn’t work. The platform will only display the first frame of any animated GIF uploaded as a thumbnail.
Share