

Let’s be honest — static Google Slides can be a little boring. Sure, they do get the job done, but if you’ve sat through a presentation with nothing but text, then you already know how easy it is to zone out.
That’s why modern sales and training teams are embedding videos in Google Slides. Videos not only make presentations more engaging, but they also enhance their effectiveness.
According to TechSmith’s Value of Visuals report, two out of three employees do their work better when they learn via visuals instead of text alone. Videos also help them absorb content 7% faster.
Adding video recordings to your presentation is a great idea. But, how exactly do you do that?
Read on as we look at three flexible ways and offer tips for delivering polished presentations.
3 simple ways to embed a video
Google Slides allows three pathways to embed recordings: YouTube, Google Drive, and a direct URL. So, you don’t have to go through the hassle of downloading videos first.
Here’s a breakdown of the three options and their ideal use cases:
| Video source | Best use case | Time to embed | Internet connection requirement |
| YouTube | Public content, customer-targeted videos | Less than a minute | Yes, for playback |
| Google Drive | Private content, internal videos | Varies, depending on video file size and format (some users report between 2 and 30 minutes) | Yes, for playback |
| Direct URL | Videos from YouTube However, there’s a hyperlink option for videos on third-party platforms. | A few seconds | Yes, for playback |
Whether you want to add public tutorials or videos on your local drive, we’ve got you covered. Let’s start with the most popular option: YouTube embedding.
How to add a YouTube video to Google Slides
With inherent streaming optimization, access to millions of videos, and easy playback controls, it’s easy to see why YouTube embedding is the most popular method.
If you want to include a product demo, an explainer video, or a tutorial in your slides, use Snagit to take relevant screenshots and add annotations. Then, use Camtasia to integrate the images into your video and upload the video to YouTube for seamless embedding.
Record your screen with Snagit
Snagit makes it easy to share quick updates and how-to’s by capturing exactly what’s happening on your screen.
Get Snagit
When you’re done, follow these steps:
1. Open the presentation
The first step is to determine where the YouTube video will appear. Open Google Slides, prepare your presentation, and identify where your video will add the most value.
Ideally, it should appear near related content. For example, a demo video could come after a highlight of your product’s features. If you want the video to be the primary focus, you could plan for it to appear before supporting content.
To make it easy for your audience to follow the presentation (and video), be sure to briefly introduce the video and its purpose.
2. Select Insert Video
Once you settle on the best slide for your video, tap Insert. The “Insert” feature allows you to add a wide range of media to Google Slides, not just videos. You can add music, images, shapes, tables, or even charts. For video embedding, select Video from the drop-down menu.
If you prefer to work with keyboard shortcuts, Google has you covered as well. Select the slide you want to embed the YouTube video in and use Alt+I+V (if you’re on Windows/Chrome OS) or Ctrl+Option+I+V (if you’re on a Mac device).
3. Choose the YouTube option
After selecting Video, three tabs will appear:
- Search: Allows you to search for YouTube videos
- By URL: Lets you add a direct video link
- Google Drive: Used for adding content from your drive
The Search tab is typically the default choice, so you don’t need to tap anywhere else. Just enter the title of the YouTube video you want to embed.
4. Insert and adjust
When you find your video, select it and tap Insert. Then, adjust its position, ensuring it aligns with your slide layout — the last thing you want is a video that sticks out like it doesn’t belong!
If you want the video to appear on its own, center it for a polished presentation. If you’re going to add supporting elements, like text, align your video to the left or right side of your slide.
Remember to resize the video as well. For this, click on the video and drag its corners while holding the Shift button to maintain its proportions.
How to insert a video from Google Drive
If you want to add an internal training video, original content, or any other recording intended for specific eyes only, embed your video directly from Google Drive. Here’s a step-by-step guide:
1. Upload to Google Drive
If your video is already in Google Drive, go straight to step two.
If not, start by creating and uploading your video. Use Camtasia for recording and editing, then export the video to your local hard drive as an MP4 file for broader compatibility. Then:
- Go to your Google Drive account.
- Tap New and then File Upload.
- Choose the video you want to add and tap Open.
When that’s done, you’re ready to go to the next step.
2. Insert video in slides
The beauty of uploading a video from Google Drive is that all Google Workspace apps work seamlessly together. Google Slides can access your entire library, so you don’t need to leave your presentation to add the video.
To upload from Google Drive:
- Tap Insert, then Video.
- Select the Google Drive tab
- Browse your folders and find the Google Drive video you want to add.
- Tap on the video and press Select.
3. Confirm permissions
Google’s permission system is undoubtedly valuable. After all, it protects sensitive information.
However, it can also be a hindrance if viewers don’t have the right access to your video — they’ll likely get a “You need permission to access this file” message.
To prevent this, confirm whether your video has restrictions. If it does:
- Grant all your viewers access to the video. This could be a practical solution if you’re presenting to a small group of people.
- Allow “Anyone with the link can view” access to the video. This is more practical when making external presentations or when you have a large target audience.
- Only grant access to a few relevant email addresses if your video contains sensitive information, like customers’ personal details.
To adjust your permissions settings:
- Go to Google Drive.
- Select Share.
- Add the email addresses you want to grant access to, or change your setting to “Anyone with the link can view.”
4. Resize and position
As with YouTube videos, resize and position your video to align with your slide’s layout. Again, you could center or align it to the side, depending on whether you want to include additional elements on your slide.
The key is to make sure it fits neatly and is large enough to capture your audience’s attention without sticking out excessively.
How to put a video in Google Slides by URL
Already have your YouTube link? You can use the “By URL” function instead of the Search tab. To add the link to your presentation:
1. Copy the video URL
Unfortunately, not all video links are embeddable on Google Slides. Currently, the platform only allows YouTube URLs. To copy a YouTube video’s link:
- Find the video you want to add.
- Tap the Share button.
- Select the Copy button.
While links from third-party sites, like your learning management system (LMS) or video sharing platforms like Vimeo, are not directly embeddable, you can add them to slides via hyperlink. So, don’t hesitate to create a video link on your current platform.
2. Insert video by URL
When you have your YouTube video’s URL:
- Go to Insert > Video like before.
- Tap the By URL tab.
- Paste the URL in the text field.
- Wait for Google Slides to show the video’s preview (confirms compatibility).
- Tap Select after the preview appears.
If you want to add a link from a third-party site (via hyperlink):
- Take a screenshot of your video (using Snagit) to give your audience some context.
- Navigate to the slide where you want to link the video.
- Tap Insert, then Image, then Upload from computer.
- Resize and reposition your image to align it with the rest of your content.
- Tap the image, select Insert, and then Link.
- Paste your video’s URL in the provided field.
It’s worth noting, however, that your video will open in an external web browser when you hyperlink it.
3. Verify playback
Just because a video appears in your presentation doesn’t mean that it’ll play. To confirm yours does, test it yourself before sharing your slides. If it doesn’t check and correct your URL. Also, add a fallback, like your Screencast URL (if you created the video with Camtasia and exported it to Screencast), via hyperlink.
While this may not seem like a crucial step, it’s just as important as the others. Failing to correct technical hiccups can break the flow of your presentation, or worse, undermine your authority.
Tips on customizing video playback and settings
Want to optimize embedded videos for seamless viewing? You’ll need to go a step further and customize your video playback settings and design.
While default settings are typically sufficient, they may not meet your presentation needs. Here are some ways to correct that:
1. Change start and end times
It’s common for some videos to have more information than your presentation needs. For example:
- A software walkthrough video may cover more features than you intend to discuss in your presentation.
- A product demo video on YouTube may have an intro and conclusion encouraging viewers to subscribe to your channel.
- A customer testimonials video may contain reviews for products not highlighted in your presentation.
To avoid subjecting your audience to unnecessary content and eliminate awkward navigation mid-presentation, choose which sections of your video to play beforehand. Here’s how:
- Right-click your video.
- Select Format options.
- Tap Video playback.
- Enter when the relevant parts of your video start and end in the “Start at” and “End at” boxes.
Pro tip: Watch your video beforehand and note the appropriate timestamps. Then, add a few seconds buffer to avoid missing out on important information. Alternatively, you can edit out all the unnecessary parts in Camtasia before uploading your video to YouTube or Google Drive.
Go from screen recording to polished video
A screen recording is just the start. Camtasia’s editor helps you add the callouts, animations, and edits you need to create a truly professional video.
Free Download
2. Enable autoplay or mute
Still in the Video playback section, you can set how your video plays. Google Slides offers three options:
- On click (default): Video plays if you click to advance the slide.
- Manual: Video plays when you click directly on it.
- Automatic: Video doesn’t need clicks to play.
Autoplay may be a good idea if the embedded video is central to your presentation. On click and manual options, on the other hand, may be suitable if you first need to provide context and don’t want to distract your audience.
Google Slides also gives you the freedom to mute videos — simply tick the “Mute audio” box. This could be ideal when you want to narrate the recording yourself.
3. Adjust size and position
Google Slides’ default video size and positioning may not always align with your layout or needs. So, customize them yourself.
You could make your video:
- Full screen, if you want it as the center of attention.
- Half screen, if you have supporting text or images you’d like to add.
- A thumbnail, if you only want to use it as a reference point during your presentation.
To capture audience attention, observe design principles such as:
- Visual hierarchy: Make your video stand out (by increasing its size) if you want your audience to notice it before anything else on your slide.
- Rule of thirds: Imagine your slide is a 3 x 3 grid. Rather than centering your video, place it a little off-center along the gridlines.
- White space: Leave some empty space around your video for a clean layout.
- Consistency: If you plan to use multiple videos in your presentation, keep them around the same size and in the same general location on each slide for a professional and polished look.
Build more engaging Google Slides presentations with TechSmith
One of the best ways to make a good presentation is to break up lengthy text with video. Video embedding not only captures audiences’ attention but also enhances their understanding and sets you apart professionally.
Whether you want to create videos for training, sales, team updates, or educational content, TechSmith has you covered. Snagit can capture quick screenshots to include your video; Camtasia can streamline video creation and editing; and Audiate can provide access to AI-powered narration and captioning to support your presentation. Plus, you can use Screencast as your video hosting solution.
Want to quickly create videos for your Google Slides presentation? Use TechSmith products today!
Looking for professional screen recording software?
From simple screen captures to polished video editing, TechSmith has everything you need to create professional-quality content.
Learn More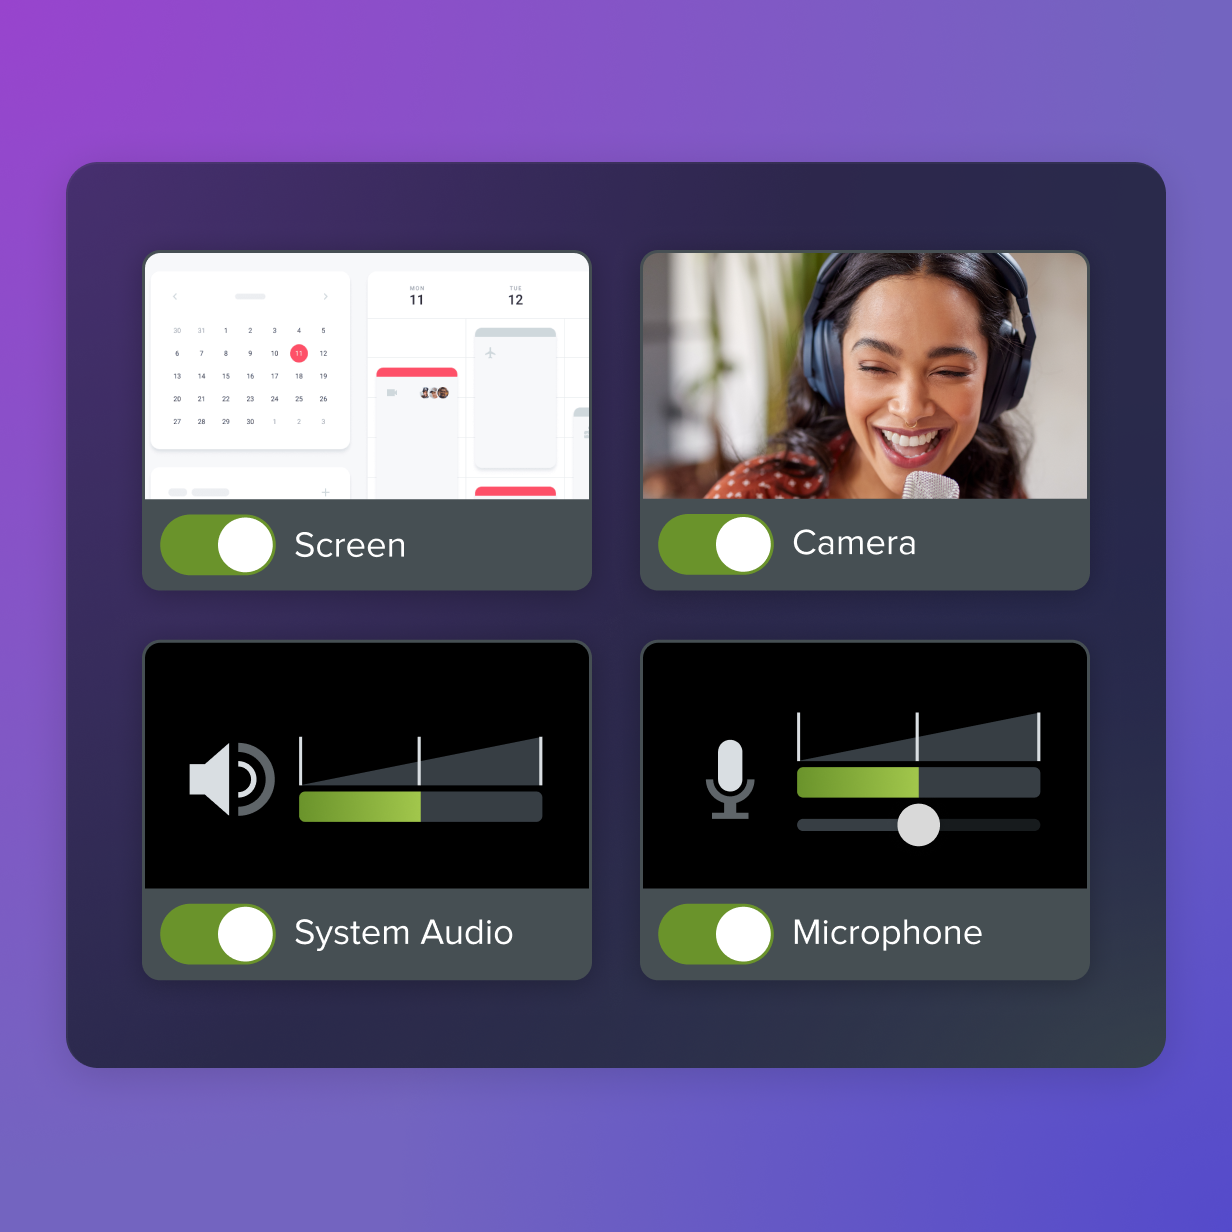
Share