Record with the PowerPoint Add-In (Windows)
Learn how to customize the Camtasia Add-In for Microsoft PowerPoint to record presentations.
Learn how to customize the Camtasia Add-In for Microsoft PowerPoint to record presentations.
The Camtasia PowerPoint Add-in provides robust, customizable options to record in Microsoft PowerPoint, and then edit or produce the recording in Camtasia.
Note: The Microsoft PowerPoint Add-In toolbar is only available for Windows. To record PowerPoint slides on Mac, see Import PowerPoint Slides or Record a PowerPoint Presentation.
Note: The PowerPoint add-in toolbar is installed by default with Camtasia. If the add-in does not appear in Microsoft PowerPoint, complete the following: select File > Options > Add-ins tab > Manage dropdown. Select Disabled Items and click Go. If the Camtasia add-in appears in the list, select it and click Enable.


Click the Recording Options button in the toolbar to open the Camtasia Add-in Options.
| Option | Description |
|---|---|
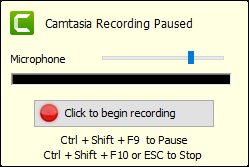
| Start recording paused |
|
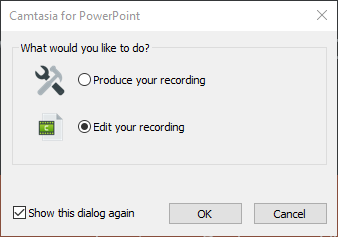
| Edit in Camtasia when finished |
|
| Include watermark |
|
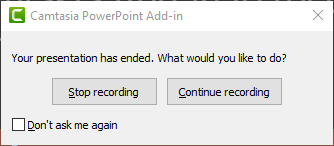
| At end of presentation | Select an option to Continue recording, Prompt to continue recording, or Stop recording. |
| Screen frame rate | Select the number of frames recorded per second. Recordings with higher frame rates display more smoothly but also result in larger file size. |
| Record to | Select TSC2 or H.264 video coding format. For guidance on which format to choose, see When to Use TSC2 vs H264 in Camtasia for Screen Recording. |
| Record audio |
|
| Audio source | Select a built-in or connected microphone. |
| Volume | Slide to adjust recording volume. |
| Capture system audio | Select to record the system audio (sounds from applications and websites). |
| Record from camera |
|
| Keyboard shortcuts | Customize hotkey combinations to control Record/Pause and Stop recording. |
Check out the latest features in Camtasia.
Already a Camtasia user? Learn how to update to the latest version.