Capture Steps and Create a Video (Snagit + Camtasia Online)
Learn how to quickly take screenshots of a process with Snagit Step Capture, then turn your screenshots into a video with Camtasia Online.

Learn how to quickly take screenshots of a process with Snagit Step Capture, then turn your screenshots into a video with Camtasia Online.
Use Snagit’s Step Capture to automatically grab screenshots as you click through a workflow, for example to document a step-by-step process or standard operating procedure (SOP).
Then, turn your Step Capture into a shareable training video with Camtasia Online, our web-based video creation tool. Use Camtasia Online to:
Video creation with Step Capture and Camtasia Online requires Snagit version 2026.3.0 or later.
Step Capture automatically grabs screenshots as you click through a process, then turns those screenshots into a visual guide with numbered steps.


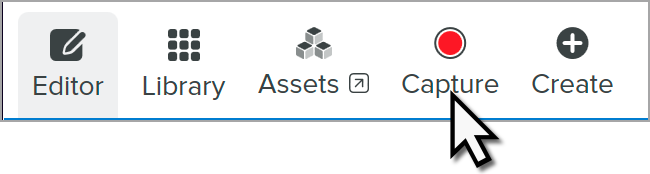
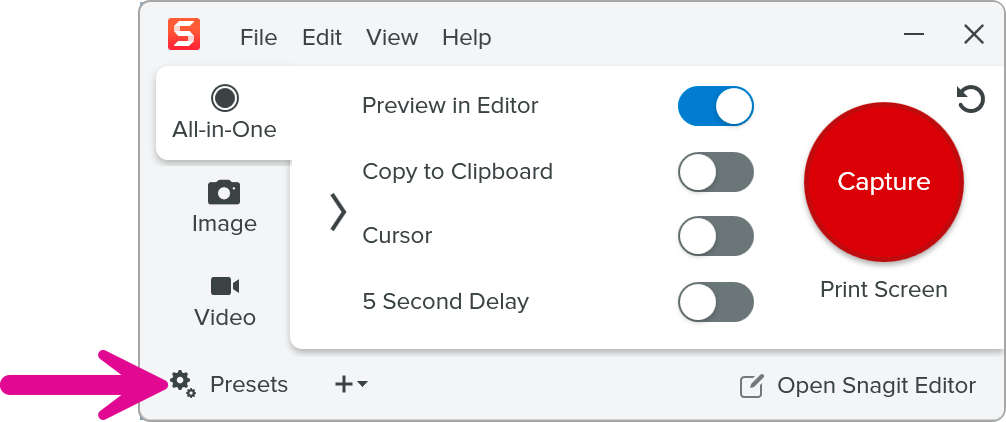
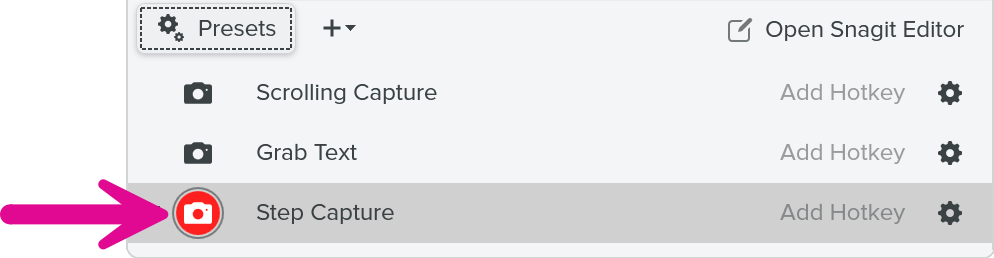


Tip: Be intentional with cursor placement.
Currently, the cursor cannot be edited in the video. For each step, make sure your cursor placement clearly indicates where you are clicking and doesn’t cover up important text or information on the screen.
The resulting step-by-step guide opens in Snagit Editor.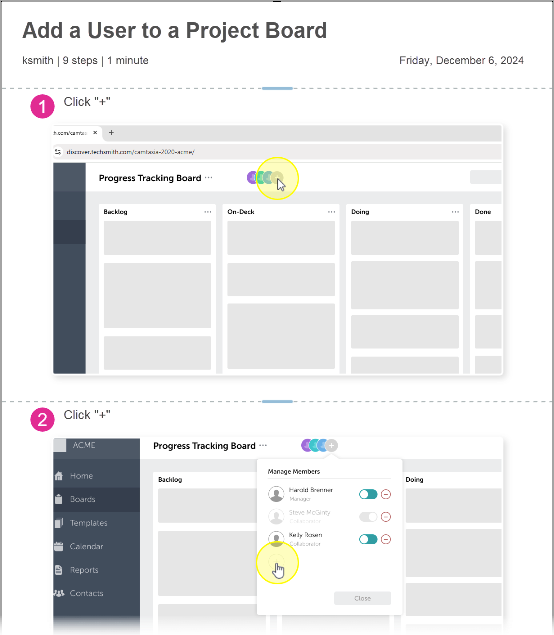
Review the captured steps and complete any of the following edits before sending to Camtasia Online to create your video:
 .
. and select an option.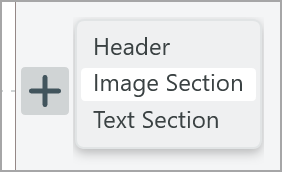
 and select the Move Up or Move Down option.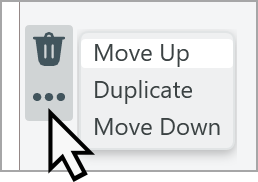
Note: Camtasia Online uses only the original screenshots from the Step Capture. Some edits made in Snagit to text or to screenshots, such as zooming in or out or adjusting cursor placement, are not included in the video.
Camtasia Online turns the image from each step into a video scene. To send the Step Capture to Camtasia Online:
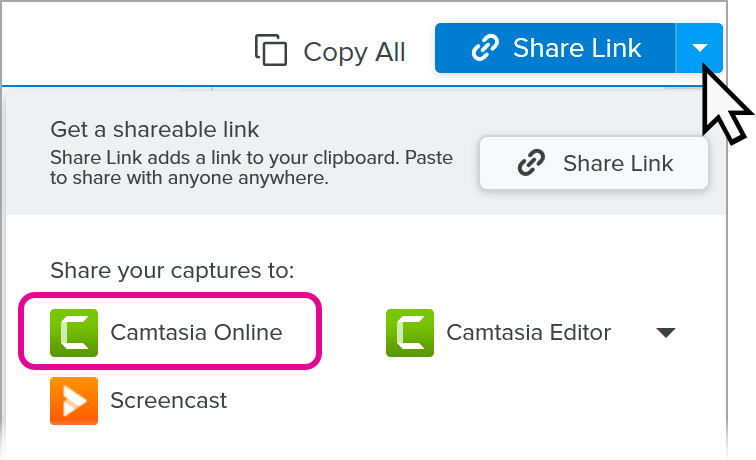
Note: Camtasia Online supports Google Chrome and Microsoft Edge browsers. If your default browser is not supported, open a supported browser and paste the link from your clipboard to continue. For more information, see Camtasia Online Supported Web Browsers.
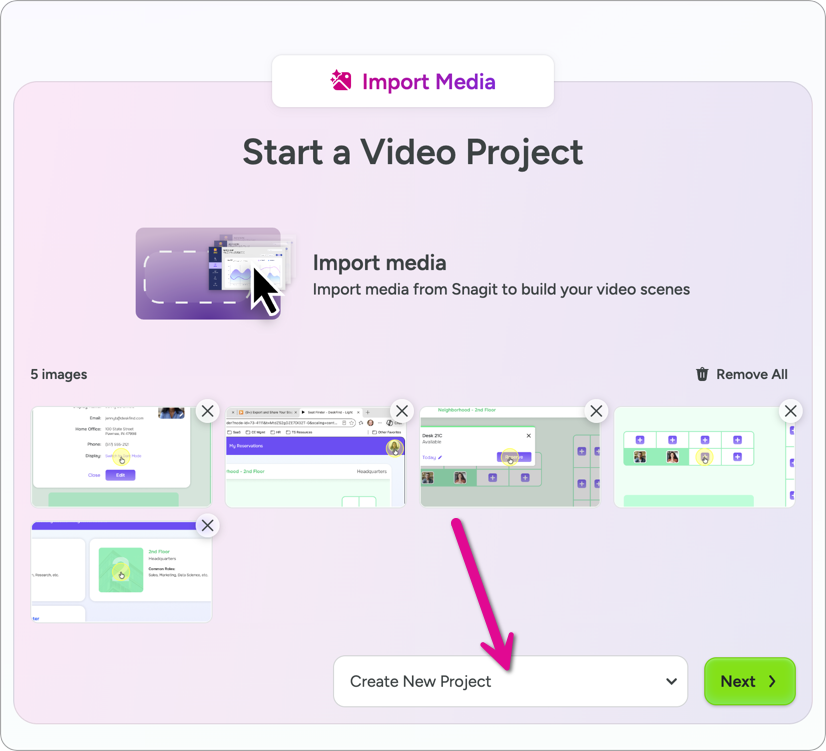
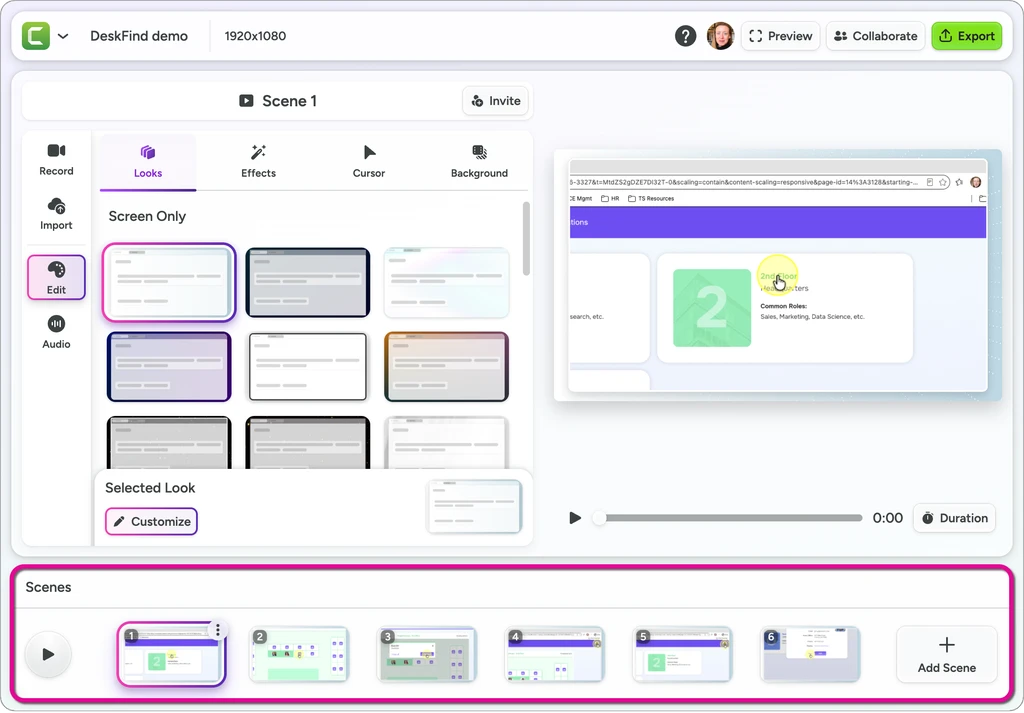
The project opens with an individual scene for each step image.
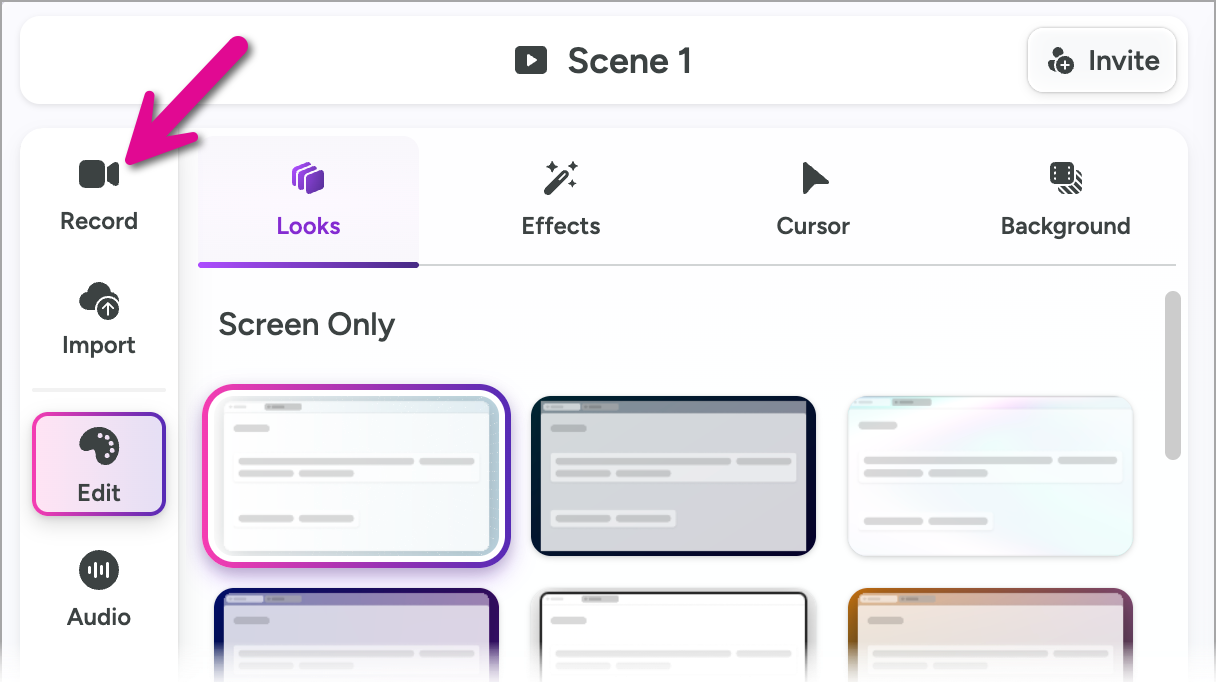
Add a microphone recording, with or without camera video, to accompany each screenshot.

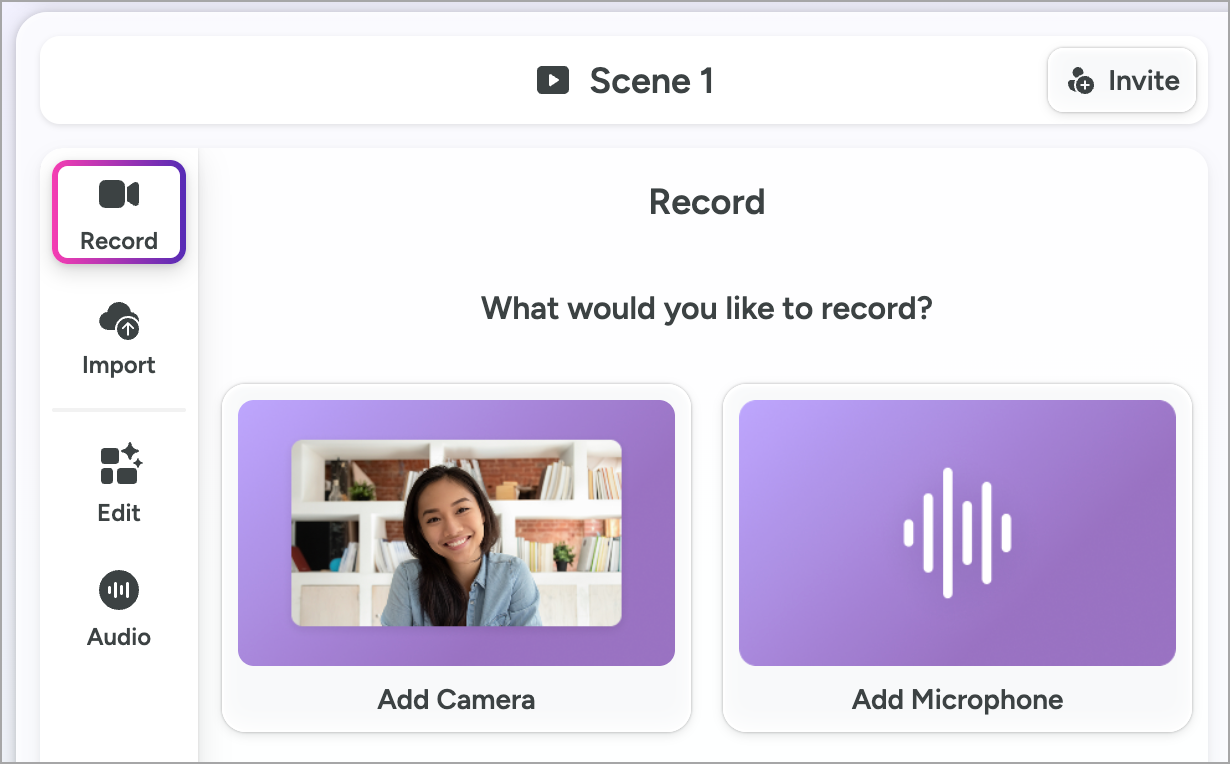
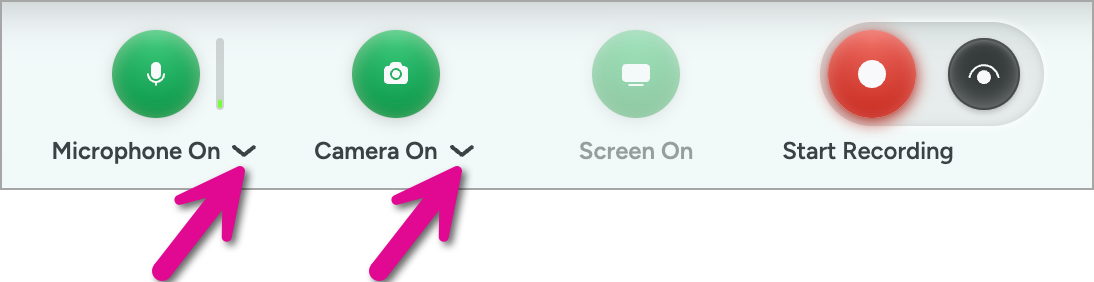
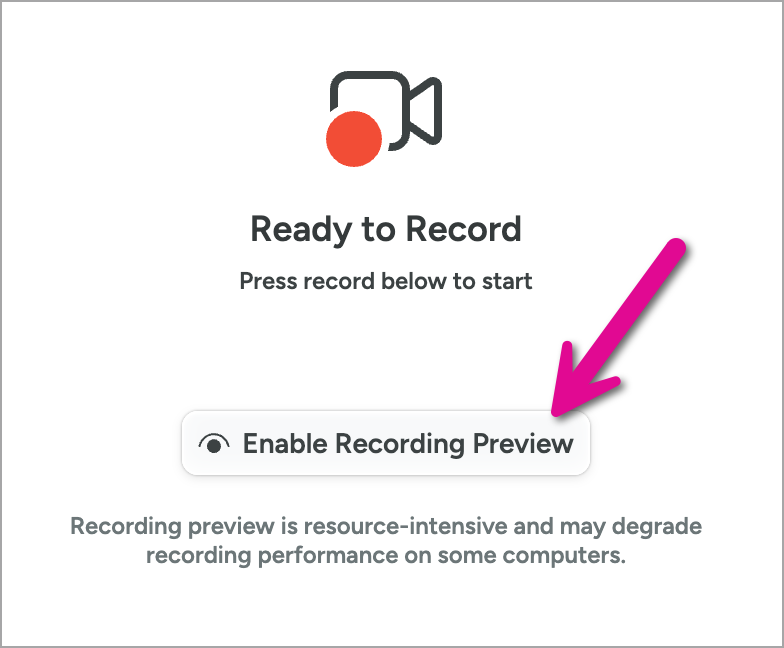
Complete any of the following to polish your video and improve the viewing experience.
Edit the Duration
For images without narration, set the duration for how long the images appear onscreen.
Click the Duration button and enter a value between .25 seconds and 60 seconds.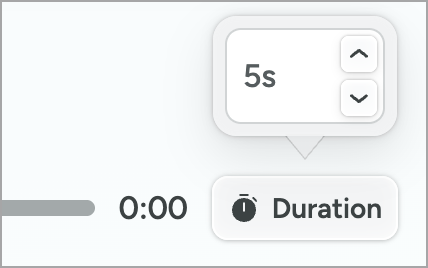
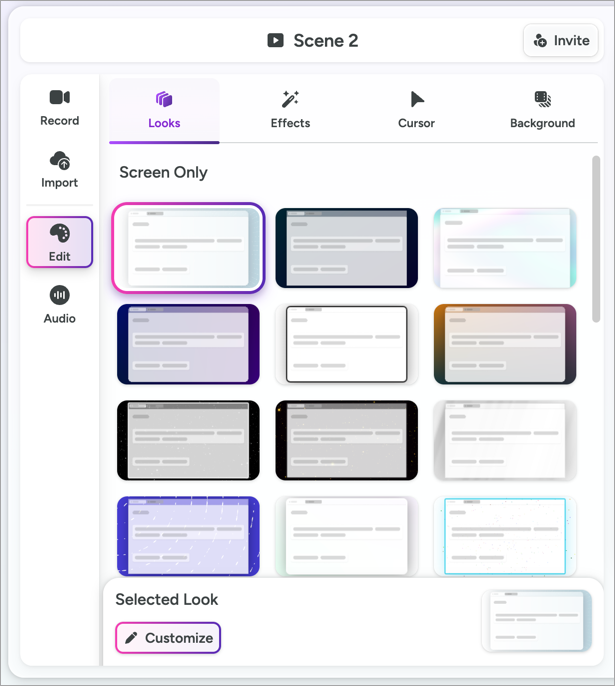
Customize the Scene
Choose from professionally designed looks, effects, and backgrounds for the scene.
Note: Available looks depend on whether or not you recorded camera with your voice narration.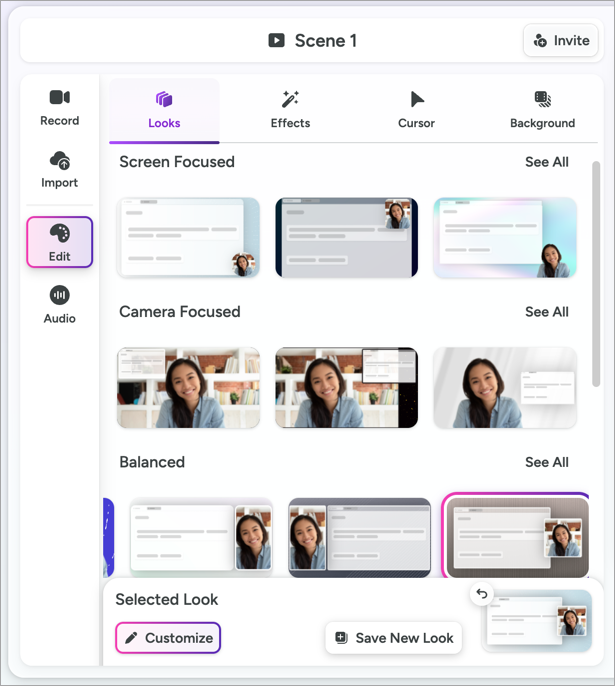
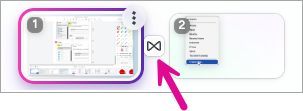
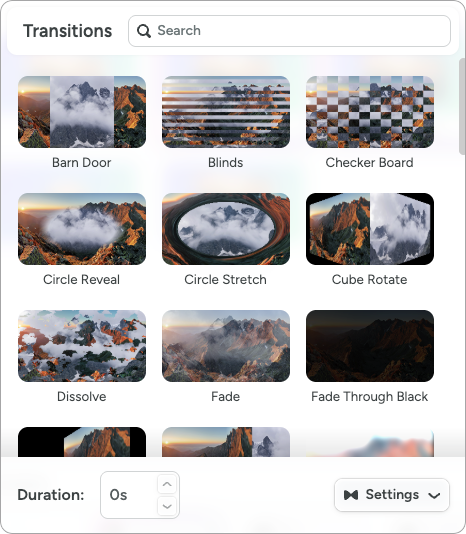
Add Transitions
Choose from dozens of options to ease transitions or to add an artistic visual effect between scenes.
For a fullscreen preview of your video, click Preview.
When you are ready to share your video, click Export and select Export to Screencast or Download Video (.mp4).
All Snagit Tutorials