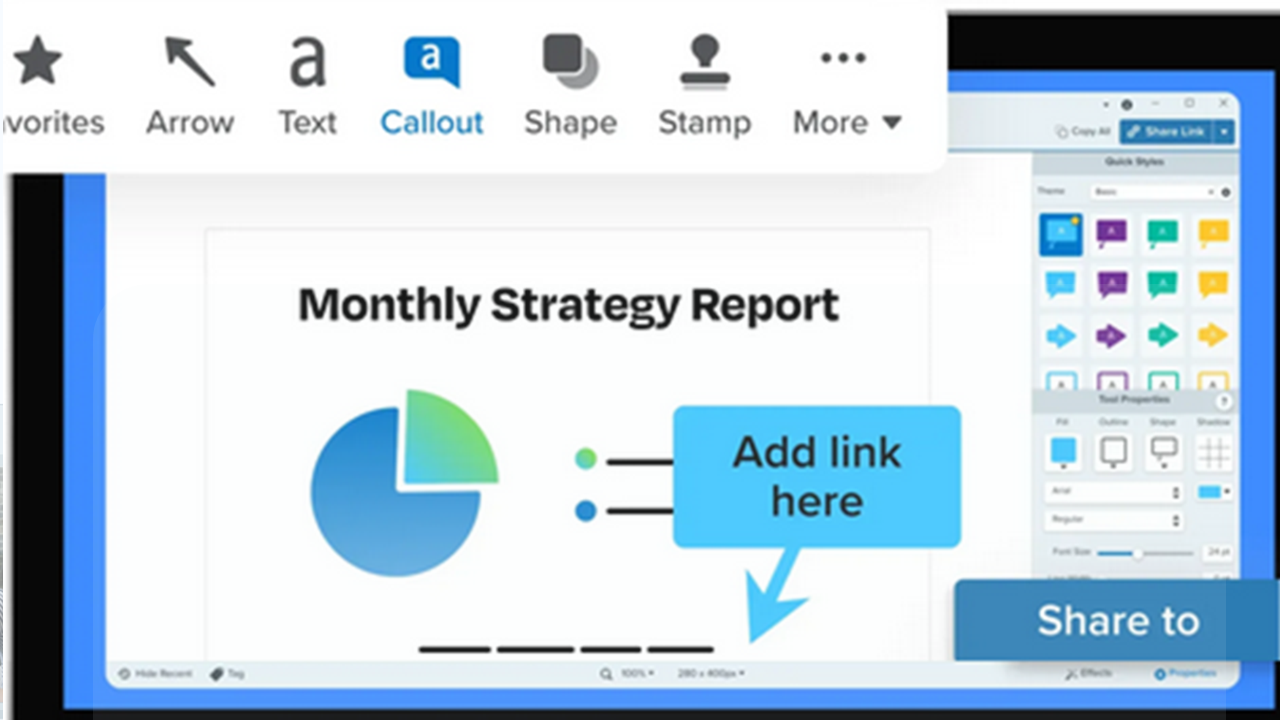
Remove a Background
Replace the background of an image with transparency, for example to focus attention or combine with other images.
Replace the background of an image with transparency, for example to focus attention or combine with other images.
Snagit offers multiple ways to remove a background or background color from an image and replace it with transparency.
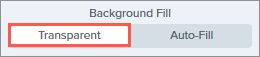
Tip: Start with a transparent Canvas.
Select Image menu > Canvas Color (Windows) or Change Canvas Color (Mac). Click the canvas color preview, select the transparent (checkerboard) option, and click OK (Windows) or Apply (Mac).
The Remove Background option on Snagit for Mac automatically removes the background of photos and still images, even when the background is not a solid color.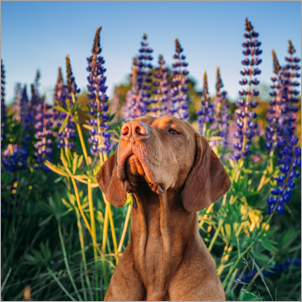

This option works best on images where this is a high level of contrast between the subject and the background. It may not preserve fine details on the subject, such as individual whiskers or hairs.


The Fill tool replaces one color with another color or with transparency. The Fill tool works best when the background you want to remove is a solid color.

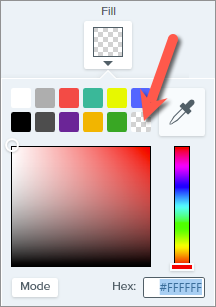
The Canvas appears under transparent areas.
Tip: Adjust the tolerance for a better result.
If the background is not a solid color, Snagit might fill too little or too much of an area with transparency. Press Ctrl+Z (Windows) or Command+Z (Mac) to undo the previous fill, drag the Tolerance slider to adjust the fill amount, and try again.
For more information, see the Fill Tool.
The Snap to Object and Invert Selection options allow you to remove the color around irregular shapes.


The Canvas appears under transparent areas.
For more information, see the Selection Tool.
The Magic Wand tool makes a selection based on the color where you click. The Magic Wand works best to select and remove backgrounds that are a solid color or have only a slight color gradient.

The Canvas appears under transparent areas.
For more information, see the Magic Wand Tool.
The best screen capture software for professionals
* Have Snagit 2024 or earlier? Check out our previous version help.