Captions display onscreen text synchronized with the voice-over and sounds in a video. Captions create videos accessible to a larger audience, including:
- Viewers who are deaf or hard of hearing.
- Viewers that cannot listen to audio in their current environment.
- Viewers who are non-native speakers by providing onscreen translations in the captions.
Caption Types
Camtasia allows you to create and publish two common video caption types:
Closed Captions
- Viewers can turn captions on or off in the video player controls.
- Help meet video accessibility guidelines.
Dynamic Captions
- Always display onscreen as part of the video.
- Stylistic captions often used in social media videos or as a visual effect to enhance the video content or message.
Note: This tutorial covers how to add closed captions to your video. To learn how to add dynamic captions, see Add Dynamic Captions.
Generate Closed Captions in Camtasia Editor (Windows Only)
In Camtasia Editor, you can automatically generate captions based on the voice-over on the timeline.
View Steps
- In Camtasia Editor, select Captions tab > Closed Captions subtab.
- Click the
 icon and select Speech-to-Text. The option is disabled if media on the timeline does not contain voice-over.
- Camtasia transcribes the audio on the timeline into captions.
- Review and edit the captions in the Caption Editor. See Manually Add Captions (Windows).
Generate Captions in Camtasia Audiate
Camtasia Audiate automatically generates captions based on the transcription. In Camtasia Audiate, select Sync dropdown > Captions dropdown > Default Captions > Sync button to sync your Audiate edits and send captions back to your Camtasia Editor project.
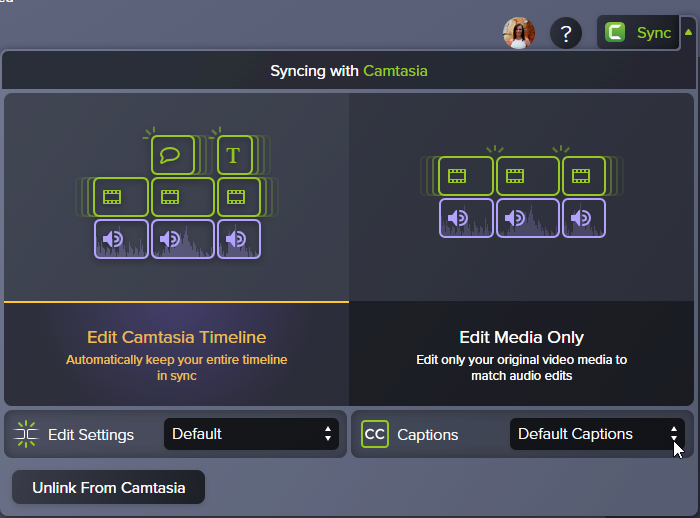
See Speed Up Editing with Audiate.
Sync Captions with a Script (Windows Only)
Paste a prepared script into the caption editor and synchronize the script with the audio playback.
View Steps
- In Camtasia Editor, move the playhead to the beginning of the timeline.
- Select Captions tab > Closed Captions subtab.
- Click the Add Caption button.
- Paste the full script into the caption editor.
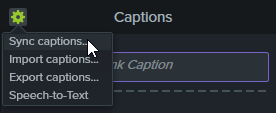
- Click the Gear icon and select Sync captions.
- Read the instructions that appear and when ready to sync captions, click Continue. The video begins playing and the sync controls appear below the caption editor.
- To add a new caption, click a word when you hear the word played back.
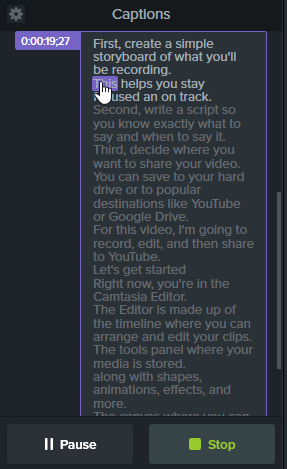
- Click Pause to pause the video playback.
- Click Stop to finish syncing the script and captions.
Manually Add and Edit Captions
Manually enter or edit captions as you play back your video.
Windows
- In Camtasia Editor, select Captions tab > Closed Captions subtab.
- Click the Add Caption button.
- Press Enter to play the audio section or click the
 button to loop the playback.
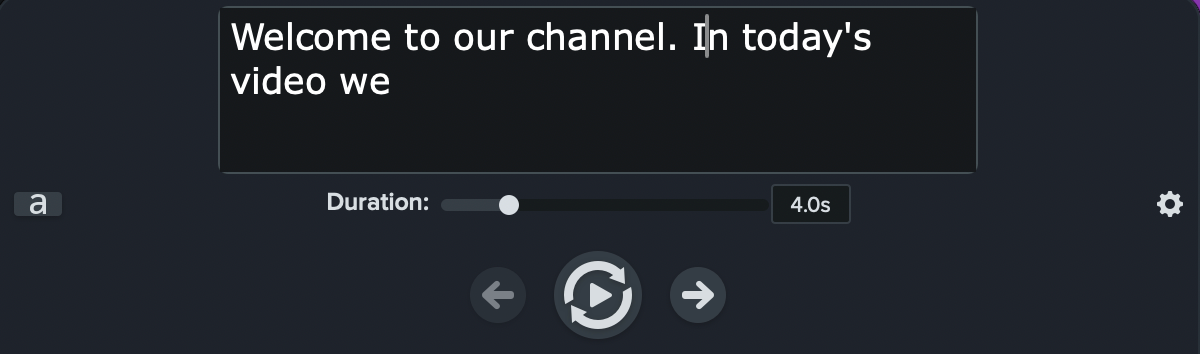
- In the caption editor, type what you hear or paste the corresponding text from a written script.
- If your caption exceeds three lines, the text changes to gray. Click the Split button to move the gray text into a new caption.

- To change the duration of a caption, drag the Duration slider. The default duration is four seconds.

- Click the Add New Caption button or press the Tab key to enter the caption text for the next audio section.

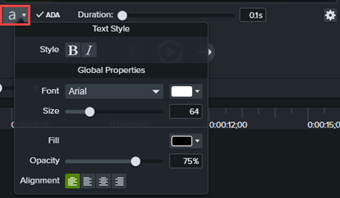
- To customize the look of the closed caption text (optional), click the Font Properties dropdown in the caption editor and adjust the desired settings.
Mac
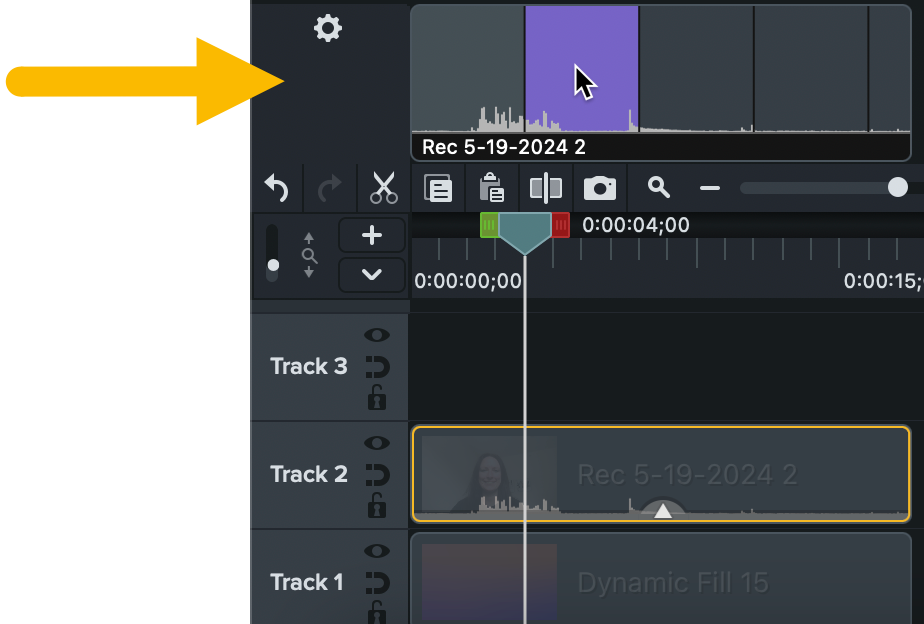
- In Camtasia Editor, click the Audio Effects tab.
- Drag the Captions effect onto a recording or media with audio on the timeline.
- The Captions track appears above the timeline. Press Enter to play the audio section or click the button to loop the playback.
- In the caption editor, type what you hear or paste the corresponding text from a written script.
- Click the Next Caption button or press the Tab key to enter the caption text for the next audio section. You can also click to select a specific caption section on the Captions track.
- Complete any of the following optional edits:
- To change the duration of a caption, drag the Duration slider. The default duration is four seconds.
- If your caption is too long, click the icon and select Split button to move the text into a new caption.
- To customize the look of the caption, click the icon and select Caption Settings.
- To merge two captions, control+click the caption and select Merge with Next Caption.
Import or Export a Caption File
You can import or export captions as SAMI or SRT (SupRip) files. Export a caption file to upload with the video on a hosting site, for translation, or to use across platforms.
Import a Caption File
Select File > Import > Captions and select a SAMI or SRT file. The caption file opens in the caption editor.
Export a Caption File
- Select the Export menu > Export Captions.
- Enter a file name and select SAMI or SRT.
- Click Save (Windows) or Export (Mac).
Export a Video with Captions
The caption type is selected during the video export process.
Export Closed Captions
Captions are turned on/off by the viewer via a CC button on the video controller.
Windows
Complete one of the following options:
- Select Export > YouTube.
- Select Export > Screencast.
- Select Export > Local File. Select the MP4 with Smart Player option from the File type dropdown.
Mac
Complete one of the following options:
- Select Export > YouTube.
- Select Export > Screencast.
- Select Export > Local File > Export to MP4. Enable the Export as Web Page option. In the Caption Style dropdown, select the Closed Captions option.
Export Burned In Captions
Also known as “open,” captions are always visible and cannot be turned off by the viewer.
Windows
- Select Export > Local File.
- In the File type dropdown, select MP4 (recommended).
- Click the Advanced Settings dropdown arrow to access additional properties.
- On the Captions tab, enable the Render video with open (always visible) captions option.
- Click Export.
Mac
- Select Export > Local File.
- In the export dialog, enter a filename and select the preferred location and file format.
- In the Caption Style dropdown, select Burned in captions.
- Click Export.
All Camtasia Tutorials