Camtasia Online makes it quick and easy to collaborate and add content into a video. Add a series of images, presentation slides, screen or camera recording, or a combination.
Camtasia Online automatically sizes your content to fit within our professionally-designed templates. You can change the layout scene-to-scene to find a look that best fits the content imported or recorded.
Here are a few ways to use an imported image in your Camtasia Online projects:
- Add a presentation slide or chart and record a voice over for the scene.
- Turn a series of images, such as screenshots for steps in a process, into a video. Record an optional voice over to provide more context.
- Introduce your video or scenes by adding an image as a title slide, between scenes, or as an outro.
- Mark up an image or take a screenshot and record your feedback.
- Ask a question or present a problem and have your video collaborators, such as subject matter experts, students, or coworkers, add their responses in the following scenes.
- Provide visual scene instructions for your collaborators.
Import an Image in Camtasia Online
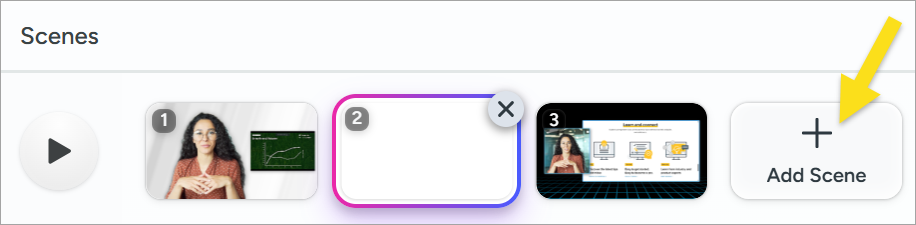
- In a Camtasia Online video project, select an empty scene or click the Add Scene button.
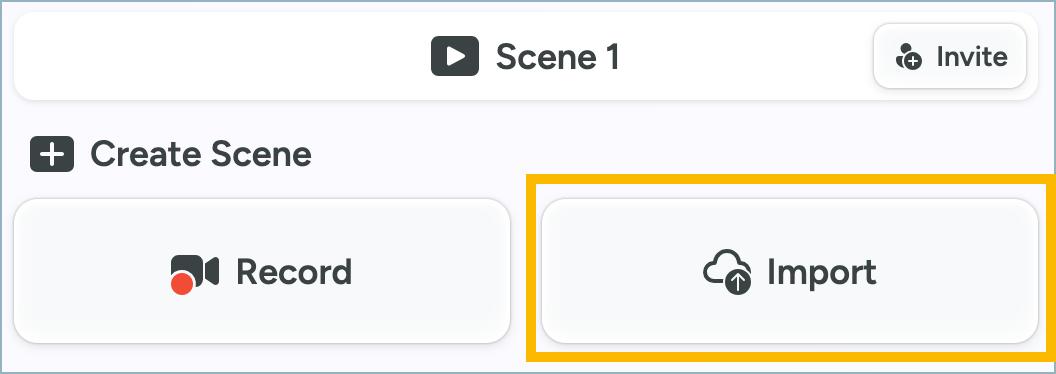
- Click the Import button.
- Click the Browse for file button or drag and drop a PNG or JPEG file.
- Camtasia Online uploads the image into the selected scene. To continue editing the scene, complete any of the following options:
- Customize the look for the scene. Use the live preview to try out variations to see which look best suits the scene and focus for your audience. See Customize a Scene.
- Add a voice-over and camera recording, see Record a Voice Over with the Image.
- For images without voice over, set the duration by entering a value between .25 seconds to 60 seconds in the Duration field.
Import Images from Camtasia Snagit
Send your Snagit images to Camtasia Online and record a voiceover for each image.
Get Snagit
Snagit is the best software for professionals to quickly grab screenshots and add annotations.
Get Snagit
View steps
- In Snagit Editor, click to select a capture in the recent captures tray. Control+click (Windows) or Command+click (Mac) to select multiple images.
Note: Images on Camtasia Online are limited to 6720 x 6720 pixels, or 3360 x 3360 at 2x pixel density on Mac. It is not currently possible to share videos to Camtasia Online.
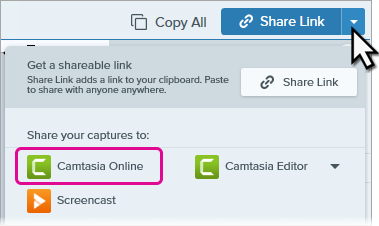
- Click the Share Link dropdown or Share dropdown and select Camtasia Online.
- In the Share to Camtasia Online dialog, select a Camtasia Online project or select Create New Project.

- Camtasia Online opens in a web browser with a new scene for each image. To continue editing the scenes, complete any of the following options:
- Customize the look for the scene. Use the live preview to try out variations to see which look best suits the scene and focus for your audience. See Customize a Scene.
- Add a voice-over and camera recording, see Record a Voice Over with the Image.
- For images without voice over, set the duration by entering a value between .25 seconds to 60 seconds in the Duration field.
Record a Voice Over with the Image
After uploading an image, you can optionally add a microphone recording with or without camera video to go with the image.
Voice overs are recorded for each scene individually to focus on the key message of each image.
- Click to select the scene.
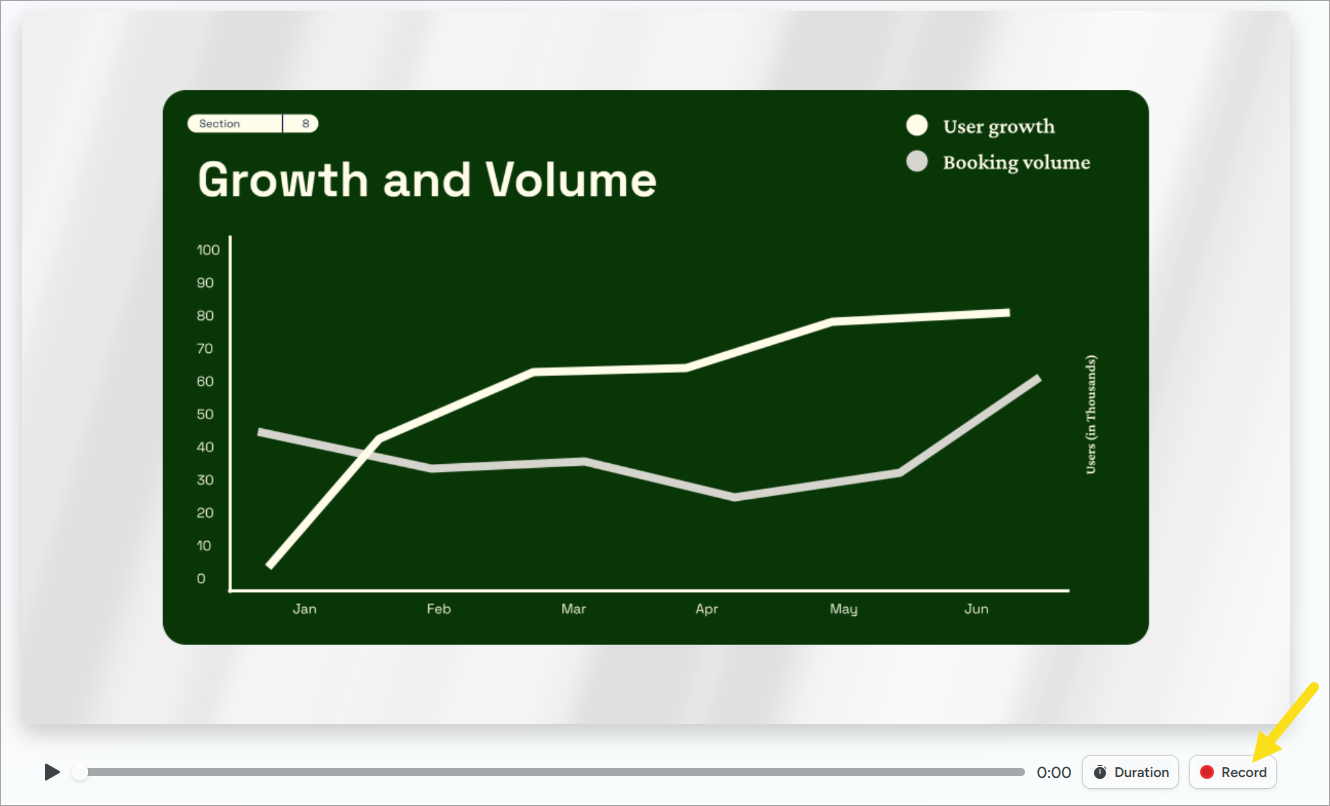
- Click the Record button below the image preview.
- If prompted, allow Camtasia Online permission to record your microphone and select the microphone source in the Microphone dropdown.
- If you want to include camera recording, click the Camera button below the image preview, select your camera device, and allow Camtasia Online permission to record your Camera.
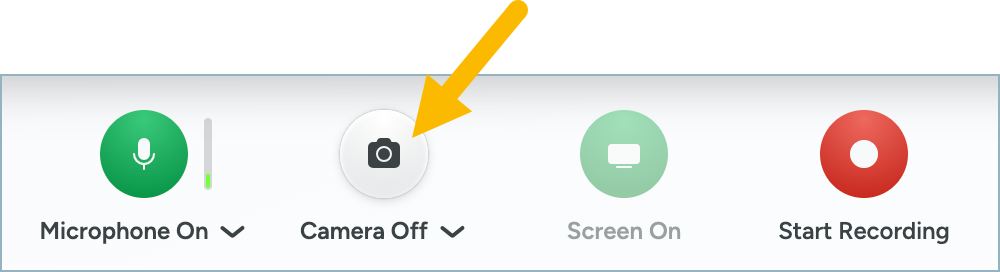
- Click the Start Recording button.
- A recording countdown begins. Start your voice over recording. You can record up to 5 minutes for each scene.
- Optionally, click the Enable Recording Preview button to show the image preview while recording your voice over.
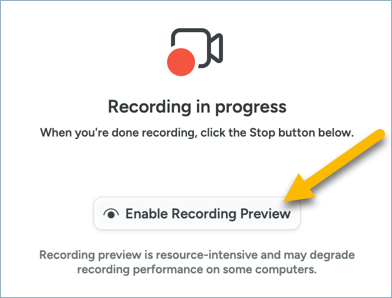
- When you are finished recording, click the Stop button.
- The recorded scene appears in your video project. After recording, you can optionally:
- Preview the Recording: Click the Play button to preview the recording.
If you are not satisfied with the recording, you can click the Re-record button to delete the current recording and record the scene again.
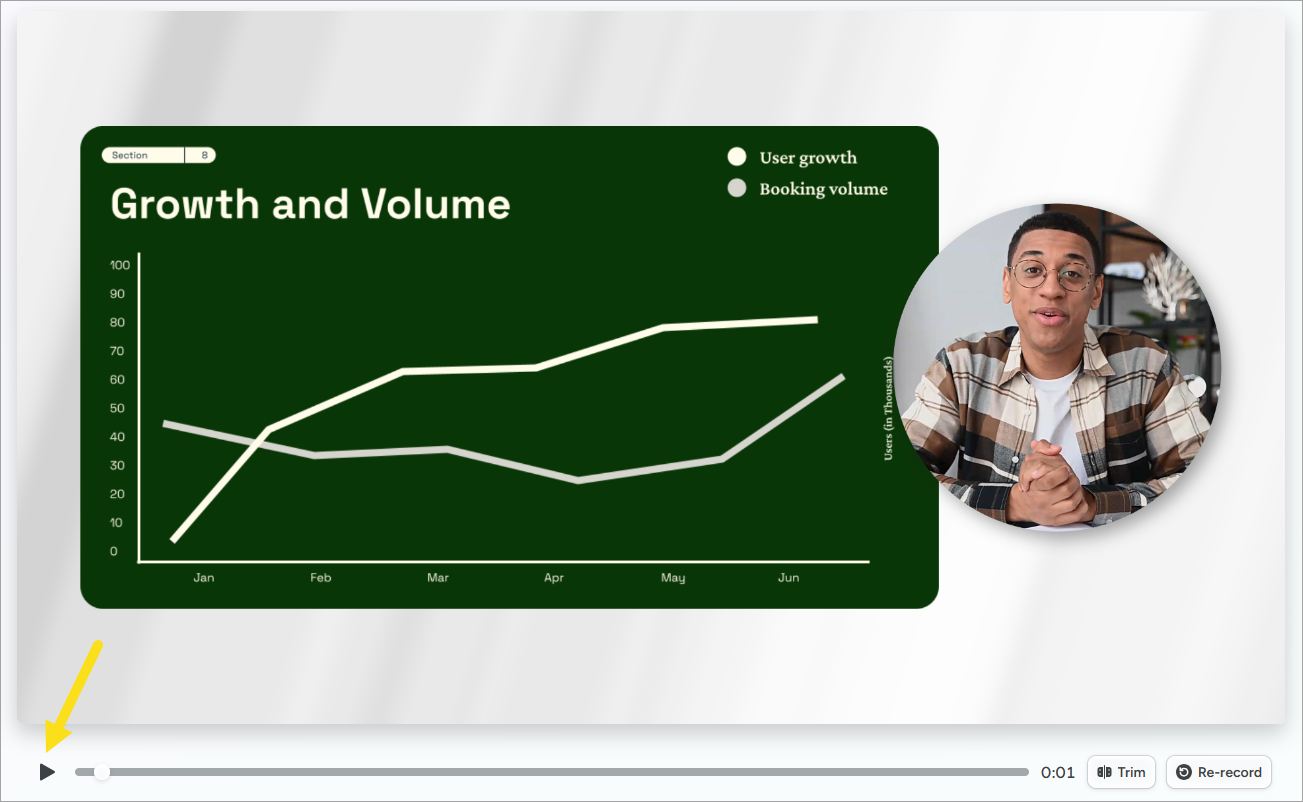
- Customize the Scene: You can customize the look for the scene at any time. See Customize a Scene.
- Trim the Scene: You can trim the beginning or end of the recording. Click the Trim button and drag the handle in to trim the recording or out to restore the original recording. Click Done.
All Camtasia Tutorials