Crisp & Clear Screen Recordings
Learn how to set recording dimensions, project dimensions, and export settings to get crisp, clear video.
Learn how to set recording dimensions, project dimensions, and export settings to get crisp, clear video.
The following items can impact video quality:
Adjust these settings to produce high video quality.
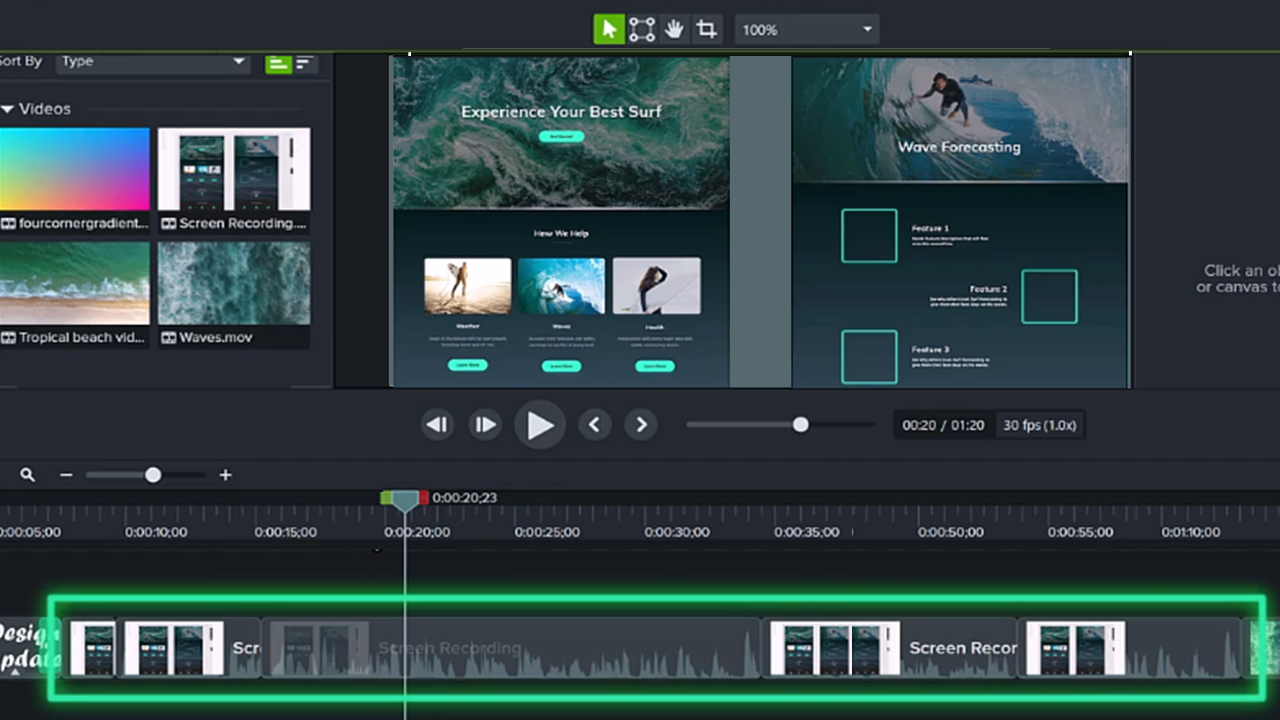
One way to get a crisp, clear screen recording is to display your screen video at its original recording size, which avoids any scaling.
Scaling stretches or shrinks a screen recording to display it at a different size than the original recording. Scaling decreases quality and causes videos to appear blurry or distorted. See Scaling Tips to learn when scaling is necessary or how to use scaling to your advantage.
Tip: Start with the recording dimensions.
If you know the desired dimensions for your final video, enter these dimensions into the Width and Height fields in Camtasia Recorder for your source recording. See Record, Edit, Share.
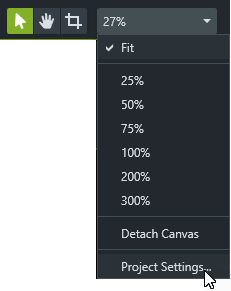
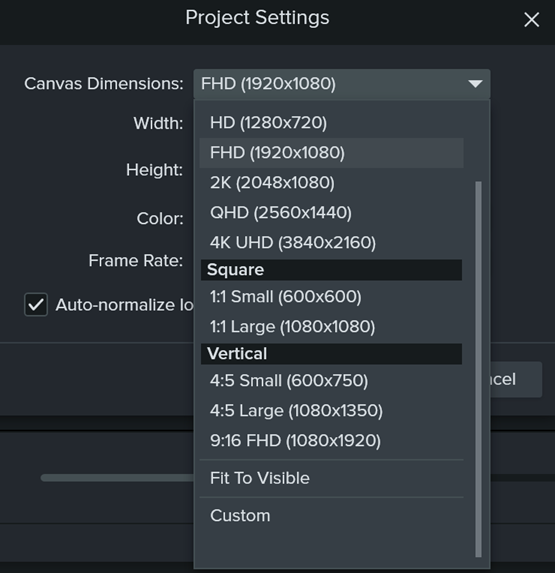
Set the canvas dimensions, editing frame rate, and audio levels during the editing phase of your project.
Once you have a recording, set the canvas dimensions to the same as your recording dimensions.
Tip: Change the canvas dimensions before you begin editing your video.
Changing the dimensions after editing can skew the look of edited media.
Frame rates typically vary throughout a video. Record, edit, and share videos at the same frame rate to maintain video quality.
Note: To edit and export a video at a high target frame rate (60 fps), your timeline must include high frame rate video clips.

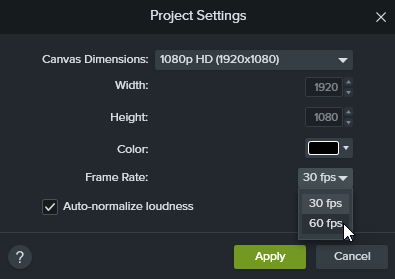
Crisp, clear audio is also a key element of video quality. Enable the Auto-normalize loudness option to automatically adjust the audio loudness across clips to maintain audio consistency for a project.

To learn more about improving audio quality, see Add Audio Effects.
Match the dimensions or aspect ratio in recording, editing, and exporting your video to maintain video quality. Complete the following to export a video with the current project (editing) dimensions:
Windows:
Mac:
Sometimes it’s not possible to match your recording and project dimensions. For example:
In these situations scaling the recording is unavoidable, but you can use scaling to your advantage.
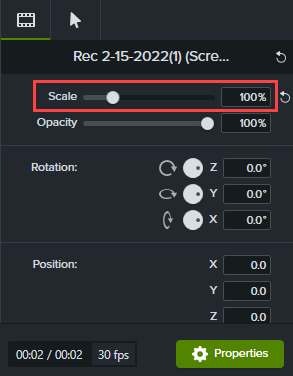
For our tutorial videos, we record on a monitor that is twice the size of our project dimensions. The screen recording will be displayed at half its original size and will have some quality loss. This is fine for us, because we spend most of our time zoomed in and focused on specific parts of the user interface, which is where we want to see the highest quality.
To get the highest quality and most detail, we zoom to the original size of the recording, or 100% scale. To show something on an adjacent part of the screen, we pan over and remain at 100% scale.
To learn about zooming in Camtasia Editor, see Zoom in to Focus Attention.
When in doubt, keep your screen recording at 100% scale. This displays it at the highest quality possible.
Unleash the world’s most powerful screen recorder and video editor.
* Already a Camtasia Editor user? Learn how to update to the latest version.