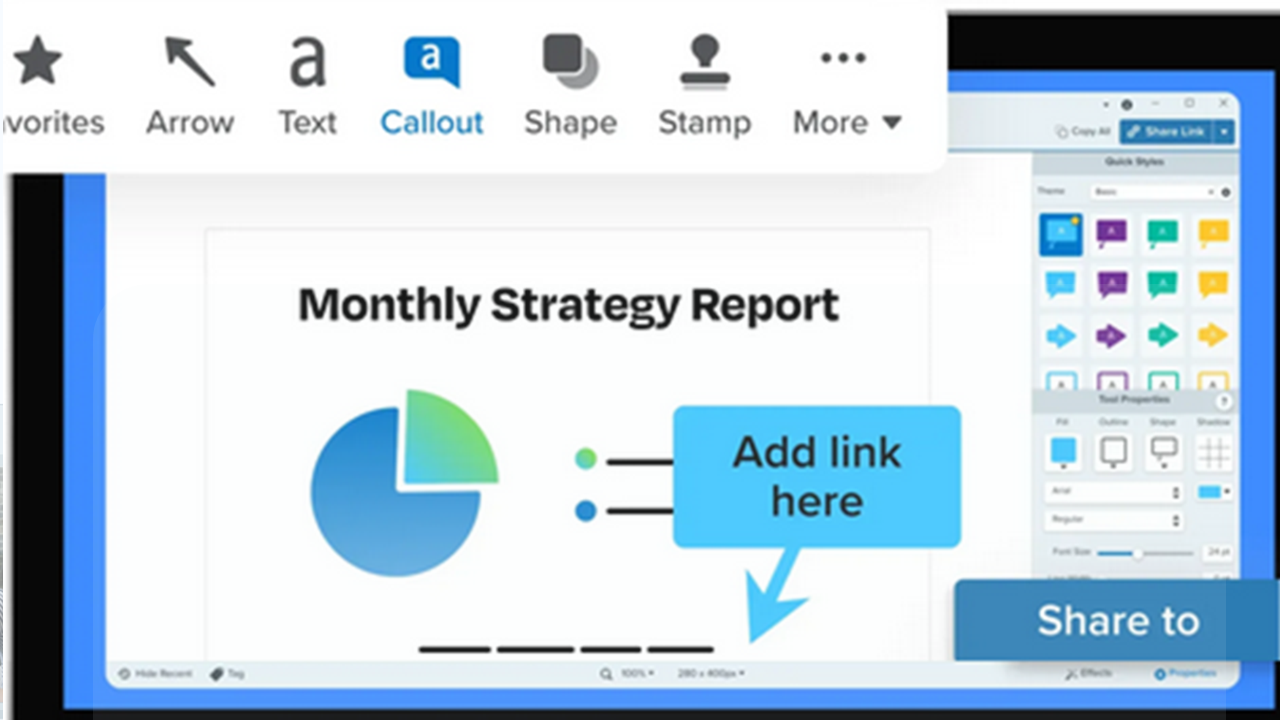
Add frequently used options to the Snagit Editor toolbar to reduce clicks and speed up your workflow.
- In the Editor toolbar, select More > Customize Toolbar option.
- With the customization dialog open, complete any of the following:
- Add an Item: Drag the icon from the dialog onto the toolbar.
- Move an Item: Drag the icon to the desired location on the toolbar.
- Create Groups: Drag a Space from the dialog to the desired location on the toolbar to visually separate items.
- Remove an Item: Drag the icon off the toolbar.
- Click Done.
- In addition to editing tools, you can add other types of items to the toolbar:
- Menu items – such as Save, Duplicate, and New from Clipboard
- Share destinations – such as Word, Microsoft Teams, and Google Drive
- Effects – such as Border and Filters
- Remove labels to reduce clutter in the toolbar and increase canvas space. Right-click the toolbar and select Icon Only.
- When you select a tool from the More dropdown, it appears in the toolbar until another tool from the More dropdown is selected. To prevent a frequently-used tool from returning to the More dropdown, move it to a desired location on the toolbar.
Get Snagit
The best screen capture software for professionals
All Snagit Tutorials