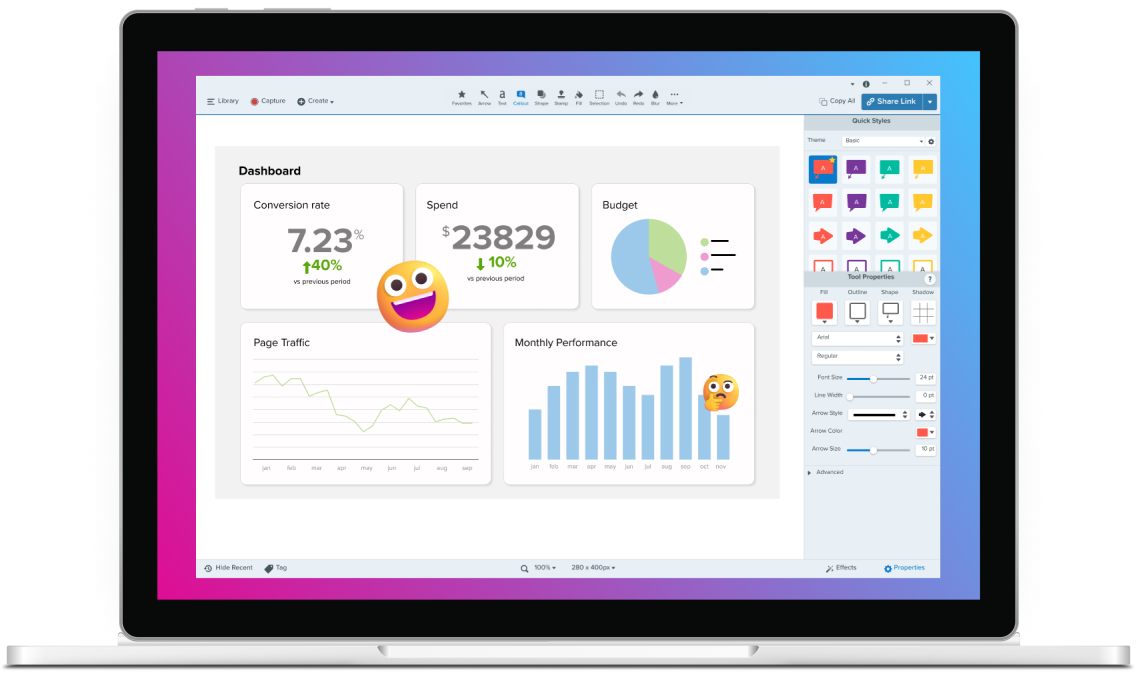
Take delayed screenshots of menus, hover states, and pop-ups
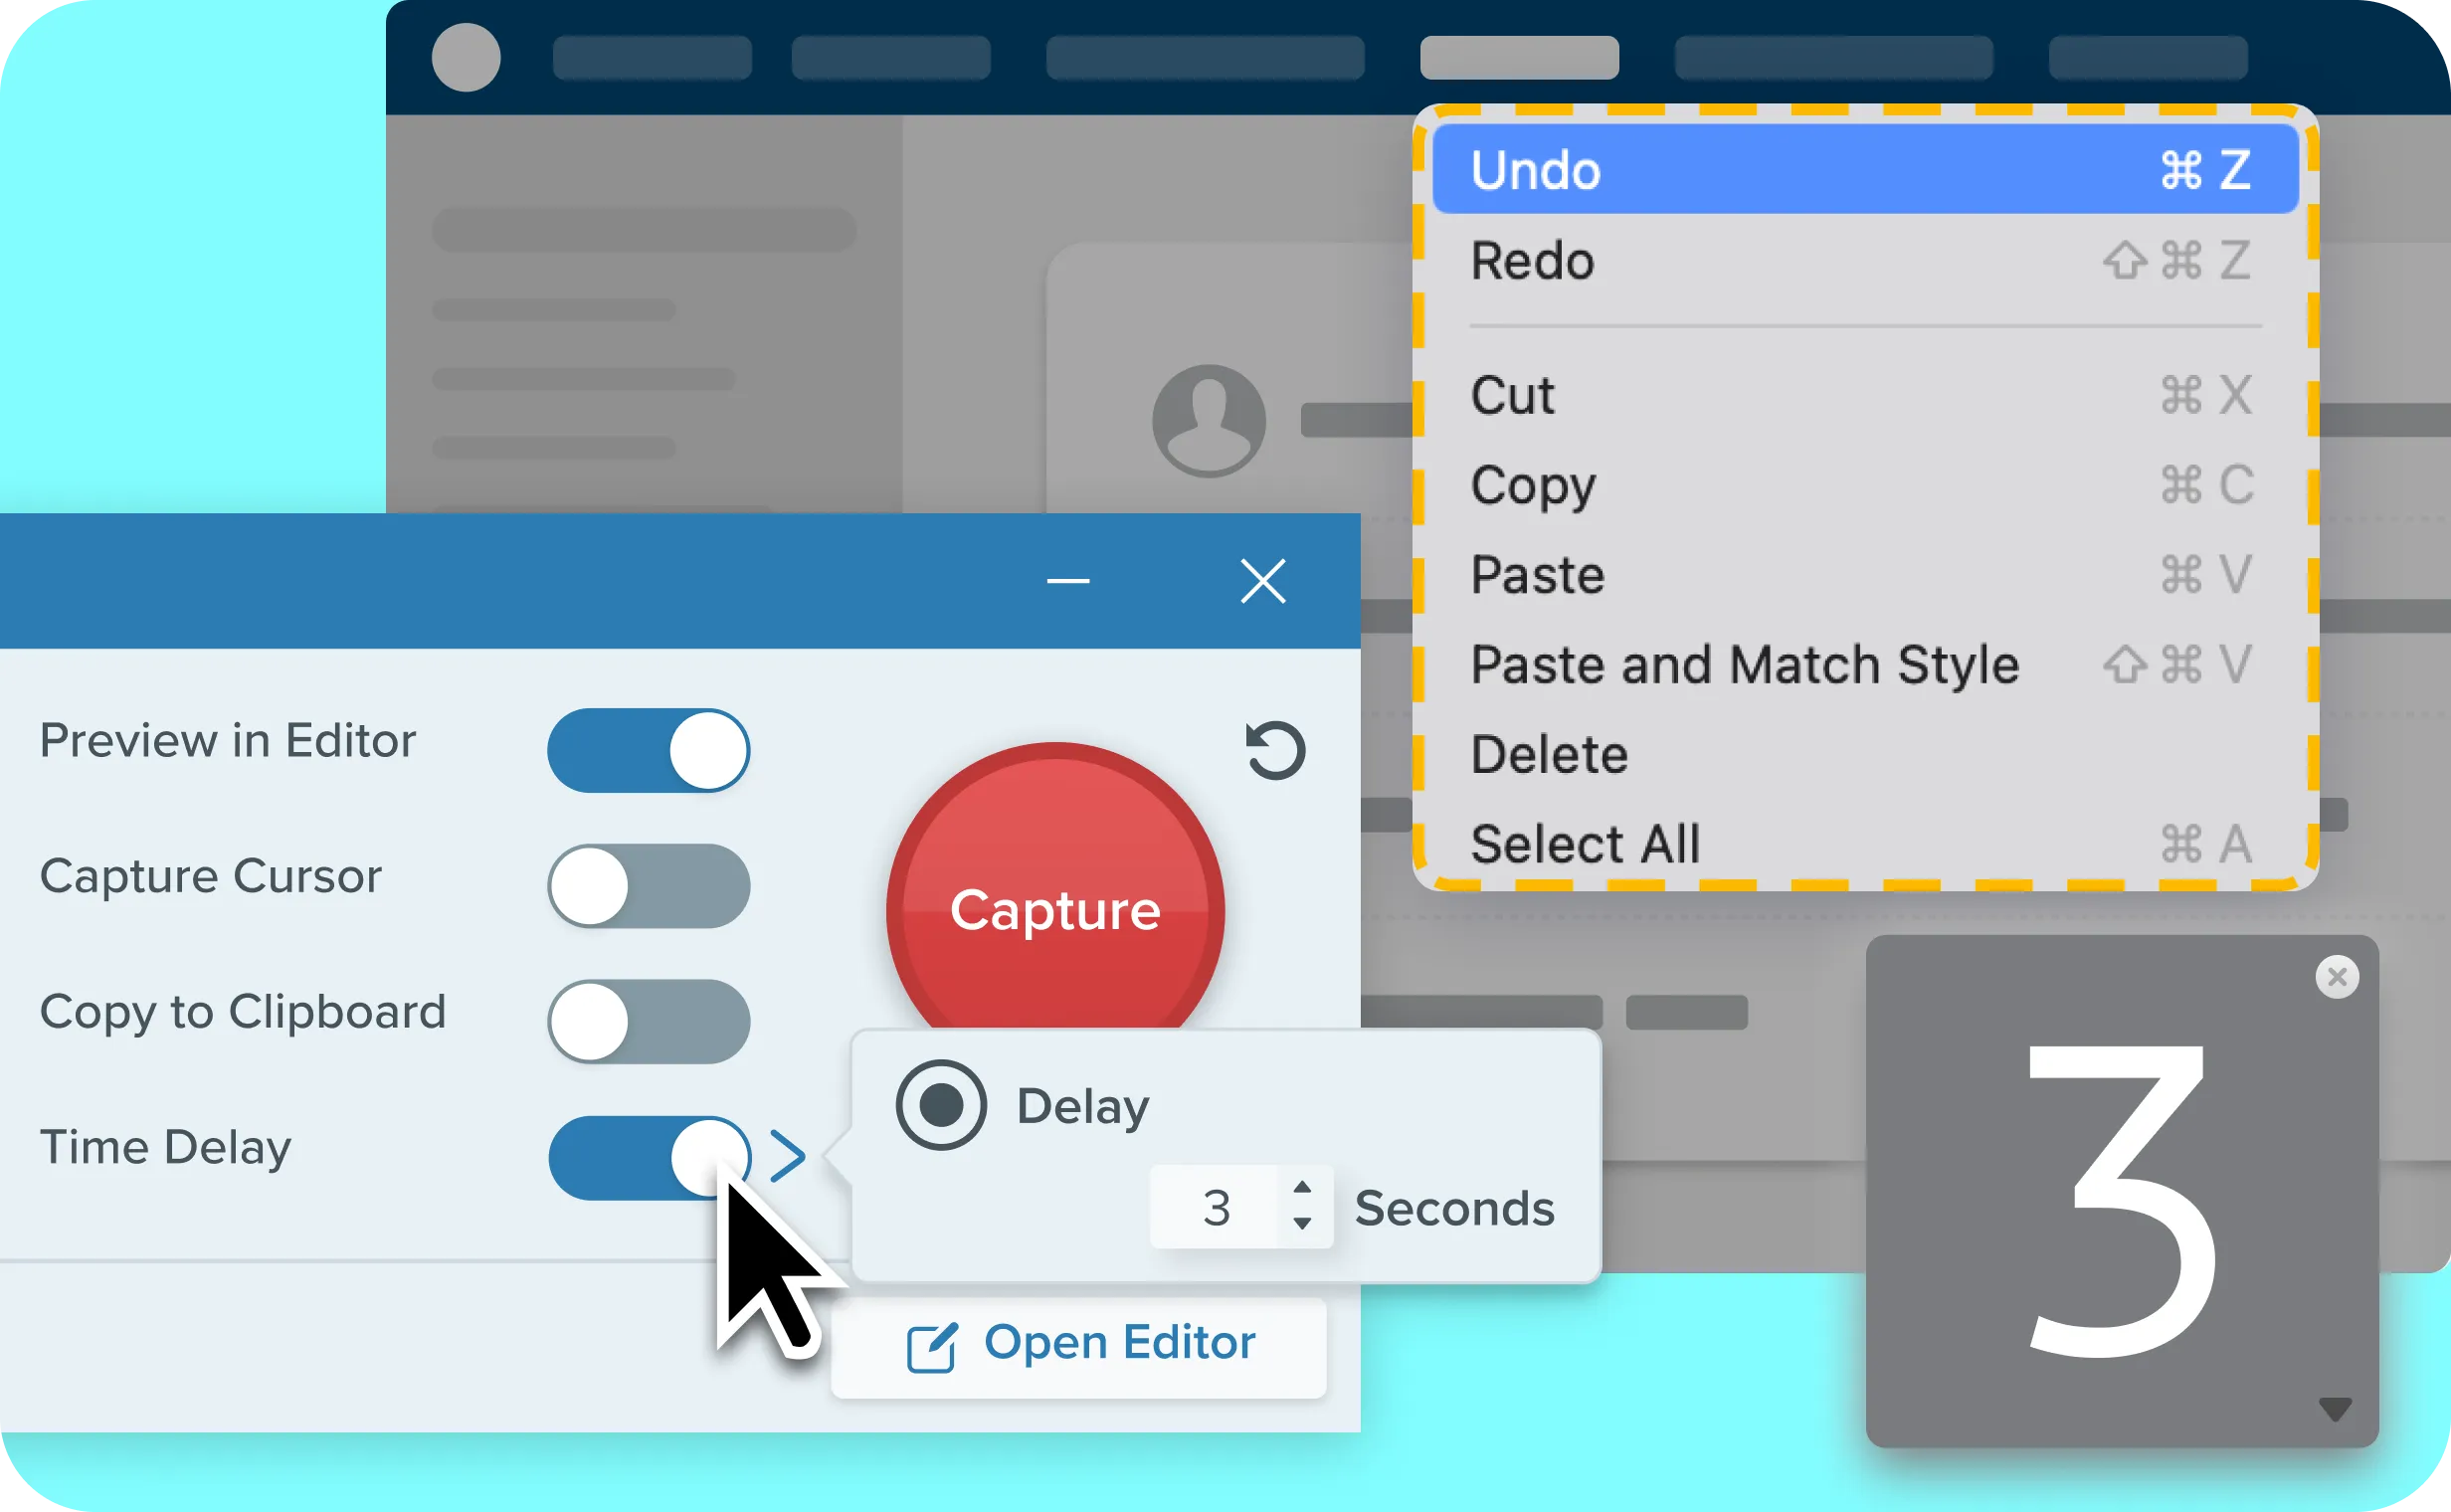
Capture UI elements that disappear too quickly with a custom delay timer. Camtasia Snagit lets you take delayed screenshots by setting a precise countdown, giving you time to open dropdown menus, trigger hover states, display tooltips, or wait for timed pop-ups. The result is a clean, professional capture of hard-to-time on-screen interactions.
Native screenshot tools vs. Camtasia Snagit for delayed captures
A common workaround is recording a video just to grab a single frame. This adds unnecessary editing steps, creates a file that still needs to be converted into a screenshot, and slows down documentation.
Skip to text version of this table
| Capability | Windows Snipping Tool | Camtasia Snagit |
|---|---|---|
| Capability. Delay timing | Windows Snipping Tool, Delay timing. 1–5 second delay options | Camtasia Snagit, Delay timing. Custom delays up to one minute |
| Capability. Capturing dynamic UI states | Windows Snipping Tool, Capturing dynamic UI states. Limited control when opening menus or triggering hover states | Camtasia Snagit, Capturing dynamic UI states. Built for capturing dropdowns, hover states, tooltips, and timed pop-ups |
| Capability. Capture setup | Windows Snipping Tool, Capture setup. Requires region selection after the countdown starts | Camtasia Snagit, Capture setup. Lets you prepare the screen state before the timer fires |
| Capability. Repeat workflows | Windows Snipping Tool, Repeat workflows. Requires resetting the timing for each capture | Camtasia Snagit, Repeat workflows. Save delay settings for consistent repeat captures |
| Capability. Scheduled captures | Windows Snipping Tool, Scheduled captures. No scheduling or recurring capture options | Camtasia Snagit, Scheduled captures. Schedule a capture for a specific date and time or run continuous captures at set intervals (Windows only) |
Table content (text version)
Below is a plain-text summary of this comparison table. Each row lists the feature or row name, then each column’s value.
- Delay timing. Windows Snipping Tool: 1–5 second delay options. Camtasia Snagit: Custom delays up to one minute
- Capturing dynamic UI states. Windows Snipping Tool: Limited control when opening menus or triggering hover states. Camtasia Snagit: Built for capturing dropdowns, hover states, tooltips, and timed pop-ups
- Capture setup. Windows Snipping Tool: Requires region selection after the countdown starts. Camtasia Snagit: Lets you prepare the screen state before the timer fires
- Repeat workflows. Windows Snipping Tool: Requires resetting the timing for each capture. Camtasia Snagit: Save delay settings for consistent repeat captures
- Scheduled captures. Windows Snipping Tool: No scheduling or recurring capture options . Camtasia Snagit: Schedule a capture for a specific date and time or run continuous captures at set intervals (Windows only)
Why do screenshots miss dropdown menus and hover states?
Standard screenshots often miss dynamic UI elements because they disappear before the screenshot is captured. Dropdown menus, hover states, tooltips, cascading menus, and timed pop-ups require precise timing that native screenshot tools weren’t built to control.
How to take a delayed screenshot with Camtasia Snagit
Camtasia Snagit makes it easy to take a delayed screenshot. Set a custom delay timer, prepare the screen state you want, and let Snagit take the screenshot when the timer fires. With delays of up to one minute, Snagit gives teams more control than native screenshot tools with shorter countdown limits.
Saved delay settings make repeat captures faster and more consistent for teams working through large documentation projects.

Select your capture type
Open Camtasia Snagit and select your capture option.

Set a delay timer
Set a custom delay timer up to one minute, for the time needed to prepare the screen.

Prepare the screen
Position the screen into the needed state by opening menus, hovering over elements, or triggering pop-ups.

Take your screenshot
Trigger the capture and let Snagit save the UI state.
How do delayed screenshots support training documentation?
Clear training depends on visuals that match the instructions. Missing a key screen state can confuse learners, lead to repeated support questions, and create unnecessary rework.
Delayed screenshots help training and documentation teams capture UI states that are difficult to reproduce consistently.
Cascading menus
Capture multi-step software workflows in which a menu expands several levels deep, without restarting the process to reach the correct screen state.

Hover states
Capture hidden interface details, tooltips, and contextual information for onboarding guides and product documentation.

Timed notifications
Capture alerts, confirmation messages, and temporary system notifications for support articles and troubleshooting guides.

Auto-advancing slides
Document training modules, presentations, or software demos where content changes automatically over time.

Try Camtasia Snagit and capture hard-to-time screen states
Camtasia Snagit helps teams create professional documentation workflows, not just individual screenshots. Capture, annotate, and share in one tool without switching applications or recording unnecessary video to extract a frame.