


Add dynamic background to video in Camtasia Editor
Add life and interest to training videos, demos, tutorials, and screen recordings with Camtasia Editor’s dynamic backgrounds. A dynamic background is a looping animated layer placed behind your content on the timeline. Adding one is simple in Camtasia — no compositing skills or extra tools required.
Why do dynamic backgrounds make videos look more professional?
Dynamic backgrounds give videos a more polished look, and you don’t have to be a pro video editor to pull them off.
Infinite duration, seamless playback
Looping is automatic, seamless, and infinite, so you can fill any video length without gaps or manual tiling.
Fully customizable to match your brand
Adjust the background’s motion with dynamic properties, including color, direction, angle, and count. Keep the motion subtle so it supports clarity without competing with your content.
Professional look, minimal effort
Create a more polished look without compositing skills, keyframing, third-party tools, or complicated workflows.

How to add motion backgrounds to your videos
Follow these four steps to add and customize a looping animated background in Camtasia Editor.
Open your project in Camtasia Editor
Camtasia Editor’s in-editor workflow works for any video project, no prior setup or other software needed. This is an in-editor workflow, not a live meeting or AI cutout feature.
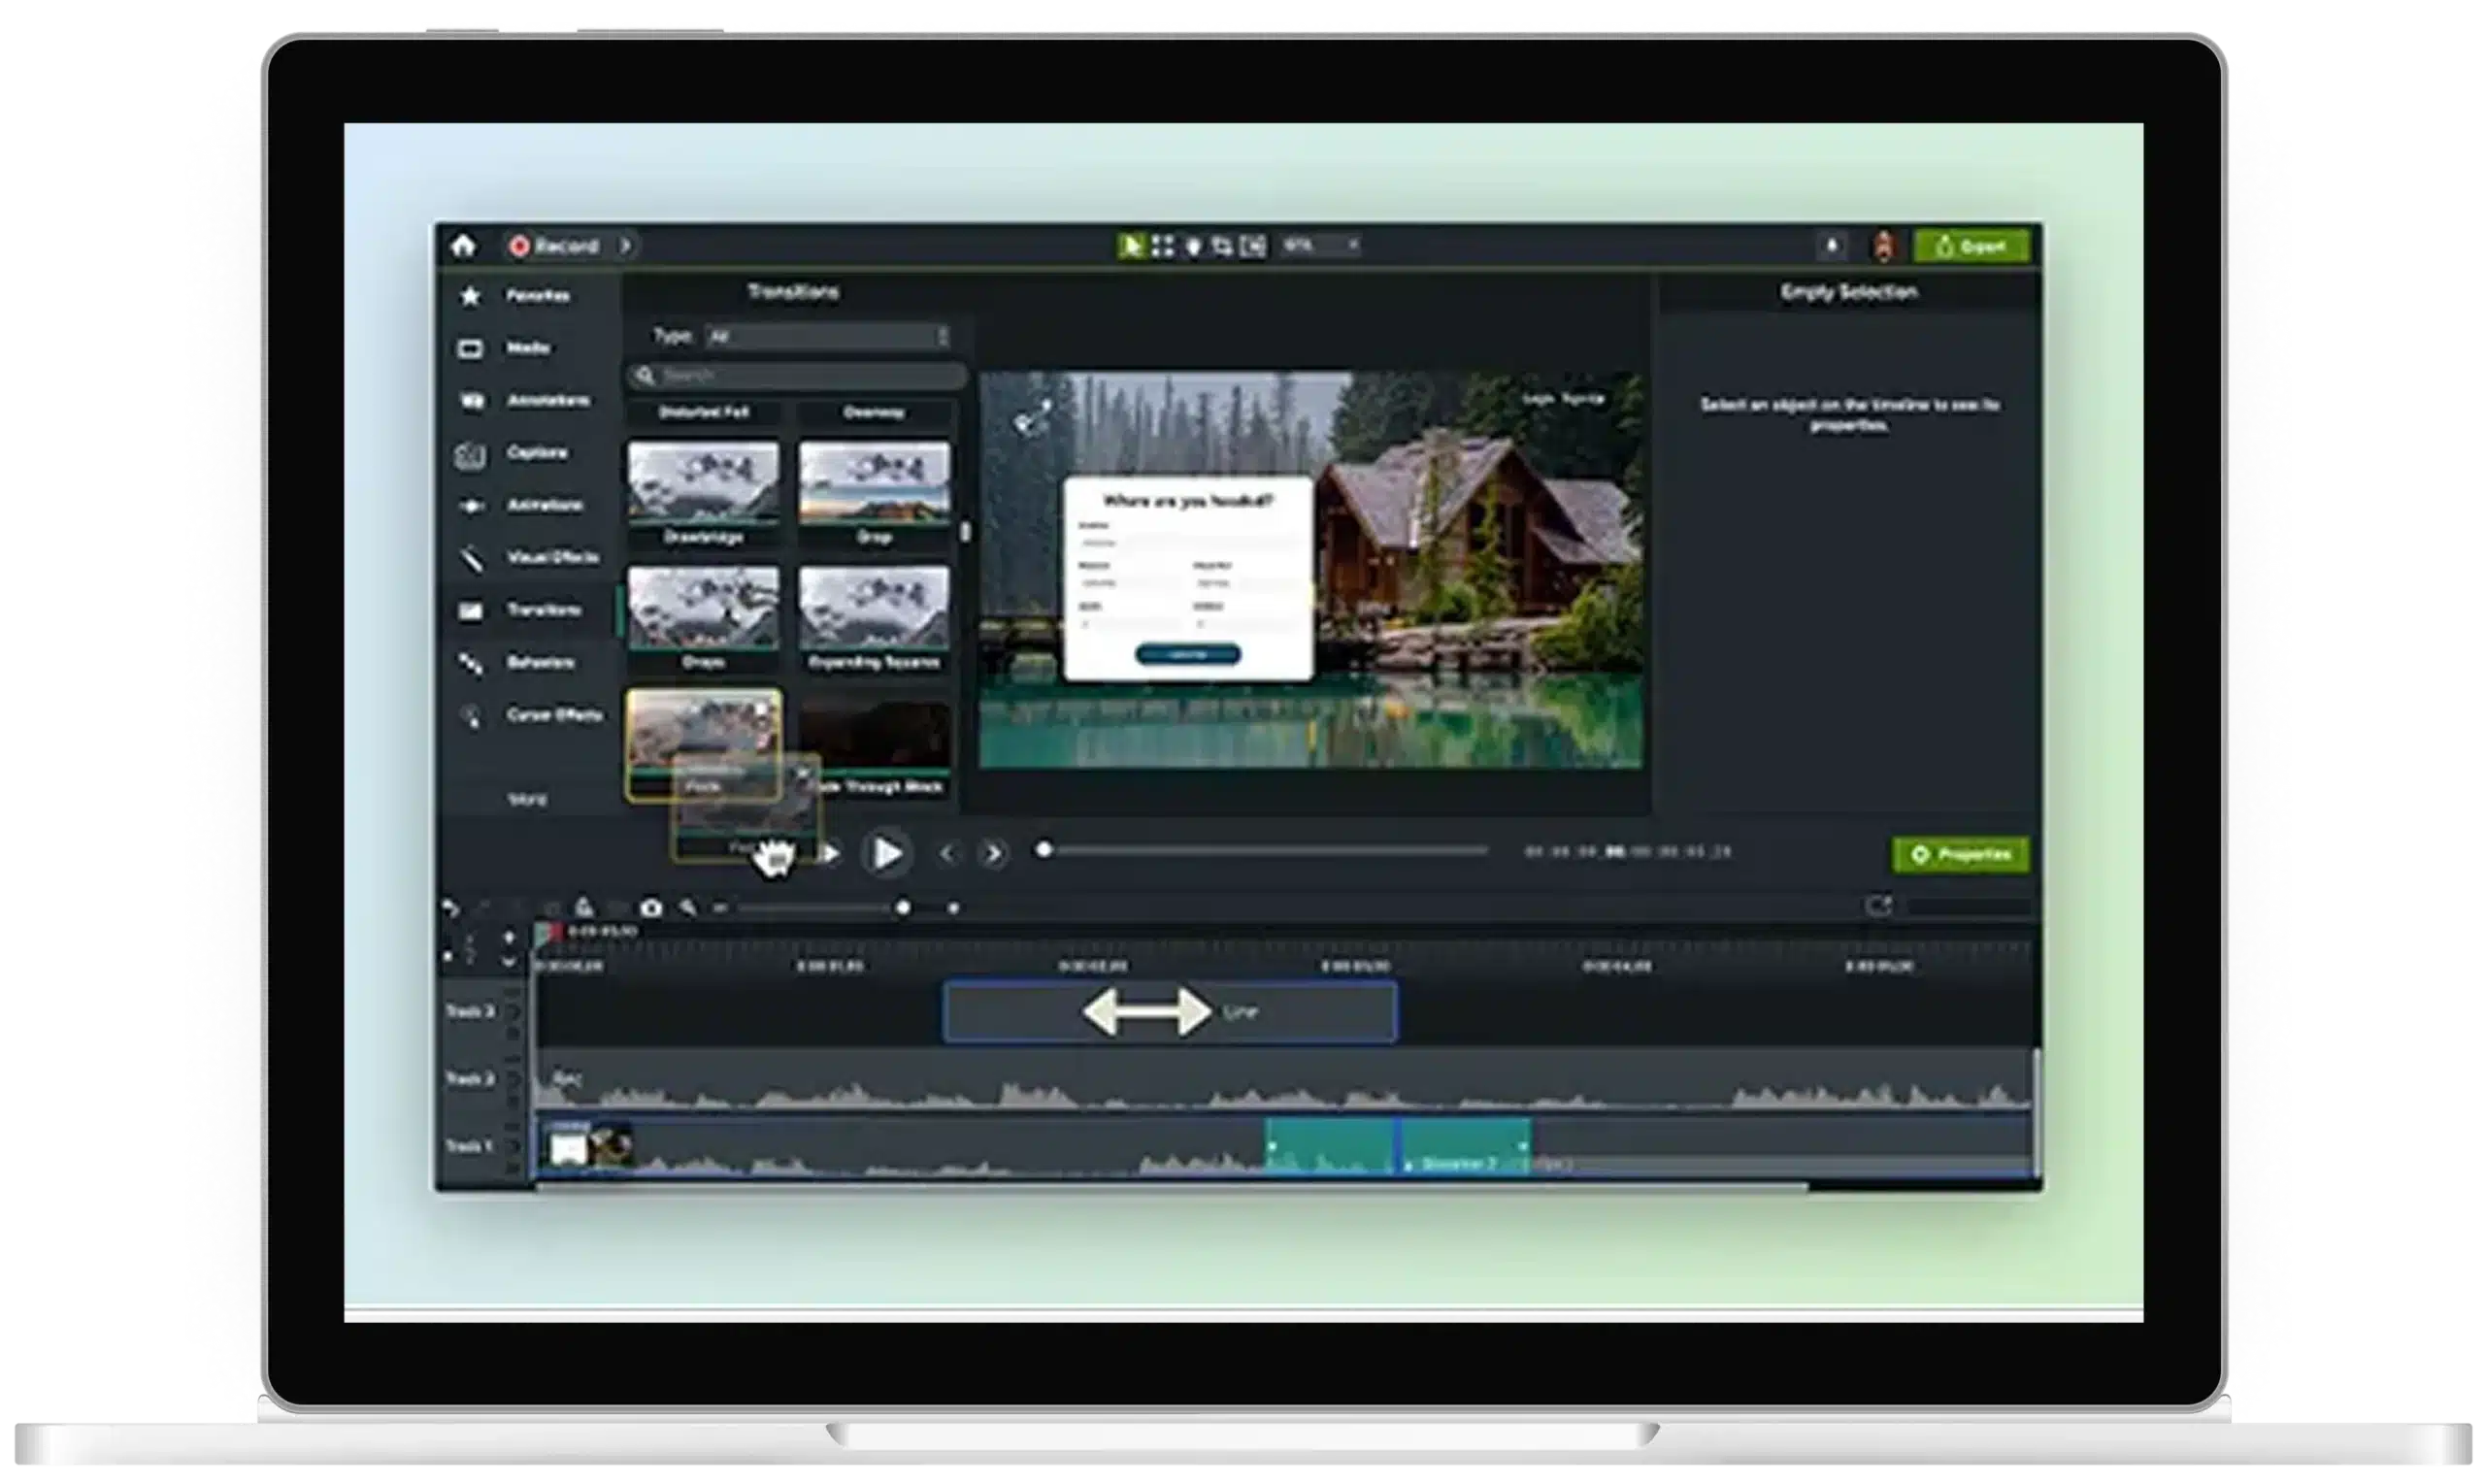
Select a dynamic background from the Camtasia Assets library
Open the Assets tab to browse Camtasia’s online library, then choose from a wide range of original dynamic backgrounds.
Place the background on your timeline
Drag your dynamic background onto your timeline behind your screen recording, webcam clip, or picture-in-picture layout.
Customize color and speed
Keep your visuals on-brand by adjusting color and other available dynamic properties, such as direction, count, or angle, in the Properties panel.
Get Camtasia Editor today
FAQs
Still can’t find what you need? Contact us and we’ll help you out.
No, and the distinction matters. AI background removal cuts out the background from your footage, which requires a clean shot and often leaves visible artifacts. Adding a dynamic background in Camtasia Editor means placing an animated, looping backdrop behind your content on the timeline, whether that’s a screen recording, a webcam overlay, or a presentation clip. You’re not replacing anything; you’re filling the canvas with intentional motion to make the overall video feel more polished and professional.
That’s a fair concern, especially for training and instructional videos where clarity is the priority. Camtasia’s dynamic backgrounds are designed for subtle, controlled motion — and each background comes with its own set of adjustable dynamic properties, like color, direction, count, or angle, so you’re never locked into a one-size-fits-all look. You can dial in the settings to keep movement in the background where it belongs, supporting visual polish without competing with your screen recording, captions, or callouts. The goal is a more finished look, not a flashy effect.
No prior motion graphics or compositing experience is needed. Dynamic backgrounds are accessed directly inside Camtasia Editor through the Assets tab, which connects to the Camtasia online library. You browse, select, and drop a background onto your timeline from the same interface you use for everything else in your project. There’s no separate software, no manual installation, no keyframing, and no workarounds required.
Yes, with a simple save step. After customizing a dynamic background’s properties in the Properties panel, you can save it to the Camtasia Library as an asset, reuse it across projects, or share it with your team. There’s no dedicated preset button, but the Library method gives L&D teams and corporate communicators a reliable way to maintain visual consistency across a high volume of training videos, demos, and onboarding content, regardless of who’s making them.
It works with the content types Camtasia’s audience uses most. You can place a dynamic background behind a screen recording, a talking-head webcam clip, a picture-in-picture layout, or any combination of tracks on the timeline. It’s especially useful for filling the empty canvas space around a webcam overlay or a smaller screen recording, giving the final video a more intentional, complete look without any extra production steps.
Check out our tutorial that will walk you through everything you need to know.