TechSmith Knowmia makes it easy to create and share videos for online learning. Record a MP4 video of your screen, presentation slides, and optional webcam video. Switch between speaker webcam and your screen or presentation.
Install TechSmith Capture
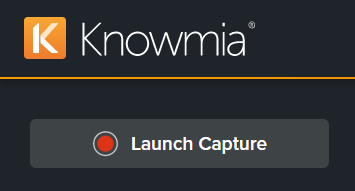
- In Knowmia, click the Launch Capture button.
- The Launching TechSmith Capture website opens. If TechSmith Capture has been previously installed, click the Download button.
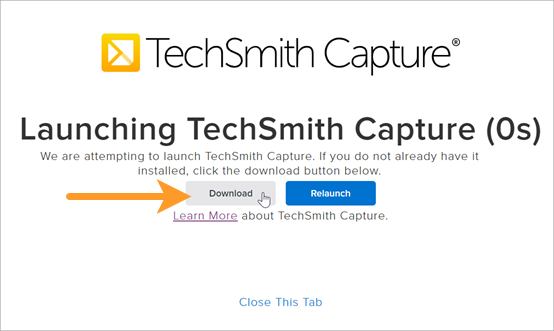
- After the download is complete, double-click the .exe file (Windows) or the .dmg file (Mac) in the Downloads folder.

- After you have installed the application, click Launch Capture again on the Knowmia website.
The TechSmith Capture application launches. See Record a Video.
Record a Video
- Install the TechSmith Capture application.
- In Knowmia, click the Launch Capture button.
- The Capture dialog appears. Click Capture or press Shift+F11 (Windows) or Shift+Command+1 (Mac).

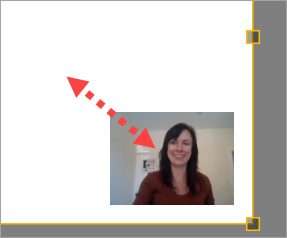
- The orange crosshairs appear. Click and drag to select an area to record.
- To edit the selected area, complete any of the following:
- Drag the handles to adjust the selection.
- To enter a specific size, type the dimensions in pixels into the Width and Height fields.
- To move the selected area on the screen, click within the selected area and drag the selection to the desired location.
- Click the Video Capture button.

- The Video Recording toolbar appears. Select the recording settings:

- Webcam: Record video from a built-in or connected webcam. Click the dropdown to select the camera device and display settings:

- Picture-in-Picture: The webcam displays as a small video in the corner of your video.
To change the Picture-in-Picture position, click the dropdown and select a Placement option.
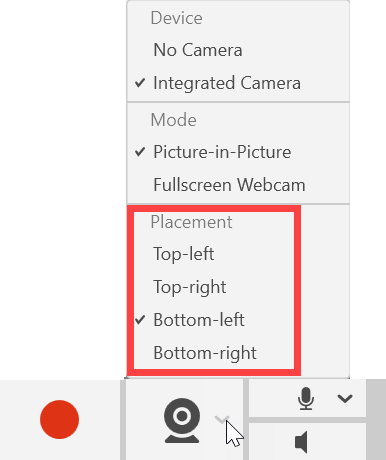
To change the size of the Picture-in-Picture, drag a corner of the webcam preview in or out.
- Fullscreen Webcam: The webcam fills the entire video display area. Screen video is not recorded when the Fullscreen Webcam option is enabled.
Note: You cannot switch between modes (Picture-in-Picture or Fullscreen Webcam) during recording. You can only show/hide the webcam during recording.
- Microphone Audio: Record the audio from your computer’s built-in microphone or from a connected USB microphone.

- System Audio: Record the sound from your computer such as application alerts or the audio playing from your speakers.

- To start recording, click the Record button or press Shift+F11 (Windows) or Shift+Command+1 (Mac).

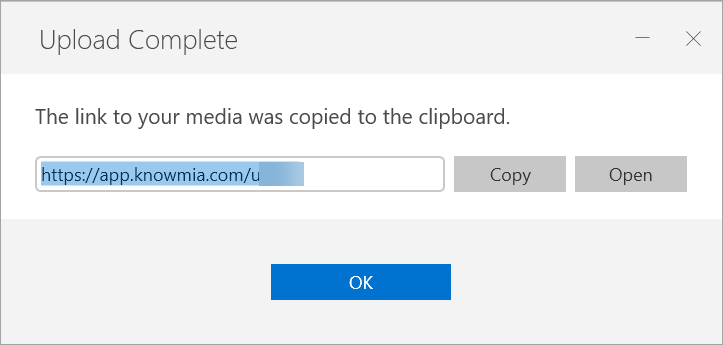
- The preview opens. Click the Upload button to send the video to TechSmith Knowmia.
TechSmith Capture uploads the video to My Library.