Use Knowmia to Caption Your Videos
Learn the four simple steps it takes to caption your video with Knowmia.
Learn the four simple steps it takes to caption your video with Knowmia.
We’re making videos and need them to be captioned, but we don’t have a ton of time. There are simple, easy ways to caption your videos and there are complex, more involved ways. Let’s try a simple way that we can do in a few easy steps using Camtasia and Knowmia.
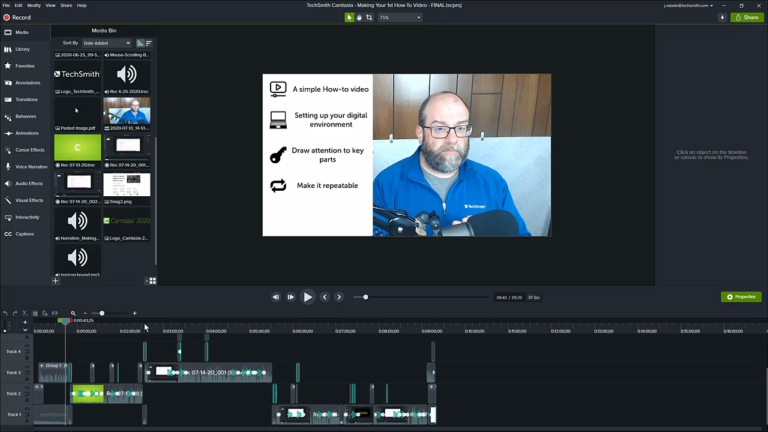
Create your video in Camtasia.
Tip 1: When speaking, slow your rate of speech.
Tip 2: When possible, use a USB-based microphone. However, if you do not have one, use what is available to you.
Tip 3: Smile. When you smile while recording, it brightens your voice and that carries through to the recording.
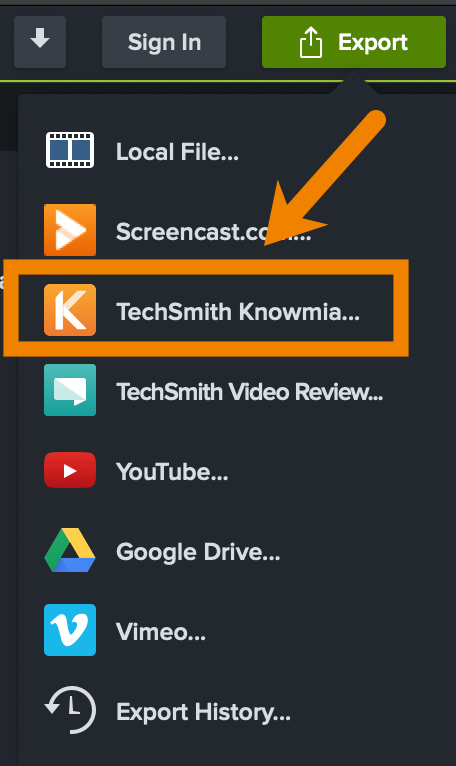
Export your video from Camtasia to Knowmia.
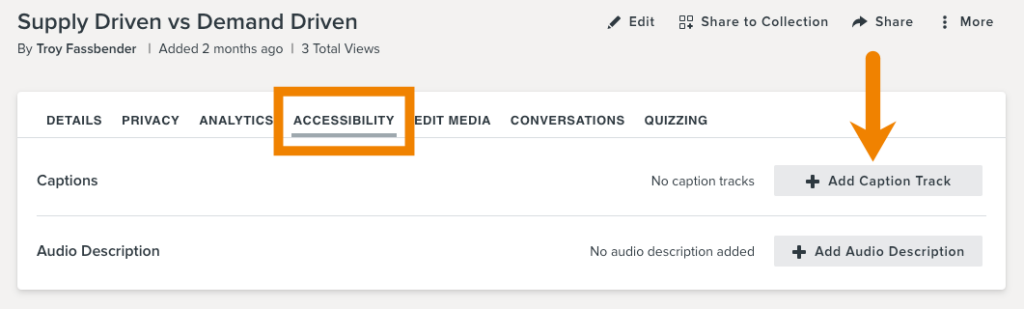
From the video watch page, select the Accessibility tab.
Then select Add Caption Track. To automatically caption the video, select the Speech-to-Text option. For more control, select Custom, to add caption manually.
Once the transcription of the video is complete, choose between the options to Publish, Edit, or Delete the captions.
