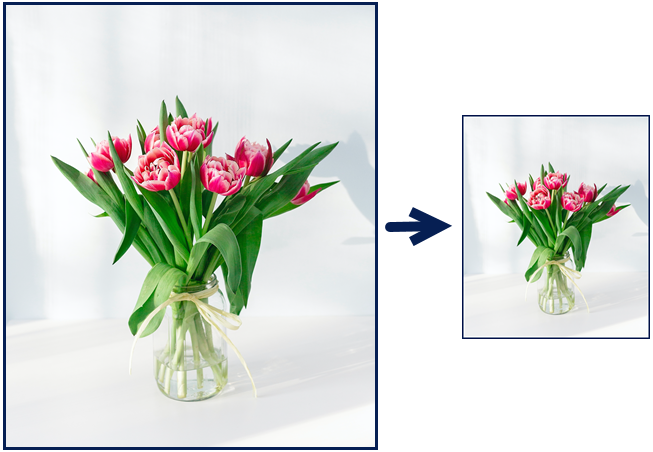
Customize the size and orientation of an image before sharing to an application or website.
Change the size and orientation of an image to:
Match the recommended image resolution to insert an image into a website.
Adjust the image size to insert into a specific area in a document.
Adjust the image orientation to create a printed document.
Resize an Image
Note: After resizing an image, you cannot move or edit flattened objects in the image.
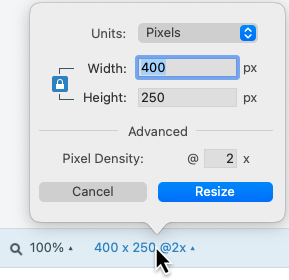
In Snagit Editor, select Image menu > Resize Image or click the image dimensions at the bottom of the Canvas.
Mac: Set the Pixel Density (optional). The pixel density is measured in pixels per inch. Enter 1 to show all pixels.
Tip: Save changes to Pixel Density first.
It is recommended to save changes to pixel density before making further changes to image size. Click Resize to save your changes.
Select an option from the Units dropdown:
Percent: Scale image based on a percentage of the current image size.
Pixels: Scale image based on screen pixels.
Inches: Scale image based on inches.
Centimeters: Scale image based on centimeters.
Enter a Width and Height based on the selected unit. Click the icon to enter units at a different aspect ratio.
Note: Changing the aspect ratio may blur or skew the image.
Windows: Click Advanced and adjust additional options as needed:
Resolution: Set the density of pixels in an image. Resolution is measured in DPI (dots per inch).
Use Resampling: Change the number of pixels in an image. Enable resampling to add pixels to an image. Disable resampling to remove unnecessary pixels which can decrease the file size.
Note: Use other resizing options before enabling Use Resampling as this option can permanently degrade the quality of the image.
Click the Apply (Windows) or Resize (Mac) button.
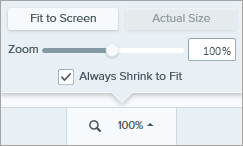
Note: The magnify option displays a zoomed in view of the image on the Canvas, but does not resize the actual image.
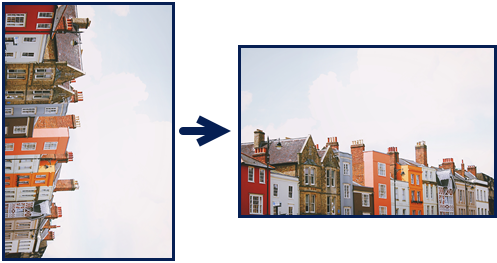
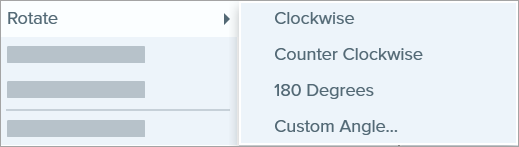
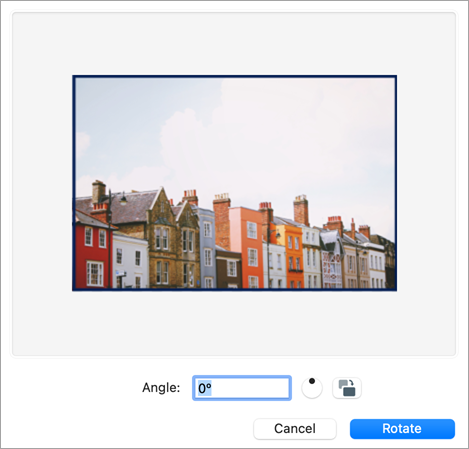
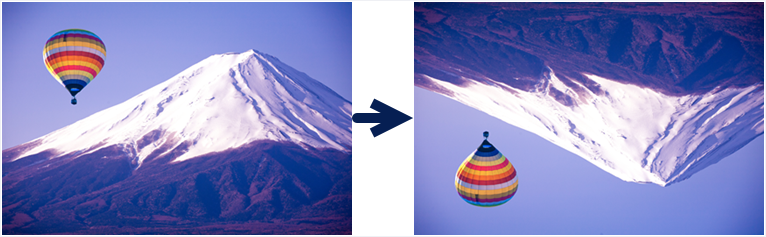
Rotate an Image
Note: After rotating an image, you cannot move or edit flattened objects in the image.
In Snagit Editor:
Windows: Select Image menu > Rotate > select a rotate option.