Capture an Image
Learn how to capture a screenshot of anything on your screen from the Snagit Capture window.
Learn how to capture a screenshot of anything on your screen from the Snagit Capture window.


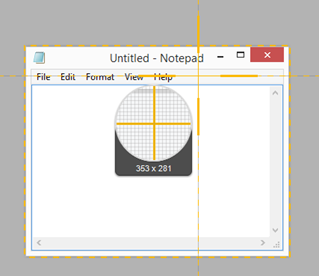
Tip: Use the magnifier for pixel accuracy.
To hide the magnifier, press the M key.
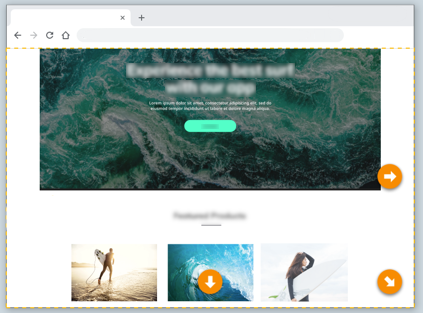
The capture opens in Snagit Editor where you can preview, edit, and share the capture.
Click Share Link to upload your image to Screencast – free with your TechSmith account.
Snagit copies a link to your clipboard to quickly share your image with anyone!
About Screencast
| Option | Description |
|---|---|
| Selection Windows:  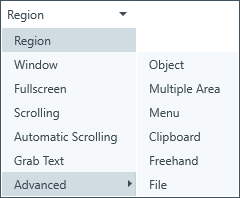 Mac: 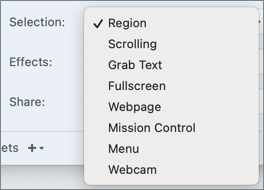 | Select the capture area or type of capture. Options include:
|
Effects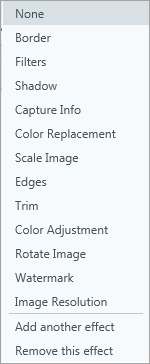 | Automatically apply one or more effects when you capture. To remove the last added effect on Windows, select Remove this effect. To remove an effect on Mac, select Remove. To remove all effects, select None. |
Share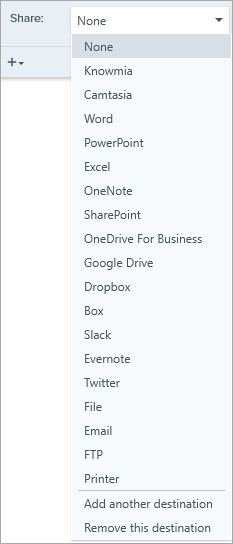 | Automatically send the image to a specific app or save to a specific file destination. To learn more about share destinations, see Share Captures. If the Preview in Editor option is enabled, you must click the Finish button in Snagit Editor to share the capture.  If the Preview in Editor option is disabled, the capture is sent to the selected destination. Note: Only destinations that support image file formats are available in the Image tab. For more sharing destinations, click the Video tab or share a capture from Snagit Editor. |
| Preview in Editor | Open the capture in Snagit Editor to preview, edit, and share the image or video. Disable this option to prevent Editor from opening automatically after each capture. |
| Copy to Clipboard | Copy the capture to the Clipboard to quickly paste into another program or location after capture. |
| Capture Cursor | Include the cursor in the capture. For image captures, the cursor is captured as a vector image that can be moved, edited, or deleted from the image. |
Time Delay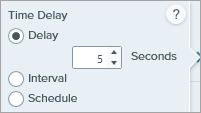 | Delay Delay the start of the capture by a number of seconds to allow for additional setup time before capture for items such as dropdown menus. After clicking the Capture button, a countdown appears on the bottom-right corner of the screen.  Interval Set an interval of time where Snagit continuously captures images of the selected area on the screen. You can optionally choose to discard identical captures if nothing on the screen has changed. 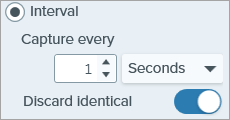 Note: The Capture button is displayed as a Start/Stop button when this option is selected. Schedule a date and time for Snagit to take a capture of the selected area on the screen. Note: The Capture button is displayed as a Start/Stop button when this option is selected. See Common Captures with Snagit for more details. |
| Additional Options (All-In-One tab) | Click the additional options icon to expand the Selection and Share options for All-In-One capture.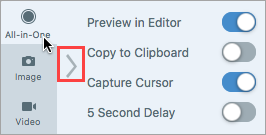 |
Tip: Discover new ways to capture with Snagit.
See Common Captures with Snagit to learn how to set up Snagit as a printer destination for other applications or for more details about how to capture dropdown menus, multiple areas on the screen, and more.
Note: This tutorial is for Snagit version 2024. Previous versions may look or function differently.