

Animations In-Depth
Learn how to create and edit animations to add visual interest to your video.
Learn how to create and edit animations to add visual interest to your video.
Animations add interesting focal points to your video such as:
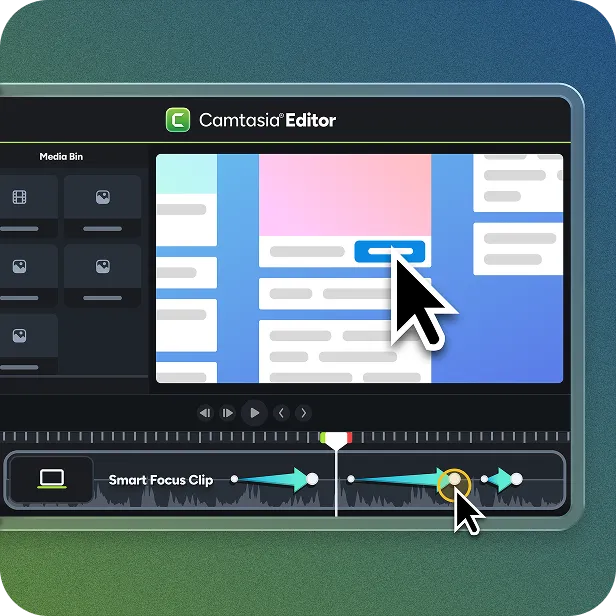
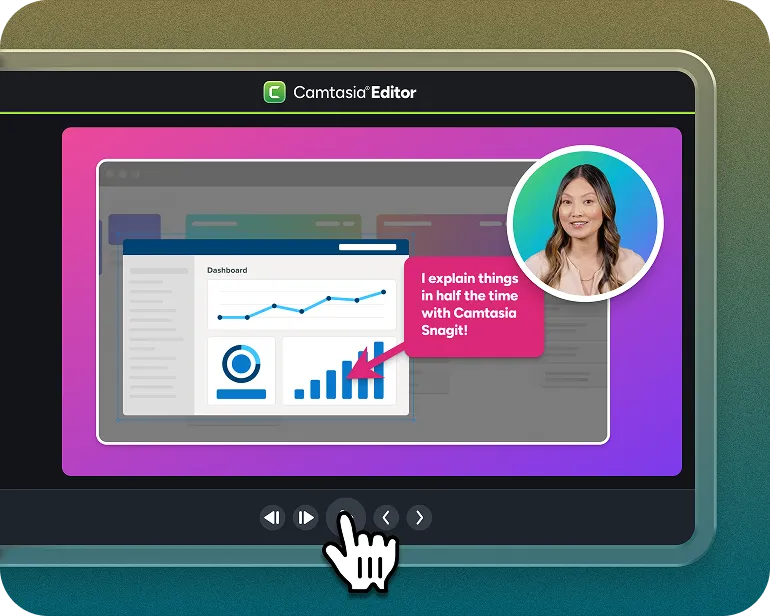
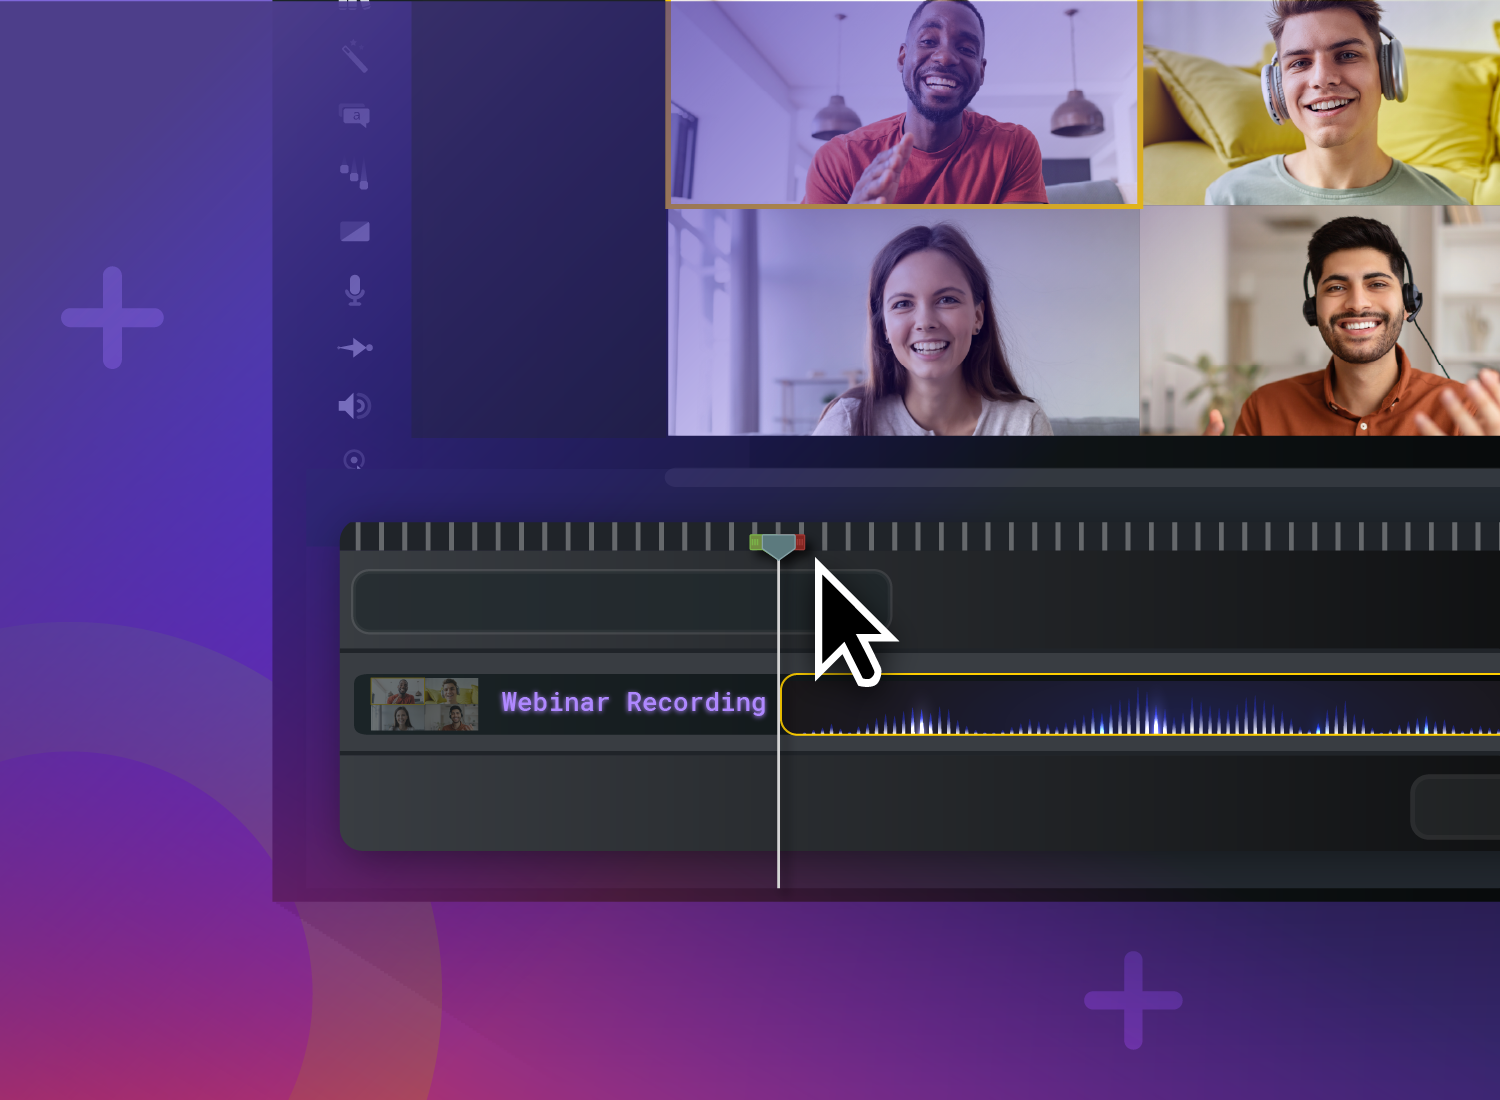
Camtasia Editor displays the animation as an arrow on top of the media.![]()
Animations move media in the video based on the change from one set of visual properties to another. These properties include position on the screen, rotation, scale, and opacity.
The tail and head of the animation arrow on the timeline indicate where the animation begins and ends. Adjust the visual properties at each point to set how the media displays at the start and end of the animation.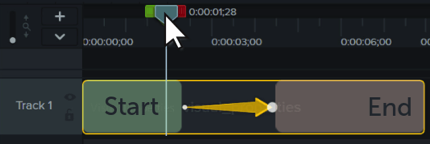
Note: For more detailed information about Zoom animations, see Zoom in to Focus Attention.
Tip: Streamline animation editing with Edit All Animations mode.
With Edit All Animations mode, edits you make to a single animation are applied to all animations in the selected media. Click the Edit All Animations icon ![]() at the top of the Properties panel to toggle this mode on and off.
at the top of the Properties panel to toggle this mode on and off.
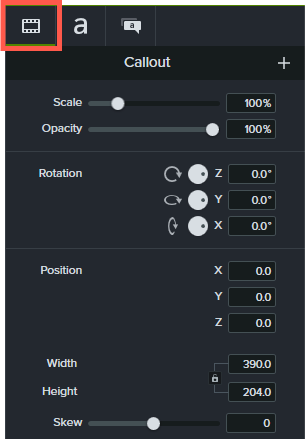
| Property | Description |
|---|---|
| Scale | Drag the slider or enter a value to adjust the size as a percentage of the original media. |
| Opacity | Drag the slider or enter a percentage to adjust the transparency of the media. |
| Rotation | Do any of the following to rotate the media around the Z, Y, or X axis:
|
| Position | Enter X, Y, or Z coordinate values to place the media relative to the center of the canvas. |
| Size | Enter pixel values to adjust the size of the media. Click the lock icon |
| Skew | Drag the slider or enter a value between -10 and 10 to adjust the angle of the media. Tip: Pin the corners of your media to automatically adjust skew and integrate media with a background. See Create the Illusion of 3D Perspective (Corner Pinning). |
Easing helps media to look more natural as it moves during an animation. To change the easing:
Enable Auto Animate Mode to automatically add animations to the timeline as you move, rotate, and scale media on the canvas or adjust the media’s visual properties.

Unleash the world’s most powerful screen recorder and video editor.
* Already a Camtasia Editor user? Learn how to update to the latest version.