Introduction
Use animations to zoom in to focus the viewer’s attention and pan to important parts in your video. Camtasia Editor offers three ways to add zoom and pan animations:
- SmartFocus: Automatically add zoom and pan animation points to screen recordings made with Camtasia Recorder (.trec).
- Animations: Add animations, such as Scale Up or Custom, to create customized zooms and pans.
- Zoom-n-Pan: Use the Zoom-n-Pan preview to visually set the area to zoom and focus on.
SmartFocus
SmartFocus™ collects data from the .trec screen recording, such as cursor movements, mouse clicks, and other actions to automatically add zoom and pan animations to your media.
Apply in Camtasia Rev
- Turn on Camtasia Rev in the recorder to automatically open Rev after you stop recording.

- On the Screen tab in Camtasia Rev, click to apply the SmartFocus effect.

Camtasia Editor automatically adds zoom and pan animations to the video.
Apply in Camtasia Editor
Tip: Apply SmartFocus first.
SmartFocus replaces any animations currently applied to the media. After you apply SmartFocus, you can apply additional zoom and pan animations manually. See Manually Apply Zoom Animations.
- Select Animations > Animations subtab.
- Drag the SmartFocus animation onto a .trec file on the timeline.
Camtasia Editor automatically adds zoom and pan animations onto the timeline.
SmartFocus Recording Tips
To help SmartFocus predict where to apply zoom and pan animations, follow the tips below during recording:
- Slow down. Use slow, deliberate mouse movements.
- Limit clicking. Do not randomly click around the screen or repeatedly click with the mouse.
- Record clips longer than 30 seconds. SmartFocus is optimized for recordings longer than 30 seconds. For shorter clips, manually add zoom and pan animations. See Manually Apply Zoom Animations.
- Do not “talk” with the cursor. Do not move the cursor around or point at unnecessary areas on the screen as you speak. Try to keep the cursor still in the area of focus in the recording unless you are demonstrating a focused action.
- Keep the cursor close when entering text. SmartFocus may not predict the correct action if you click in a text box, move the cursor to the other side of the screen, and then start talking. If you want the viewer to see what is typed into the text box, keep the cursor in or near the text box.
- Use the mouse scroll wheel (if applicable). Try using the mouse scroll wheel instead of clicking and dragging on the scroll bar. SmartFocus may zoom in on the scroll bar instead of the content scrolling. For example, use the mouse scroll wheel when scrolling long web pages.
SmartFocus at Time (Mac Only)
SmartFocus at Time allows you to apply SmartFocus at a specific point in your video.
- Drag the playhead on the timeline to where you want to apply SmartFocus.
- Click the Animations tab.
- Drag the SmartFocus at Time animation onto a .trec file on the timeline.
Manually Apply Zoom Animations
Manually add animations, such as Scale Up or Custom, to create customized zooms and pans.
- Select the Animations tab > Animations subtab (Windows) or click the Animations tab (Mac).
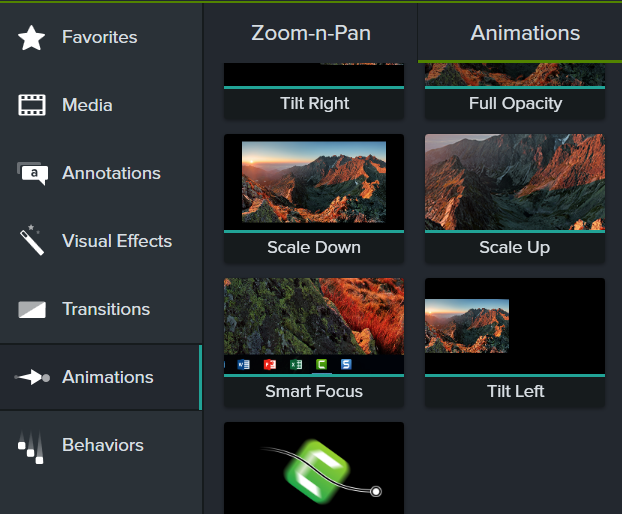
- Drag the Scale Up animation onto media on the timeline.
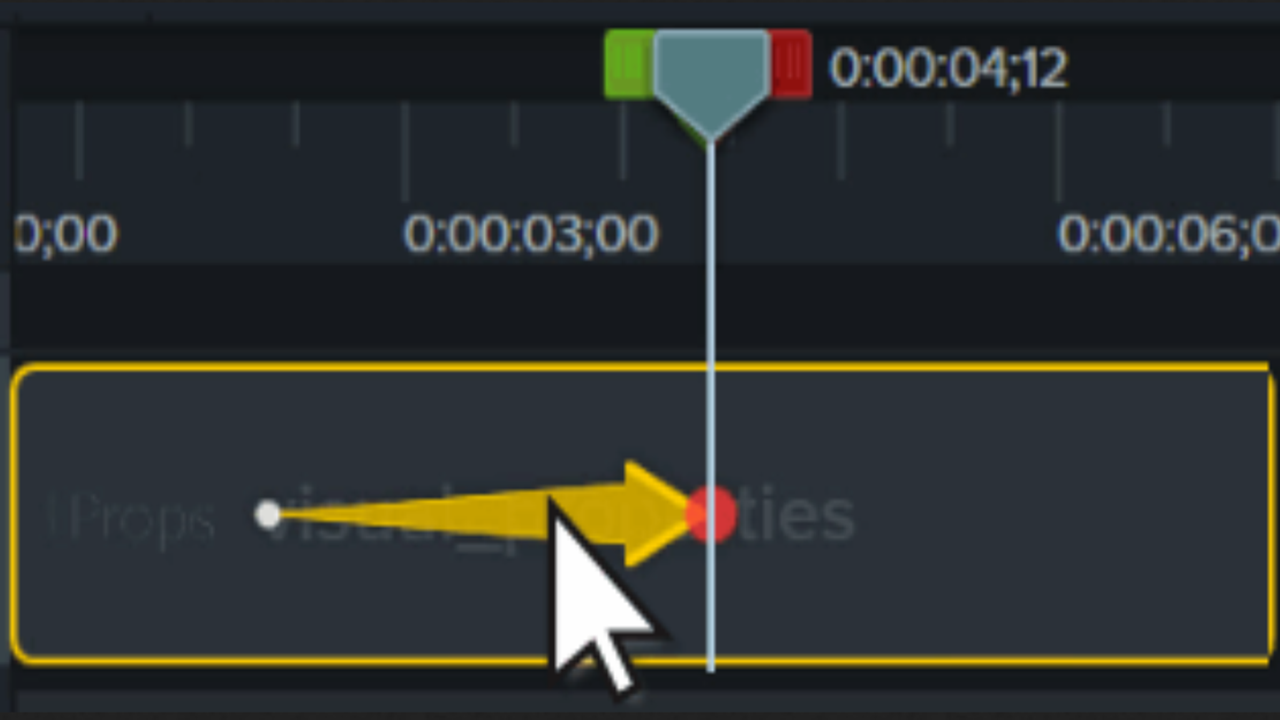
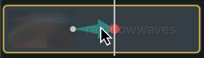
- To position when the animation occurs, drag the arrow.

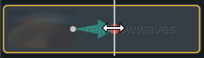
- To change the animation duration, drag either end of the arrow.

- Click Properties to customize the annotation. See Discover the Properties Panel.
- To adjust the zoom, move the playhead to the right of the arrow and drag the Scale slider.

- To zoom out, drag the Scale Down or Scale to Fit animation onto the media on the timeline and adjust the location, duration, and properties of the animation.
- Preview the animations on the canvas to see how they appear in the final video.
Zoom-n-Pan
Use the Zoom-n-Pan preview to set the area to zoom and focus on.
Windows
- Drag the playhead on the timeline to where you want the zoom to occur.
- Select Animations > Zoom-n-Pan subtab.
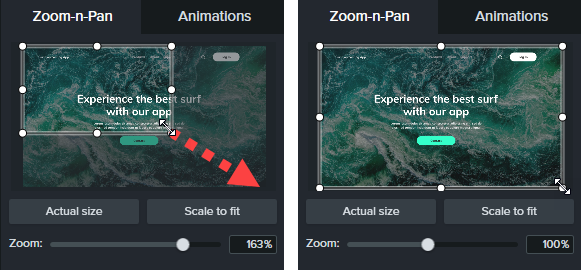
- Move and resize the zoom rectangle to get the desired effect. The area fills the canvas and displays what your viewers see.

- A zoom animation appears on the timeline.
- To position when the animation occurs, drag the arrow.
- To change the animation duration, drag either end of the arrow.
- To zoom out, drag the playhead where the zoom animation ends. Repeat steps 3 and 4 to zoom out or click the Scale to fit button to display the entire media on the canvas. A second animation arrow appears on the timeline.
Mac
- Drag the playhead on the timeline to where you want the zoom to occur.
- Click to select the media or group to apply the zoom and pan to.
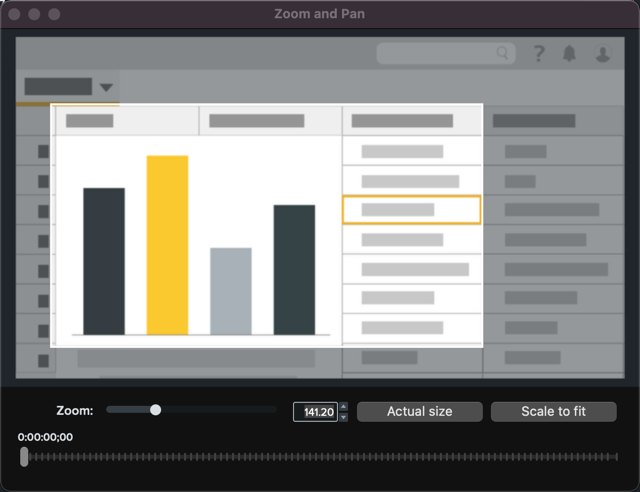
- Select Edit menu > Zoom-n-Pan. The Zoom and Pan Window appears. The highlighted area in the white rectangle is what your viewers see.
- Complete any of the following options:
- Resize the white rectangle to zoom in or out. Yellow lines appear when the preview snaps to the canvas edge.
- Move the rectangle to pan across the canvas.
- Drag the Zoom slider or enter a percentage value to zoom in or out.

- Click Actual size to scale the video to 100% its original size.
- Click Scale to fit to display the entire media on the canvas.
- An animation arrow appears on the timeline.
- To position when the animation occurs, drag the arrow.
- To change the animation duration, drag either end of the arrow.
- Drag the playhead and repeat steps 4 and 5 to add more zoom and pan animations.
Get Camtasia
Unleash the world’s most powerful screen recorder and video editor.
All Camtasia Tutorials