Learn About Camtasia Editor Files
Learn about Camtasia project and recording files along with best practices to keep your project files organized.
Learn about Camtasia project and recording files along with best practices to keep your project files organized.
Learn everything you need to know about file formats in Camtasia Editor. This tutorial covers the supported file formats, when to use each file type, and some of the benefits of Camtasia Editor’s file formats.
 Camtasia Recording File Format (TREC)
The file format generated after recording in Camtasia Recorder. A TREC stores audio, screen recording, camera recording, and metadata (e.g. cursor data). TREC files can only be opened in Camtasia Editor.
To learn about the benefits of recording with the recorder in Camtasia Editor, see Introduction to Camtasia Recorder. 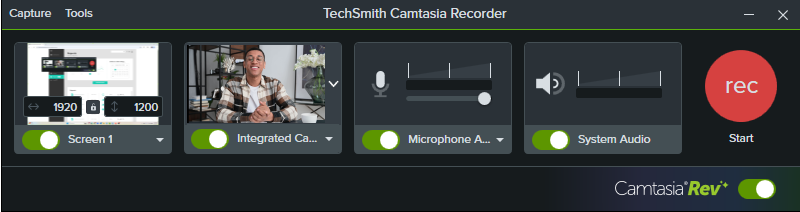
Camtasia automatically names and saves the recordings to a default folder on your computer. You can set Camtasia Recorder to prompt you to enter a file name and location after each recording.
By default, Camtasia Recorder saves TREC recordings to: C:\Users\username\Documents\Camtasia.
By default, Camtasia Recorder saves TREC recordings to: Users/username/Movies/Camtasia/Temporary Recordings.
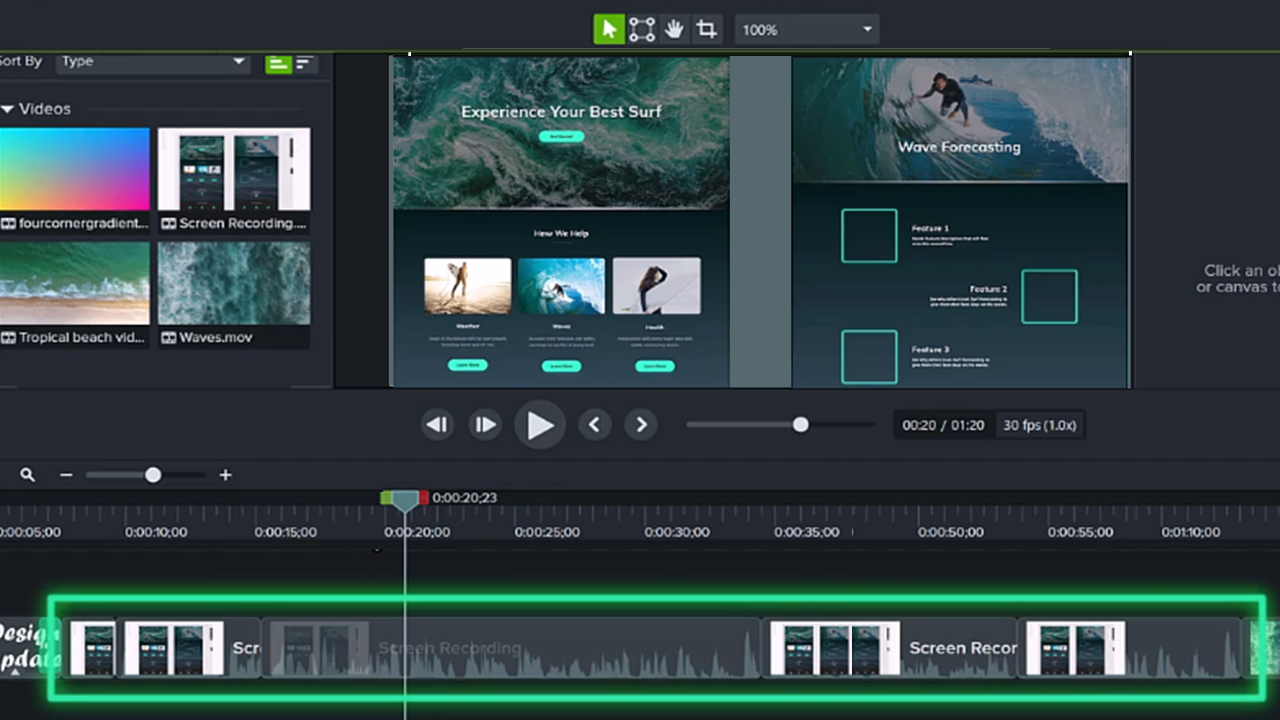
Rev media combines the recording streams (screen, camera, and audio) from the TREC recording file into a single package on the timeline for simplified editing. 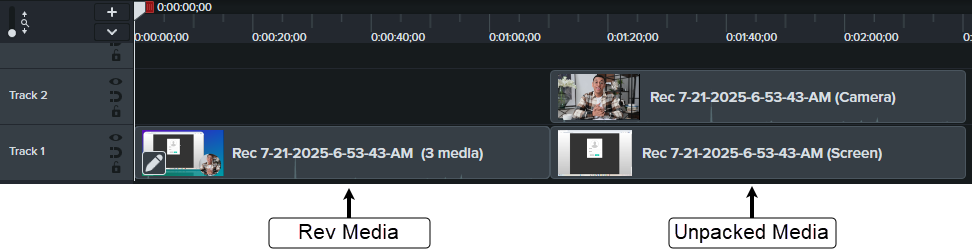
Click the Modify button on the Rev media to change the layout or effects anytime. 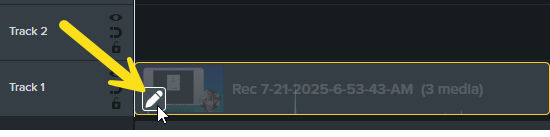
See Introduction to Rev Media.
A Camtasia video project is saved as a TSCPROJ (Windows) or a CMPROJ (Mac). This file format keeps all elements of a project together in one directory.
The Camtasia project file includes:
When you save as a standalone project, the TSCPROJ (Windows) or the CMPROJ (Mac) file includes a copy of all media in a single directory.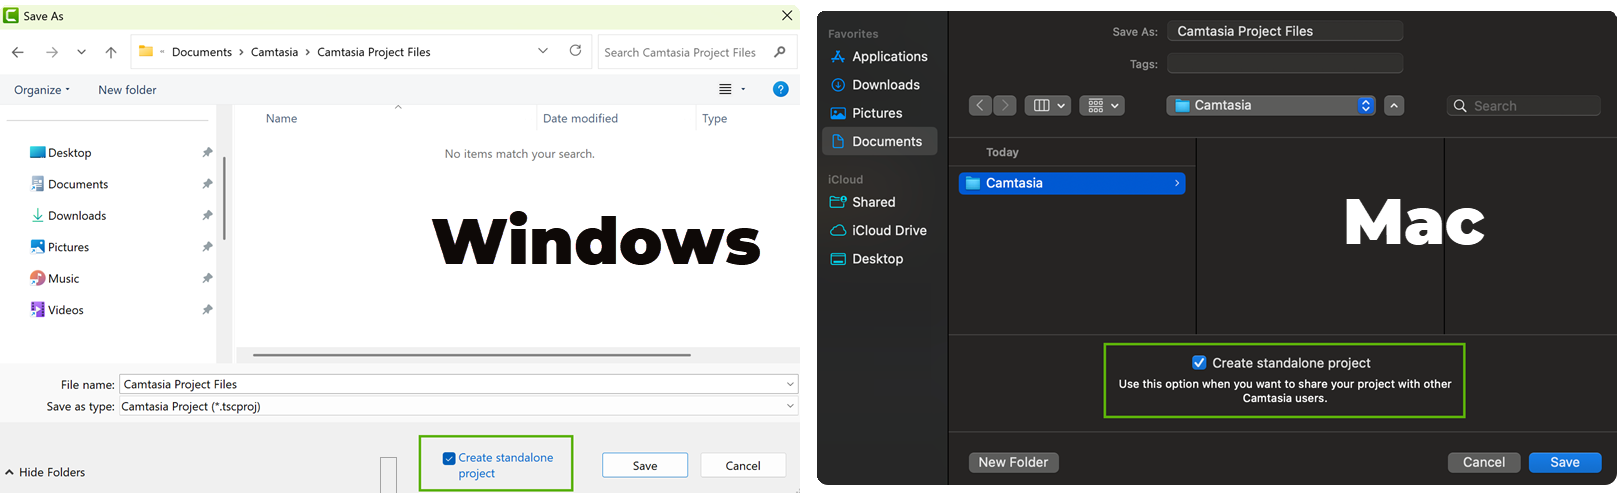
Camtasia Editor makes it easy to import media recorded from other sources, such as from another computer, mobile device, a subject matter expert, or video collaborator. Import videos, images, audio, captions, or presentation slide decks to include in your video.
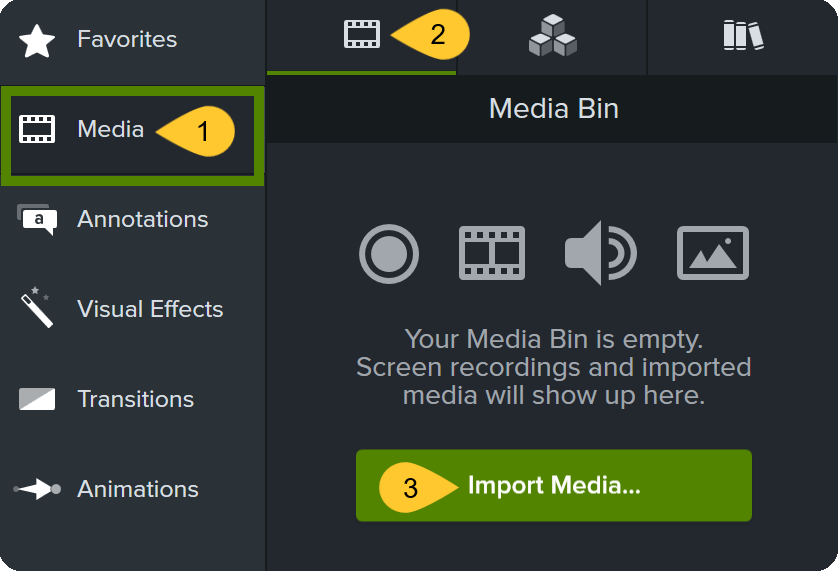
To import media:
Create a Camtasia Package (CAMPACKAGE) to:
Packages can include: templates, themes, libraries, shortcuts, favorites, tool presets, and export presets.
See Package & Share Camtasia Editor Resources.
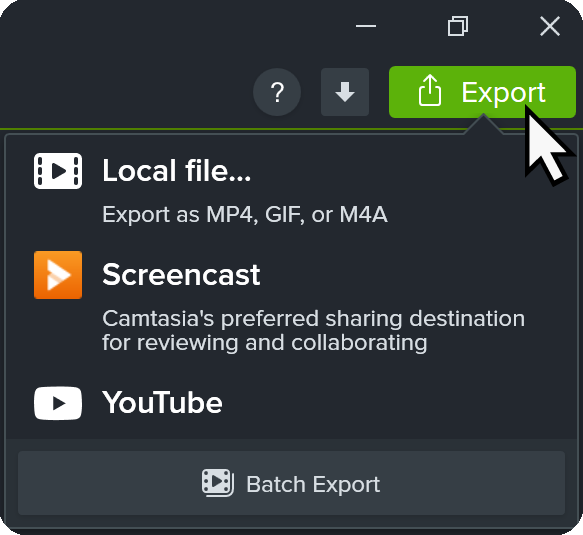
The Local File option is best for exporting a MP4, GIF, M4A, or a video with interactive features (such as table of contents, captions, search, quizzing, and hotspots) onto your computer. Then, upload to a video hosting site, your channel, or social media to share the video with others.
Upload your videos directly to Screencast or YouTube and share a link with your audience. Screencast is a cloud-based solution for collaboration and feedback.
See Export & Share Your Video or Export an Audio File.
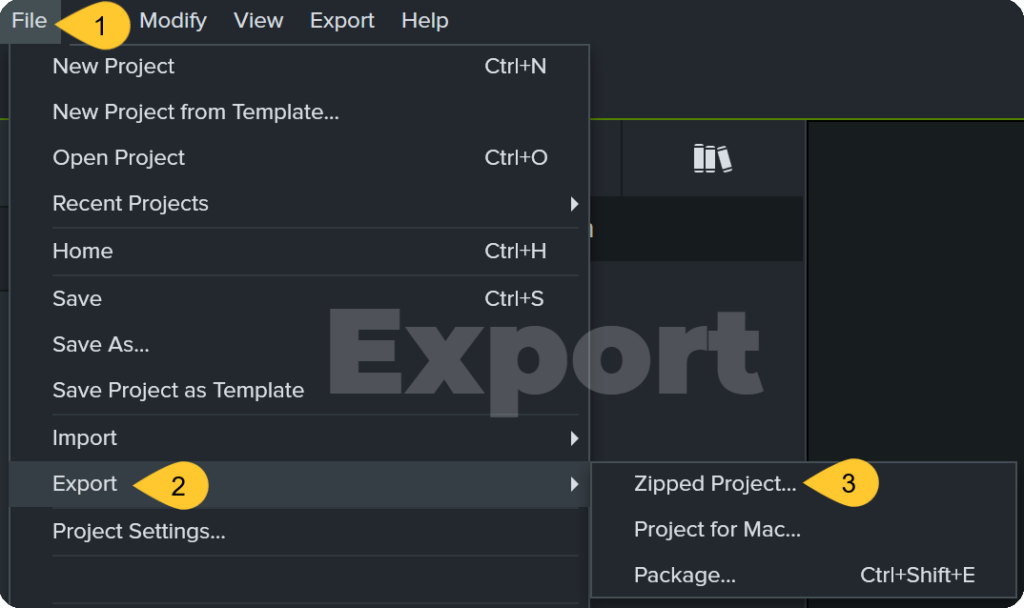
Zip your project to share with others, create a backup, or to move the project to another computer. The zip project includes the project file and all media used in the project.
To save a zip project:
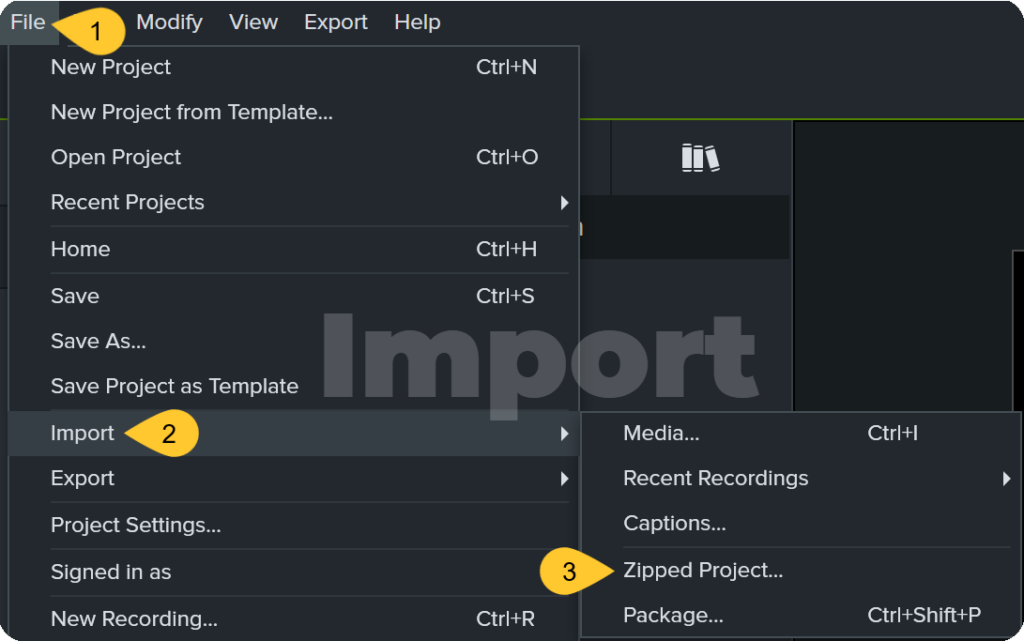
To open a zip project in Camtasia Editor, select File > Import > Zipped Project.
Unleash the world’s most powerful screen recorder and video editor.
* Already a Camtasia Editor user? Learn how to update to the latest version.