Want to speed up your video creation?
Record voice-overs, improve audio, edit like a pro with text-based editing, and generate AI voices and avatars in Camtasia Audiate.
Free Download
Writing a script makes editing and creating videos a lot easier. Writing a script for your video can help you:
- Plan out what you’re going to say.
- Make your narration concise and fit the length of the video.
- Reduce the editing time or the need to re-record sections of the video.
Write Your Script
Write out your script to ensure fewer errors and retakes. You can draft the script in your application of choice, such as Google Docs or Microsoft Word.
One way to organize your script is to put each sentence or idea into a row in a single column. Once you have reviewed and edited your script, it’s ready to be recorded. Here’s an example of a script in column format:
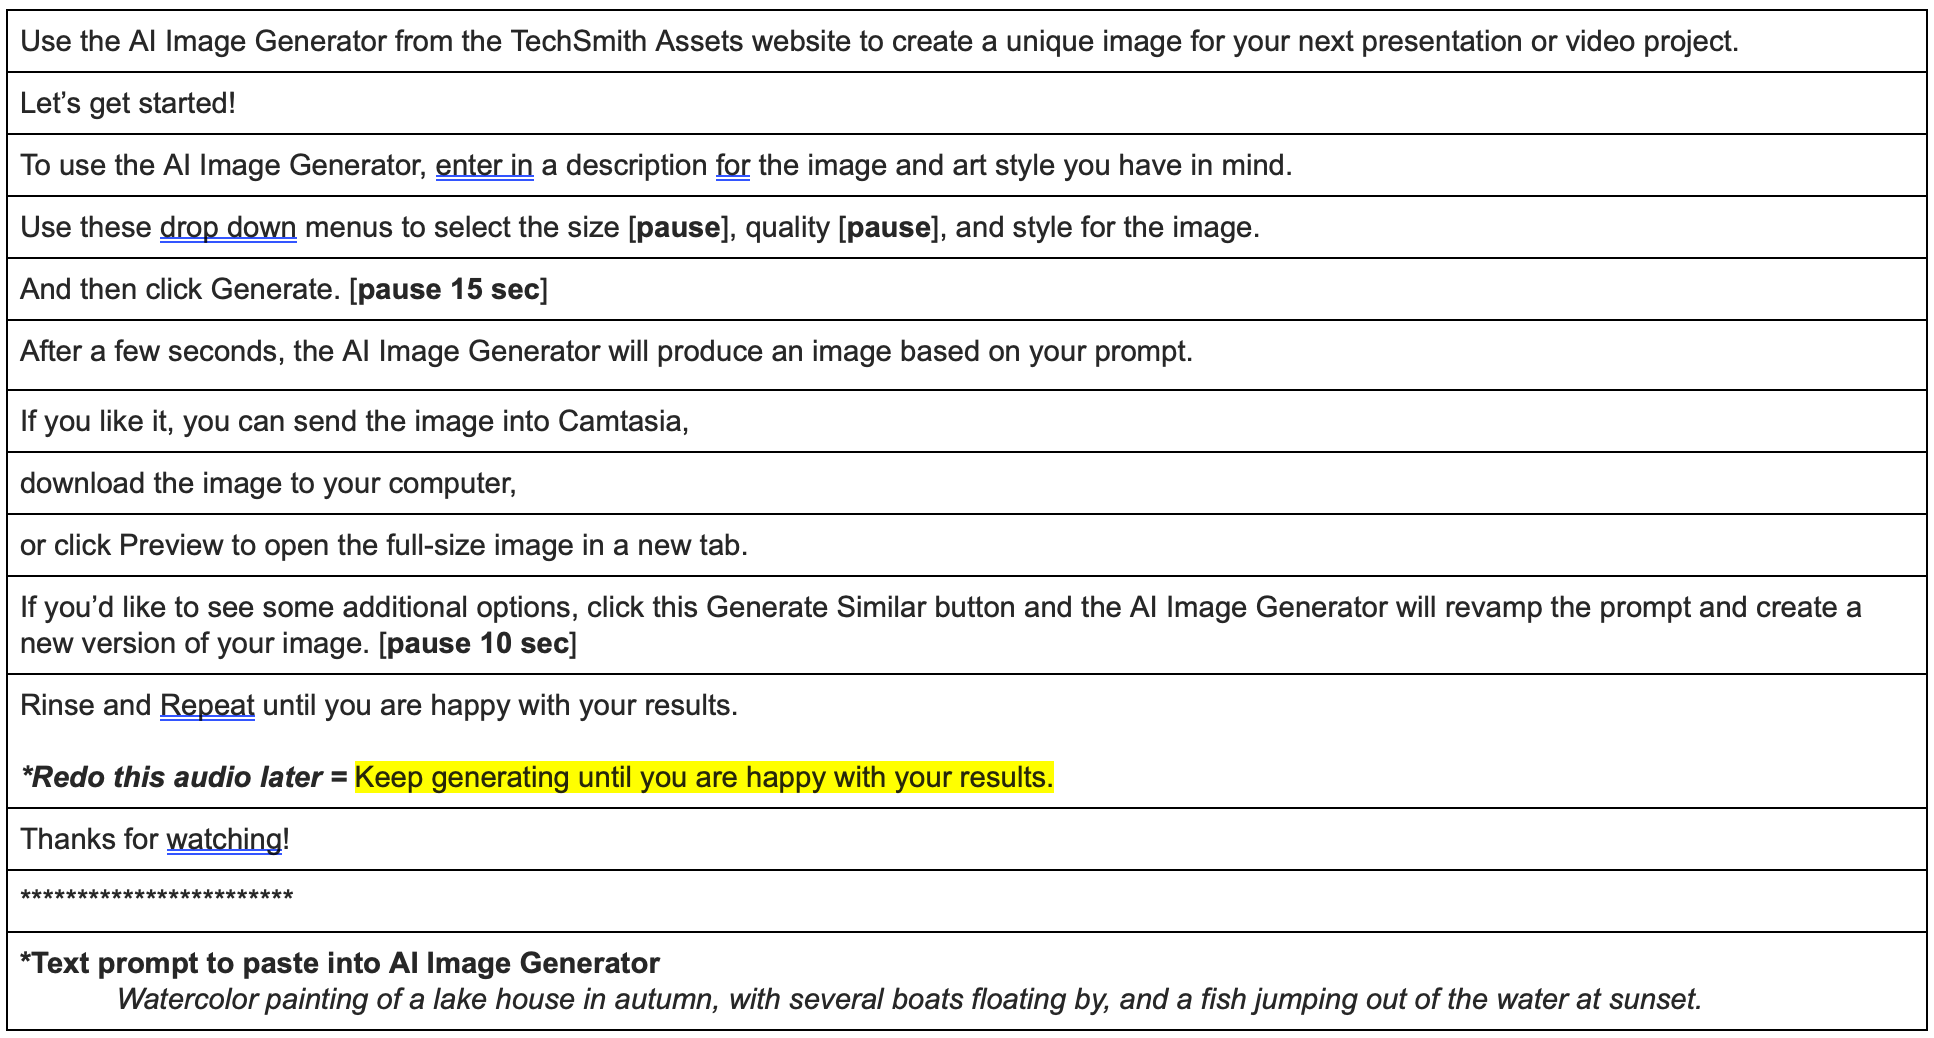
AI Image Generator Script –  Word Doc
Download our sample script to recreate this tutorial or use the script as a template for drafting future scripted videos.
Record Your Script
Record your script with Camtasia Audiate, our text-based video and audio editor. Audiate makes it easy to edit out mistakes like filler words or pauses, and edit the audio quality like a professional.
- Open Audiate and click Start a Recording. You can record the narration for an entire project or in shorter sections.
- Click the Stop button at the bottom of the page once you are done recording.
- Audiate automatically transcribes the voiceover recording. There are multiple ways to edit the voiceover in Audiate:
- Silence Selection: Click and drag to select the section you want to silence. In the floating toolbar, click the Silence Selection button.
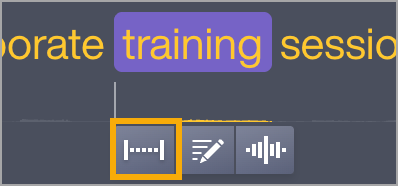
- Enter Scripting Mode: Double-click anywhere on your script to enter scripting mode. This option only changes the written script, but does not change the recording.
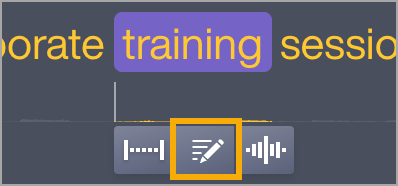
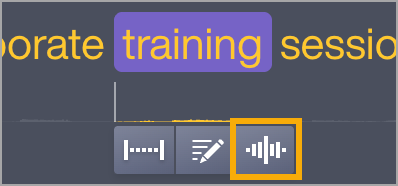
- Waveform Editor: The waveform editor allows you to more precisely edit your audio and view the volume level. Click and drag a section of the audio and click the Waveform button in the floating toolbar.
- Once done editing your audio, select Export > Export to File.
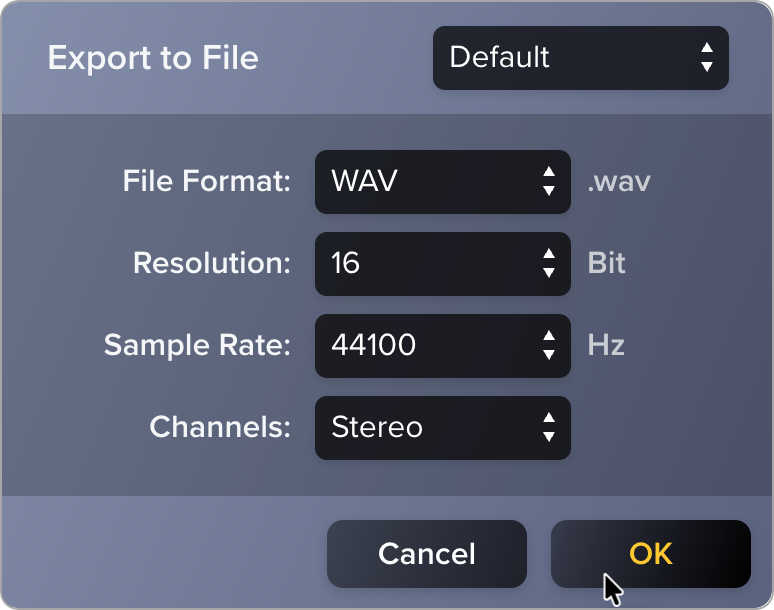
- In the Export to File dialog, select WAV or MP3 file format and click OK.
- Enter a file name and location and click Save.
Record Your Video
Use Camtasia Recorder to record your screen content to accompany your voiceover clip(s). As you record, play back the audio in Audiate to guide your actions on screen to match.
- Open your Audiate voiceover project back up. This will act as a guide when you record your screen in Camtasia Recorder.
- Open Camtasia Editor, then in the Home window, click New Recording, or click Record from an open project.
- In Camtasia Recorder, click the Screen Recording toggle button on. Make sure the Camera, Microphone, and System Audio toggle buttons are turned off.
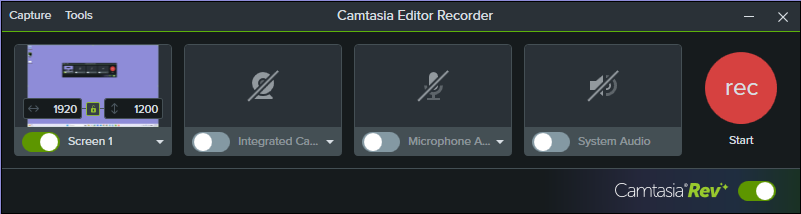
- Camtasia highlights the selected recording area on the screen. To edit the recording area:
- Drag the handles to adjust the selection.
- To enter a specific size, type the dimensions in pixels into the Width and Height fields.
- To move the selected area on the screen, click the center handle (Windows) or within the selected area (Mac) and drag to the desired location. If your computer is connected to multiple displays, you can drag the selected area from one screen to another.
- Click the Record button or press the F9 key (Windows) or Command+Shift+2 (Mac).
- There is a three second countdown. Once it has started recording your screen, play your voiceover audio in Audiate. This helps you sync your onscreen actions with the voiceover recording.
Note: If you make a mistake, keep recording your screen. Pause the audio, rewind it just before the error and keep going. You can edit out these mistakes in the Camtasia Editor once you’re done recording.
- When you are finished recording, complete one of the following:
- Click the Stop button
- Press the F10 key (Windows) or Command+Option+2 (Mac).
- On Windows, click the Camtasia Recorder icon in the taskbar and then click the Stop button.

- On Mac, click the Camtasia icon in the menu bar and select Stop Recording.
Sync Your Audio and Video
Sync your audio and recording so that everything flows as intended with no awkward pauses or timing.
- Once you click Stop Recording, your recording appears in the Media Bin.
- In the Media Bin, click the Plus button
 in the bottom left. Find and select your audio file and click Open.
- Drag your screen recording onto the timeline.
- Drag your audio onto the timeline track above the screen recording.
Edit for Timing
Delete extra content from your screen recording to align it with your audio.
- Drag to select your audio and video clip on the timeline.
- Position the playhead at the beginning of the content you want to remove and click the Split button.

- Position the playhead at the end of the content you want to remove. Click to select only the screen recording clip. Click the Split button, then press Delete.
- Click and drag the screen recording clip until it reaches the other media.
To remove audio to match the screen recording, follow the same steps, but select the audio track in steps 3 and 4.
Extend a Frame
Fill in blank space by extending a frame to better align your video and audio.
- Hold down the Alt key (Windows) or Option key (Mac) key and hover your cursor over the edge of the clip.
- Once you see the Extend Frame icon
 , drag the media to desired length.
Trim Out Extra Content
Trim unnecessary content from the beginning or end of the screen recording or audio.
- To trim both the screen recording and audio at the same time, drag on the timeline to select both tracks.
- Drag the edge of a clip in to trim or out to restore the original recording.
- Optional: Click the Magnetic Track
 option to automatically remove gaps between media on the track.
Additional Resources
Check out these tutorials to learn more about how to edit, enhance, and export your videos:
Get Camtasia
Unleash the world’s most powerful screen recorder and video editor.
All Camtasia Tutorials