Note: Selection and other tools in the Snagit Editor toolbar are available to edit images. To edit and enhance video captures, share your video to TechSmith Camtasia.
Select an Area
- Click the Selection tool in the Snagit Editor toolbar.

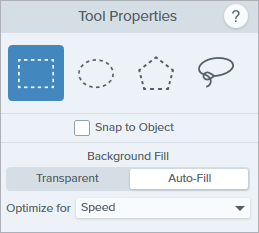
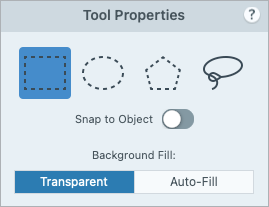
- In the Tool Properties, choose a selection shape: Rectangle, Ellipse, Polygon, or Freehand.
- Select a Background Fill option to fill the area when the selection is moved or deleted:
- Transparent: Fills the area with transparency to display the canvas underneath.
- Auto-Fill: Automatically fills the area based on the content surrounding the selection.
- Click and drag to draw the selection on the canvas.
Tip: Invert the selection to select everything else.
To delete or edit everything except the selected area, right-click (Windows) or control-click (Mac) the canvas and select Invert Selection.
Edit the Selection
After you select an object or area, complete any of the following:
- Move: Click and drag the selection on the canvas.
- Remove: Press delete.
- Copy: Press Ctrl+C (Windows) or Command+C (Mac), then Ctrl+V (Windows) or Command+V (Mac) to paste the copied selection.
- Edit text: Right-click (Windows) or control-click (Mac) and select Edit text. For more information, see Grab & Edit Text.
- Copy text: Right-click (Windows) or control-click (Mac) and select Grab text to copy and paste text into another application.
- Add Effects: Click the Effects button to select a Quick Effect or apply a customized effect to the selection. For more information, see Add Effects.
Print Selection (Mac)
- Select an object or area. See Select an Area.
- Control+click and select Print Selection.
The macOS print dialog opens where you can select a printer destination, scale, portrait or landscape orientation, and other options.
Select and Move Shapes and Icons
The Snap to Object toggle allows you to automatically snap the selection to the nearest edges of a shape or icon within the selected area.
- Click and drag to draw a selection around a shape or icon in an image.
- Click Snap to Object to bind the selection to the edges of the selected elements.
- Move the icon anywhere in the image. If auto-fill is turned on, the space where the object moved from automatically fills to match the surrounding area.
Tip: Try the Freehand selection tool for irregular shapes.
The Freehand selection tool  allows you to manually draw a selection. This is useful if the shape selection tools do not fit the area to select.
Edit the properties to customize the tool.
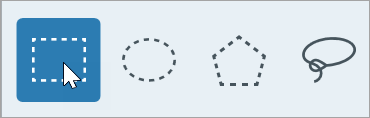
Selection Shape
Chose a selection shape: Rectangle, Ellipse, Polygon, or Freehand.
Selection Shape Tips:
- To select a square, select Rectangle and hold the Shift key as you draw the shape on the canvas.
- To select a circle, select Ellipse and hold the Shift key as you draw the shape on the canvas.
- To select with with Polygon:
- Click the canvas to anchor each corner of the shape.
- Double-click to anchor the last corner of the shape.
- To select with the Freehand (lasso) shape, click and drag.
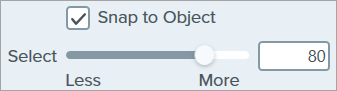
Snap to Object
Enable this option to snap to text or irregularly shaped objects in the selected area. Drag the slider to adjust the object selected.
Background Fill
Choose an option to fill the area when the selection is moved or deleted:
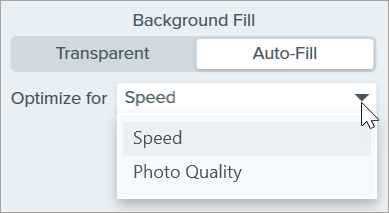
- Transparent: Fills area with transparency.
- Auto-Fill: Automatically fills the area based on the content surrounding the selection.
- Optimize for Speed (Windows only): Use for solid colored content or if fill details are not important.
- Optimize for Photo Quality (Windows only): Use for advanced customization and higher quality fill.
Note: This tutorial is for Snagit version 2024. Previous versions may look or function differently.
All Snagit Tutorials