









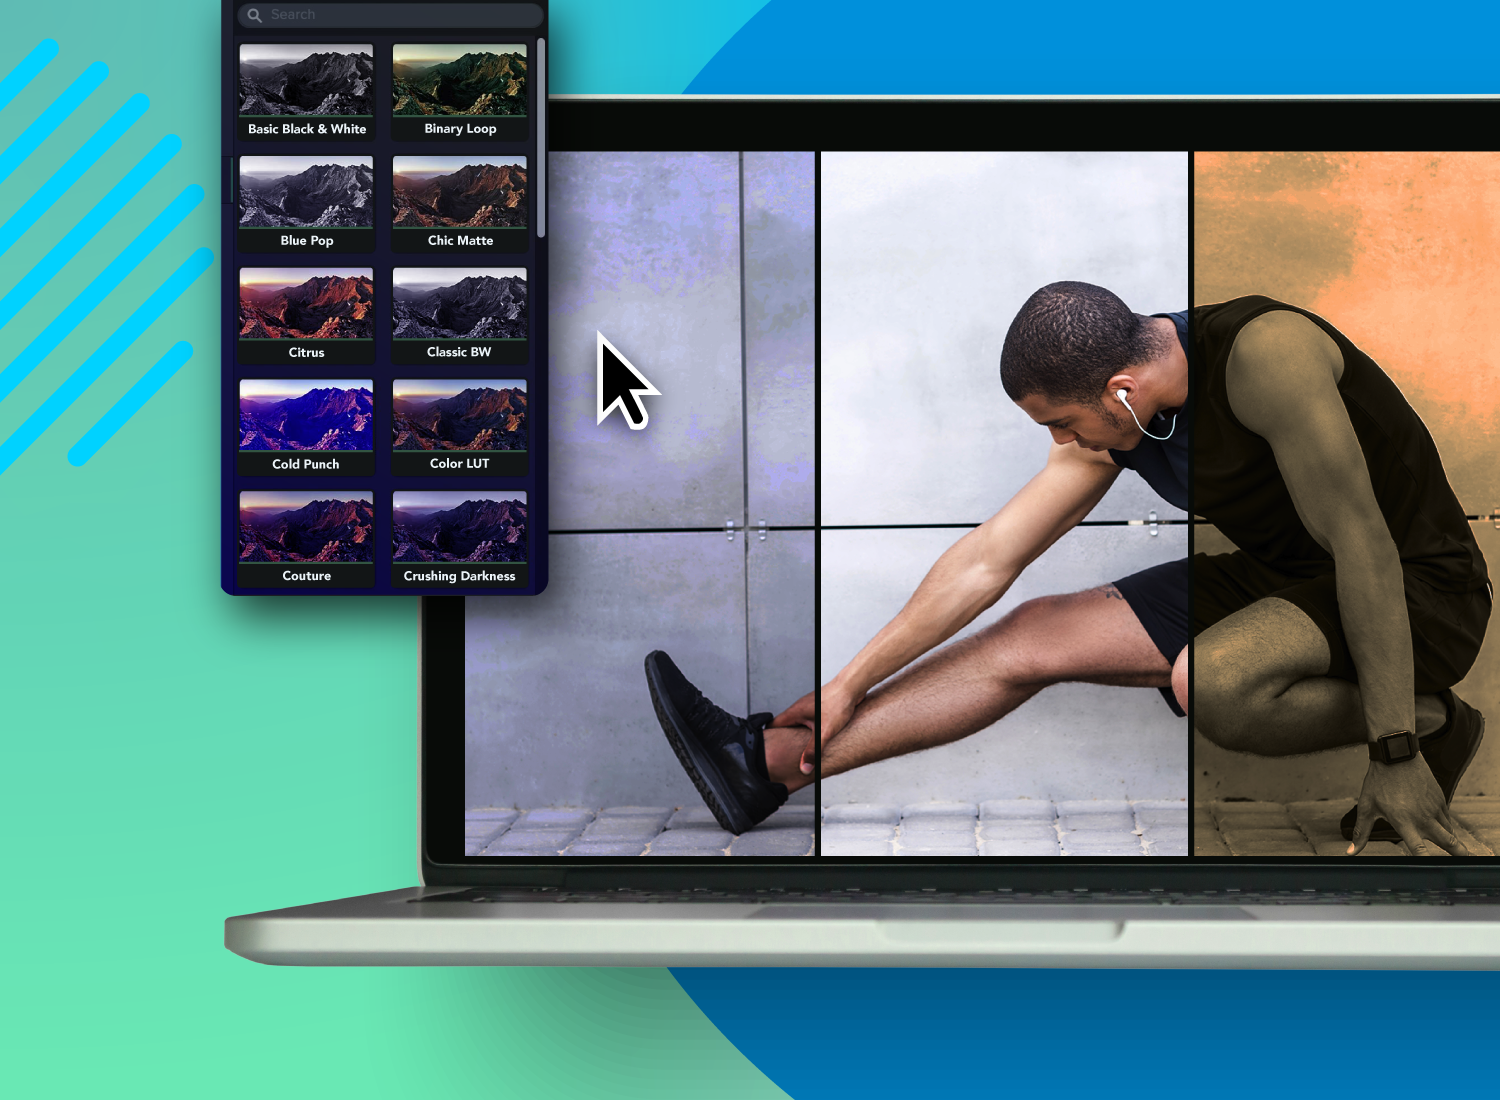
Filter effects aren’t just for social media and selfies. Filter effects in videos are preset digital adjustments that change footage by adjusting color, brightness, contrast, sharpness, or style. Used intentionally, they’re a practical way to improve video quality, correct lighting and color, and shape how your audience experiences your content. Filters can also set tone and mood, keeping your visuals consistent and your message clear.
That’s why they’re valuable across professional settings. Teachers, trainers, marketers, and customer success teams can all use filters to add polish and clarity to their videos without deep editing experience. With the right tools, filters are one of the simplest ways to turn an ordinary recording into professional, on-brand content.
Key takeaways
- Filter effects in videos adjust the look of footage by changing color, lighting, contrast, sharpness, or visual style.
- The main filter categories are color correction and grading, brightness and exposure, blur and sharpening, and stylized creative filters.
- Use filters to make training videos easier to follow, marketing videos more consistent, and product demos clearer.
- Camtasia Editor lets you apply filters from the Visual Effects panel, then adjust them in Properties before exporting.
- For the best results, correct lighting and color first, then add creative effects only when they support the message.
What are filter effects in video editing?
Filter effects in video editing are preset digital adjustments that change the look of video footage. Instead of manually tweaking brightness, contrast, saturation, or color balance, video editors can apply a filter that tweaks several of those values at once.
Filters serve a range of purposes: enhancing dull footage, correcting lighting or color imbalances, and adding a specific visual style. For instance, a video with an empathetic or emotional tone might use a soft or warm filter, while high-impact marketing content often benefits from a sharper, high-contrast look.
While most people associate filters with social media, where users apply dramatic effects to selfies or posts, professional video editors use filters for much more. They help correct raw footage issues like overexposure or washed-out colors and establish a cohesive, professional visual style.
In most editing workflows, filters act as a starting point. Editors can still fine-tune individual video elements beyond presets to achieve the exact tone, clarity, and balance they need.
How do filters enhance video quality?
Filters enhance video quality by helping you quickly correct common problems with light, color, contrast, and detail. Teams have more ways than ever to produce video content, even without professional equipment. Phones, laptops, and tablets all include cameras, but the quality of that footage can vary widely.
Filters give teams and editors a fast, effective way to enhance footage, no matter where it was recorded — whether it’s a well-lit studio or a dim office corner. Here are a few ways filters can improve your video output:
- Boost light levels in footage that’s too dark.
- Smooth out harsh or uneven overhead lighting.
- Sharpen text and UI elements so on-screen details stand out.
- Add color consistency across clips from different sources using color correction filters.
How do filters shape mood and storytelling?
Filters shape mood and storytelling by changing the visual cues viewers use to interpret a scene. Hollywood uses this constantly: dystopian sci-fi films often look cold and sharp, while romances and dramas lean warm and soft.
In corporate, training, and marketing videos, filters can create the same kind of emotional framing. Cool tones convey professionalism and calm in instructional content, while warm tones create a more inviting, human feel for people-centered videos like customer success stories.
Looking for professional screen recording software?
From simple screen captures to polished video editing, TechSmith has everything you need to create professional-quality content.
Learn More
What types of video filter effects should you use?
The best video filter effect depends on the job you need it to do: correct footage, improve visibility, guide attention, or add style. Sometimes a single filter effect will achieve the look you’re after, but combining different filters, or layering them with other video effects, can make an even bigger impact. Most video filter effects fall into four main categories:
When should you use color correction and grading filters?
Use color correction filters first to fix exposure, white balance, or saturation issues, then apply grading filters to set the mood or style once your footage is balanced. When combining clips from multiple contributors, those differences can stand out — varying lighting, locations, and camera hardware often create noticeable inconsistencies. Color correction filters help align everything into a unified visual style.
Color grading, on the other hand, goes beyond correction. It adjusts overall tones to create a specific mood or style. Once your footage is balanced, you can apply grading filters to give every video in a series a consistent visual finish.
When should you use brightness, contrast, and exposure filters?
Use brightness, contrast, and exposure filters when footage is too dark, too flat, or hard to read. Turned all the way up, they can create exaggerated looks you might see on TikTok or Instagram. Used thoughtfully, they’re effective tools for improving clarity and focus in business content.
- Brightness filters can lighten underexposed footage, especially in training or instructional videos.
- Contrast filters can make on-screen elements, such as text or UI details, stand out so viewers can follow along more easily.
When should you use blur and sharpening filters?
Use blur filters to guide attention and sharpening filters to make fine details easier to see. Blur filters can add stylistic depth or guide viewers toward the right part of the screen (the area that stays in focus). Sharpening filters do the opposite, enhancing detail that may be slightly soft or out of focus.
Both have their place in business and instructional videos, but moderation is key. Overusing blur or sharpness can make your content feel distracting or overly dramatic instead of clean and refined.
When should you use stylized creative filters?
Use stylized creative filters when you want a specific look for a short brand moment, intro, transition, or story beat. Style-oriented filters can give your content real personality when applied with care. Monochrome (black and white) and sepia filters are classic options, while others — like Camtasia’s cinematic or glitch lookup tables (LUTs) — can add distinctive flair to your videos.
Common stylized filter examples include:
- Monochrome or grayscale filters.
- Sepia or vintage-style filters.
- Cinematic LUTs.
- Glitch LUTs.
- Vignette filters.
- Warm or cool tonal filters.
In business contexts, think of stylized filters as seasoning, not the main course. They’re great for intros, transitions, or brand storytelling moments, but they usually aren’t suited for full-length instructional videos.
Choose the filter by the job
A simple way to choose a filter is to start with the editing problem you need to solve.
- Use color correction when clips from different cameras, rooms, or contributors do not match.
- Use brightness, contrast, or exposure filters when footage is dark, flat, or hard to read.
- Use blur when you want to soften distractions or direct focus.
- Use sharpening when text, interface details, or edges look slightly soft.
- Use stylized filters for short moments that need a specific tone or branded look.
Ready to take your skills up a notch? Check out 50 proven video editing tips!
Faster video creation with Rev
Make videos as easy as click, click, done! Camtasia Rev is so fast it’s like magic!
Learn More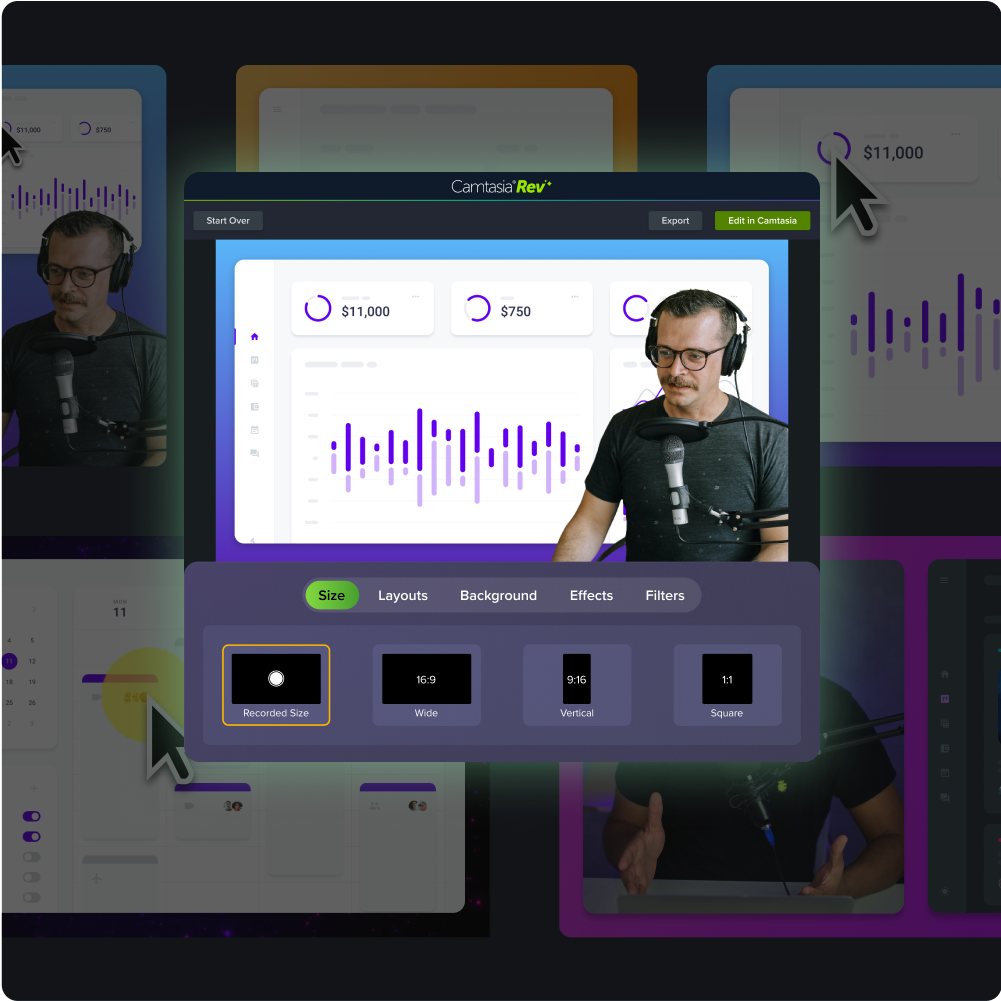
Looking for professional screen recording software?
From simple screen captures to polished video editing, Camtasia gives you the tools you need to create clear, high-quality content. Learn more about Camtasia screen recording.
How can filters enhance your video projects?
Filters enhance video projects by making footage look more consistent, easier to follow, and better aligned with your visual style. No matter what kind of video content you’re creating, filters can elevate overall quality and give your visuals a more polished, on-brand look. They help align footage from different sources and reinforce your brand’s visual identity.
Here are a few ways filter effects add value to business videos. Feel free to experiment, but aim to maintain consistency within each project or across your brand.
How can filters improve educational and training videos?
Filters can improve educational and training videos by making mixed footage feel more consistent and easier to understand. These projects often combine multiple asset types, such as webcam footage, screen captures, and clips from different contributors, which can vary widely in look and lighting.
Because selfie cams and screen recordings come with different challenges, filters can help tie the footage together and make each element feel refined. Subtle color adjustments and soft filters go a long way in creating visual harmony.
For example, if your webcam recording has harsh or uneven lighting, try a light diffusion filter to soften bright spots and balance shadows. For the screen capture portion, use a high-contrast or brightness-adjusting filter to make text and UI elements clearer. Even small tweaks can noticeably improve readability and quality.
How can filters support marketing and brand storytelling?
Filters can support marketing and brand storytelling by creating a recognizable look across a campaign or video series. Marketing teams can use creative filter effects to capture attention and evoke emotion. Filters also help tie multiple videos together under a single campaign style or visual identity.
A few examples:
A yellow or orange color grading filter could connect multiple ads and assets into a cohesive summer-themed campaign.
A warm, cinematic tonal filter can add life and depth to an otherwise flat or uninspired testimonial video.
A high-contrast monochrome filter brings punch and sophistication to a luxury or tech product reveal video.
Go from screen recording to polished video
A screen recording is just the start. Camtasia’s editor helps you add the callouts, animations, and edits you need to create a truly professional video.
Free Download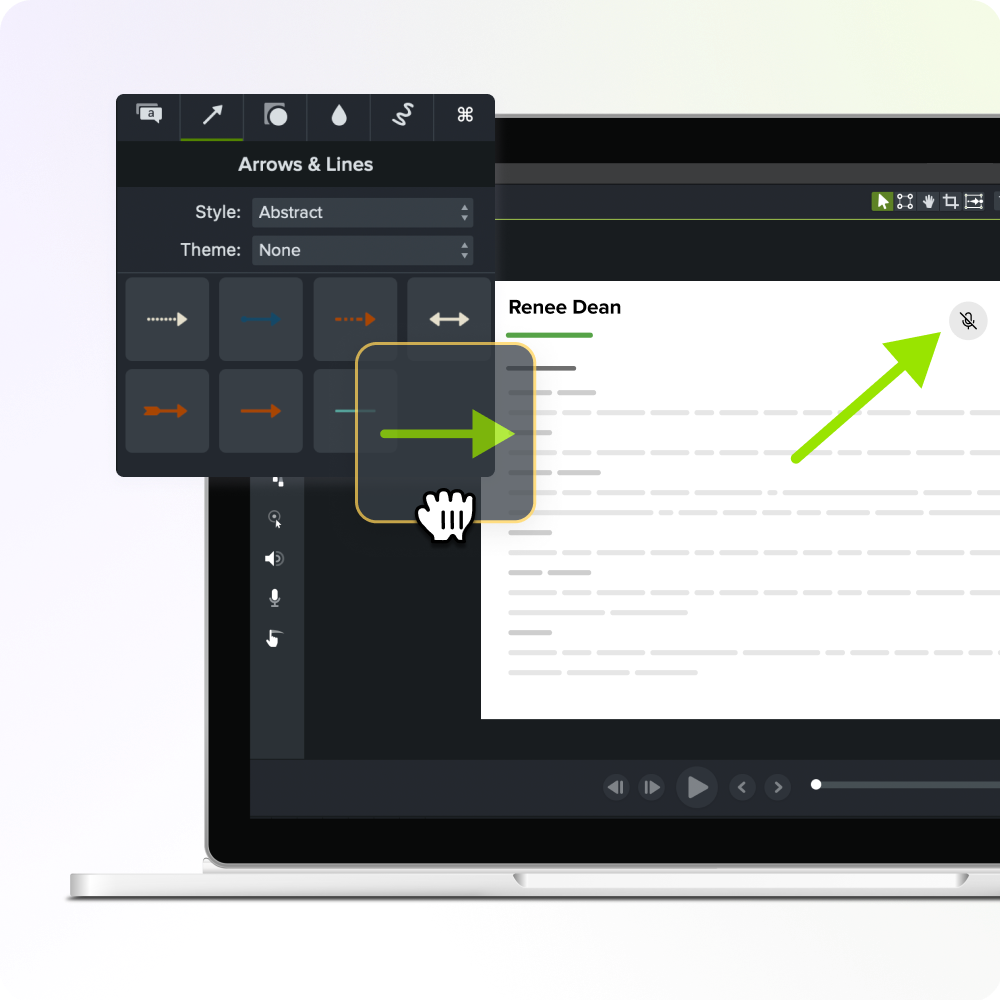
How can filters improve product demos and software walkthroughs?
Filters can improve product demos and software walkthroughs by making interface details clearer and easier to follow. When creating product demos or software tutorials, filters can make screen recordings clearer and more engaging. They help direct attention to key interface elements and improve overall visibility.
For example, some UI details that look fine during recording can appear muted in raw screen capture footage. Adjusting sharpness, clarity, and saturation with filters can bring those highlights forward and make on-screen actions easier to follow.
How do you apply filters in Camtasia?
You apply filters in Camtasia Editor by adding a video to the timeline, choosing Filters from the Visual Effects panel, and adjusting the filter in Properties. Camtasia Editor makes applying filters nearly effortless. It’s designed for beginners and pros alike: you don’t need deep technical skills or advanced editing experience to get started, and seasoned editors will still find all the controls they need to customize every effect.
Here’s a quick step-by-step overview of the editing process, showing how easy it is to apply, adjust, and layer filters in Camtasia.
- Import your video and drag it to the timeline.
- Open the “Visual Effects” panel. Then click “Filters” and explore your options.
- Drag and drop filters onto your clip. Experiment with several until you find the right look.
- After adding your first filter, click the Properties button. Here, you can switch between filters (LUTs) and preview them in real time.
- Adjust intensity and range using the built-in sliders under Properties. Drag the Intensity slider to adjust all color settings together, and use Range to select a blend preset or fine-tune advanced blending controls.
- Preview and fine-tune before exporting. Watch the full clip with filters applied to ensure everything appears as expected.
You can also combine multiple filter effects and place them on separate tracks for independent control.
To see the editing process in action, watch the Camtasia filters video tutorial.
We also offer Camtasia Online, a free tool for capturing video content and building collaborative projects. If you’re using Camtasia Online, you can seamlessly move your projects into Camtasia Editor to apply advanced filters and effects for a cohesive, visually striking result.
Faster video creation with Camtasia Rev
Camtasia Rev helps you speed up your first pass and keep video creation simple. Learn more about Camtasia Rev.
What are the best practices for using video filters?
The best way to use video filters is to make small, intentional adjustments that support clarity and tone. In business and marketing videos, filters can add real value, but too much of a good thing can quickly backfire. Overusing filters can make footage feel more like an overprocessed Instagram reel than an engaging instructional video.
The best results come from balance. Be intentional, consistent, and thoughtful about when and how you apply filters. Use these best practices to keep your content polished and professional:
- Corrective before creative: Start with corrective filters to fix exposure or color first. Add creative filters afterward to define mood and tone.
- Apply sparingly: Subtle effects add interest without becoming distracting.
- Stay consistent: For brand cohesion, ensure videos in a series share a similar look and feel.
- Preview often: Screens vary, so test your video on multiple devices to confirm filters look right everywhere.
- Combine strategically: Layering two or more filters can create depth and a more refined final result.
Go from screen recording to polished video
A screen recording is just the start. Camtasia’s editor helps you add the callouts, animations, and edits you need to create a truly professional video.
Mastering filters leads to better video storytelling
Filters aren’t just fun visual decorations. They’re storytelling tools that guide focus, set tone, and strengthen connection. Used with intention, they can add effects that clarify key moments, enhance emotion, and give your videos a crisp, memorable edge.
With Camtasia Editor, you get practical video editing tools that balance simplicity and control. You can edit video files, fine-tune color and tone, and add filters to any video clip to achieve a high-quality finish that fits your brand’s style. From quick screen recordings to full training modules, Camtasia makes it easy to produce clear, consistent videos without a steep learning curve.
Try Camtasia free and see how much better your next project can look
Frequently asked questions
What are filter effects in videos?
Filter effects in videos are preset visual adjustments that change how footage looks. They can adjust color, brightness, contrast, sharpness, blur, or overall style. Use them as a starting point, then fine-tune the settings so the final video still looks natural and supports your message.
What is the best filter for training videos?
The best filter for training videos is usually a subtle corrective filter that improves clarity without distracting from the lesson. Start with brightness, contrast, exposure, or color correction if the footage is dark, flat, or inconsistent. Save stylized filters for intros, transitions, or short moments where a specific mood helps the learner understand the content.
Where can I find free video filter effects?
A good place to start is with the filters already included in your video editor. If you use Camtasia Online to capture or start a project, you can move that project into Camtasia Editor and apply more advanced filters and effects there. Before downloading filter effects from another site, review the license and test the effect on a short clip so you know it fits your video and workflow.
Can I put a beauty filter on a video?
Beauty filters are usually designed to smooth faces or change a person’s on-camera appearance. This article focuses on video filters for clarity, color, lighting, focus, and style rather than appearance-changing effects. For workplace, training, and instructional videos, prioritize natural-looking adjustments that help viewers see and understand the content.
Share