Remove Parts of an Image
Remove unwanted objects, spacing, or information from an image.
Remove unwanted objects, spacing, or information from an image.
Remove parts of an image to focus attention on other areas or to hide objects and shapes.
Snagit offers several ways to remove parts of an image including:
Cut out vertical or horizontal sections to remove unwanted space, objects, and information.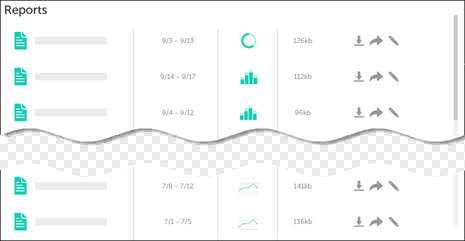
Note: If the tool is not visible in the toolbar, click the More dropdown. To customize your toolbar, see Customize the Snagit Toolbar.
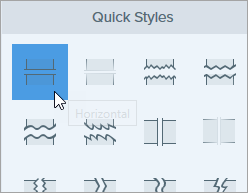
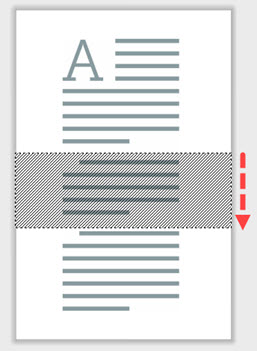
Note: For Cut Out styles with straight edges, Snagit seamlessly stitches the sections together. For other edge styles, Snagit leaves a gap. The size of the gap is not editable.
Replace a color with another color from your image to hide objects and shapes.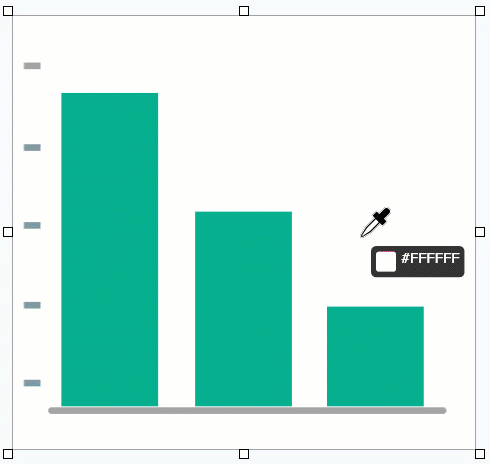
Note: To change a color in an image to transparent, see Remove a Background.
Note: If the tool is not visible in the toolbar, click the More dropdown. To customize your toolbar, see Customize the Snagit Toolbar.
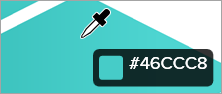
Fill changes the color of the pixel you click and all other pixels of the same color around it to the fill color. For more information, see the Fill Tool.
Tip: Adjust the fill tolerance for a better result.
If Snagit fills too little or too much of an area on the Canvas, press Ctrl+Z (Windows) or Command+Z (Mac) to undo the previous fill. Drag the Tolerance slider in Tool Properties to adjust the fill amount and try again. Increase the tolerance to fill more area. Decrease the tolerance to fill less area.
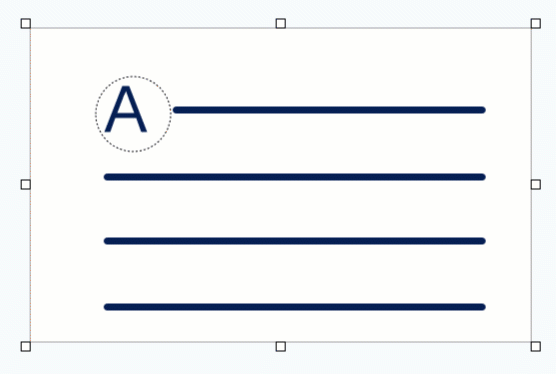
Quickly select and delete unwanted parts or objects in an image.
Note: If the tool is not visible in the toolbar, click the More dropdown. To customize your toolbar, see Customize the Snagit Toolbar.
Tip: Invert the selection to select everything else.
To delete or edit everything except the selected area, right-click (Windows) or control-click (Mac) the canvas and select Invert Selection.
For more information, see the Selection Tool.
Freehand erase the image to reveal the Canvas below.

Note: If the tool is not visible in the toolbar, click the More dropdown. To customize your toolbar, see Customize the Snagit Toolbar.
For more information, see the Eraser Tool.
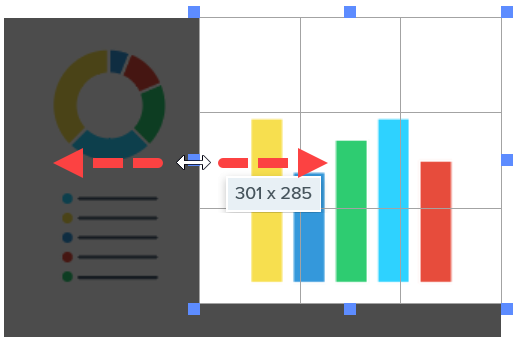
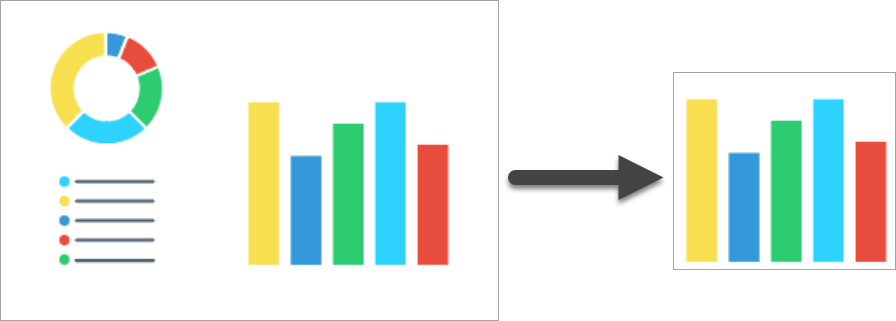
Crop to trim away edges of an image to focus attention.
Note: If the tool is not visible in the toolbar, click the More dropdown. To customize your toolbar, see Customize the Snagit Toolbar.
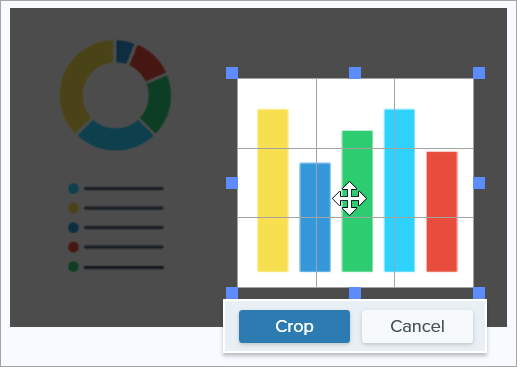
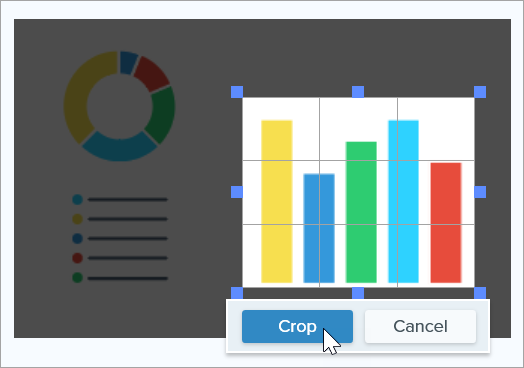
Snagit applies the crop to the image on the Canvas.
Note: This tutorial is for Snagit version 2024. Previous versions may look or function differently.