If you’ve never made a video before this post will dig into a high-level workflow of how it’s done. As you become more comfortable with video creation you’ll refine your process to suit your own needs and efficiency. But for now, here are the points to consider to get started.
Equipment
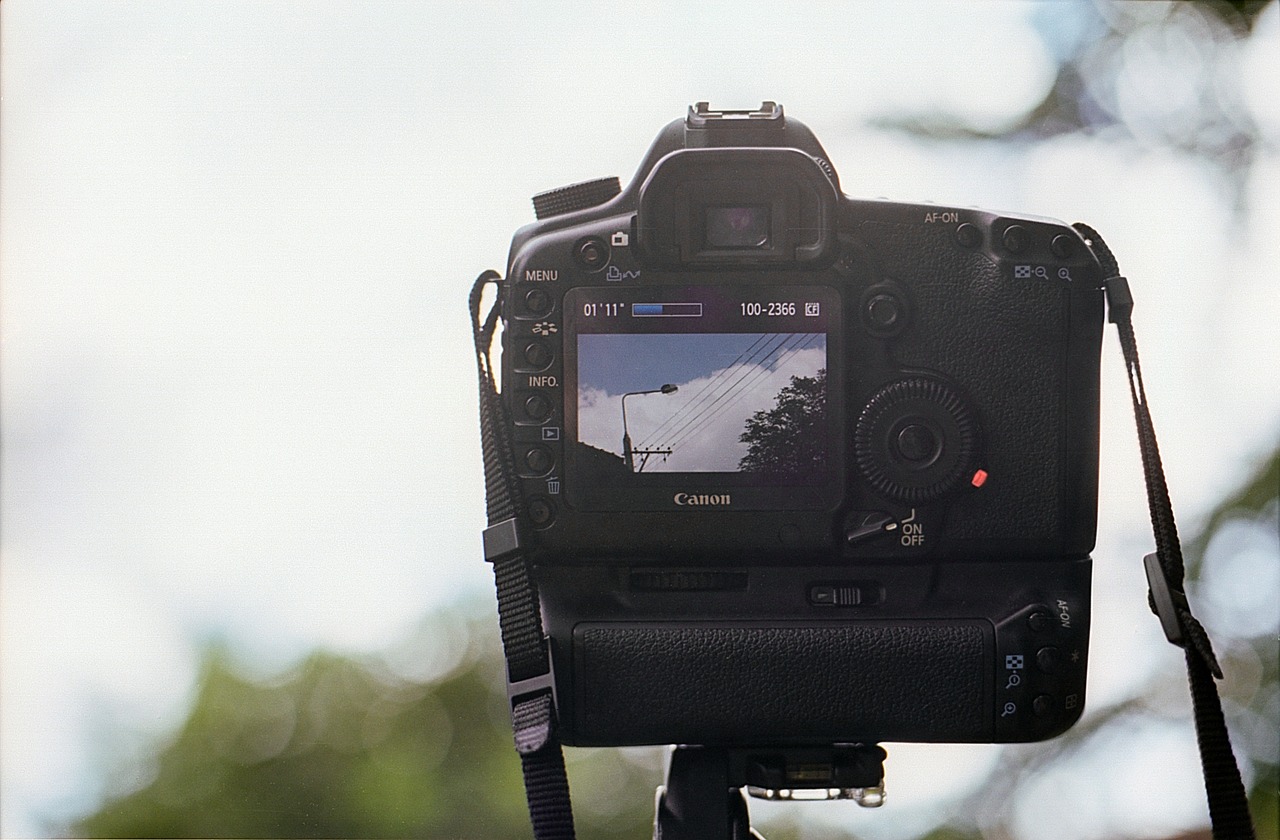
Make sure you have what you need prior to shooting. Scout your location if it’s available. See what kind of natural lighting you’re working with and plan on bringing lights if it’s a darker area. Proper lighting is the number one factor in video quality. Even the camera choice is secondary to proper lighting, as even an expensive camera will produce a poor image in extreme low light. That being said your camera is important too. Smartphones can be more than adequate these days to shoot basic video. If you’re looking for a more professional look, consider a DSLR camera or a professional camcorder. While these cameras require a higher investment, and are harder to transport, the image quality is often worth the effort.
Shoot
When the time comes to shoot don’t forget to bring a few copies of your shot list. While it’s important to get every shot on the list, don’t be afraid to deviate if inspiration strikes. Make sure to get B-roll (supporting footage) on location, especially for interviews. Often times B-roll is hard to plan for, so be sure to budget time with your interview subject to walk with them and shoot appropriate B-roll for your video. If you have a camera that shoots video and photos (like a DSLR) don’t forget to switch to photography mode and get high quality stills too. These stills are great for banner ads, landing pages, video thumbnails, and other supporting materials for your video. Shooting stills in photography mode will always produce better images than pulling from your video because they’ll be much higher resolution. If you don’t have a DSLR, use your smartphone to take pictures.

Post Production
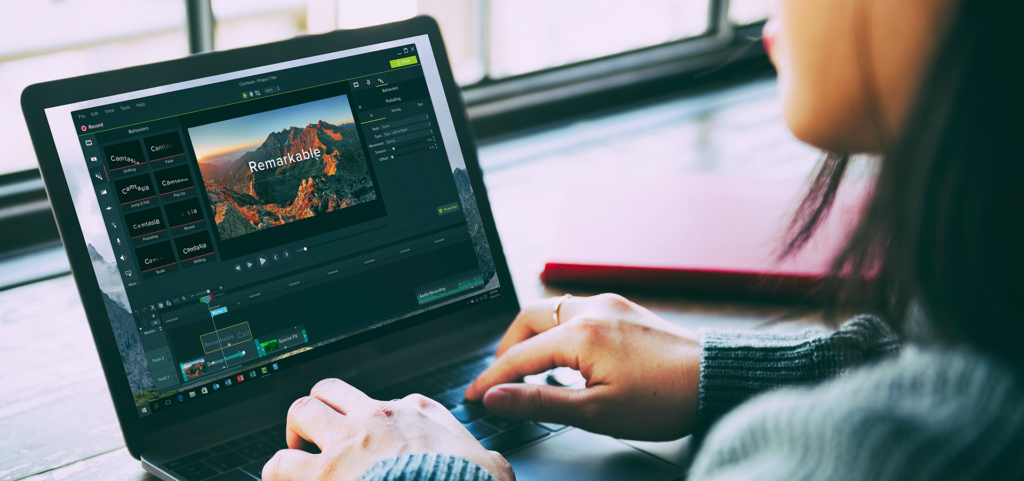
Once you’ve finished shooting you’ll need to edit your video. Deciding on an editing program depends on your needs and how much time you can spare to learn the editing process. TechSmith’s own Camtasia is a good entry point for beginners in video editing but it also has a high ceiling for creativity and functionality (including screen recording.) There are professionals who create 100% of the videos for their job using Camtasia.
Adobe’s creative suite is a great option for people looking for even more depth in editing and animation. While the learning curve is much steeper, the suite of programs work together to provide everything you need to edit video, create animations, clean up audio, and more.
Adobe’s services are paid monthly while Camtasia is a one-time license cost, with the option to upgrade when new major versions are released.

Distribution
What is a video worth if no one sees it? The barrier to entry for video is lower than ever with free web distribution platforms but competition is fierce as well. Understanding the appropriate platform and what you need to do to get your video seen is invaluable. YouTube and Vimeo are the largest two public video platforms on the web today. Check out this blog post on the big differences between the YouTube and Vimeo. Once you’ve decided on a platform it’s important to know what info you’ll need to add to increase the chance of your video being seen. The title, description, and tags for your video should be as descriptive and thorough as possible. One often forgotten yet critical piece is your video’s thumbnail. Think of the thumbnail as the cover of a book or the sign on the outside of the store. It needs to be catchy to the eye but represent your content well too.
Hopefully, this has given you a good idea of the basic pieces involved in the planning and production stages of a video. If you are ready to create your own videos, we recommend getting started with TechSmith Camtasia, our easy-to-use video editing software. We also provide a very helpful Getting Started with Camtasia video tutorial series to help you add cool animations and effects to your final videos.


