Creating a successful YouTube video is part art, part science. As a YouTuber or content creator, it’s essential to understand the intricacies of video production to captivate your audience and make an impact. This intermediate guide takes your video-making skills to the next level, focusing on the finer details that can elevate your content and optimize it for greater reach on YouTube.
Whether you’re a seasoned YouTube video game reviewer looking to enhance your production quality or an intermediate content creator aspiring to craft more engaging vlogs, the following steps will equip you with the knowledge to create high-quality videos that shine on the world’s largest video platform.
In this guide, we’ll cover pre-production, production, post-production, and optimizing your video for YouTube. Additionally, we’ll explore how using Camtasia, our robust all-in-one screen recorder and video editing software, can streamline the video creation process and unlock innovative features to enhance your content.
Are you a new content creator working toward your first YouTube video? Before reading through this step-by-step guide, look through our first guide in this series, “How to Make a YouTube Video (Beginner’s Guide),” to get all the beginner tips and tricks you need to succeed.
Create More Successful YouTube Videos Today!
Download Camtasia to make better YouTube videos quickly and easily.
Get started free!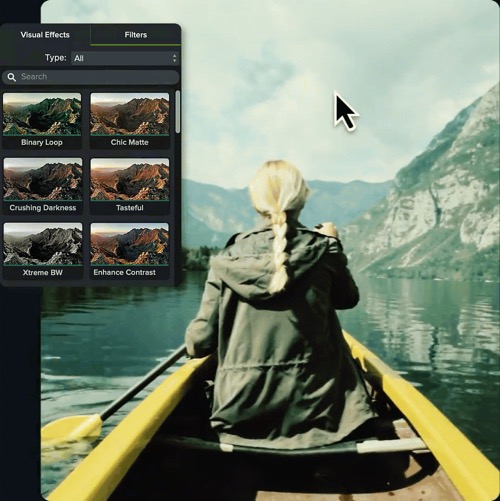
- Step 1: Pre-production phase
- Step 2: Production phase
- Step 3: Post-production phase
- Step 4: Optimizing for YouTube
- Unique features of Camtasia
Pre-Production phase
Before you hit record, it’s essential to focus on preparation. Thorough preparation sets your foundation for an A+ YouTube video. The pre-production phase involves planning and setting the stage for seamless video execution.
Selecting a topic and audience
Know Your Niche: Are your videos flatlining or not getting as much engagement as they used to? Think about what you’re an expert on that others may not be. Find that specific area of interest you are knowledgeable and passionate about and capitalize on it. Niche topics often attract more dedicated audiences.
Understand Your Viewers: Who are your viewers? Defining your target audience is an important step for any content creator. The more precise you can be, the better. This clarity will inform every aspect of your video, from content to style. Head to your YouTube Analytics dashboard for information pertaining to demographics, location, and more.
Scripting
Craft a Detailed Plan: Are you improvising when recording your videos? Take a step back and think about developing a script or a detailed outline to provide a sense of structure to your video. This script should include your video’s dialogue and description of the visual content whenever possible
Want to know more? Check out this blog on How to Write a Script for Video.
Explore Storytelling: What’s the story? Tutorials and reviews can sometimes drag along. Spice up your content by incorporating a narrative arc into your video. Whether recording a podcast or editing a video game live-streaming event, adding storytelling can significantly enhance viewer engagement.
Gathering equipment and setting up
Essential Gear: Is it time to level up your tech equipment? Ensuring you have the right camera, microphone, and lighting for your filming environment can lead to higher-quality content. You don’t need a top-of-the-line DSLR camera either — you can create inventive content from your smartphone or computer just as well.
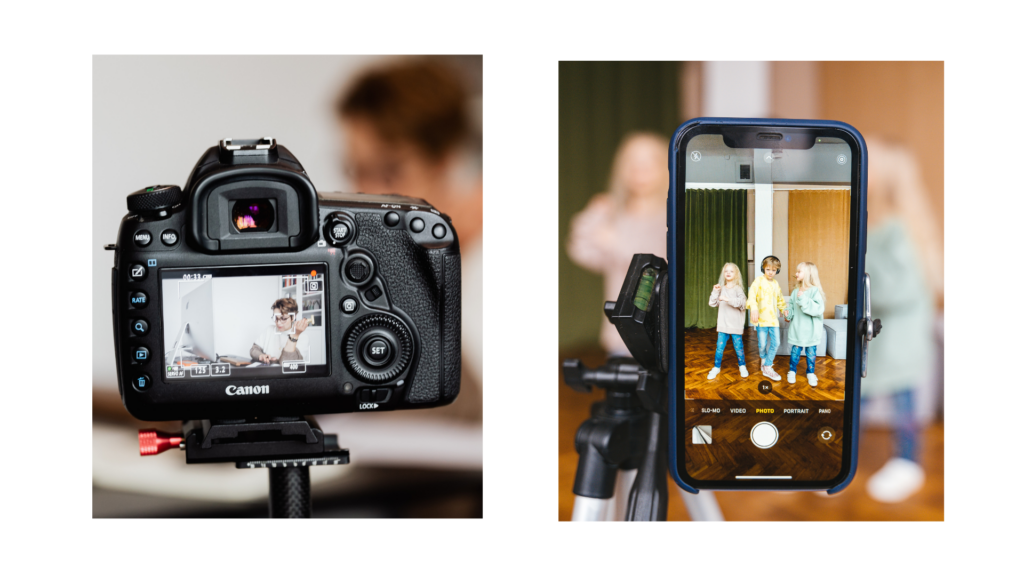
Remember, too, that not all videos have to use only camera video. If your video will include screen content, you’ll want to have screen recording software that captures crystal-clear recordings. I use Camtasia. And yes, I was a Camtasia fan long before I started working at TechSmith!
Create a Shooting Schedule: Do you make scheduled time out of your busy day for recording videos? Consider planning your filming around your best content-creating hours and account for the quantity and complexity of the footage. Setting yourself up on a straightforward schedule will make your videos more consistent, and your audience will enjoy knowing when you upload!
Intermediate tips you might not know
Mind Mapping for Outlining: A mind map is a diagram for representing tasks, words, concepts, or items linked to and arranged around a central concept. Try using this system to brainstorm and organize YouTube video ideas. This will help create a visual representation of your narrative for you to follow along.
Incorporating User Feedback: Are you reading the comments section on your past videos? Viewer feedback can be a rich source of ideas and a way to tailor your content to audience preferences. Not every comment will be a gold mine of information, but pay attention to the followers with some excellent ideas for your next video series!
Production phase
You’ve brainstormed, mapped out, and created a plan for your video schedule. Now, it’s time to move into the production phase. The magic happens behind the camera as you bring your planned video to life.
Filming techniques and tips
Capture Key Moments: Ensure your video captures the most critical topics and adds value for your viewers. A viewer might not care about the behind-the-scenes technical details on a subject, but they will care about the action-packed result.
Authenticity Over Perfection: While visual quality is essential, genuineness in your delivery will resonate more with your audience. The saying is true: “Just be you!”
Camera Angles and Shots: Try to vary your shots with close-ups, wide angles, and over-the-shoulder perspectives. Ensure your green screen talking heads and B-roll move seamlessly with your screen-recorded content.
Lighting and sound considerations
Find the Right Light: You don’t need to spend hundreds or thousands of dollars on lighting equipment. Even simple lighting setups can make a significant difference in the quality of your video. Explore different lighting angles to achieve the look you want, and don’t be afraid to work in different colors when experimenting with what works.
For more information, check out How to Get Perfect Lighting for Videos.
Quality Audio: No one wants to hear muffled or unleveled audio throughout a YouTube video. Invest in a quality microphone (we recommend Rode and Shure microphones for expert audio results) or use sound-dampening environments, such as foam panels, to ensure your audience hears your message loud and clear.
Learn more: How to Easily Get Perfect Audio for Your Videos.
Intermediate tips you might not know
Using Natural Lighting: Back to your lighting; take advantage of your surroundings! If you’re filming indoors, try to position your setup near a window to get that sweet, sweet natural light. Soft, diffused light can make for flattering shots you might not expect.
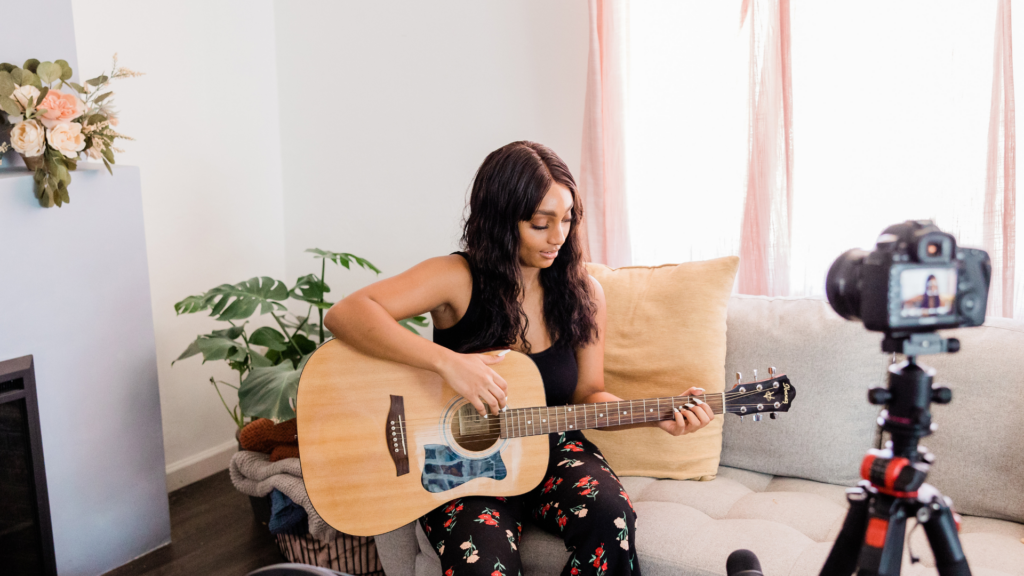
The ‘Rule of Thirds’ in Filming: Our eyes naturally follow the Rule of Thirds, which means mentally creating equally spaced vertical and horizontal lines on a potential shot or image, then placing points of interest on this grid’s lines and intersection points. Try to position essential elements or subjects in your videos along the lines and intersections of the Rule of Thirds for a more balanced composition.
Most modern cameras and smartphones have these dividers built right in, allowing you to shoot pleasing content more easily.
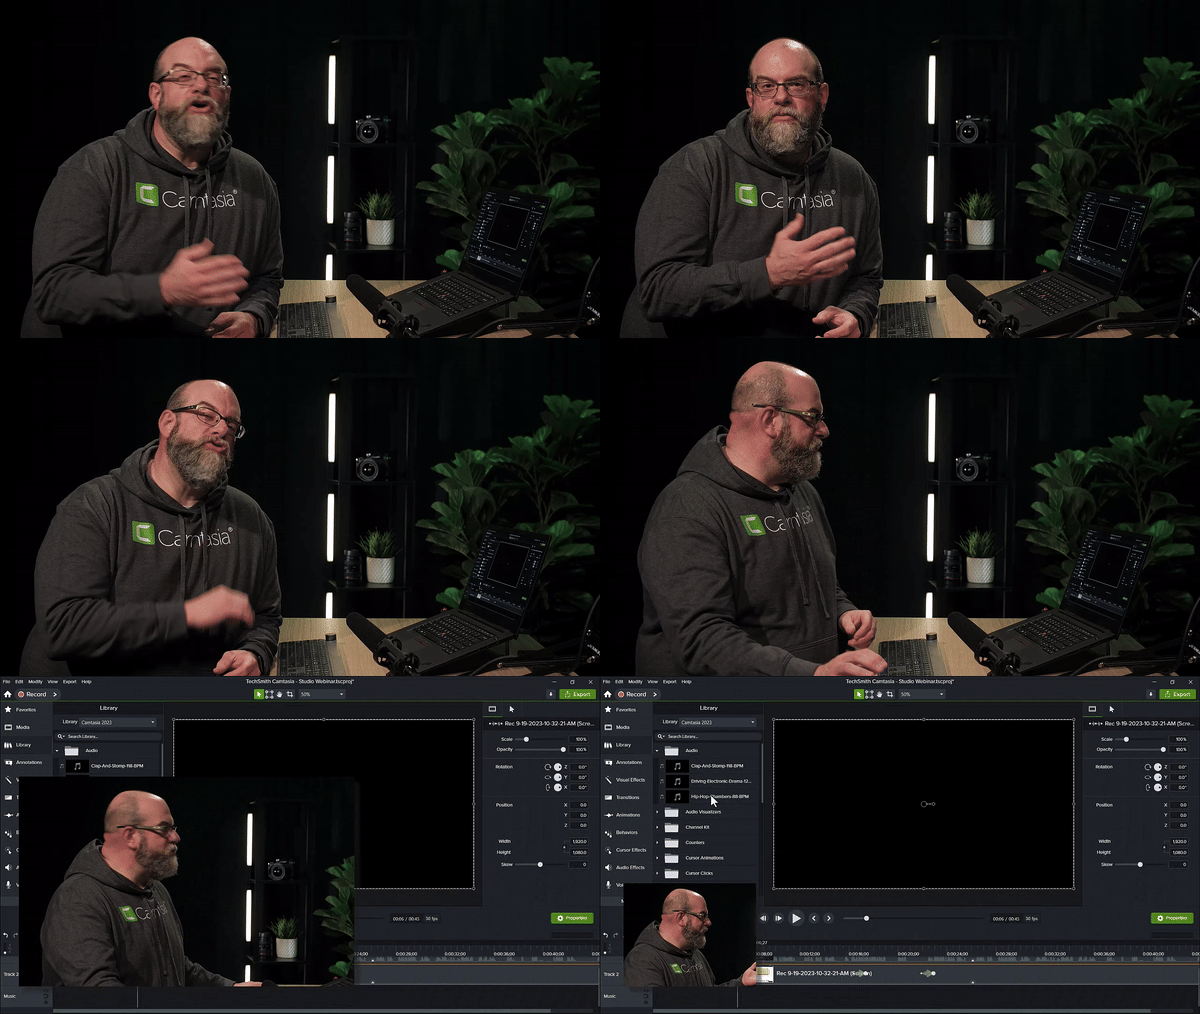
Shot-Reverse-Shot Technique: When shooting conversations or interviews for your YouTube videos, think about the Shot-Reverse-Shot technique. Start with a shot of a character, cut to a shot of what or who that character is looking at (the reverse of the angle from the first shot), and finally cut back to the initial shot to show the character’s reaction. Using these varying perspectives will add much-needed dynamics to your interactions.
Post-Production phase
With your screen-recorded content and other video content, it’s time to edit and polish the footage during the post-production phase. This phase often involves extensive video editing and enhancement techniques to create a seamless, engaging final product.
Editing software and tools
Choose an Intuitive Tool: Your finished product is only as good as the tools you use to create it. That’s why selecting a video editing software that matches your skill level is crucial. Camtasia offers a user-friendly interface with powerful features suitable for professionals and novices. In addition to high-resolution screen capture, Camtasia records your microphone, system audio, camera, and cursor so you can edit them separately or all at once.
Create More Successful YouTube Videos Today!
Download Camtasia to make better YouTube videos quickly and easily.
Get started free!
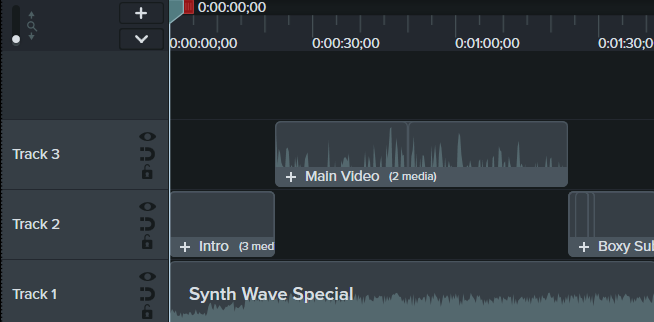
Timeline Organization: As you begin the post-production phase, maintain the same organization you had during pre-production. Use layers and labels to quickly identify different parts of your online video and audio so you don’t get confused while editing. Make notes and try new things as you work on crafting your latest video!
Adding transitions and effects
Add Transitions with Purpose: Transitions should serve a purpose, such as marking a change in topic or enhancing the visual story. Don’t forget to include a YouTube intro and YouTube outro to introduce and conclude each video on your channel.
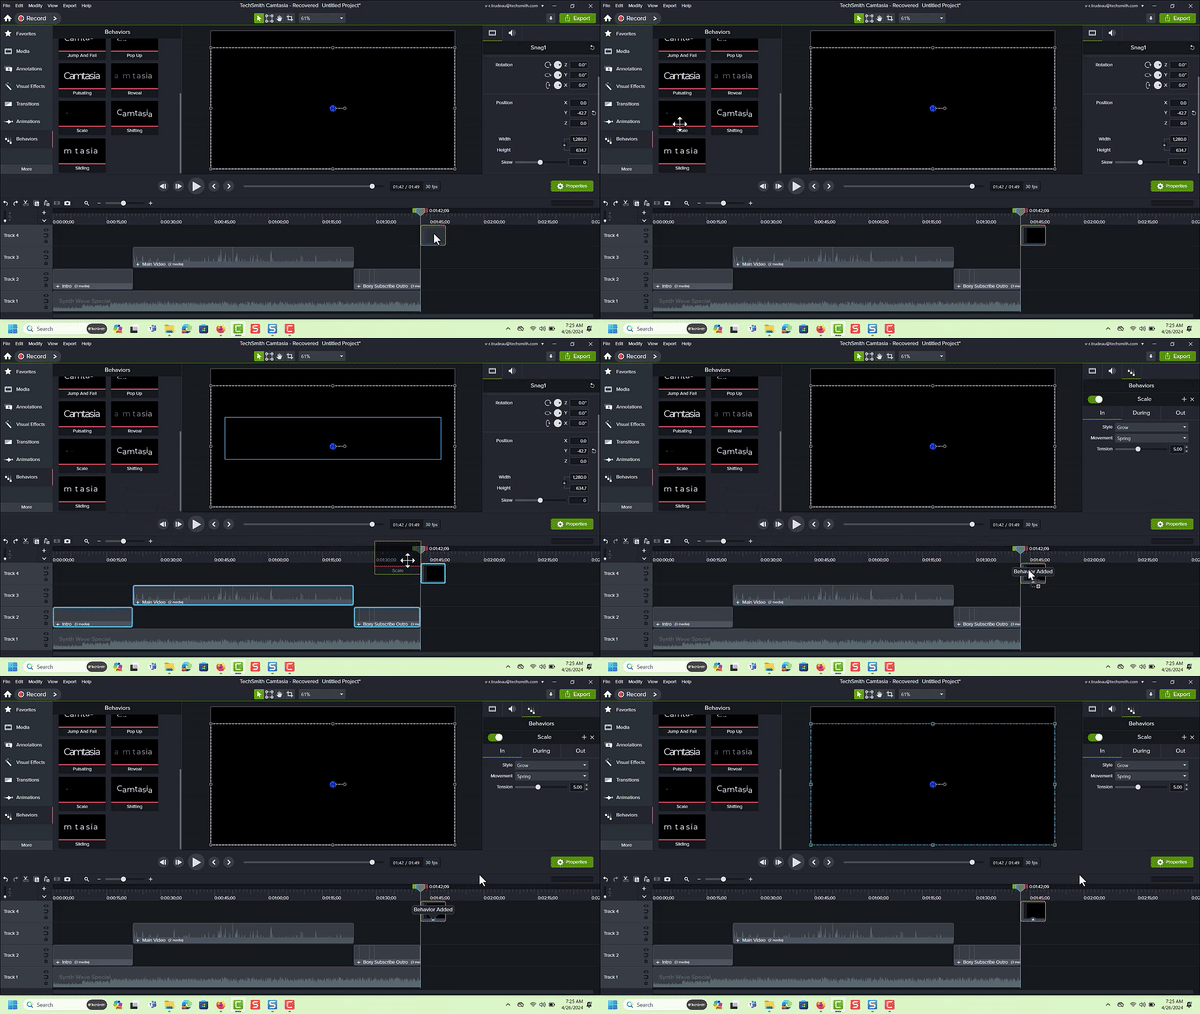
Impactful Effects: Did you know your text can dance? Titles, animations, and callouts can significantly boost viewer interest. Use effects wisely, though, as overuse can detract from the video’s message. Camtasia’s Behaviors feature makes it easy to animate text for that extra kick you might want.
Enhancing audio
Audio Enhancement: Always remember to think about your audio quality! Use equalization and compression to balance and enhance your audio tracks. TechSmith Audiate can help enhance your video creation by improving audio, generating captions, or creating new audio with the click of a button.
Intermediate tips you might not know
Multi-Track Video Editing: To maintain precision and flexibility, edit each video element on a separate track. This allows you to mix multiple audio tracks to create layered video soundtracks, including music, sound effects, and voice overs.
Create Captions and Subtitles: Accessibility is the name of the game. YouTube has a diverse global audience, so providing captions can improve accessibility for viewers. Camtasia offers various caption methods, and Audiate can also help streamline this.
Save Your Project Often: Crashes can always happen when working with large video files in your video editing software. Don’t forget to save your work frequently to ensure your own video progress stays on track.
Optimizing for YouTube
You’ve created the perfect YouTube video with transitions, effects, eye-catching video and audio, captions, and more. To make your YouTube channel a booming success on YouTube, you’re going to need people to be able to find it and interact with it. That’s where optimization comes in!
Uploading and metadata
Optimize Your Title and Description: A video’s two most important and most overlooked things can make or break its success. Try to include relevant keywords — words or phrases people would search for online to come across your content — in your video title and description. This information also helps YouTube better understand what your video is about and serve it to the appropriate audience.
Use Tags and Categories Wisely: Categories allow you to broadly group topics to your video, while you can use tags to describe your video in more detail. Select tags and categories related to your type of content and anticipate search engine terms your audience might use. Accurately categorizing your video helps YouTube suggest it to the right users.
Thumbnails and descriptions
Thumbnail Best Practices: Your YouTube thumbnail is a snapshot of your video. Use an attention-grabbing custom thumbnail that accurately represents your kind of video content, and size it appropriately! Google recommends that your custom YouTube video thumbnail size be 1280 x 720 pixels under 2MB. Using best practices for your thumbnail ensures it looks the same to someone viewing from their iPhone, Android, Mac, or PC.
Engaging Video Descriptions: Before diving into your YouTube description, do your SEO keyword research! Write detailed and engaging descriptions that provide value and encourage viewer engagement while adding in those key phrases your viewers would search for.
Engagement strategies
CTA Overlays: Call-to-action overlays can direct viewers to your website or prompt them to subscribe to your channel. Don’t leave these out if you want higher engagement and follower counts!

Interactive End Screens: Create end screens with recommended videos, playlists, subscribe links, and more to keep viewers engaged. YouTube has an easy way to add these to any type of video, and you can use the Camtasia Assets feature to create a compelling video outro that allows a section for this at the end.
Intermediate tips you might not know
Utilize Cards for Interactivity: YouTube cards are preformatted notifications that appear on desktop and mobile devices, which you can set up to promote your brand and other videos on your channel. These can look like small screens that appear and motion to the viewer to subscribe or like your video (and they can appear whenever or wherever you would like on your frame).
Use the Default Upload Method: When uploading your video, use the default method suggested by YouTube to ensure all metadata is included and synced correctly. You can upload videos directly from the Camtasia platform to make this easy.
Share Your New Video on Social Media: If you have a solid following on other social media platforms, announce your latest creation to your followers! Create bite-sized video clips to share on Instagram Reels or TikTok to promote to your subscribers to watch the full video for more. Play with YouTube Shorts to access a new audience.
Unique features of Camtasia
Camtasia is not just a video editor and screen recorder; it’s a powerful ally in creating stunning YouTube videos. Here are some features you can use to elevate your content.
Library of Assets: Camtasia offers pre-built video templates, animated backgrounds, music tracks, icons, and more to add production value to your videos. Check out Techsmith Assets for Camtasia on our website to learn more.
Behavioral Effects: Behaviors are a powerful way to make your elements on the screen move, rotate, and grow. These effects add a layer of dynamic storytelling to your videos.
Cursor Effects: Enhance the visual clarity of screen recordings with spotlight or magnifying lens effects on the mouse cursor. Using this tool can help viewers follow along visually with the content of your video.
[GIF EXAMPLE]
Animated Video Creator: Camtasia has an animated video creator feature that allows you to create custom animations of your company logo or any image.
Create More Successful YouTube Videos Today!
Download Camtasia to make better YouTube videos quickly and easily.
Get started free!
Start creating more successful YouTube videos today!
Mastering the art of creating YouTube videos takes time, practice, and a willingness to improve continuously. Each video you create is an opportunity to learn and grow. By implementing the strategies and tips shared in this intermediate guide, you’ll be on your way to crafting technically impressive and engaging videos.
And remember, the more you learn and experiment, the better your videos will become. Ready to take your YouTube account to the next level? Start creating with Camtasia today!But your video-making journey doesn’t end here. Ready to tackle even more advanced techniques? Check out our upcoming guide, “How to Make a YouTube Video (Advanced Guide),” for tips that take your good videos and make them great videos.


Share