Learn how to import videos and use Camtasia Audiate's text-based editing to speed up the editing process.
Import a Video
To import a video, select one of the following options:
Into aNew Project: Click the Import a file button.
Into an Existing Project: Select File > Import.
Select an option for how to display the content in Audiate and click Import.
If you select Import as Smart Scenes, Camtasia Audiate automatically divides your project into smaller segments and generates titles for each. This option helps in navigating and editing longer projects. See Scene-Based Editing.
Camtasia Audiate automatically transcribes the file. This process may take a few minutes, especially for longer videos.
Camtasia Audiate’s speech-to-text transcription enables text-based video editing.
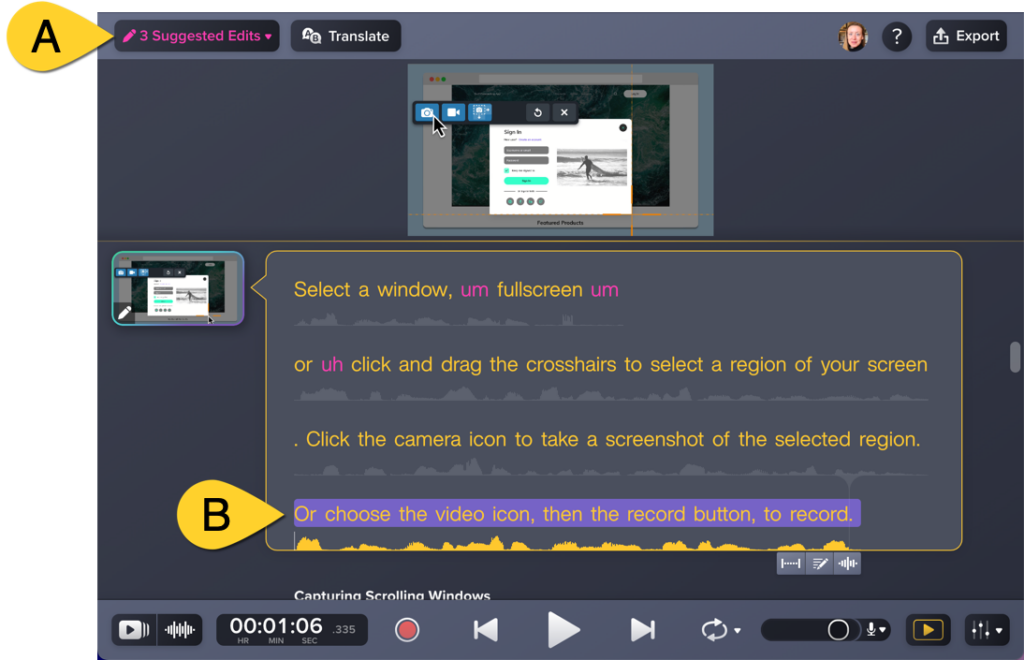
Use Suggested Edits to automatically remove filler words (hesitations like “uhm”, “uh” or “um” or repeated words) or to silence or shorten long pauses.
Select and delete parts of your video to cut, just like editing a text document.
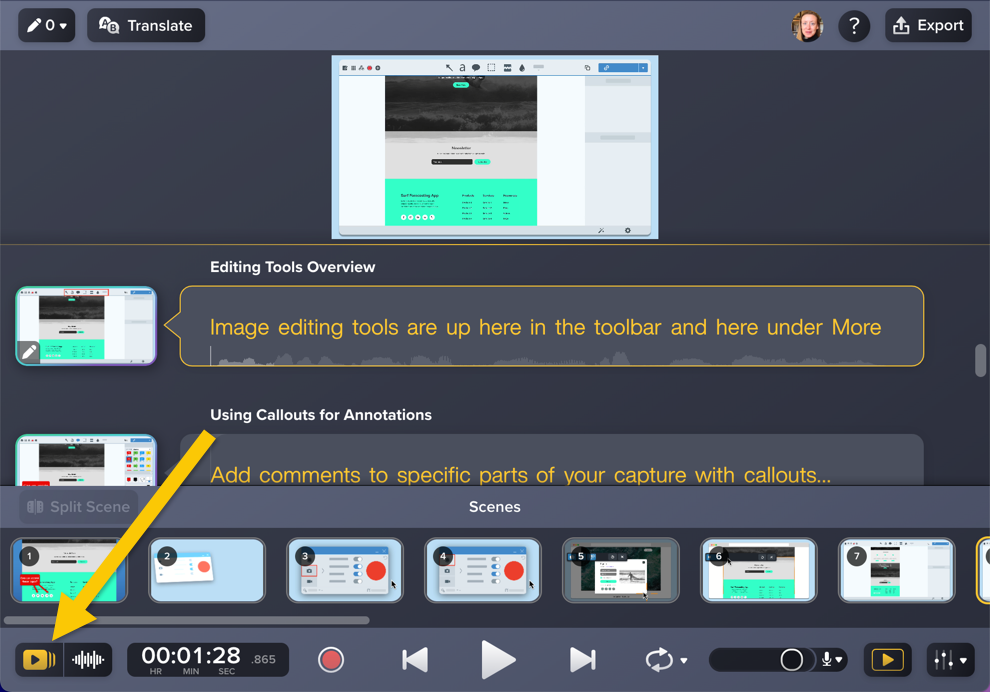
For longer videos, use scenes to navigate and edit sections in your video, such as to add or delete sections, generate audio with AI voices, or generate avatars.
Click the Scene Bar button to view thumbnails of all scenes in your project across the bottom of the screen.
To manage or edit scenes:
Add a scene: In the scene bar, right-click (Windows) or control-click (Mac) a thumbnail and select Add Scene > Add Scene Before or Add Scene After.
Split scene: In the transcription, click to place the cursor where you want to start a new scene. Click the Split Scene button.
Note: Splitting a scene in an Audiate project does not split media on the timeline in Camtasia Editor.
Rename a scene: Click a scene name above the transcription and enter a new scene name.
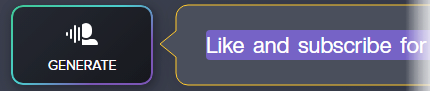
Generate audio or an avatar for a scene: Next to the transcription, click a scene thumbnail. Or if your project does not have thumbnails, click Generate. In the Generate dialog, click to select the Generate Audio or Generate Avatar tab. See Generate AI Voices from Text or a Script or Generate AI Avatars.
Delete a scene: In the scene bar, right-click (Windows) or control-click (Mac) the thumbnail and select Delete Scene.
Adjust the Video Preview
To change the preview size, click and drag the divider up or down.
To show or hide the entire video preview, click the Video Preview button in the lower-right corner of the application.
Export Your Video
After editing, export your video to your computer or directly to Camtasia Editor for additional video enhancements.
Note: You must have Camtasia Editor version 2024.1.0 or later to export videos into a Camtasia Editor project.
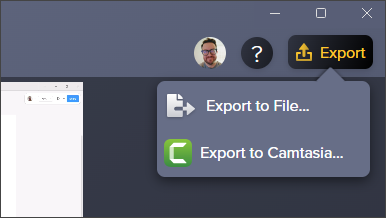
Export to File
Click the Export button and select the Export to File option.
The Export to File dialog appears. Select a preset from the dropdown or customize the settings.
Click OK.
Enter a file name and select the save location.
Click Save.
To export only a portion of your project to a file:
Export a scene: Click the dropdown next to the scene name and select Export Scene.
Export a selection: Click and drag to highlight a selection of the transcription. Select File > Export Selection > Export Selection as Audio.
Export to Camtasia Editor
Export to Camtasia Editor to add transitions, animations, callouts, and built-in assets like titles to enhance your video.
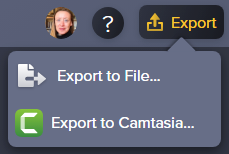
Click the Export button and select the Export to Camtasia option.
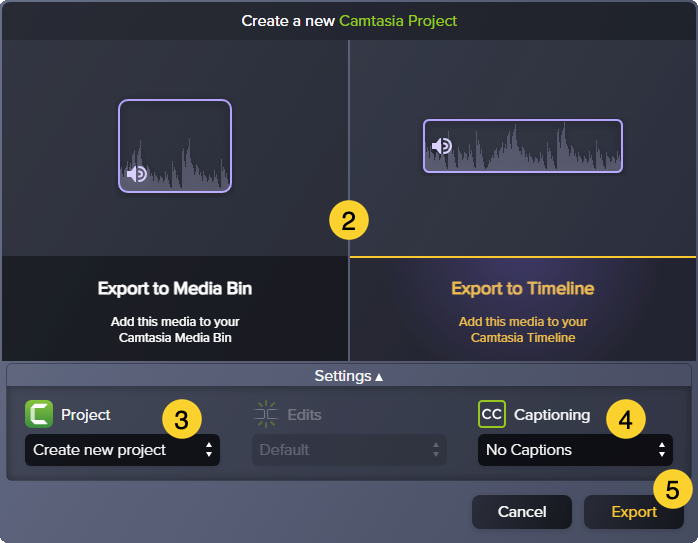
In the export dialog, choose where to send the media in the Camtasia Editor:
Media Bin: The media bin stores the source files for media in a Camtasia video project.
Timeline: The timeline displays the sequence of media in a video. Use the timeline to arrange and edit your video content. This option also adds the video source file to the media bin.
Select an option from the Project dropdown.
If you selected to send the media to the Camtasia Timeline, select an option from the Captioning dropdown. To learn more about caption types, see Add Closed Captions to a Video.