Explore the Timeline
Learn how to use the timeline to arrange your video.
Learn how to use the timeline to arrange your video.
The timeline displays the sequence of all media in a video. Use the timeline to assemble a video.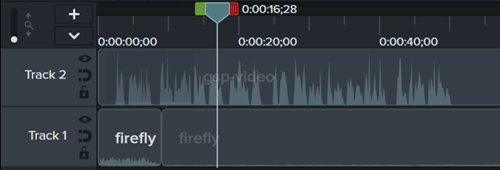
Drag media from the Media Bin, Camtasia Assets, or Library subtabs onto the timeline. As you make edits on the timeline, the Media Bin always maintains the original version of your media.
The playhead location represents a point in time in the video. All media at that point on the timeline display as the current frame on the canvas.
| Preview a Frame | Drag the playhead to the desired position on the timeline. Camtasia displays the frame on the canvas. |
| Preview Video | Drag the playhead to the desired position on the timeline. Click the Play button to preview the video.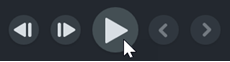 Tip: Save time editing with variable speed shortcuts.
|
| Preview One Track (Solo Track) Preview one selected track on the canvas. | Hold Alt key (Windows) or Option key (Mac) and click the Note: If you export the video with a solo track enabled, only the solo track is exported. |
| Zoom the Timeline | Drag the zoom slider to zoom in on the timeline for more precise editing. To view the project in full, click the |
The timeline is organized into layers called tracks. Media on the top layers cover media on the layers below.
| Track Order For visual media on the timeline, the track order controls the z-order position for media in a video. | To reorder tracks, click near the track name and drag to a new position on the timeline. |
| Detach/Reattach Timeline Detach the timeline to view more tracks at one time or to move to another monitor for precise editing. | To detach the timeline: Select View > Timeline > Detach Timeline or press Ctrl+3 (Windows) or Command+3 (Mac). To reattach the timeline: Press Ctrl+3 (Windows) or Command+3 (Mac) to reattach the timeline. |
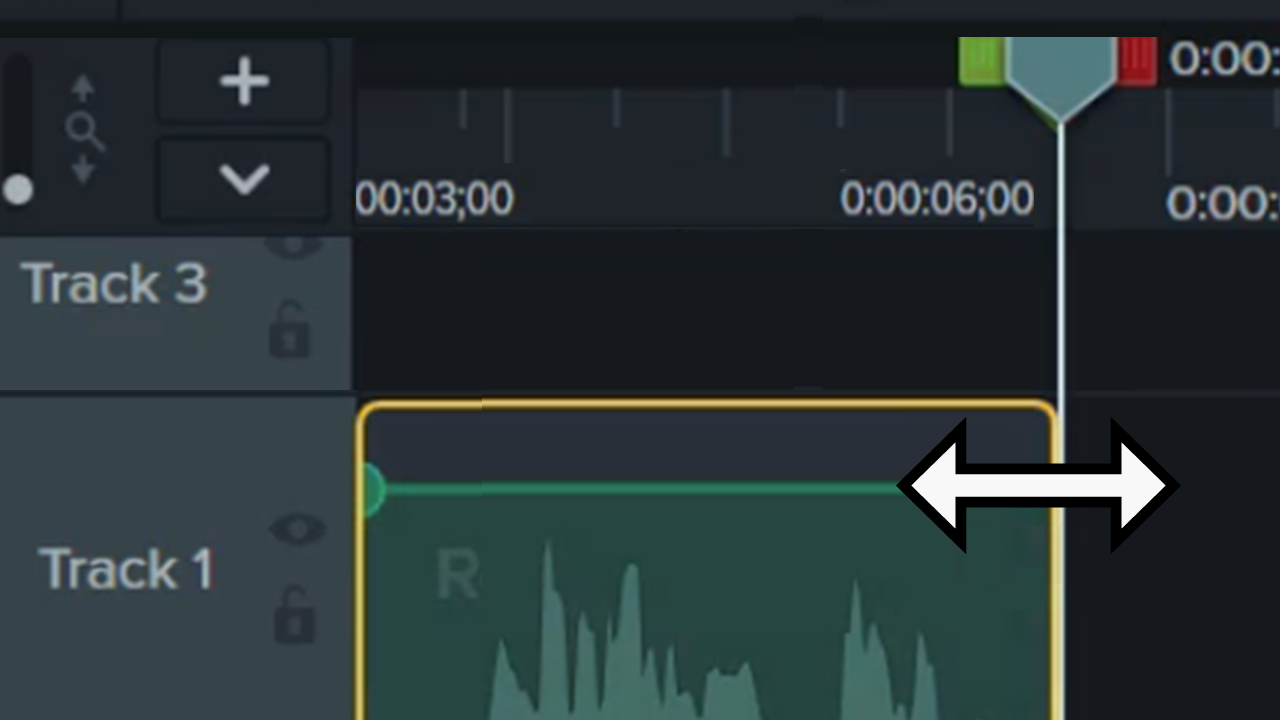
| Change the Track Size (Track Height) | To resize all tracks, drag the track slider. To resize only one track, drag the border between tracks up or down. 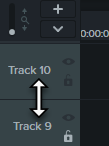 |
| Add a Track Add an unlimited number of tracks to the timeline. | Complete any of the following to add a track:
|
| Remove a Track |
|
| Scroll through Tracks When several tracks are on the timeline, use the scroll bar to view more tracks. | Click and drag the scroll bar on the right side of the timeline up or down to view more tracks.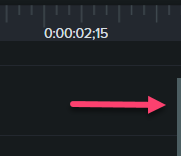 |
| Rename a Track | Double-click the track name and type a new name. |
| Lock / Unlock Track Lock a track to prevent editing or other changes to the media on the track. | Lock a Track Click the The icon turns white and the track dims with a lined effect to indicate the track is locked.  Unlock a Track Click the white lock icon to the left of the track. The icon turns gray and the track brightens to indicate the track is unlocked. About Locked Tracks
|
| Enable / Disable Track Disable a track to remove media from the canvas, preview, and exported video. | Disable a Track Click the The icon turns white and the track dims to indicate the track is off.  Enable a Track Click the white eye icon to the left of the track. The icon turns gray and the track brightens to indicate the track is on. About Turned Off Tracks
|
| Enable / Disable Magnetic Track Automatically remove spaces between media on a track. | Enable Magnetic Track Click the Spaces between media are automatically removed. 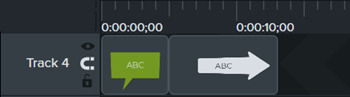 Disable Magnetic Track Click the Spaces can be added between media on the track.  About Magnetic Tracks
To learn about common timeline editing tasks on magnetic tracks, see Close Timeline Gaps with Magnetic Tracks. |
| Show / Hide Quiz or Marker View When a quiz or marker is added to the timeline, the quiz or marker view automatically opens. | Click 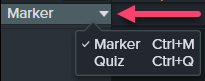 To learn more about quizzes and markers, see Build Quizzes & Surveys or Add Markers & Video Table of Contents. |
Tip: Speed up your workflow with efficient editing skills.
See Editing In-Depth for techniques to edit video more efficiently and to avoid recording multiple times.
Unleash the world’s most powerful screen recorder and video editor.
* Already a Camtasia Editor user? Learn how to update to the latest version.