Create Video from Images
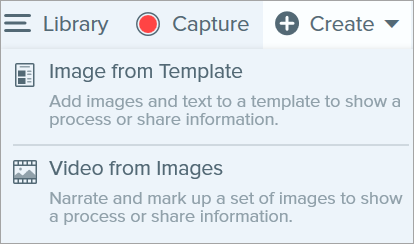
- In the tray or library, Control+click (Windows) or Command+click (Mac) to select images to show in the video.
- Select Create button > Video from Images or File > Create Video from Images.
- The Recording toolbar appears.

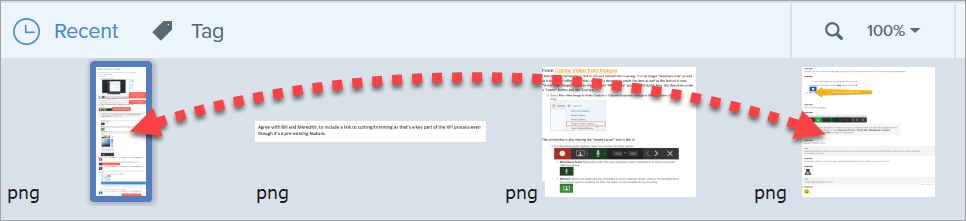
Click and drag images to reorder in the tray.
- Click to select recording options from the Recording toolbar:
- Video Background Color: Select a background color to display in the video. The background appears in the final video. Use dark or light colors such as dark blue, black, or white to improve contrast in the video.
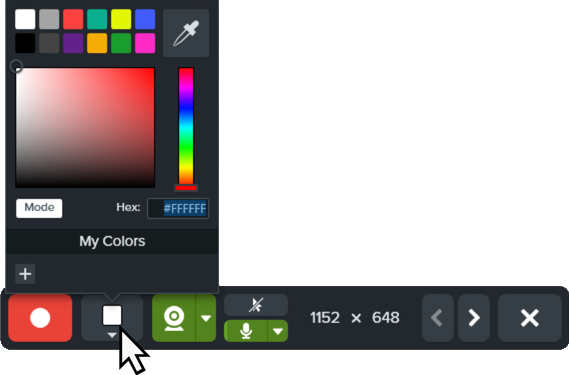
- Cursor: Record the cursor.

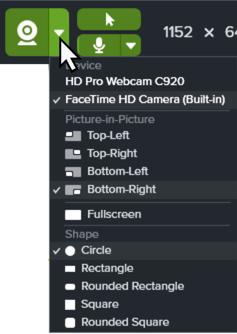
- Microphone Audio: Record the audio from your computer’s built-in microphone or from a connected USB microphone. Click the dropdown to select a device.

- Webcam: Record live video from the connected or built-in webcam. Click the Webcam button to toggle the webcam on/off. Click the dropdown to select the camera device and webcam display settings. To learn more about webcam options, see Record a Picture-in-Picture Video.
- To begin recording, click the Record button or press Shift+F9 (Windows) or Control+Shift+Space (Mac).

- To change the image shown in the video, click the Next Image or Previous Image buttons or press the left or right arrow keys.

- To pause recording, click the Pause button or press Shift+F9 (Windows) or Control+Shift+Space (Mac).

- Draw attention to an area by adding arrows, shapes, and other annotations from the Favorites tool while recording or during a pause.
- Click to select a Quick Style saved in your Favorites.
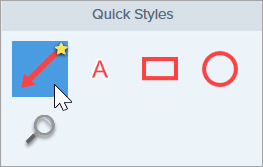
- Click and drag in the recording area to add the annotation.
- Adjust the zoom and/or dimensions of the image on the Canvas if desired (Windows only).

- To stop the recording, click the Stop button or press Shift+F10 (Windows) or Control+Shift+V (Mac).

The video appears on the canvas to review, edit, and share.
Need a link to email your video?
Click Share Link to upload your video to Screencast – free with your TechSmith account.
Snagit copies a link to your clipboard to quickly share your video with anyone!
About Screencast
Note: This tutorial is for Snagit version 2024. Previous versions may look or function differently.