









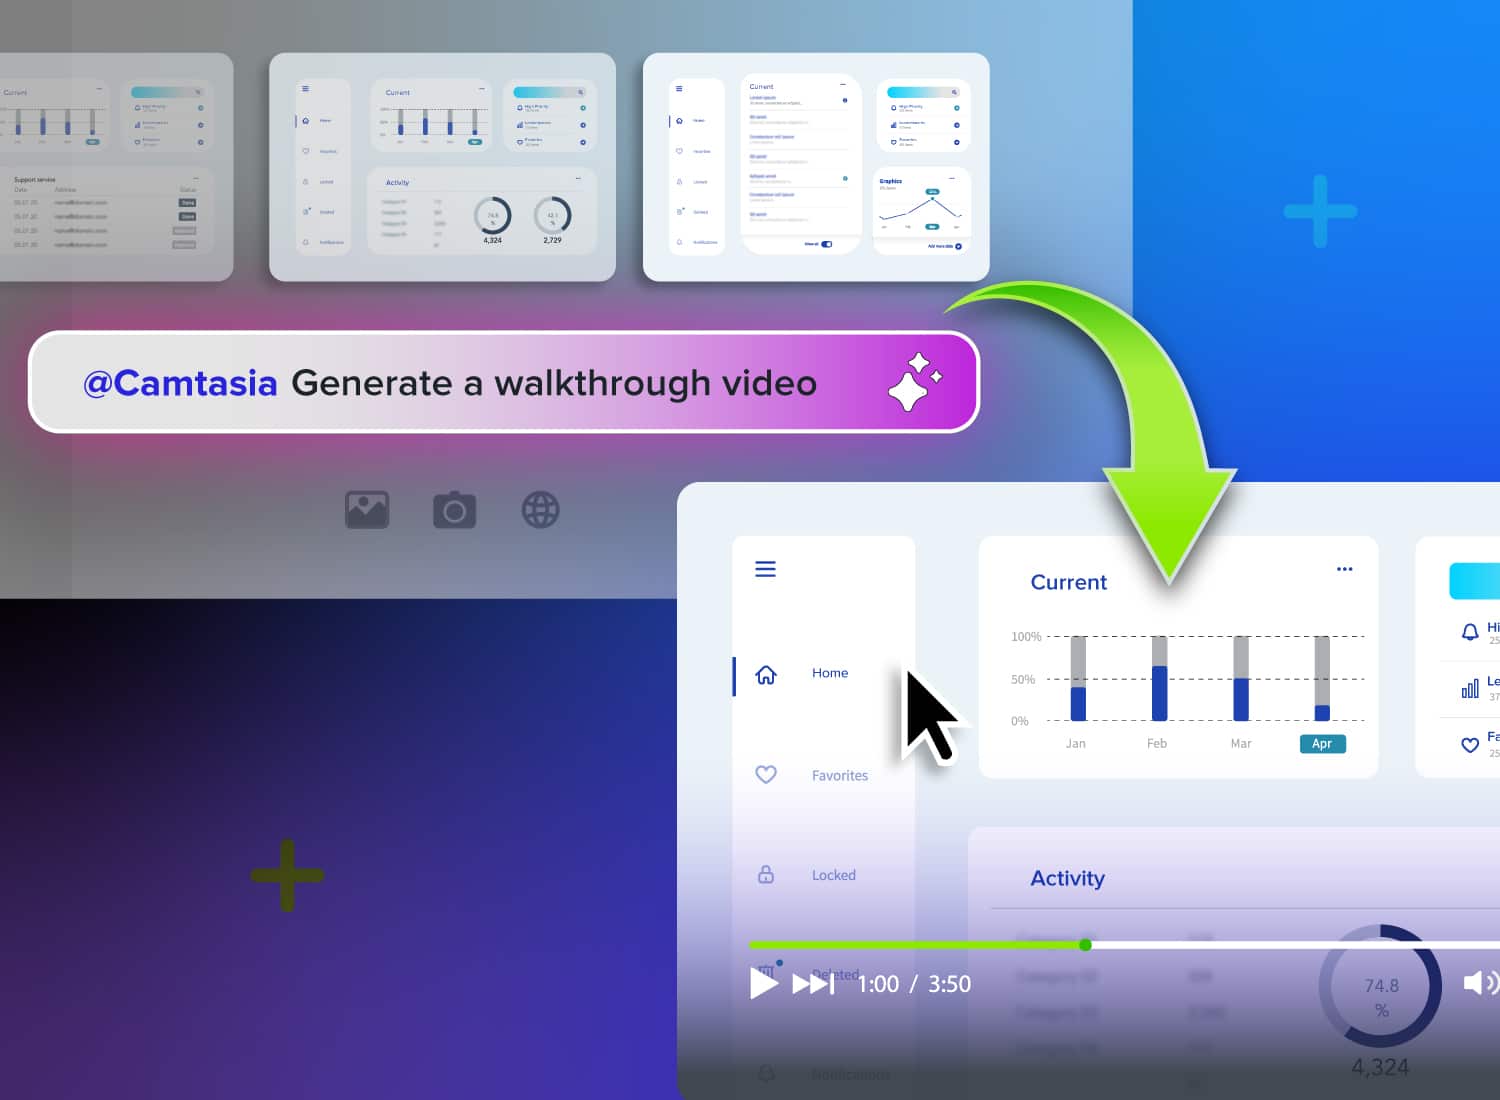
If you’re only using static screenshots or diagrams for your training videos, you’re only telling part of the story. Purposeful animation can show viewers where to focus, which steps to follow, and how a process unfolds.
You don’t need to be an expert video editor to create clean, professional animations. With AI tools, you can transform static images into guided videos that make steps, sequences, and points of focus easier to follow. Camtasia Editor gives you a place to refine AI-generated clips, add captions and branding, and prepare the finished video for delivery.
In this article, we’ll compare AI animation methods, explore asset types and prompting strategies, and show you how to integrate each animation into your training videos.
Key takeaways
- AI can turn a single image into a short video clip, which may help training teams create motion faster than traditional animation workflows.
- Different AI methods solve different problems: full-image motion, selective movement with a motion brush, or parallax effects for layered visuals.
- Camtasia Editor’s AI tools can apply zoom and pan across UI screenshots to guide viewer attention without animating individual layers or interface elements separately.
- Clear prompts that describe what should move, where it should move, and how fast it should move usually produce more useful instructional animations.
- To use AI-animated images in real training videos, teams still need post-production steps like trimming, captioning, branding, and LMS-friendly export in Camtasia Editor.
Why training teams are animating static images with AI
A simple animation can transform a still image into something more educational. If you’re only using static images in your videos, viewers might miss important details, such as the buttons they’re supposed to click or the order in which they’re supposed to complete steps.
With animations, you can emphasize focus points, clarify sequencing, or display cause-and-effect that’s missing from a static image. This is particularly important for educational content, like onboarding videos, product demos, or process tutorials, where confusion can make it harder to complete a task correctly.
Adding animations to training videos used to be incredibly time-consuming and often required specialized expertise. Today’s generative AI animation tools have changed that: approximately 80% of instructional designers already use them in their daily workflows. Instead of creating animations from scratch, you can use AI to create them in minutes with screenshots and a text prompt.
A little goes a long way when creating animations for training content. These animations are most effective when they’re used to directly support your learning outcomes. For example, you might use animations to clarify a step viewers might otherwise overlook. If animations are too flashy, they could distract from your training objectives.
Three animation methods and when to use each one
When you animate a static image with AI, the approaches generally fall into three categories: image-to-video diffusion, which turns one picture into a moving clip; motion brush, which animates selected elements; and parallax, which separates parts of an image into layers and moves them slightly. Camtasia’s tools line up with the first two, and the biggest gains come from combining them.
Here’s how these three animation styles work and when to use each one.
1. Image-to-video diffusion for full-image motion
Image-to-video diffusion turns a single image into a moving clip by adding motion across the entire image. When you want that kind of full-image motion, the tool to reach for is Camtasia’s Automatic Zoom and Pan, which can move across a screenshot or zoom in on a specific feature to guide viewers toward the step being explained. These features are also available for screenshots in Camtasia’s ChatGPT app.
You can also use image-to-video diffusion to create scene reveals with static photos or screenshots. This strategy is helpful for breaking long tutorials into shorter, bite-sized sections, which are easier for viewers to remember.
Be aware that this type of animation can add unwanted motion, flickering, or distortion to your video. It works best for short clips that you can trim or adjust inside Camtasia Editor.
Go from screen recording to polished video
A screen recording is just the start. Camtasia’s editor helps you add the callouts, animations, and edits you need to create a truly professional video.
Free Download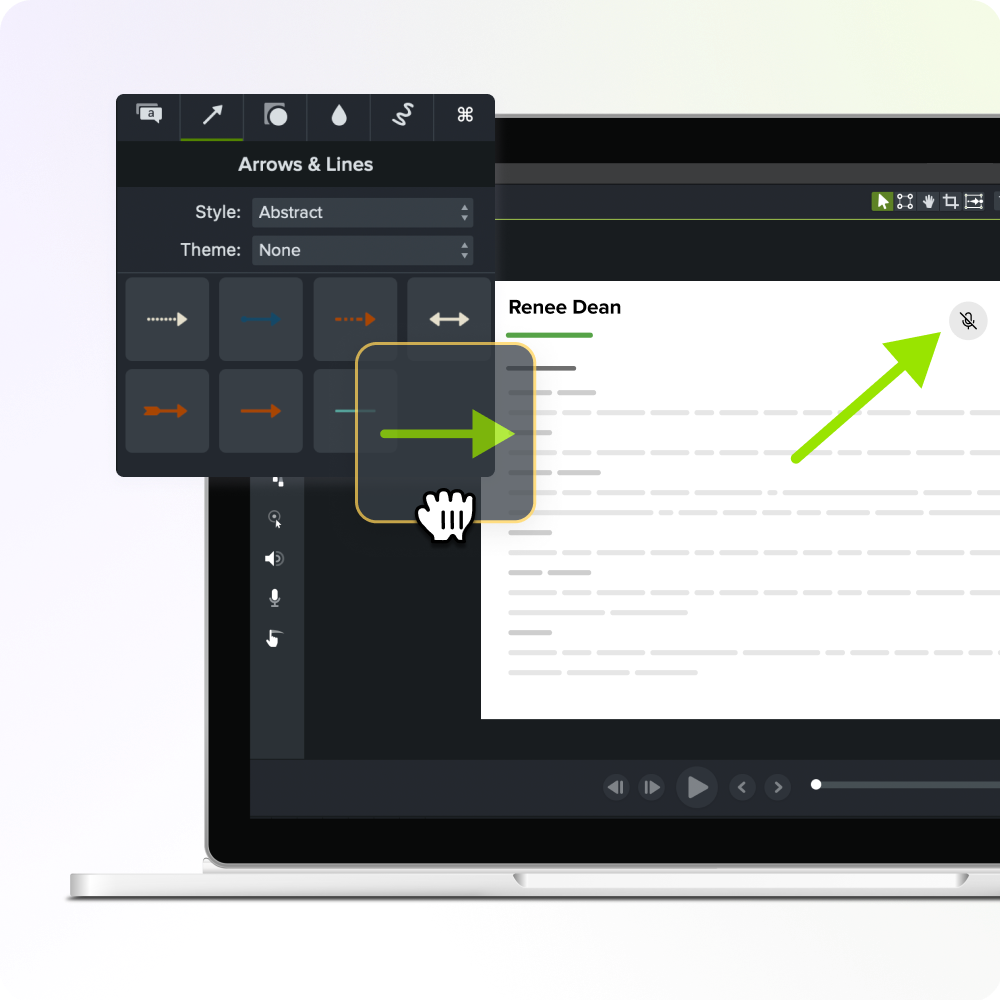
2. Motion brush for selective, region-specific animation
Motion brush is a method for animating specific elements of an image, rather than the entire screenshot. This strategy works well for animating specific software functions, such as cursors, buttons, or progress bars.
In Camtasia Editor, this is where AI-generated cursor animation comes in. It adds large, clear cursor movement that helps learners follow each step, and in Camtasia Editor you can adjust the cursor path, change its color and size, or add click effects to emphasize key information. The two approaches are strongest together. Pairing full-image zoom and pan with AI cursor animation lets you frame the whole screen and point to the exact spot a viewer should watch at the same time.
Animating individual elements often works better for instructional videos than animating an entire page. It preserves details from the original screenshot without adding extra motion or distortion, so viewers can still see the full software interface.
3. Parallax and depth effects for layered visuals
Parallax animation involves separating an image into layers and moving them separately. These dynamic animations work best for images that have a distinct foreground and background.
For example, if you wanted to make a diagram look more dynamic, you could use parallax animation to separate the diagram from the video background and add motion. The diagram will appear to move smoothly across the background. This animation method also works well for creating smooth transitions between slides.
Depth-based animations can be a good alternative to full-image animation. In some cases, panning or zooming across an image creates distortion. With parallax animation and other subtle depth effects, you can add movement while preserving the image.
Which asset types can you animate for training videos?
With AI video generators, you can turn training assets you already own into animations. Existing screenshots, diagrams, flowcharts, and product mockups are a practical starting point for training video animations, so you don’t need to build assets from scratch.
Some visual assets work better for animation than others. Opt for visuals that already have clear focal points, structure, and contrast with the background. These elements usually result in clean, smooth motion that won’t interfere with learning.
Here’s how to animate some of your most valuable workplace assets.
UI screenshots and software walkthroughs
Animation can turn static software screenshots into guided walkthroughs that show viewers where to look and what to do next. By animating screenshots in onboarding walkthroughs or product demos, you can show viewers how to complete each step in the software.
Screenshot animations are most effective when they simulate actions users will take in real life. For example, you can animate a cursor and simulate clicks, or animate a transition between two software panels.
When animating your screenshots, focus on keeping the text, icons, and labels stable, even as other page elements move. You’ll want to preserve the appearance of the original screenshot so it resembles your real-world software.
If you decide to add full-screen motion, like a zoom or pan effect, the movement should be relatively slow. If the animation is too fast, it could distort the original screenshot and leave the viewer feeling confused.
Camtasia’s ChatGPT app will help you create complete process walkthroughs from a set of static screenshots. The AI model adds appropriate animations and voiceovers to create a training-ready walkthrough. You can also customize the walkthrough further in Camtasia Online.
Process diagrams and flowcharts
By animating your diagrams and flowcharts, you can give viewers a clear step-by-step breakdown of how each process works. For example, you can animate the arrows between each flowchart component to illustrate sequencing and direction.
This strategy is effective for onboarding videos or compliance training, which often use diagrams to illustrate complex processes. Adding animations helps the viewer understand and remember how these processes work in real life.
Focus on animating one visual element at a time instead of using whole-page animation. This makes it easier for viewers to follow the chart’s logic or progression without becoming overwhelmed.
How to write prompts that work for instructional images
Camtasia’s ChatGPT app makes it easy to create high-quality generative screencasts with little to no prompting. All you need are clear screenshots, and the app does the rest. However, more specific prompts can help you create more advanced AI animations.
If you’re not sure where to start, try this prompt formula as a base, then tailor it to your needs and preferences:
Subject + action + pace + camera behavior + protected elements
For example, you might say: “Animate the cursor so it clicks on the ‘Save’ button. The animation should be two seconds long, and the rest of the screenshot should stay still.”
From AI clip to finished training video: The post-generation workflow
Once you’ve generated your animations with AI tools, you’ll need to review and edit them before adding them to your training video. A human review framework is essential when creating AI-generated assets. While AI can generate an initial animation, you need to make sure that each clip supports your learning objectives. Here’s what to do once you’ve generated your animations with AI.
Add captions for accessibility compliance
Captions are essential for training videos, so don’t skip this step. Captions can make training videos more accessible and can support comprehension and sound-off viewing. Forty-two percent of viewers prefer to watch videos with captions even when the audio is perfect, so adding them is necessary to support those viewing preferences.
Camtasia’s ChatGPT app automatically adds AI voiceover narration to your workflow animations. Once you’re happy with the animation, export it to Camtasia Editor. From there, select ‘Generate Captions,’ then review the generated text for accuracy before publishing.
Keep training videos accurate. Avoid “AI slop.”
Build training content faster without sacrificing quality. The HUMAN Framework is a 5-step strategy for integrating AI effectively.
Get the Guide
While Camtasia Editor can generate captions automatically, be sure to review them manually before publishing your video. Make sure the narration and text descriptions reflect what’s happening on screen.
Export in LMS-compatible formats
After finalizing your captions, export the final product in a format that’s compatible with your LMS. Once you’ve uploaded the video, you can make the necessary adjustments for SCORM compatibility.
Sometimes animations are compressed during export, making them blurry or illegible. To prevent this, check the resolution, frame rate, and file size before exporting.
Start animating your training images in Camtasia Editor today
Strategic animations make training videos even clearer and more impactful for learners. Camtasia Editor and the Camtasia ChatGPT app make it easy to create AI-powered animations, even with no professional experience. With features like cursor effects, automatic panning, and automatic zooming, you can transform static screenshots into dynamic instructional content.
Get Camtasia Editor and start turning animations into clear, guided instructional content.
FAQs
How do I turn a static image into an animated video using AI?
Most AI image tools follow the same workflow: upload the image, describe the motion, and generate a short MP4 clip. For training content, start by zooming and panning across the UI, using the cursor as a guide to help viewers understand each step, because purposeful motion usually teaches better than decorative motion.
How do I write prompts that work for instructional images?
Write prompts that specify the subject, motion, direction, speed, and duration, such as highlighting the submit button with a slow pulse. Avoid cinematic language unless it supports the lesson, and describe exactly what should stay still to reduce distracting artifacts.
What should I do after generating an AI-animated clip?
Import the clip into Camtasia Editor to trim weak frames, match the pacing to your voiceover, add callouts, make more controlled edits with the cursor, or add branding. Finish by adding captions, exporting an MP4 that fits your LMS requirements, and reviewing the video for motion errors before publishing. If you build this workflow often, Camtasia Editor can help you turn quick AI clips into polished training videos faster.
Share