


Animated GIFs are a popular form of visual communication for a reason: they’re fun and informative!
Plus, they can capture and convey emotions and processes that are harder to explain using words alone. The power of visual communication is truly unmatched.
Have you ever found yourself wanting to create unique GIFs? In this comprehensive guide, we’ll walk you through the step-by-step process.
GIFs are easy to make (we promise) and will add a dynamic touch to your everyday communication.
Let’s see how it’s done.
What is a GIF?
A GIF, short for Graphics Interchange Format, is a dynamic compressed video file.
Think of it as a sped-up slideshow of a bunch of compressed images. However, you can create them with image or video files.
The main difference between GIFs and other video and image formats is that it is compressed and easy to share. The smaller file format allows you to send it over messaging channels that otherwise wouldn’t support large file types.
In short, GIFs are convenient file types that are easy to learn from, create, and share.
Record your screen with Snagit
Snagit makes it easy to share quick updates and how-to’s by capturing exactly what’s happening on your screen.
Get Snagit
GIFs will transform your communication (in a good way)
People love GIFs. They’re fun, cute, and relatable. But is a GIF appropriate to use in corporate or professional settings?
Short answer? Yes, you should be using GIFs at work. Life is too short not to laugh.
Let’s have fun!
Did your team hit that end-of-year goal a month early? Nothing like a good celebration to genuinely express your gratitude to your coworkers.
And you know what makes it extra fun? Sending a funny GIF and meme to capture the height of the emotions you all are feeling.
Something like a high five with some confetti! Or Dwight Shrute and Michael Scott pumping the air. We don’t judge.
Or, is your project lead sick on the day of an important presentation? Send them a cute “get well soon” GIF to make them laugh. Nothing cures like a good laugh from the people who care about you.
And even if nothing is going on, GIFs are fun to sprinkle throughout your communication.
Let GIFs provide context for your projects
Another way to use GIFs in your day-to-day life is by using them as support for your projects.
You don’t need to ask your viewers to click a link to a YouTube Video or other platform. Instead, insert a GIF that highlights your work.
Another incredibly useful way to use GIFs is as visual support for your step-by-step instructions. Show your viewers how to complete the step. It’ll save you time from writing out instructions with too many confusing details.
For example, here is a GIF of how to use Screen Draw with Snagit!

Last (but not least), you can use GIFs to point out important details in your project. By creating a short looping video, you can draw viewers’ attention to the crucial information.
This makes your projects more skimmable. Call that a win-win.
Now that you know exactly what a GIF is and does, let’s learn how to make them using different tools.
How to make a GIF from a video
The best tool to create a GIF from a video is Snagit. All you need is a screen recording or video of your choice.
It’s super easy to create a GIF using Snagit.

Open your video in the Snagit Editor
First, you’ll need to open your video with Snagit. Creating a screen recording with Snagit is super easy and a great way to create a GIF or you can drag and drop an existing file right into the Snagit editor.
Trim the video and create your GIF
With Snagit, you can create a GIF from any length of video. Just trim the clip to your desired length using the green and red markers.
You won’t make any permanent changes to your original video either! It’ll simply create a temporary selection.
Once you have your video clip selected, click the button that will save your video or selection as an animated GIF.
Optimize for your needs
In the pop-up menu, select “Use Selection” or “Use Whole Video” based on what you want to do.
Then, choose between the following options
Screen Video (Default)– Use this option if your GIF is a screen recording.
High Motion Video– Use this option if your GIF contains real-world videos or games.
Reduced File Size– Optimize your file size with this option. Snagit scaled the dimensions down to have a max width and height of 200 pixels.
Custom– If you really want to get fancy, use this option and customize for the following:
- Frame rate
- Dimensions (unit)
- Dimensions (width and height)
- Lock Aspect Ratio
- Enable Dithering
- Looping
- Dynamic Colors (Mac)
- Fade to Black
And that’s it! Watch your GIF video render and then save it to your desktop. Share with your coworkers, friends, and everyone else!
How to make a GIF with Photoshop
Photoshop is a popular way to make GIFs. You can use video frames, animation frames, or still images for this process.

Let’s go through the steps to create your GIF:
Upload two or more images as separate layers in Photoshop.
These images need to create a flow of movement. This ensures that your GIF renders into a seamless video-like animation.
Create a frame animation in the timeline panel
Access the Timeline Panel with the window option open. In your Timeline Panel, you will see your layers. Select the Frame Animation option.
Then, select individual layers and separate them into frames. Do this in the Timeline Panel.
Adjust timing and set the animation to loop.
Frame by frame, you can set the time for individual images. With this, you can decide how long each frame will be in your finished product.
Set your animation to loop by selecting the “Forever” option in the repeat menu.
Export your new looping GIF, save it, and send it anywhere!
Export your final animated GIF by clicking File→ Export→ Save for Web. This will preview your GIF for you.
Select GIF or PNG as the file format from the menu and save! Your GIF is now ready to send.
You can now use Adobe Photoshop to create a looping GIF, perfect for any occasion.
However, Photoshop does contain cumbersome limitations. There is a lot of preparation and conversion to create your GIF, and there are a lot of steps.
Keep in mind that this option is only available if you have paid access to Photoshop. Plus, you need to master the workflow. Let’s dive into other ways to make a GIF.
How to make a GIF using online tools
There are countless online tools that can help bring your GIF creation dreams to life! Let’s go through the more popular options.
Giphy
Giphy is one of the most popular online tools for GIF creation. It’s accessible to anyone and super easy to use. You can create a GIF in just a few easy steps.

- Add content– Upload your files into the GIFMaker screen. Giphy only accepts videos under 15 seconds.
- Create layers– You can add captions and stickers to personalize each layer and let your GIF come to life!
- Edit layers– Trim each layer to start and stop when you want it to.
- Crop– Crop your video to fit different formats like portrait, landscape, and more.
- “Continue to Upload”– Hit this button once you’re done. A prompt will ask you to Add Tags and a Source URL for credit purposes.
- Done! –Don’t forget to set your GIF privacy preferences to Public so you can share it with anyone.
It’s that simple to make a GIF with Giphy.
Giphy is a reliable way to create GIFs, but there are unfortunate restrictions. The video length is cut to 15 seconds, which restricts the variety of GIFs you can make.
Nonetheless, Giphy is a great option to make a GIF on a desktop.
Canva
Another popular GIF-creation platform is Canva. Known for its ease of use in digital media creation, Canva is a reliable option.

Canva lets you use their extensive image library or use your own from your desktop. Let’s go through the steps.
- Select or upload your design– It’s easier to make a GIF with Canva if you focus it around one key element. Pick it and stick with it
- Add in some slides– To create movement in your GIF, you need to compress multiple images together. So, add the amount of slides you need to create your GIF.
- Animate your content and add effects– It’s time to have some fun! Add in fun animation and effects to make your GIF pop.
- And… that’s it– You’re done. Preview and download your GIF when you’re satisfied with the final product. Make sure you select the GIF option from the drop-down menu to save your creation correctly.
Canva also lets you use a video instead of images to create a GIF.
- Import your video to Canva– Just drag and drop your video into the download window for a quicker process.
- Edit your video– Add text, effects, and animations to personalize your GIF. The sky is the limit here!
- Download and save– You know this one. Select GIF from the drop-down menu to ensure you have the right file format and save it to your desktop.
That’s it. Canva’s two options make it easy to create a GIF!
iPhone
Alright, so let’s say you don’t have a desktop, just your iPhone. It’s possible (and easy) to make a GIF with an iPhone.
The only precursor to this process is that your photo has to be a Live photo. If it is, you can turn it into a GIF easily.
On iOS 15, tap on the Live button to open a drop-down menu. Then, just select “Loop” or “Bounce” to create your GIF. Save.
On iOS 14 or lower, swipe up on your screen to see the menu options. Then, follow the same instructions as iOS 15.
Unfortunately, iPhones cannot create GIFs from videos just yet. But that’s what the platforms we’ve already outlined are here for.
Tips for creating great animated GIFs
It’s important to keep in mind a few aspects of GIF creation.
Keep them short and simple. You don’t have your GIF to be long and uninteresting for your audience. By keeping it trim, you can ensure that more people watch it (and enjoy it!) Try to limit the length of your GIF to 10 seconds for entertainment purposes and 30 seconds for instructional.
Use high-quality content. We don’t want your GIFs to turn out blurry and confusing. Use high-quality videos and ensure that your GIF turns out clean and professional-looking.
Add text and captions for more clarity. Sometimes, adding a simple caption can take your GIF to the next level. Introduce the purpose of your GIF, make a funny comment, and more! The possibilities are endless.
Finally, try to experiment with tools and techniques. We’ve provided you with different tools that work for you. Try them out and see what works best.
Your GIFs need to reflect the purpose you give them.
There’s nothing quite like getting a funny video from your favorite coworker during a stressful day. Now, you can be that favorite coworker!
With Snagit, you can learn how to make a video a GIF easily. Whether it be from a screen recording or a video, it takes just one click of a button. We couldn’t make it more simple if we tried.
Annotate and edit screenshots with Snagit
Professional mark-up tools and powerful features make it easy to create helpful images.
Try it Free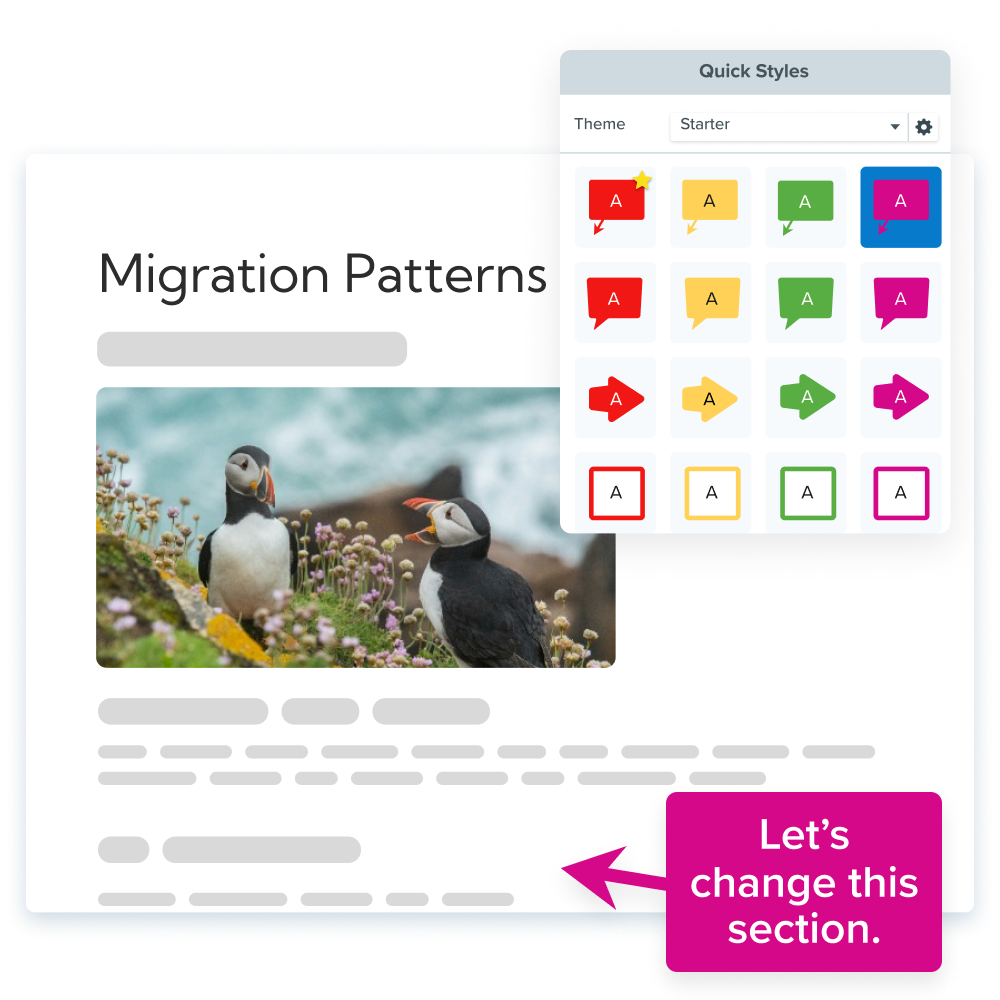
So, go on and create!
Share