


YouTube is a platform where videos aren’t just watched—they inspire, inform, and entertain viewers around the world. Starting a YouTube channel and creating professional-looking content may seem challenging, especially for beginners. But with the right approach and tools, this task becomes more accessible and opens up a fulfilling journey into the creative world of video production.
In this step-by-step guide, we’ll walk you through everything you need to know on how to create a new YouTube channel easily and seamlessly.
Go from screen recording to polished video
A screen recording is just the start. Camtasia’s editor helps you add the callouts, animations, and edits you need to create a truly professional video.
Free Download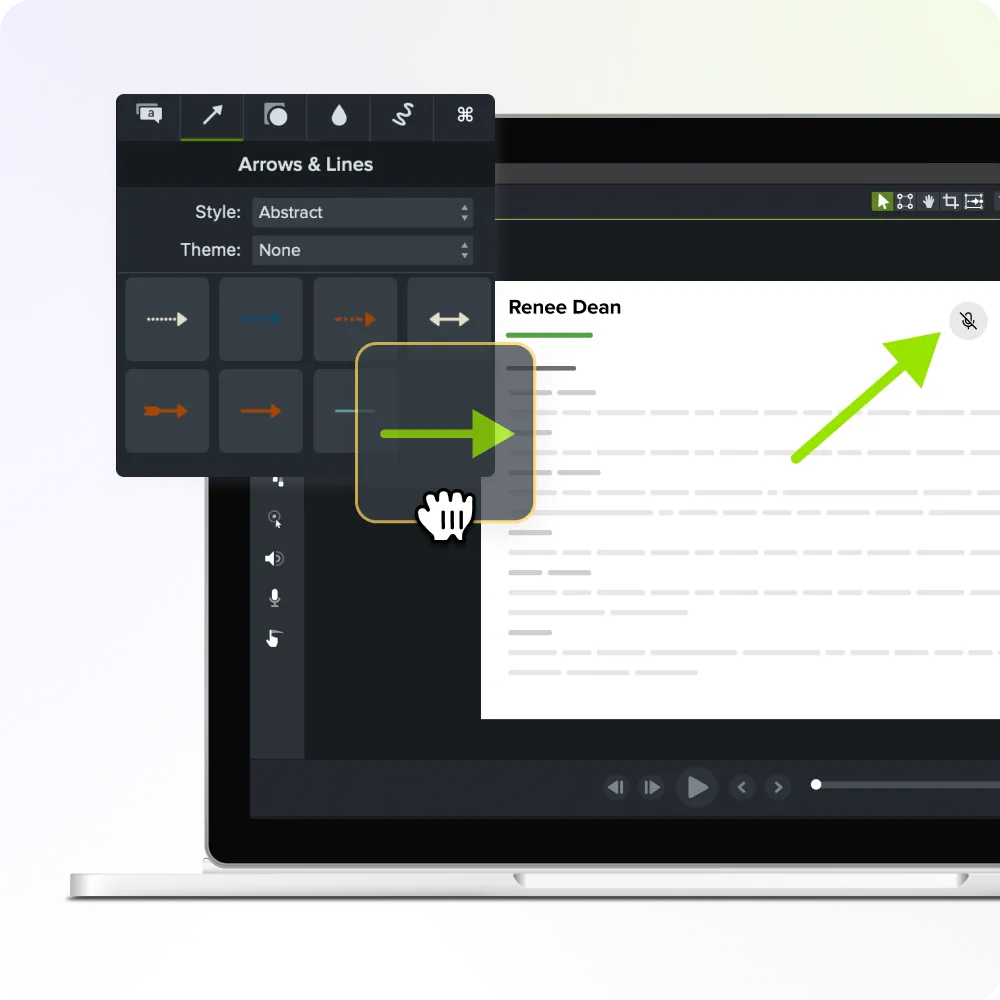
Understanding YouTube and the creative journey
YouTube is more than just a video-sharing medium; it caters to an audience eager for diverse content experiences. As a content creator, your YouTube channel is a social media platform where you can express yourself and connect with viewers from across the globe. First, you need to build a YouTube channel that reflects your vision and delivers high-quality videos consistently.
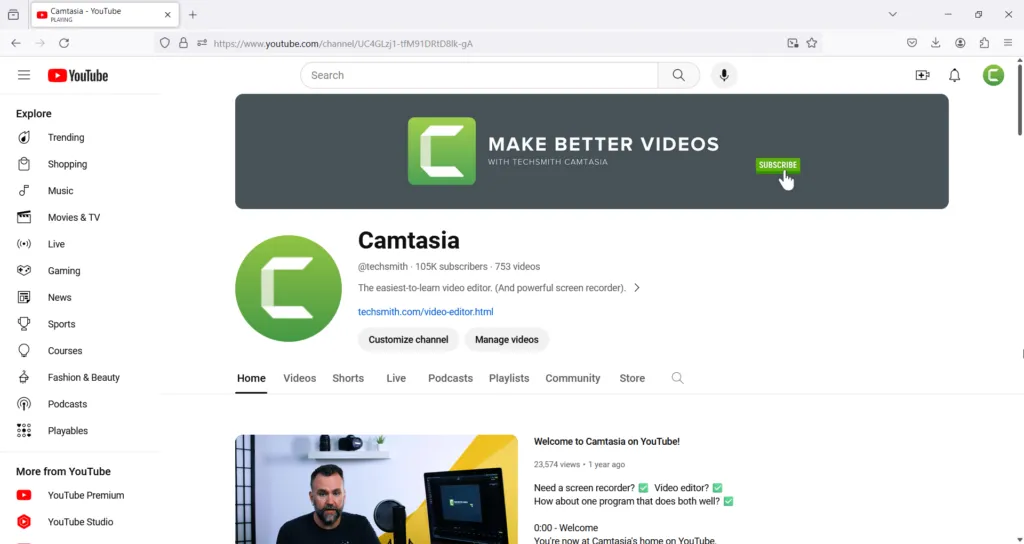
Step 1: Set up your YouTube channel
Create a Google account
As YouTube is a part of Google, you first need to create a Google account or use an existing one to set up your channel. It will ask for basic information—your name, birthday, email address, etc. After, you can set up your YouTube account to represent your brand and persona.
Create a YouTube channel
Next, tap your profile picture at the top-right corner of your channel page and select “Create Channel.” Here, you’ll name your channel and set up some other basic info.
Optimize channel settings
Now, it’s time to optimize your channel settings. Customize your channel name, add a compelling channel description, change your profile picture to at least 98 x 98 pixels, and select a relevant channel banner image at least 2560 x 1440 pixels. A YouTube banner is an image that stretches horizontally across the top of your YouTube channel page. These elements create the first impression and should align with your niche and branding strategy.
Customize your YouTube channel
Further refine your homepage by organizing content into playlists, adding channel keywords for search engine optimization (SEO), and setting up an intro channel trailer to welcome visitors. For example, if you wanted to create a channel focused on keeping houseplants healthy, you might choose keywords like, “house plants,” plant care,” indoor gardening,” and “plant mom,” to name a few.
Consistency is critical; align your channel art elements, such as logos and color schemes, to create a cohesive and eye-catching channel identity.
Congrats! You’ve created your own YouTube channel. Now, it’s time to plan.
Step 2: Plan your content
Identify your target audience
Your audience shapes the type of content you create, your brand’s voice, and even the time and day you upload videos. Use analytics tools, like Ahrefs, Google Trends, and Semrush, to gain valuable insights into your viewer demographics, interests, and watching behaviors.
Brainstorm your video ideas
Generate a list of video concepts that resonate with your target audience and desired niche. Look for gaps in the latest and most popular YouTube content and see how you can provide a unique perspective or add value to current conversations.
Again, using the plant care example, there are likely dozens if not hundreds of channels focused on general plant care, so to stand out, you might choose to focus on one type of plant or one aspect of plant care, such as watering schedules or light exposure.
Regardless, it’s a good idea to come up with a list of ideas to start with so you don’t have to feel pressure later on. Keep that list going, so you can always have a ready-to-go bank of ideas to pull from, making it easier to maintain a consistent schedule.
Create a content schedule for your YouTube Channel
Consistency is paramount in YouTube’s algorithm. Channels that regularly release content are more likely to be served as recommended content for people who may not already be subscribed to your channel. Plus, it helps keep your viewers engaged and coming back for more.
Plan your video releases around your schedule to realistically maintain a healthy cadence of new content, whether one new video a week or twice a month.
You’ve planned everything out. Now it’s time to record!
Go from screen recording to polished video
A screen recording is just the start. Camtasia’s editor helps you add the callouts, animations, and edits you need to create a truly professional video.
Free Download
Step 3: Record your videos
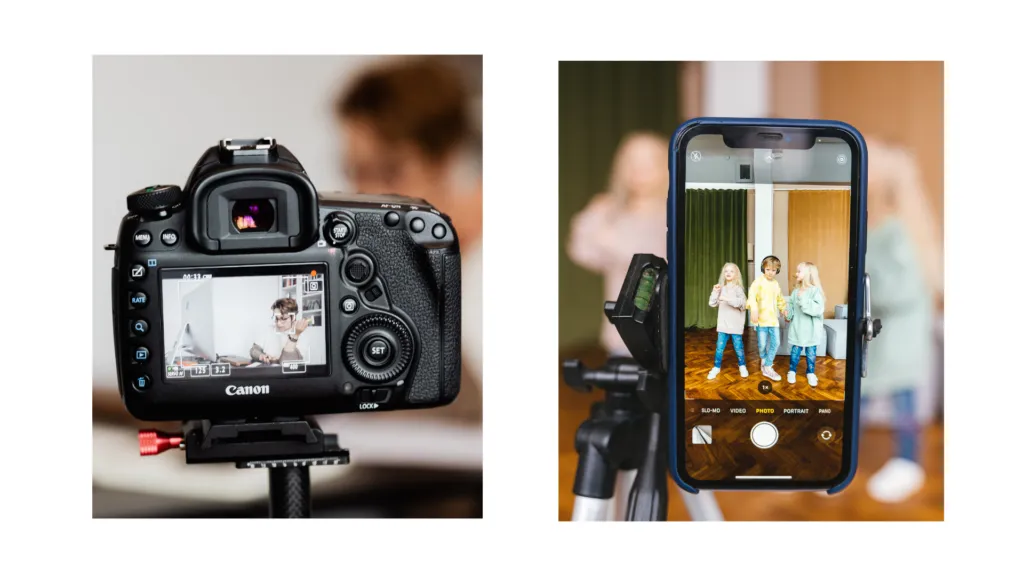
Equipment and setup essentials
While you don’t need the latest high-end video equipment to start, investing in fundamental gear such as a good camera, microphone, and lighting can significantly improve the quality of your videos.
First, you can use your phone as your camera when possible. Most modern smartphones have very good video cameras, sometimes up to 4K resolution or better. You’ll likely want a tripod for times when you want to have a steady, non-moving shot, but for more casual videos — such as YouTube Shorts — you can hold it right in your hand.
For microphones, we highly recommend NOT using the mic on your computer or phone. Even a low-cost USB microphone will likely sound better, and your audience will appreciate it.
For lighting, you truly don’t need anything fancy. A couple of well-placed lamps or a ring light will help a lot. For more information about lighting, check out our post on how to get great lighting for video.
As your channel grows and your needs become clearer, you can always upgrade your gear later. But don’t let your equipment be the barrier that stops you from creating!
Effective video recording
Learn about the rule of thirds and the importance of good framing and eye contact with your camera or audience. Also, practice your delivery style and avoid overusing fillers, such as ‘um’ and ‘uh.’ Camtasia makes it easy to record YouTube content directly through the video editor.
Audio and lighting considerations
Audio quality is often more important than video quality. Ensure you record in a quiet space and use a dedicated microphone. Lighting can alter the entire mood of your video, so natural light or softbox lights can create a professional look.
Screen recording with Camtasia
Screen recording is a must for software demonstration or tutorial content. Camtasia offers a robust screen recording feature. You can select an area of your screen and start recording, along with your system audio and microphone input.
With screen recording under your belt, the next step is to edit!
Step 4: Editing videos with Camtasia
Importing and organizing your footage
To begin video editing, import your video, audio, and image files in the Camtasia editing software and organize them into a logical structure. This organization will save you time and streamline the editing process.
We won’t go into the full editing process here, but check out this awesome post on how to edit video.
Cutting, trimming, and rearranging Clips
Use Camtasia’s easy-to-use timeline to cut out unwanted portions, trim clips for better pacing, and arrange your content in a way that tells a clear and engaging story.
Adding transitions, effects, and annotations
Camtasia provides a wide array of transition effects to move from one scene to another and annotations such as callouts, shapes, and arrows to emphasize points in your videos. Play around with different formats to see what feels right!
Incorporating music and sound effects
Sound adds depth to your videos. Camtasia includes a library of royalty-free music and sound effects, or you can import your own to match the mood of your content perfectly. Subtlety is key—ensure that audio enhances your video without overpowering it.
Adding overlays, graphics, and branding
Consistent branding elevates the professional look of your channel. Use overlays, lower thirds, and watermarks to reinforce your brand identity and increase viewer recognition. Make sure to add a YouTube intro and a YouTube outro that sets the tone for your YouTube channel. Camtasia offers free intro and outro templates to take this off your plate!
>> Discover how to make a YouTube intro with our step-by-step tutorial.
Step 5: Exporting and publishing your videos to your YouTube channel
Exporting your video from Camtasia
When your video is ready, it’s time to export. Camtasia allows you to choose from various presets for different resolutions and platforms. Select the one that best suits your content and audience.
Uploading your first video to YouTube
Once exported, upload your video to YouTube. Use YouTube Studio to include keywords in your video title, description, and tags to optimize your video for search. Your custom thumbnail is vital to your video’s first impression, so design a compelling visual representative of your content. If you create playlists, make sure they also have relevant thumbnails!

Step 6: Optimizing your YouTube presence
Comments and subscribers
YouTube is a community, so engage with your audience. Respond to comments, ask for feedback, and encourage viewers to subscribe. Consistent engagement not only strengthens your community but also increases viewer retention.
YouTube Analytics
YouTube Analytics provides insights into your video performance and overall channel performance. This dashboard shows key metrics, such as watch time, viewer demographics, and engagement rates. Regularly looking at your analytics can help optimize your video strategies for better reach and monetization. Remember: YouTube SEO can help you propel your views and increase your YouTube search rankings.
Monetization
Beyond traditional ad revenue, people often wonder how to make money on YouTube. Luckily, several other options include Super Chats and Super Stickers — when a viewer buys a Super Chat or Super Sticker so their profile picture can stay on top of the live chat feed during live streaming — channel memberships, and incorporating branded content.
There’s also the YouTube Partner Program, which grants access to additional money-making features once you meet the eligibility criteria. In the past few years, the addition of YouTube Shorts has introduced a new avenue for YouTube creators to earn through these short-form videos, similar to what you’d see on your TikTok or Instagram feed.
So what are you waiting for?
With Camtasia’s versatile tools, creating professional YouTube videos is well within reach. The possibilities are endless, whether you share tutorials, vlogs, podcasts, gaming videos, or product reviews.
Now that you know how to create a YouTube channel, get started today and let your creativity take center stage on one of the world’s most interactive platforms!
Go from screen recording to polished video
A screen recording is just the start. Camtasia’s editor helps you add the callouts, animations, and edits you need to create a truly professional video.
Free Download
Share