









Removing an image background means making unwanted background pixels transparent so the subject can sit cleanly on another slide, document, or layout. In Camtasia and Snagit, the fastest way to remove an image’s background is to open the image, choose Fill > Transparent, click the background, adjust the tolerance if needed, and export the finished image as a PNG.
This is helpful when you are working on a presentation that needs clear visuals, a process document, or a social media image, and want the subject to sit on a clean background. You do not need to be a graphic designer to get a clean result, especially when the image has a white, solid-color, or high-contrast background.
Annotate and edit screenshots with Snagit
Professional mark-up tools and powerful features make it easy to create helpful images.
Try it Free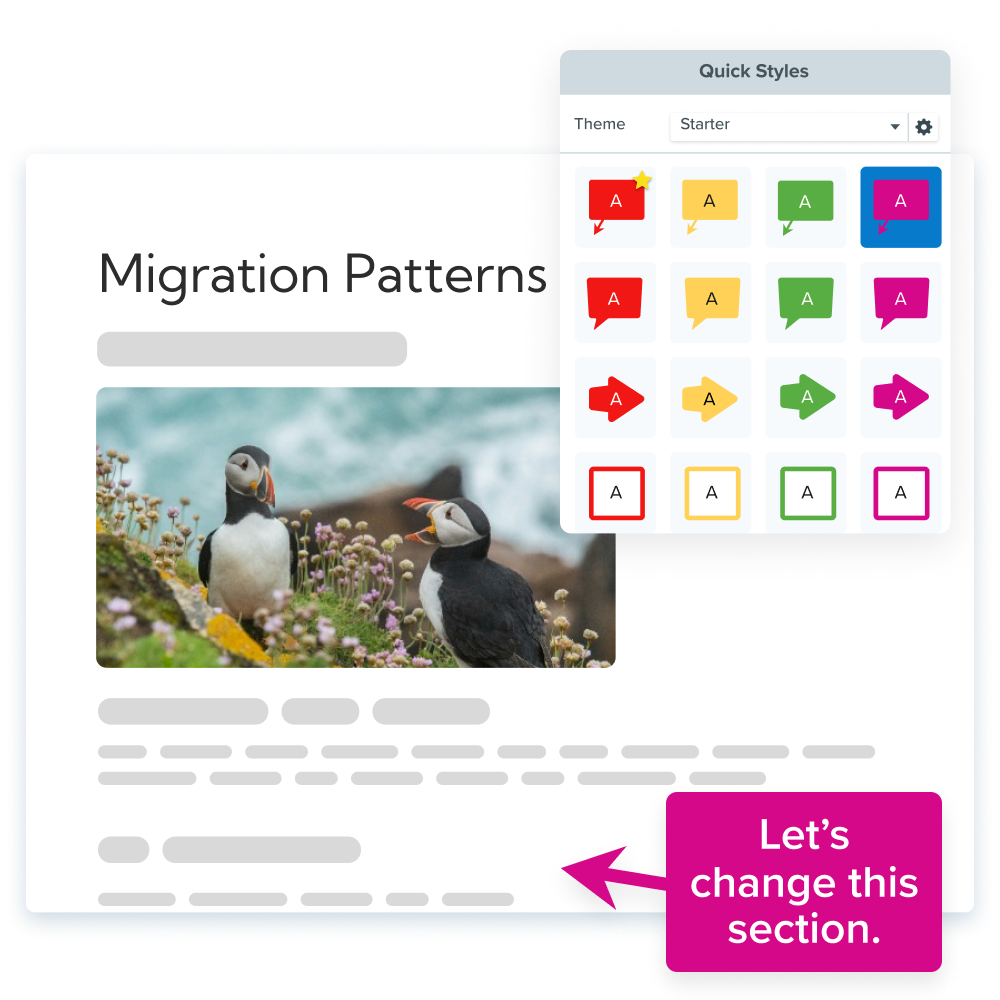
Key takeaways
- Use the Fill tool in Camtasia Snagit and choose Transparent to remove simple backgrounds.
- Adjust the tolerance when Camtasia Snagit removes too much or too little of the background, and use 0% opacity when you want the fill fully transparent.
- Save the final image as a PNG so the transparent pixels stay transparent.
Annotate and edit screenshots with Camtasia Snagit
Professional markup tools and powerful features make it easy to create helpful images.
Camtasia Snagit makes it easy to create a transparent background without complex design software.
In fact, Camtasia Snagit makes it easy to remove the background from pictures in just a few clicks. In fact, Camtasia Snagit makes it easy to remove the background from pictures in just a few clicks, so you don’t need graphic design experience.
How do you make a picture’s background transparent with Camtasia Snagit?
Camtasia Snagit removes simple or high-contrast backgrounds by applying a transparent fill to selected background areas.

Step 1: Insert the image into the Camtasia Snagit Editor
Open or capture the image in the Camtasia Snagit Editor. Start by taking a screenshot with Snagit, or uploading an image from the File menu. Images with white or solid-color backgrounds, or high-contrast backgrounds, usually work best.

Step 2: Click the Fill button on the toolbar and choose Transparent
Choose the Fill tool, set the fill to Transparent, and click the background area. To add Transparent Fill to your Quick Styles, click the Fill Color option in Tool Properties and select Transparent Fill.

Then, click the background of your picture, and Camtasia Snagit removes it automatically. You don’t need extra editing tools.

Step 3: Adjust your tolerance as needed
The tolerance slider controls how much similar color Camtasia Snagit removes from the background. If you find that the Fill tool is removing too much or too little of your background, you might need to adjust the tolerance settings.
Adjusting the tolerance is easy with the slider, though a complex background with many colors and shades may require more fine-tuning.
For example, if you have an image with many similar shades and gradients in the background, you may end up with bleeding around the parts of the image you want to keep.

When adjusting the fill tolerance, keep in mind that 1% is the strictest setting, and 100% will make nearly the entire image transparent.
Meanwhile, adjusting the opacity controls how transparent your fill is. The more opaque, the less transparent it will be. In other words, to completely erase the background from your image, set it to 0%.
Pro tip: You can also use the Fill tool to add a new background color instead of transparency.
Step 4: Click the background areas you want to remove
Each clicked background area becomes transparent when the canvas and file format support transparency. If you’re editing a screenshot or a PNG image, any background you remove will become transparent by default. However, if you’re working with a different file format, like a JPG, you’ll need to adjust your background color in the Camtasia Snagit Editor; otherwise, it will default to a white background rather than a transparent one.
To do this, simply click Image > Canvas Color (on Windows) or Image > Change Canvas Color… (on Mac).

Step 5: Save your image as a PNG
Save the finished image as a PNG to preserve transparent pixels. Once you’ve finished applying a transparent background to your image, make sure you export it as a PNG file.
Each file format is different so it’s worth taking the time to understand image file formats, but PNG is one of the few formats that supports transparent pixels.
And that’s all there is to it! You now know how to use the Fill tool to remove the background from a picture in just a few steps. This is a great skill for ensuring a seamless look across your process documents, social media marketing materials, and presentations.
The best snipping tool for Windows and Mac
Don’t let clumsy built-in tools hold you back. Take and edit screenshots with Snagit!
Get Snagit
The best snipping tool for Windows and Mac
Don’t let clumsy built-in tools hold you back. Take and edit screenshots with Camtasia Snagit.
Get Camtasia Snagit
Finish with a clean, reusable image
A transparent background gives you more control over where an image fits and how polished it looks. Start with a simple background when you can, use tolerance to fine-tune the selection, and save as PNG when you need transparency.
When you’re ready to create clearer visual content, try Camtasia Snagit free.
Frequently asked questions
What is the best way to remove an image background in Camtasia Snagit?
The best way is to open the image in the Camtasia Snagit Editor, choose the Fill tool, set the fill to Transparent, and click the background area. This works especially well for white, solid-color, or high-contrast backgrounds. If the background has several similar colors, use the tolerance slider to control how much Camtasia Snagit removes.
Why did my transparent background turn white?
A transparent background can turn white when the canvas or file format does not preserve transparency. In Camtasia Snagit, check the canvas color settings if you are working with a file type such as JPG. When you are finished, export the image as a PNG so the transparent pixels stay transparent.
What tolerance setting should I use to remove a background?
Start with a lower tolerance when the subject and background have similar colors. Increase the tolerance if Camtasia Snagit is not removing enough of the background. If the tool starts removing parts of the image you want to keep, lower the tolerance and click on smaller background areas one at a time.
Can I remove an image background on my phone?
This tutorial focuses on removing an image background in Camtasia Snagit on a desktop computer. Phone workflows can vary by device, app, and file type. If you need the same editable workflow shown here, use Camtasia Snagit on Windows or Mac and export the finished image as a PNG.
Share