


There comes a time when you will need to take a screenshot on Mac for one reason or another.
You can use screenshots to demonstrate a process at work and share feedback with your team members. And who doesn’t like to send funny memes and gossip about the latest celebrity feuds?
Computers have built-in screenshotting functions that make it super easy to take a basic capture of your screen. Third-party applications take more advanced captures that you can edit and share quickly.
Now, let’s learn how to screenshot on Mac.

What is a screenshot?
A screenshot, is a still image that displays the exact contents of a computer display. They can be edited and are usually shared with others or stored away for future reference.
They are helpful in many situations, which makes them an essential part of people’s workdays. In all, screenshots are an easy way to show something that would be incredibly difficult to put into words.
Different methods to screenshot on Mac:
Let’s dive into the options available to capture that perfect screenshot.
The best snipping tool for Windows and Mac
Don’t let clumsy built-in tools hold you back. Take and edit screenshots with Snagit!
Get Snagit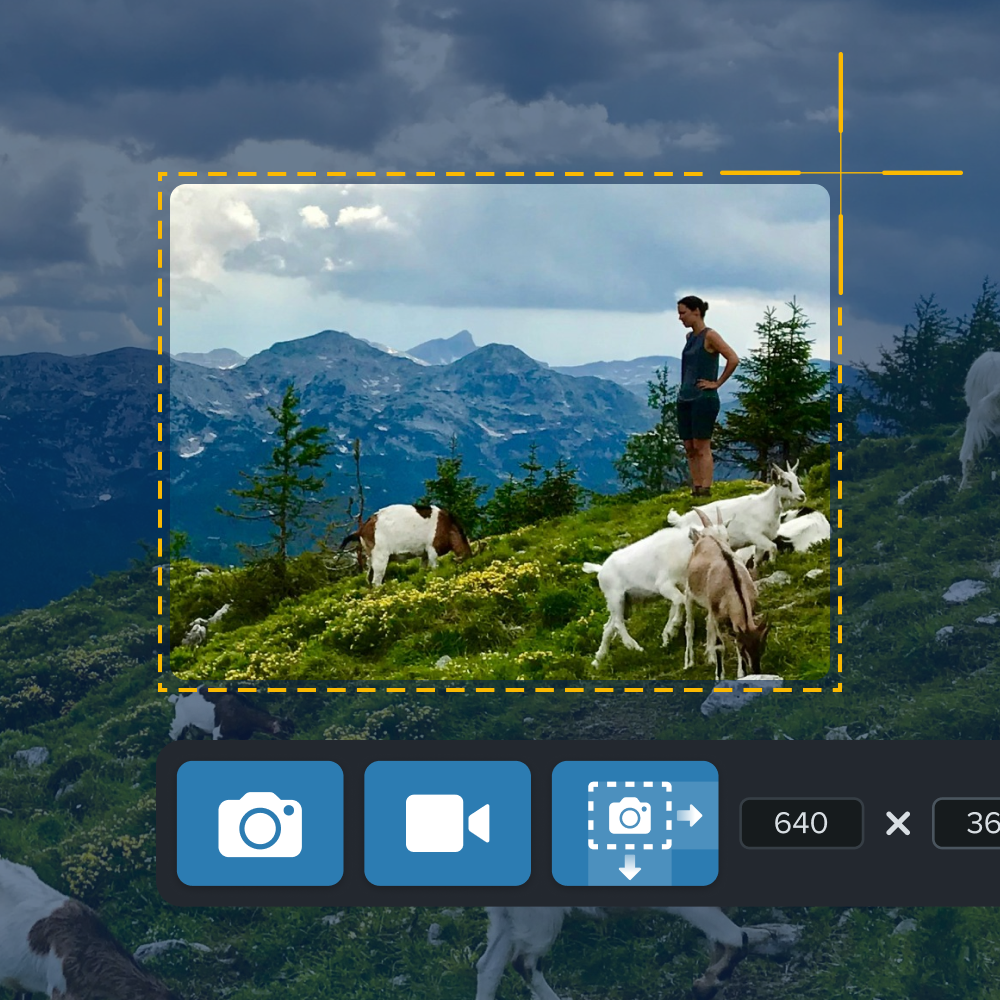
Screenshot on Mac with the built-in screenshot tool
To use the keyboard shortcuts, press and hold the following key combinations:
Shift Command 3 is the most straightforward option. This keyboard shortcut captures a screenshot of your entire screen and automatically saves it for you.
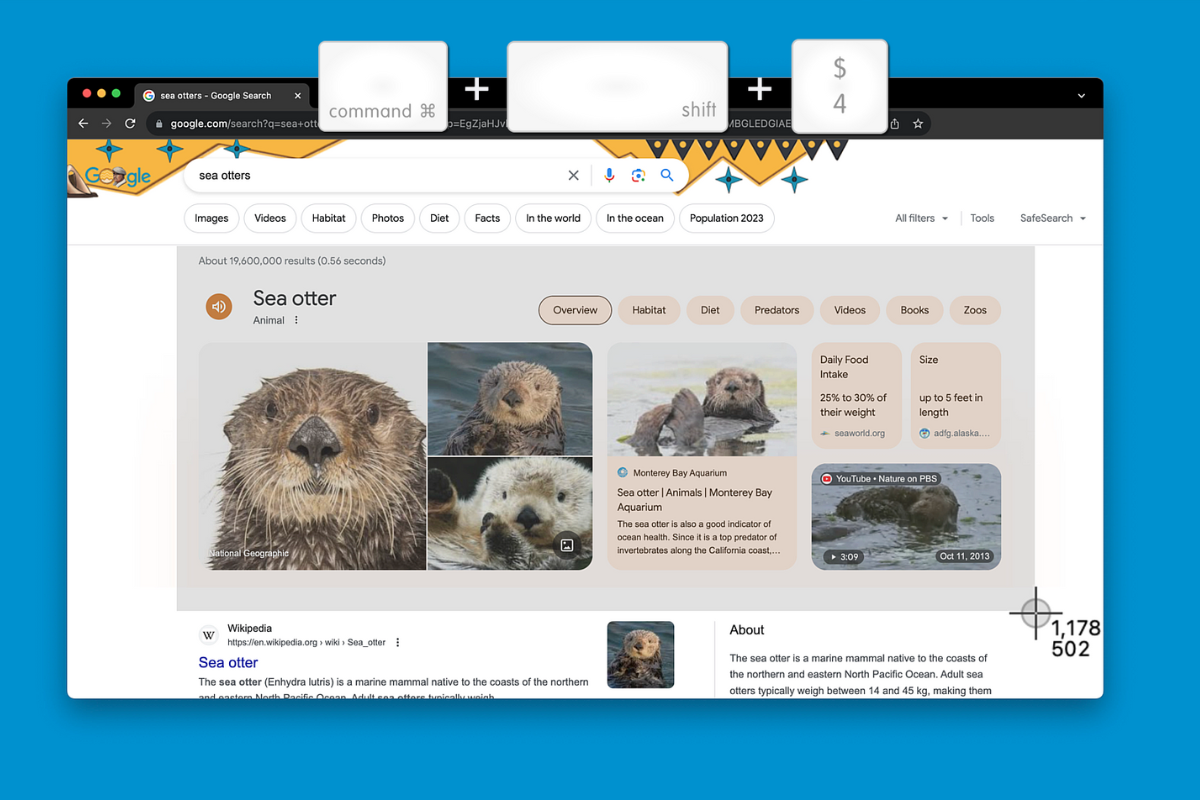
Shift Command 4 turns your cursor into a crosshair. From there, you can click and drag the crosshairs to the desired dimensions. Once you release the mouse button or trackpad, your Mac will instantly capture the selected area.
Macs have a built-in screenshot app that allows you to take more precise and curated captures than the keyboard shortcuts above.
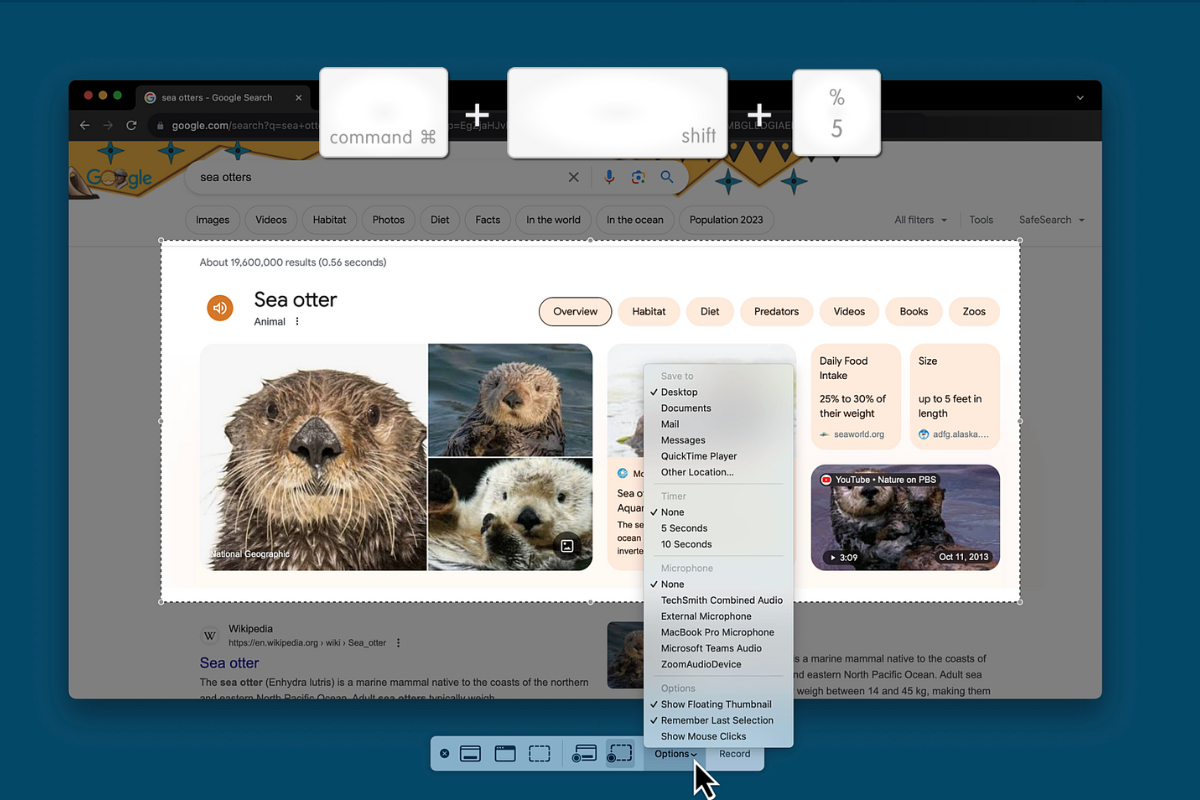
Command Shift 5 will pop up a small screen-capture window. This is the screenshot app. Three screenshot buttons will let you carry out these options:
- Capture the entire screen.
- Capture a portion of the screen.
- Capture a single window.
Your captures will be saved to your desktop for easy retrieval. However, they will not be copied to your clipboard at that time.
Expert tip: By pressing the Control (Ctrl) button at the same time as your keyboard shortcuts (for example: Shift Command 3 Control), your screenshot will be copied to your clipboard. However, it will not be saved to your desktop.
How to screenshot on Mac with a third-party application
Do you use screenshots more than just a few times per year? If so, you would benefit from trying out an advanced screen capture and screen recording tool.
Snagit is super simple to use. Download a free trial today, then open the Snagit menu.
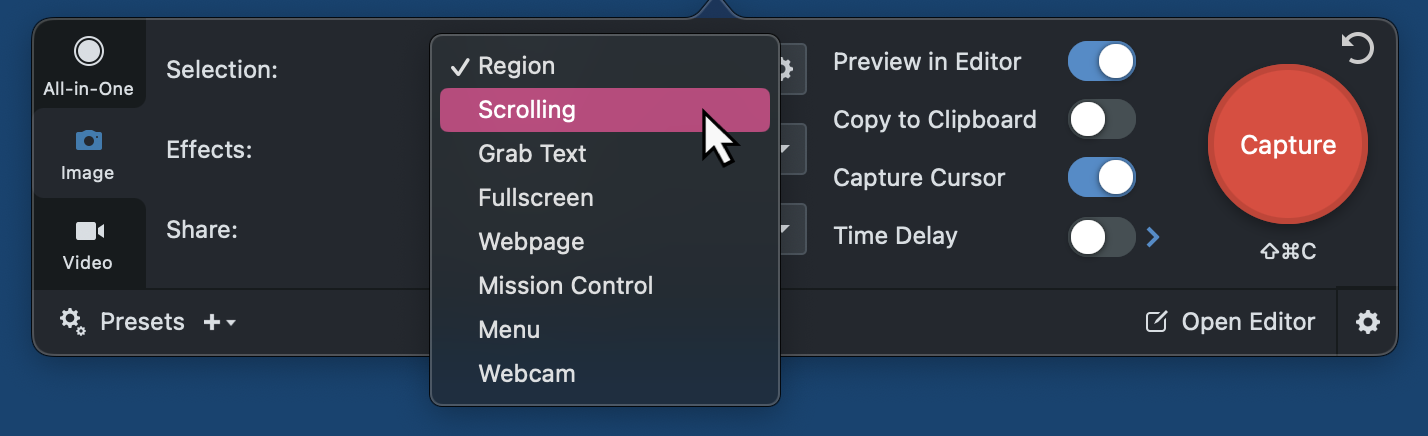
From there, select the type of screenshot you want to take.
Snagit provides users with advanced features that are easy to use, like scrolling capture. This allows users to take a screenshot of a full, scrolling web page without the hassle of stitching together multiple screenshots.
You can also create videos from images to explain processes quickly and easily. Record your screen, camera, and microphone audio to create quick, informative videos.
These, and countless other features, make Snagit an must-have tool for visual communication
Annotate and edit screenshots with Snagit
Professional mark-up tools and powerful features make it easy to create helpful images.
Try it Free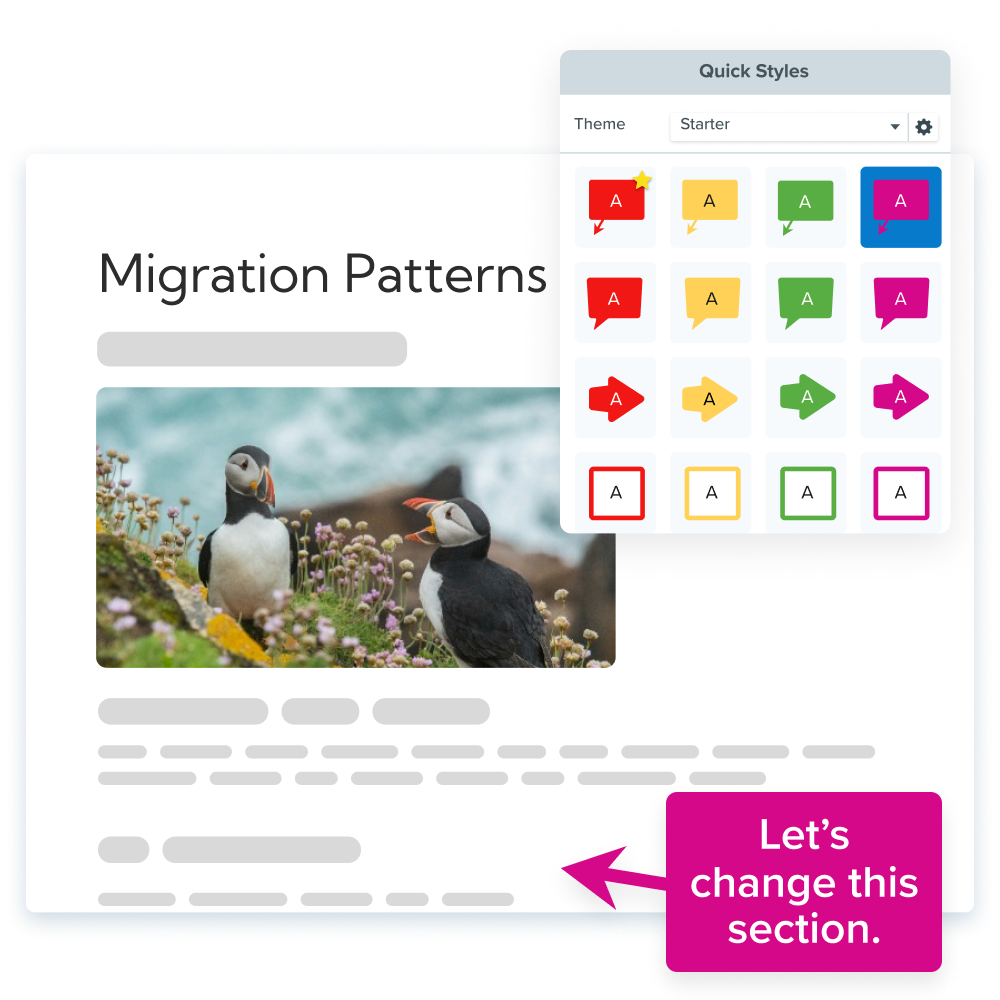
How to edit and save screenshots on Mac
Add context and clarity to your screenshot by editing it!
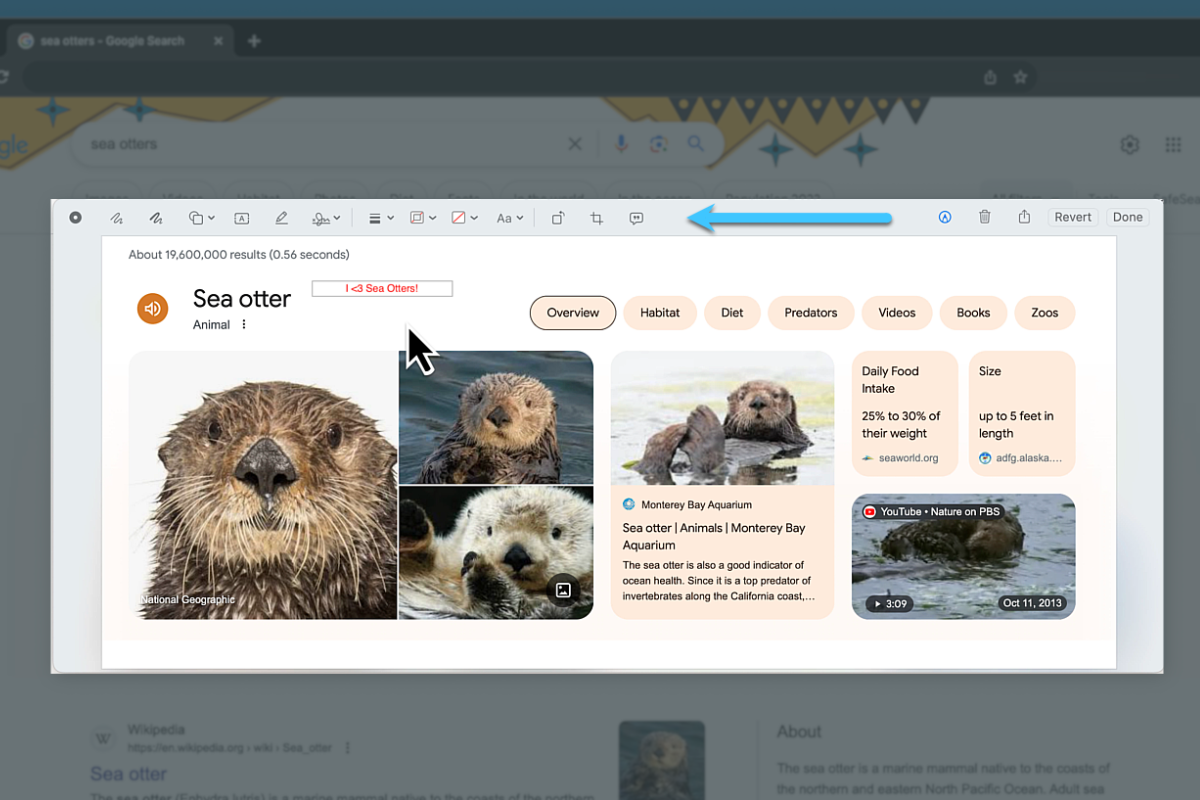
Once you take a screenshot on your Mac, a preview will pop up in the bottom right corner of your screen. Click on the icon to open Apple Preview with your screenshot inside.
The expandable toolbar allows you to edit the screenshot. Add shapes, change color composition, incorporate text, draw on the screen, and more. When you’re done, save your screenshot by clicking “Save as” and filing it in the appropriate folder.
However, there is a good chance you will need to edit screenshots through a third-party app for the best results.
If you regularly need to edit screenshots, a tool like Snagit will save you a lot of time and get you more professional results.
Snagit is full of helpful features like the Simplify tool that lets you block out unwanted text to keep information secure and your screenshots less cluttered.
You can even move elements of your screenshots around with the Smart Move tool. It makes it easy to rearrange information, show potential edits, and alter workflows.
Organizing and managing screenshots on Mac
The first step in keeping your captures organized is to name them. By default, your Mac screenshots are saved with the name “ScreenShot” with the date and time attached. To make retrieval quicker, use file names you can easily remember!
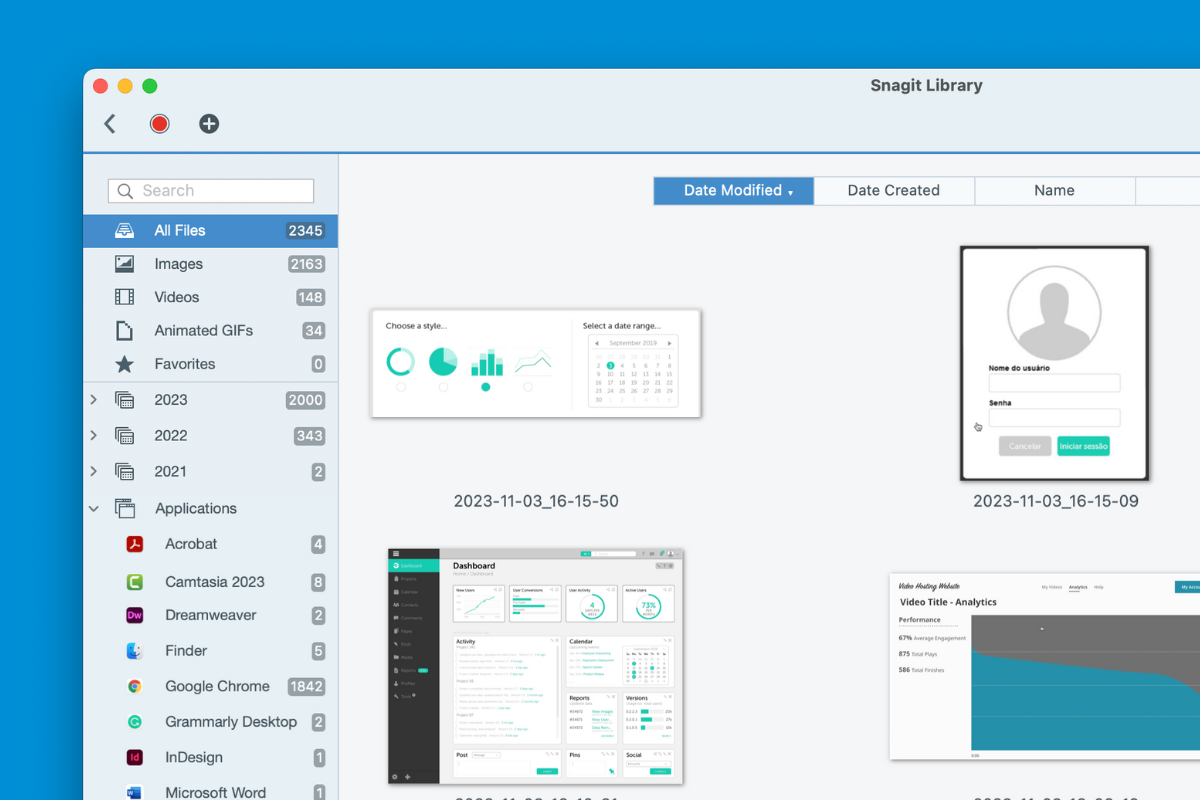
Snagit’s library organizes screenshots like your Mac but also uses an advanced filing system. Your captures will automatically be managed by application, website, and month.
This neat feature lets you find your screenshots in multiple places. Without any work on your part, your screenshots are organized and ready for you to refer to easily.
For more advanced screen capture, we recommend you to look into third-party applications. They can take your screenshots to the next level.
The best snipping tool for Windows and Mac
Don’t let clumsy built-in tools hold you back. Take and edit screenshots with Snagit!
Get Snagit
FAQ
Capturing the entire screen screenshots everything you see on your display, while capturing a selected area lets you choose a portion of the screen.
Capturing a specific window captures just the content of the currently active window. Snagit allows you to specify your capture window down to the pixel, so you get the exact screenshot you need every time.
These shortcuts work for any mac systems, even macOS Mojave and Catalina
Yes, for Mac computer’s with a touch bar, you will see instructions and details shown on the touch bar after you open the screen shot tool.
You can use the built-in Preview app to annotate and edit your screenshots. Snagit also includes original stamps, a blurring tool, a step tool, and much more for a finer editing process.
Share