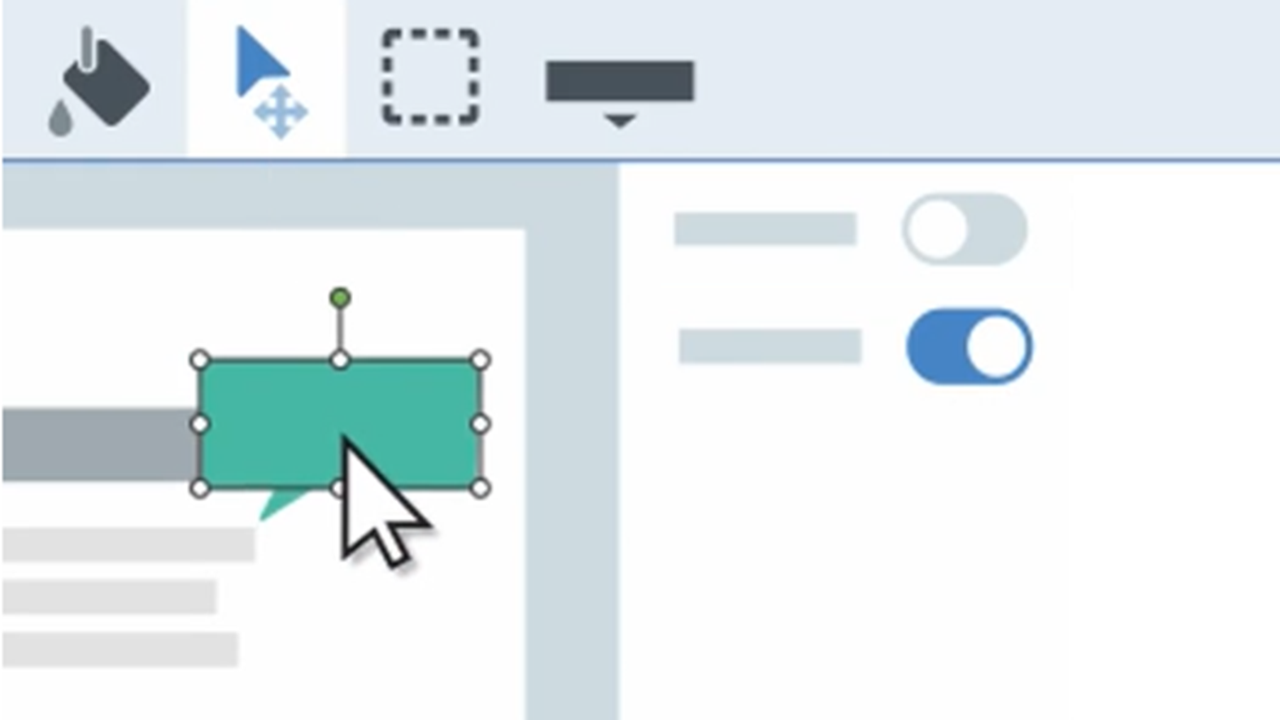
Fill Tool
Replace a color or transparency in an image by filling the area with a different color.
Replace a color or transparency in an image by filling the area with a different color.
Use the Fill tool to replace colors in an image to match your brand colors, improve accessibility for viewers, or change the aesthetic.
Note: Fill and other tools in the Snagit Editor toolbar are available to edit images. To edit and enhance video captures, share your video to Camtasia Editor.
Note: If the tool is not visible in the toolbar, click the More dropdown. To customize your toolbar, see Customize the Snagit Toolbar.

Tip: Adjust the fill tolerance for a better result.
If Snagit fills too little or too much of an area on the Canvas, press Ctrl+Z (Windows) or Command+Z (Mac) to undo the previous fill. Drag the Tolerance slider in Tool Properties to adjust the fill amount and try again. Increase the tolerance to fill more area. Decrease the tolerance to fill less area.
Edit the properties to customize the tool.
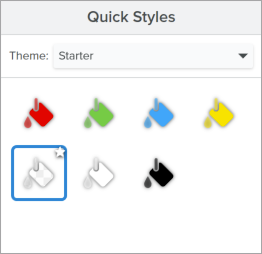
Tip: Save tool customizations as Quick Styles.
After you edit tool properties, save your customization as a Quick Style for future use. See Quickly Access Favorite Styles and Tools.
Snagit for Windows

Snagit for Mac
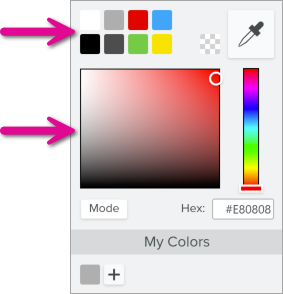
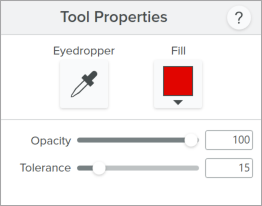
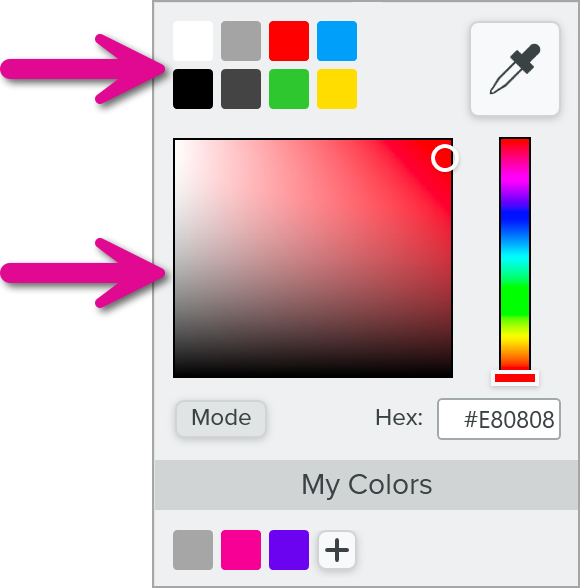
Eyedropper
Click the Eyedropper button and then click to select a fill color from anywhere on the screen.
Fill
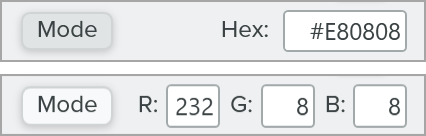
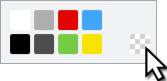
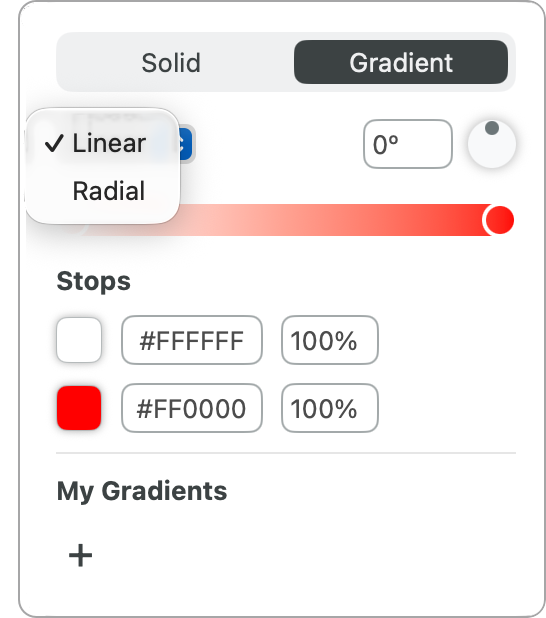
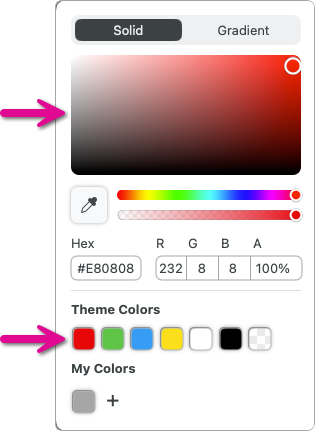
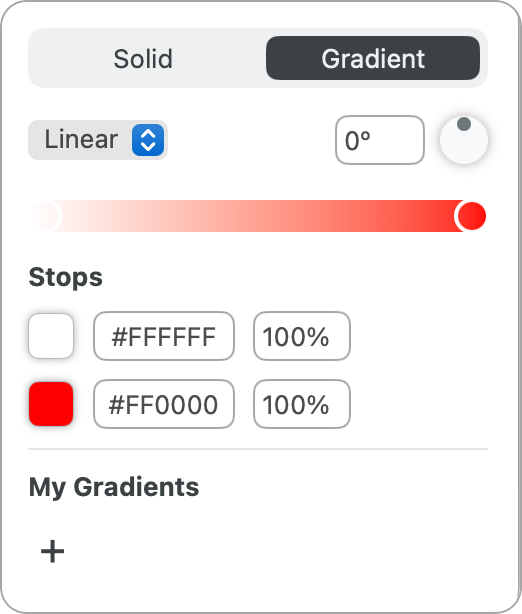
Click the dropdown and select one of the following to set the fill color:
Opacity
Drag the slider to adjust the transparency level.![]()
Tolerance
Tolerance adjusts the amount of fill in an area based on how similar the surrounding colors are to the selected pixel.![]()
Global Fill (Mac Only)
Click the Global Fill checkbox to replace all matching colors in an image. Adjust the tolerance to refine the color replacement area.
The best screen capture software for professionals
* Have Snagit 2024 or earlier? Check out our previous version help.