3 Ways to Get Faster with Snagit
Learn three ways to customize Snagit to match your workflow and make it even faster to capture, edit, and share.

Learn three ways to customize Snagit to match your workflow and make it even faster to capture, edit, and share.
Create presets to save and quickly launch frequently-used capture settings. For example, create presets for these common capture workflows:
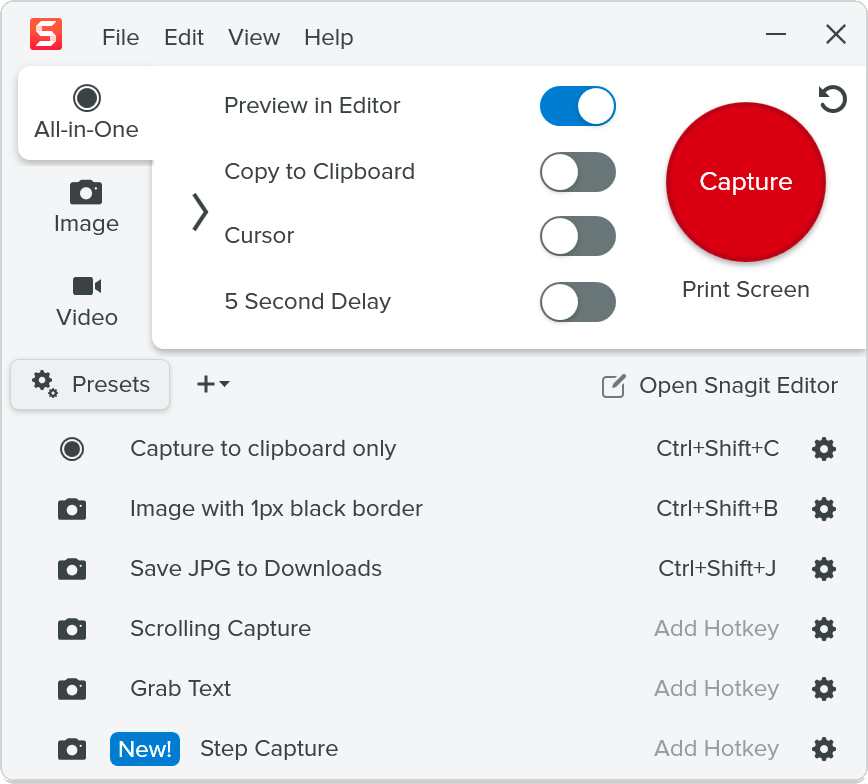
Tip: Add a hotkey for each preset.
Assign a keyboard shortcut to each preset to skip opening the Capture Window altogether.
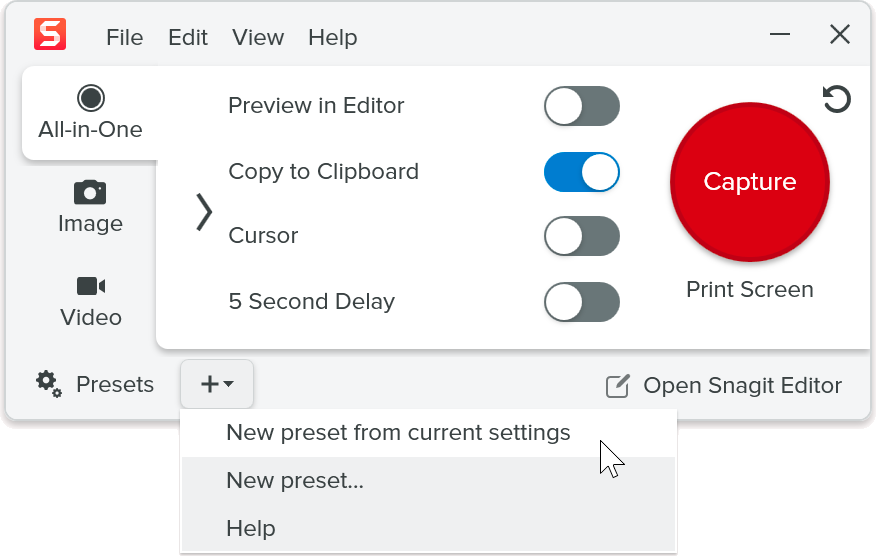

For more details, see Save Capture Settings as Presets.
Add, remove, or arrange the options in the Editor toolbar for quick access to frequently-used tools, effects, menu options, and share destinations.
For more details and toolbar tips, see Customize the Snagit Toolbar.
Customize tool properties such as color, font, shape, and shadow and save your changes as a Quick Style to use again and again. Then collect your most frequently-used Quick Styles from different tools in one central location.
 icon to save the new Quick Style.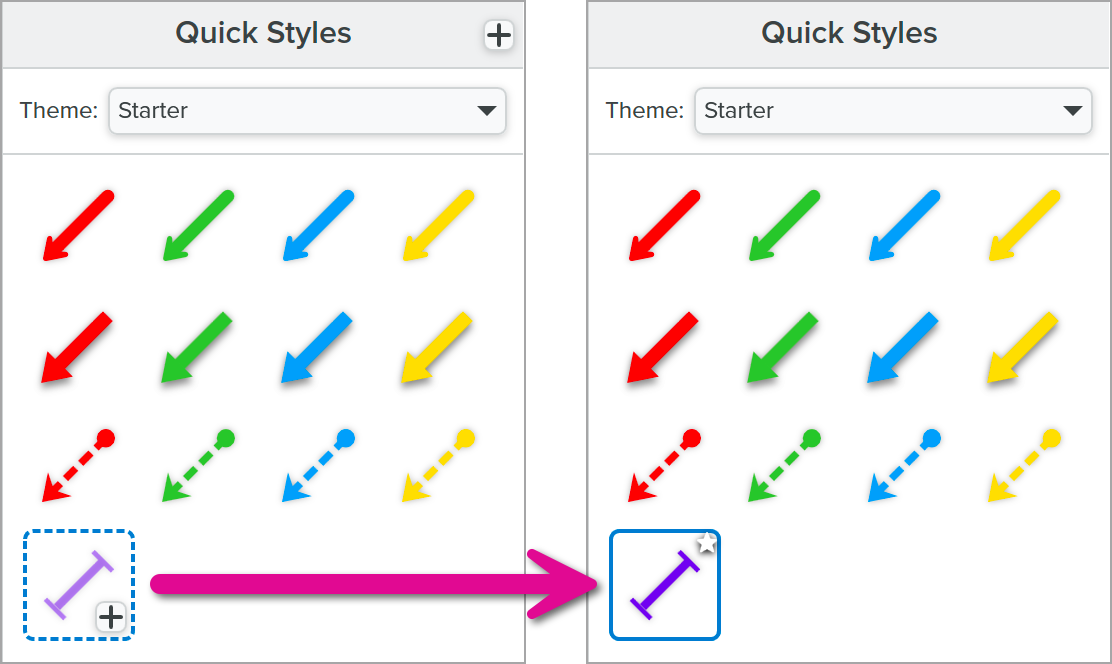
Tip: Remove infrequently-used Quick Styles to reduce clutter.
To remove infrequently-used styles from the Quick Styles panel, right-click on the style and select Delete Quick Style.
Save frequently-used Quick Styles to Favorites for access to a variety of tools and styles in one central location.
 icon on the style. The icon appears yellow when a Quick Style is saved to Favorites.


To learn more about Quick Styles, see Quickly Access Favorite Styles and Tools.
The best screen capture software for professionals
* Have Snagit 2024 or earlier? Check out our previous version help.