Learn how to set up and record a screen video capture before sharing with colleagues.
When a screenshot isn’t enough, record video to quickly and clearly get your point across. Use Snagit videos to demonstrate a process, record a quick information shareout to your team, or provide design feedback.
Record a Video
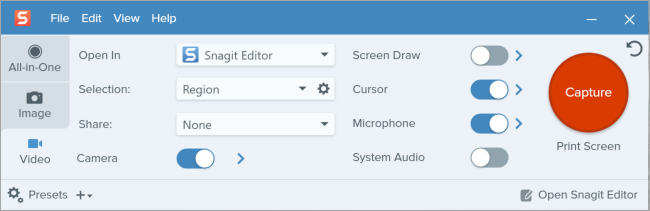
In the Capture window, select the Video tab. To learn about the settings on this tab, see Video Capture Settings. Snagit for Windows
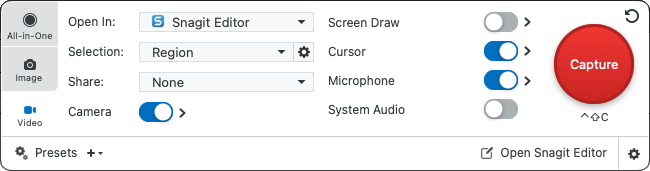
Snagit for Mac
Click the Capture button or press Print Screen (Windows) or Control+Shift+C (Mac).
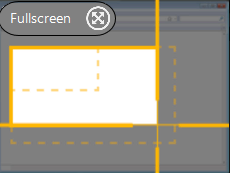
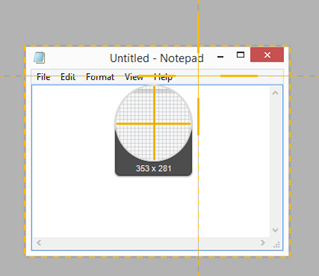
The orange crosshairs appear. Click and drag to select the area to record on the screen or click the Fullscreen button to select the entire screen. For more information about selecting the recording area, see Recording Dimensions (Resolution).
To edit the selected area, complete any of the following:
Drag the handles to adjust the selection.
Type custom dimensions in pixels in the Width and Height fields.
Click within the highlighted area and drag the selection to the desired screen location.
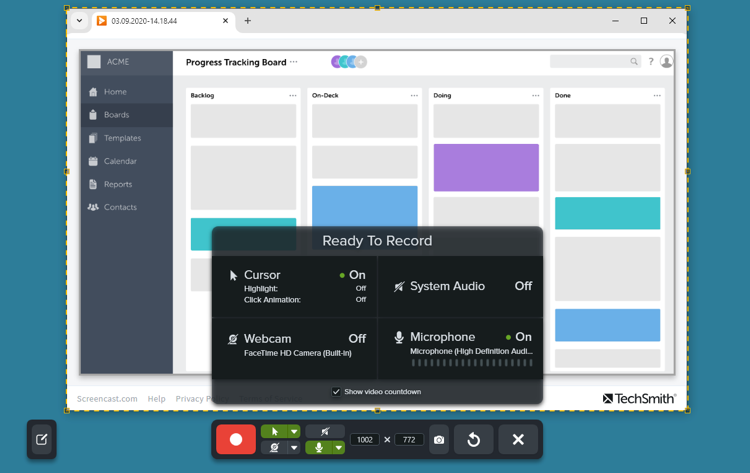
A preview of your recording area, the Ready to Record window, and recording toolbar appear.
Review your settings in the Ready to Record window, and make any changes in the Video Recording toolbar:
Cursor: Record your cursor while screen recording. Click the button to turn the option on or off.
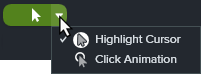
Cursor Effects: Click the dropdown to turn cursor highlighting and click animations on and off.
System Audio: Record the sound from your computer such as application alerts or the audio playing from your computer speakers.
Camera: Record from a built-in webcam or connected camera device. Click the button to turn the option on or off before or during recording.
Click Share Link to upload your video to Screencast – free with your TechSmith account.
Snagit copies a link to your clipboard to quickly share your video with anyone!
The recording toolbar may be hidden or minimized when recording in full screen:
If you have one display, use hotkeys to pause, stop, or restart the recording. See Snagit Hotkeys Guide.
If you have two displays, drag the recording toolbar to the screen you are not recording.
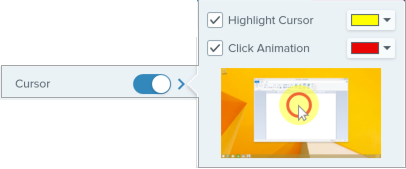
For videos with frequent screen interactions, enable Capture Cursor in the Video Capture Settings and consider turning on Highlight Cursor and Click Animation.
Recording longer than one hour can lead to problems with the video or a failed video capture. Consider recording short clips and then combine the videos.
Video Capture Settings
The following settings are available in the Capture Window.
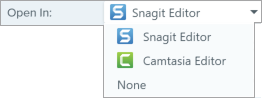
None: The video is saved to your Snagit Library but does not open in Snagit Editor for review.
Selection
Select a recording area option: Region, Window, or Fullscreen (Mac). Click the gear icon for additional options.
Note: On Windows, the Window option allows you to snap the selection crosshairs to a region of the screen, using open windows as guides. Snagit records anything that appears in the selected region of the screen.
On Mac, the Window option allows you to choose a specific application window. Snagit follows and records only the selected application window, even if you resize it, move it to another location, or move another window in front of it.
Share
Select to share the video recording to a specific destination or select None to select a destination later. For more information about sharing destinations, see Share Captures.
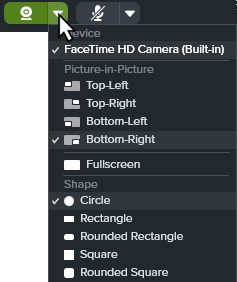
Device: Select built-in webcam or connected device to record.
Placement: Select the location for the Picture-in-Picture window in your final video or select Fullscreen.
Shape: Select Circle, Rectangle, Rounded Rectangle, Square, or Rounded Square for Picture-in-Picture camera display.
Mirror camera (Mac only): Flip the camera video horizontally.
Border (Mac only): Add a border to picture-in-picture camera video and select a border color or gradient.
Backgrounds (Mac only): Blur your camera background or select a virtual background.
Note: Virtual backgrounds are not supported on Macs with Intel processors.
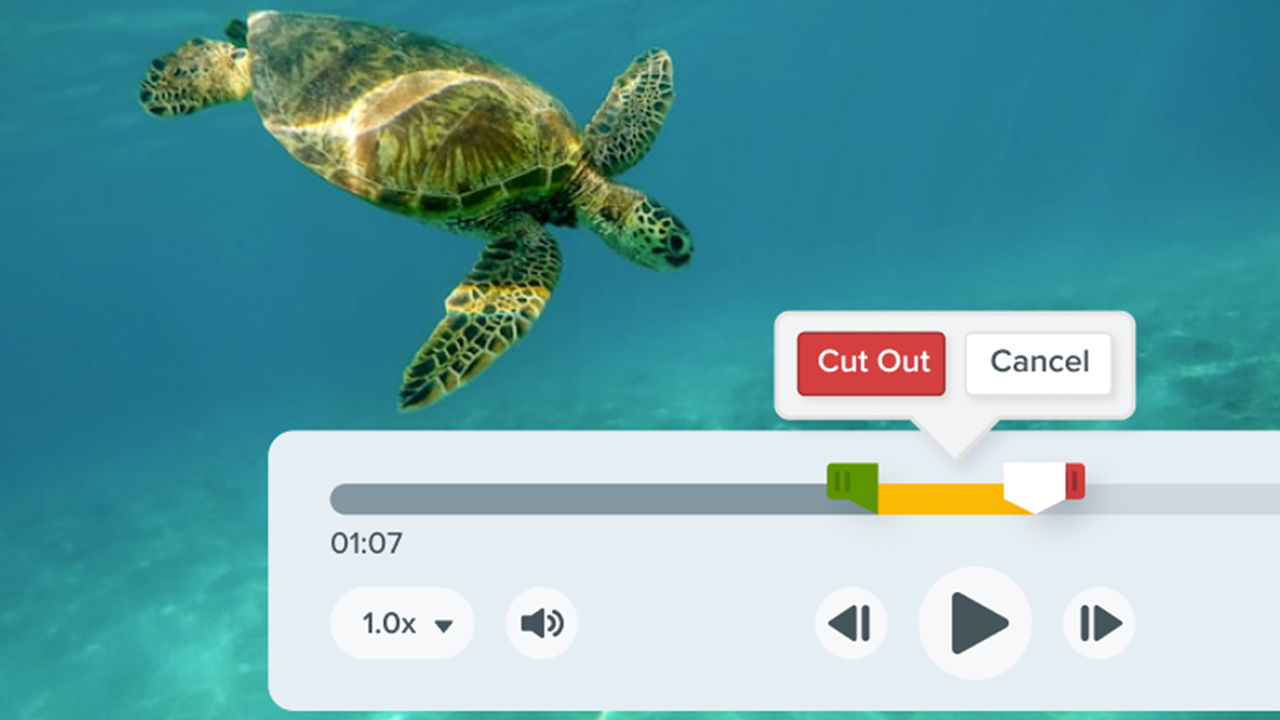
Screen Draw
Highlight important information on your screen as you record a video. To learn more, see Screen Draw.
Toggle Screen Draw on or off.
Click the arrow to set a fade time in seconds for Screen Draw objects. This determines how long drawn objects remain on-screen.
Cursor
Include the cursor in the capture.
Toggle the cursor capture on or off.
Click the arrow to select Highlight Cursor and Click Animation cursor effects:
Snagit for Windows:
Snagit for Mac:
Microphone
Record audio using a microphone device during video capture.
Toggle microphone recording on or off.
Click arrow for additional microphone options:
Microphone: Select a device from the dropdown.
Automatically adjust input (Mac only): Also known as “gain”, Snagit automatically adjusts the input volume from your microphone. Deselect this option to manually control input volume.
Remove background noise: Snagit automatically removes background sounds from your audio input, such as the noise from a computer fan, keyboard, or background conversations.
System Audio
Record the system audio (sounds from applications and websites) during video capture.
Tip: Save time with capture presets.
If you frequently use the same video dimensions or recording settings, save the settings as a preset for future use. See Save Capture Settings as Presets.
Recording Dimensions (Resolution)
To create quality videos, consider the recording dimensions before you start recording. It is important to select the appropriate dimensions for where you plan to share the video with your audience. Snagit provides several ways to select the appropriate dimensions.
Select the Video Recording Area
Snagit offers the flexibility to record various dimensions. Frame the screen content by selecting a recording area that only includes the relevant screen content.
Option
Description
Fullscreen
Click the Fullscreen button.
Window
Hover the cursor over the window to record.
An orange border appears around the window. Click to select.
Region
Click and drag to select an area on the screen. To lock the selection to a specific aspect ratio:
16:9: Hold Control (Windows) or Shift (Mac) and drag.
4:3 (Windows only): Hold Shift and drag.
Custom Dimensions
Click and drag to select an area on the screen.
The toolbar appears. Enter the custom dimensions into the Width and Height fields.
Click and drag to move the selected recording area to the desired location on the screen.
Standard Dimensions
Snagit’s video guides show standard or recommended dimensions (up to 1920×1080) for common video sharing destinations such as YouTube, websites, and mobile devices. Available video guides are:
1080p: 1920×1080
720p: 1280×720
640×480
320×240
If you plan to share your video to a location that requires specific video dimensions, it is recommended to record at these dimensions or at the same aspect ratio as the recommended dimensions.
When selecting an area to record, press G to turn the video selection guides on or off.
Click and drag to select the recording area. As you drag the cursor near one of the standard dimensions, the guide dimly appears.
Continue to drag the cursor until the selection border highlights to match the guide.
Get Snagit
The best screen capture software for professionals