









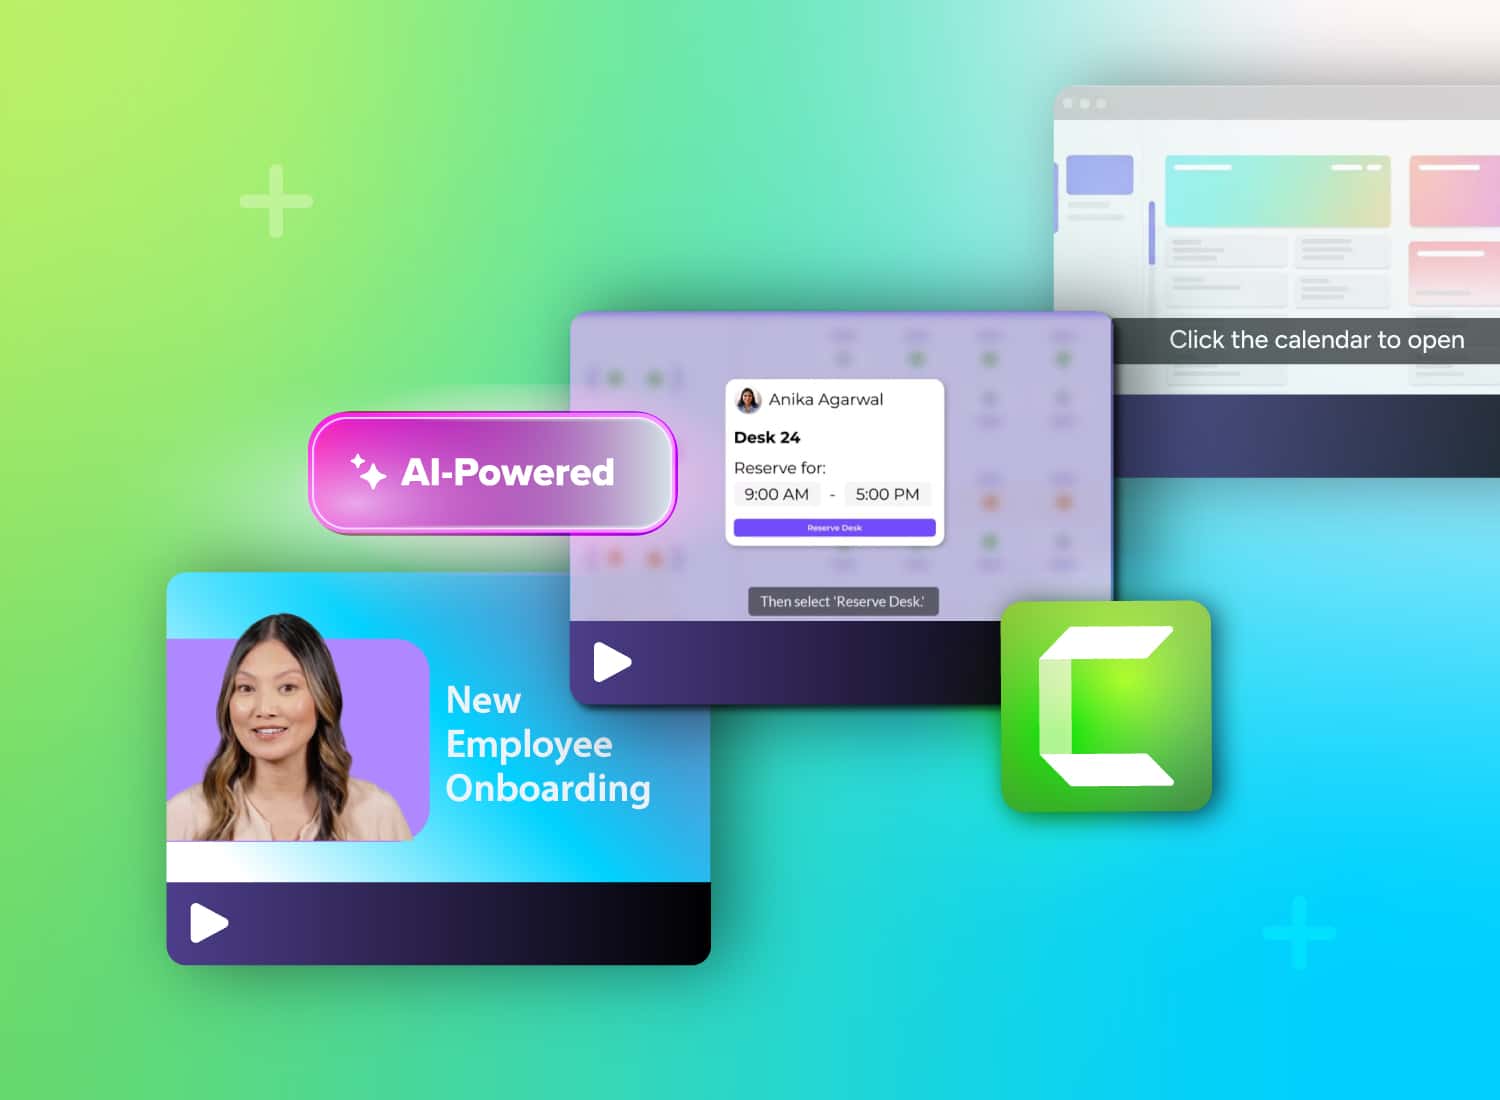
Many L&D teams hit the same bottleneck: the tutorial needs to ship, but no one wants to book a recording room, manage retakes, or ask a subject-matter expert to sit in front of a mic for two hours. The goal is to create a tutorial video without a mic or camera and still deliver something accurate enough for real training use.
Most online advice sidesteps the part that matters most in software training: the interface has to be real. A corporate trainer building an LMS walkthrough cannot swap in stock footage or a polished AI avatar and expect learners to follow along when the actual product looks nothing like what’s on screen.
There is a better path. Pairing a real screen capture with AI-generated narration removes the dependency on live recording without sacrificing the UI fidelity your reviewers and learners need. This guide walks through how to evaluate that approach against the alternatives and how to run the workflow from script to finished, captioned video.
Key takeaways
- Most ranking pages miss this: a software tutorial needs a real screen recording, not just no voice or face.
- For software training, AI-narrated screen recordings often outperform fully synthetic avatar videos because they preserve the actual interface.
- A script-first workflow makes mic-free tutorials easier to produce, with cleaner narration, tighter pacing, and clearer on-screen actions.
- Visual emphasis, like callouts, zoom, and cursor effects, can replace on-camera presence by showing learners where to look.
- Camera-free tutorials still need captions, transcripts, and concise narration to support accessibility and reduce cognitive load for diverse teams.
Why typical advice doesn’t solve this for software tutorials
Most no-camera video guides point you toward tools built for recording yourself or stock-footage workflows designed for YouTube creators. That advice works for marketing content. It fails for software tutorials.
An instructional designer building an LMS walkthrough cannot substitute stock footage for real UI. Learners need to see the exact fields, buttons, and menu paths they’ll encounter in the system.
Screen any solution by asking two questions:
- Does the workflow accurately capture the real application interface?
- Does it remove the need for live voice recording and a camera?
If a tool cannot satisfy both, it’s solving a different problem than yours.
Three approaches to making a tutorial video without a mic or camera
Not all no-mic, no-camera workflows deliver equal accuracy, control, or scalability. Use this framework to compare your options:
| Approach | UI Fidelity | Update Speed | Accessibility Readiness | SME Effort |
| AI-narrated screen recording | High | Fast | Strong | Low |
| Live SME demo (recorded) | High | Slow | Moderate | High |
| AI avatar overview | Low | Fast | Moderate | Low |
For a software update walkthrough, an AI-narrated screen recording wins on every axis. A policy announcement tolerates an avatar. A live SME demo rarely justifies the scheduling cost when accuracy is the priority.
Many tutorial guides treat these approaches as equivalent. They aren’t: UI fidelity alone disqualifies avatars for most software training.
Traditional screen recording with live narration
Live narration works when conditions are right: a quiet room, a confident speaker, and a tutorial that won’t need future updates. A corporate trainer recording a quick walkthrough for a small internal team can reasonably use this approach.
The bottleneck appears at scale. When that same tutorial must be updated quarterly and distributed globally, every script change means another full recording session with room, mic, and retakes included.
AI-narrated screen recording
Script-first production is the core advantage here. Write and refine your narration as text in Camtasia Audiate before you record a single screen. That means zero retakes due to stumbling over words or pacing issues.
The interface stays real with no synthetic visuals, while the narration remains fully editable.
Practical example: An L&D team shipping a quarterly software update can keep existing screen recordings intact and revise only the narration script where the UI has changed. Update the text, regenerate the audio, re-sync the timing.
This approach gives you accuracy, consistency, and a production cycle that scales without adding studio time.
Build your next training video with Camtasia
Record your screen or camera. Then, use the video editor to add polish and clarity.
Learn More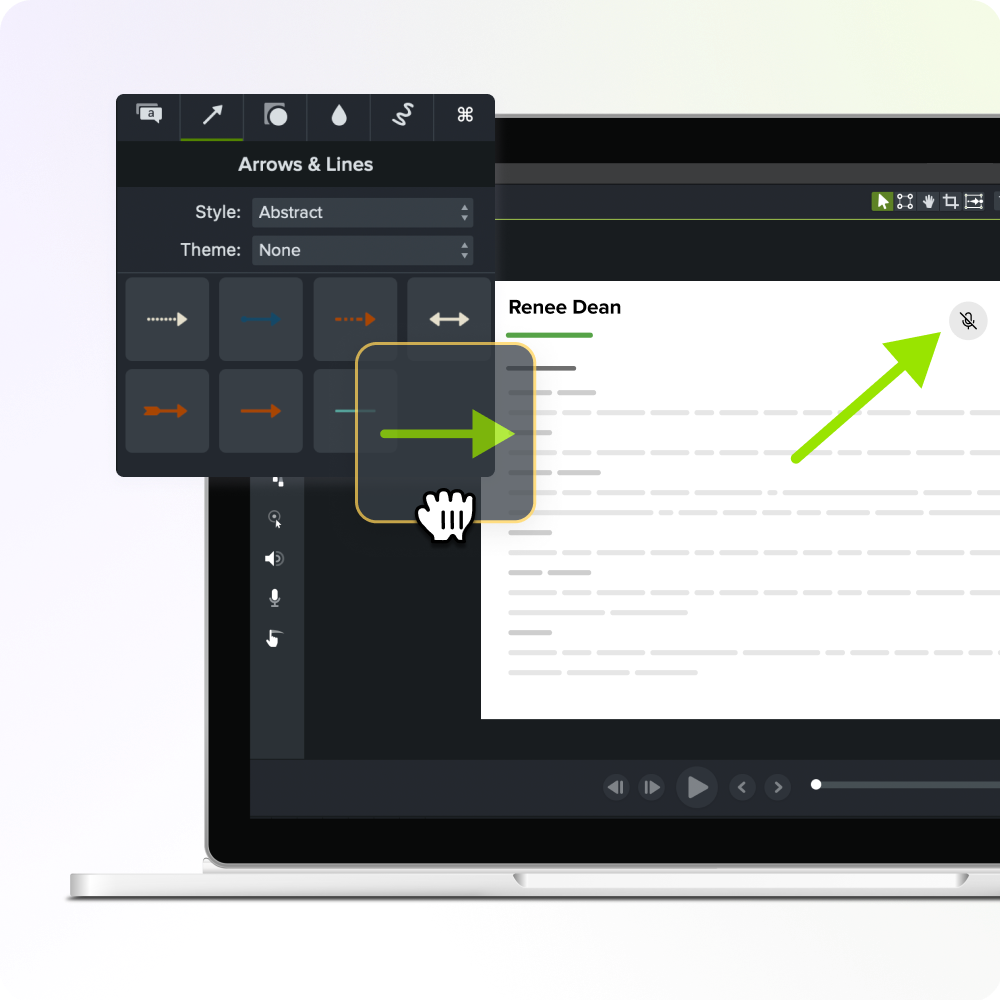
Fully synthetic AI video with avatars and generated visuals
Avatar-led videos work well for course welcomes or policy summaries (situations where the accuracy of on-screen visuals isn’t critical).
For procedural software training, they break down fast. Generated visuals rarely match the actual interface your learners must use. An avatar demonstrating expense report submission inside a fabricated UI teaches the wrong steps and erodes trust.
Use synthetic video for announcements, not click-by-click instructions.
Why technical accuracy makes AI-narrated screen recording the right choice for software tutorials
Software tutorials succeed when learners see the exact interface they must use. Every button label, field name, and screen state must match what they’ll encounter on the job.
Use reviewer-verifiability as your deciding question in stakeholder conversations. Before publishing, can a compliance reviewer confirm that every click, every state change, and every on-screen outcome is real? If the answer is no, the tutorial creates risk.
In regulated training, that risk is concrete. A reviewer approving a healthcare software tutorial needs to verify that the correct field was selected, not an AI-generated approximation of it.
Real screen capture makes that verification straightforward. For a deeper look at balancing AI efficiency with human accuracy, see how to use AI in training videos the human way.
The problem with AI-generated visuals in software training
AI-generated interface visuals can show menu paths, field labels, or dialog states that simply don’t exist in the live product. That single error invalidates your tutorial before it ships.
During review, check specifically for:
- Incorrect button labels or field names
- Missing dialog states
- Interface layouts that don’t match the current version
Any of these forces a rework cycle that takes more time than a real screenshot would.
Why a real screen recording is non-negotiable for UI fidelity
Real screen capture gives reviewers something they can verify: exact field labels, cursor path, button sequence, and the system’s actual confirmation message.
A trainer demonstrating how to approve a request in an enterprise HR system needs the real approval dialog on screen, not a placeholder. Learners will look for that exact message when they attempt the task on their own.
Before recording, list every on-screen element reviewers must confirm. That list becomes your fidelity checklist.
How to create a tutorial video without a mic or camera using Camtasia
You can build a polished tutorial without recording voice or face. Camtasia Editor and Camtasia Audiate give you a script-first workflow that produces review-ready video without live voice recording.
Follow these steps:
- Paste your approved script into Camtasia Audiate and let it generate AI narration.
- Import the audio and transcript into Camtasia Editor.
- Record your screen walkthrough and sync it to the narration track.
- Use captions generated from the transcript for accessibility.
Disclosure: Label AI-generated narration clearly in regulated or learner-facing training contexts.
A corporate trainer introducing a new software feature can move from script to draft in a single session without requiring a studio.
Step 1: Write and finalize your script before recording anything
Finalize every word before you open the recorder. Vague phrasing forces retakes. Precise language records cleanly the first time.
Build a two-column script: on-screen action on the left, narration on the right. This keeps both tracks aligned before editing begins.
Example: Replace “go over here” with “select Reports, then choose Monthly Summary.” Specific verbs eliminate ambiguity for the narrator and the viewer.
Step 2: Generate AI narration in Camtasia Audiate
Open Camtasia Audiate, paste your approved script, and select an AI voice. Before moving on, play the full preview and listen specifically for product names, acronyms, and branded terms.
Example: Confirm how the AI voice pronounces your platform name or department acronym. Catching mispronunciations now keeps your audio track stable and prevents sync problems once screen recording begins.
Keep training videos accurate. Avoid “AI slop.”
Build training content faster without sacrificing quality. The HUMAN Framework is a 5-step strategy for integrating AI effectively.
Get the Guide
Step 3: Record your screen in Camtasia Editor
Set your canvas to 1920×1080 in Camtasia Editor’s project settings before you start. This keeps field labels and button text readable in the exported video.
Before hitting record, close notifications and unneeded apps. Then play your approved narration audio and record the workflow in real time, matching each click to the script.
For software onboarding tutorials, increase the application’s display font size and use full-screen capture so no interface text becomes illegible after export.
Example: Reverse the typical workflow by generating AI narration first. As you record your screen, follow the narration in real time. This creates a recording that is already paced to the audio track, making timeline synchronization faster in Camtasia Editor.
Step 4: Sync your narration to the screen recording timeline
Edits made in Camtasia Audiate automatically carry into Camtasia Editor, but alignment still requires manual attention.
If your narration explains a settings panel longer than the live click path lasts, use Extend Frame to freeze the screen. This holds the visual while the audio finishes, giving learners time to read the panel before the next step appears.
For the opposite problem (a long visual sequence with short narration), split the clip and increase playback speed to match your audio pacing.
Step 5: Add visual emphasis with callouts, zoom, and cursor effects
Callouts, zoom, and cursor effects replace on-camera guidance by directing attention to the right spot. Reserve them for dense interfaces or small UI details, not every click.
Example: Zoom into a small permissions toggle, add a highlight around the correct button, or use a cursor effect to identify which checkbox matters in a long form. Overusing effects trains learners to ignore them.
Step 6: Export captions and finalize your video
Export time-synced captions directly from the finished timeline, not from your original script. Any edits made in Step 4 shift timing, so review captions against the final cut before exporting.
Before your final MP4 export, share a draft in Screencast with your SME. They can comment at the exact moment a field label or narration phrase needs correction. Then save your project file so future updates stay manageable.
Applying multimedia learning principles to camera-free tutorial design
Camera-free tutorials teach effectively when narration and visuals each carry a distinct role. Let narration explain why an action matters; let the screen recording show what to click.
During editing, apply a simple review test: if a spoken line merely restates text visible on screen, cut or rewrite it. For example, instead of saying “click File,” narrate the consequence: “Opening File saves your current workspace settings.”
Remove anything that doesn’t directly support the task. Less cognitive load means faster comprehension.
The coherence principle: Keep narration focused and concise
Extra commentary forces learners to filter out noise before they can focus on the task. Cut it before export.
In a compliance-system walkthrough, delete the welcome speech and personal aside in Camtasia Audiate’s text editor by simply removing those lines from the transcript. Your video reaches the first required step faster, and learners retain more because their attention stays on the workflow.
The redundancy principle: Avoid reading on-screen text aloud
Narration adds value when it explains intent, consequence, or decision logic, not when it repeats what learners can already read.
Instead of naming every dashboard button aloud, tell learners which option to choose and why. For example, “Select the Publish tab here because it controls who can view the final recording” provides context that the screen alone cannot.
Accessibility requirements your camera-free tutorials must meet
Removing your camera doesn’t remove your accessibility obligations. WCAG 2.2 requires synchronized captions and transcripts for all time-based media, including your screen recordings.
Before publishing, complete this checklist:
- Review and correct auto-generated captions. Never publish them unedited.
- Describe critical state changes such as confirmation dialogs or error messages.
- Check callout contrast against dense interface backgrounds.
- Confirm a transcript is attached or linked.
In a software tutorial, caption the final approved timeline, not a rough cut. If a success message appears on screen, call it out verbally so screen-reader users and sound-off viewers don’t miss it.
How AI narration helps non-native speakers and distributed teams scale faster
Recording clean narration is harder when English isn’t your first language, your SMEs are spread across time zones, or every software update triggers another re-record request. AI narration removes speaker dependence entirely.
Where it saves the most time: revision rounds, handoffs, and update cycles. A distributed L&D team can maintain one reviewed script, apply a consistent AI voice in Camtasia Audiate, and reuse that workflow across every software release with no microphone, no scheduling, and no inconsistent pacing.
Pairing AI narration with accurate captions also makes tutorials easier to follow for multilingual learners. Learn more about how AI voices perform in training videos before choosing your approach.
Start producing camera-free tutorials your team can actually scale
Keep the real screen recording, and let AI handle the voice. That’s the practical shift that protects UI accuracy while removing the studio time, retakes, and scheduling that slow down software tutorials. Pick one tutorial this week to test the workflow: script first, generate the narration, record the screen, sync, and ship.
To put the workflow into practice, start your free trial of Camtasia Editor and Camtasia Audiate.
FAQs
How can I make a tutorial video without recording my own voice or face?
Start with a written script, then generate an AI voice-over in Camtasia Audiate from that script. Next, record the real software workflow in Camtasia Editor with the camera and microphone turned off, pacing your clicks to the narration as you go. Then sync the two on the timeline. This keeps the visuals technically accurate while removing the pressure to record your face or voice live.
What’s the best way to create a tutorial video without a mic or camera?
For software training, an AI-narrated screen recording is usually the strongest option because it preserves the actual interface learners need to follow. Traditional live narration takes more setup, and fully synthetic AI videos may introduce visual errors that undermine trust.
Why is a real screen recording better than a fully synthetic AI video for software tutorials?
A real screen recording shows the exact menus, clicks, and states users will see, which matters when every field and button matters. Avatar-led videos may look polished, but generated visuals can drift from the product and create support issues later. If accuracy is the goal, keep the real capture and replace only the narration layer.
Can AI narration work for software training videos?
Yes, if the script is final before recording, and the pacing matches what is happening on screen. Camtasia Audiate lets you generate AI-driven narration, edit the wording as text, and clean up filler quickly. Any published video should disclose that the narration is AI-generated. That workflow may help teams sound more consistent, especially when subject matter experts are not comfortable recording live audio.
What should a camera-free tutorial include to stay accessible and scalable?
Include synchronized captions, a transcript, and clear on-screen emphasis so viewers can follow in sound-off, noisy, or multilingual settings. Short, task-focused videos are usually easier to update, and Camtasia Editor callouts and zooms help replace the guidance a presenter would add. For teams, that approach supports more consistent branding, faster revisions, and cleaner handoffs across authors.
Share