









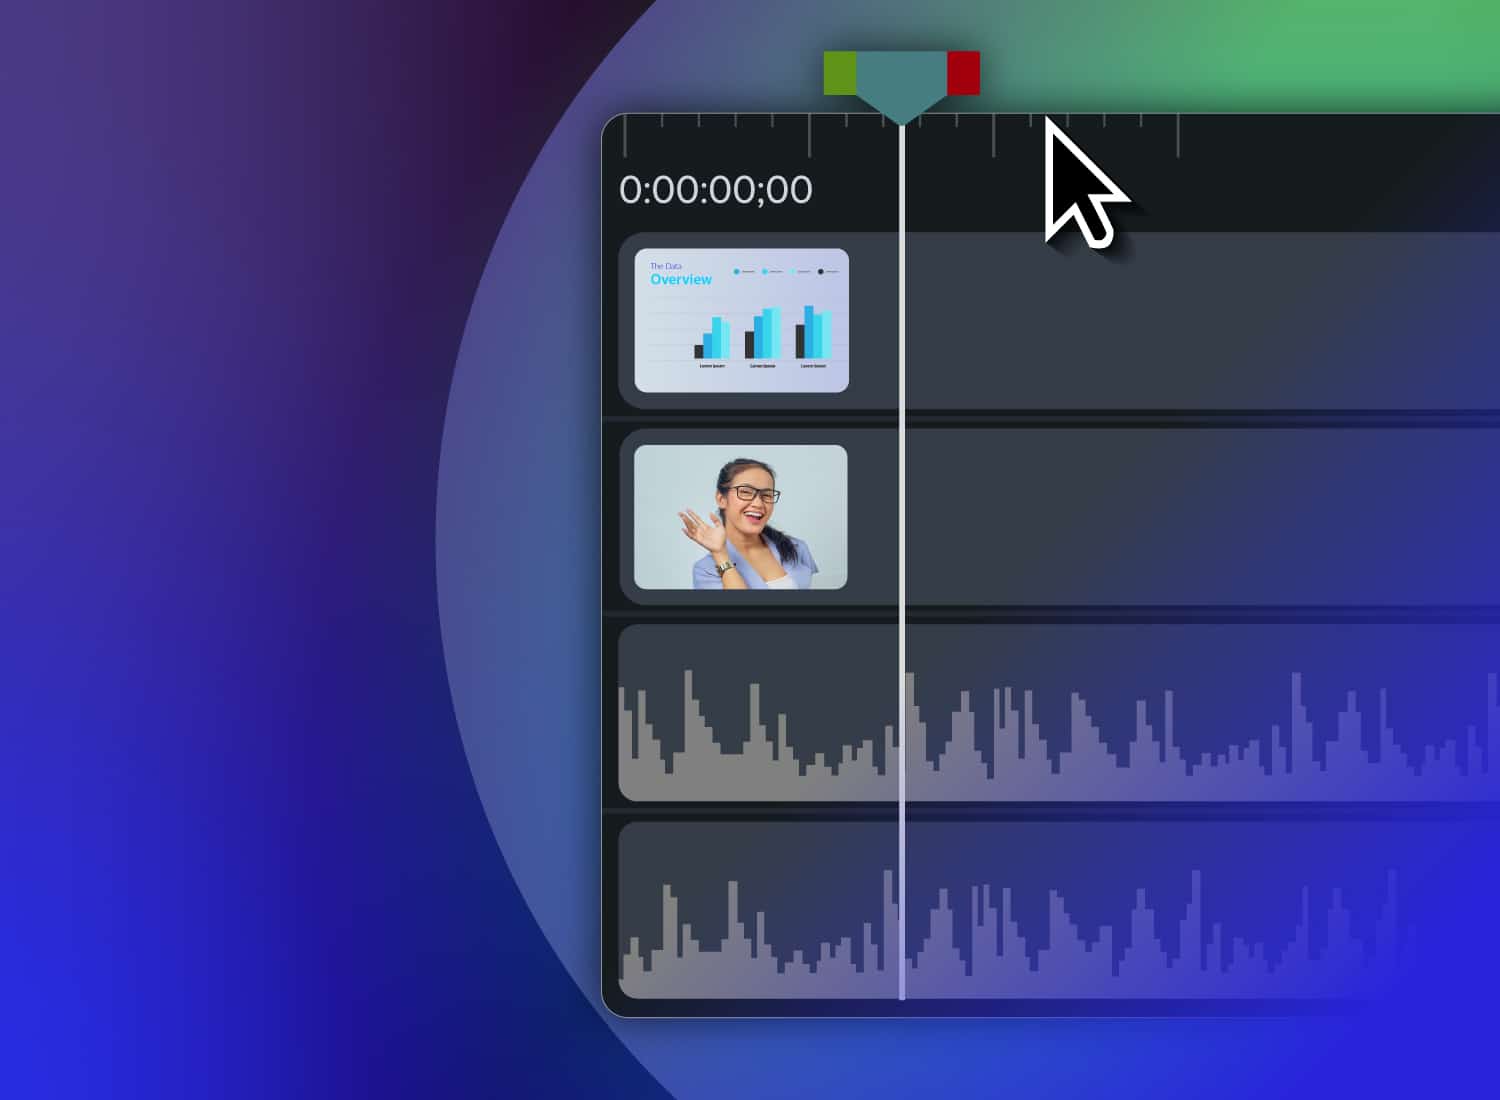
Your math walkthrough is ready for review when you spot one wrong menu selection halfway through the recording. There’s no reason to re-record the entire presentation just because of one mistake.
Editing a screen recording means trimming, splitting, cutting, tightening audio, adding captions, and exporting to turn a raw capture into a clear final video. These edits let you remove isolated errors while preserving the valuable content.
Adopting the right approach establishes a focused workflow that keeps corrections and reviews streamlined. For trainers, educators, and instructional designers seeking more efficient editing tools, this no-re-record workflow is essential.
Key takeaways
- You can edit a screen recording by trimming dead space, splitting clips, and deleting mistakes instead of starting over.
- Clip splitting lets you remove a bad take from the middle of a tutorial while keeping the useful parts intact.
- Silence removal can tighten pacing by cutting pauses, hesitations, and dead air that make instructional videos feel longer than needed.
- Script-based editing in Camtasia Audiate lets you fix verbal mistakes by deleting words from a transcript instead of scrubbing the timeline.
- Captions and Screencast review help you finalize the editing pass with accessible content and clear stakeholder feedback.
Why re-recording every mistake wastes your time
Re-recording fixes the mistake, but it also repeats every correct step. Editing retains the useful parts and removes only the problem. That difference compounds for instructors and trainers who update the same course or software walkthrough semester after semester, or after every product release.
Basic trimming tutorials often emphasize cleaning up the beginning or end. However, your real challenge is correcting a mistake inside a lesson, demo, or software walkthrough without losing a clean take. When you make an error, pause, repeat the corrected step, and continue recording. You can eliminate the flawed moment during editing.
How to remove a mistake without restarting your recording
Isolate the mistake, delete it, and close the gap without restarting the recording. For a math tutorial, split the clip surrounding the wrong formula step. This preserves the correct setup and final explanation while allowing you to remove the problem area.
Let Audiate write your script!
No more blank pages! Instantly generate amazing, customizable scripts in any length, tone, and style!
Get Audiate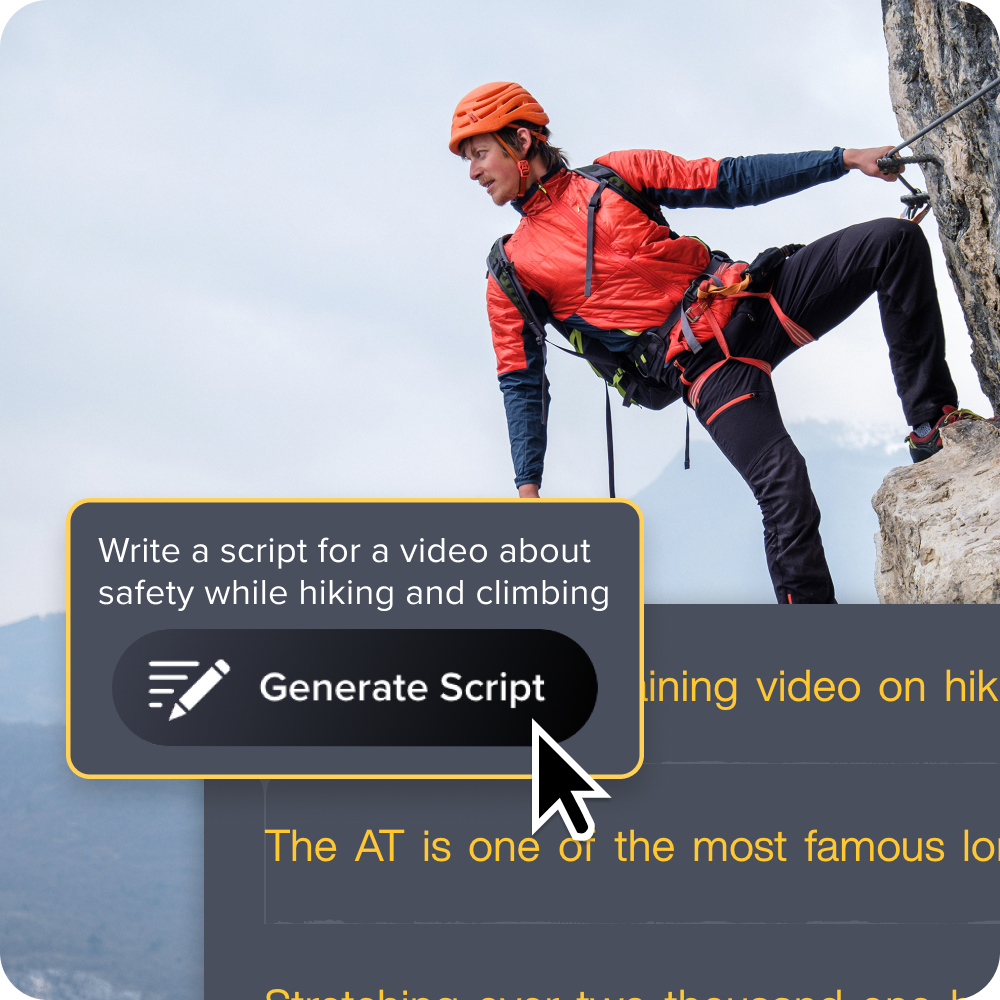
Split the clip at the mistake
Split once before and after the mistake. This turns one long recording into editable segments. Place the playhead immediately before the error and make the first split. Move the playhead just past the error and split again.
Keep some context on both sides of the mistake. Include the end of the previous phrase and the start of the next one so the remaining narration sounds natural.
Select the isolated segment and confirm that it contains the full mistake. Preview the surrounding clips to ensure no useful instruction or visual step sits inside the selected segment.
Delete the bad take and trim the seam
Delete the bad take, trim the neighboring clip edges, and accept the jump cut if learners can still follow the instruction clearly. Move the remaining clips together to close the timeline gap.
Trim each edge until the narration connects naturally and the next visual cue appears at the right moment. Be sure to keep the spoken sentence intact so learners don’t miss the corrected instruction.
Preview the seam at normal speed before adding transitions or other polish.
How to tighten pacing with silence removal
Silence removal tightens pacing by cutting dead air, not meaning. Apply this technique after your main fixes to keep learners engaged. Dead air includes hesitation, pauses caused by searching for controls, and technical delays.
Keep purposeful pauses before a complex step or after an important explanation. Those moments give learners time to connect the narration with what they see.
In Camtasia Editor, shorten silent gaps on the timeline. Start conservatively, preview the full passage, and restore space wherever the delivery feels rushed. This guide to editing a demo recording can help you check pacing in context.
How to fix a verbal mistake by editing text instead of timeline
Transcript editing lets you correct an isolated spoken mistake faster than timeline scrubbing: fix the words, and the corresponding media updates. Search the transcript for the incorrect phrase instead of scrubbing the audio waveform.
Use Camtasia Audiate to transcribe narration, remove filler words, or update a line with an AI-generated voice. Review every correction, disclose AI-generated output, and keep sensitive training human-led. Finish the visuals in Camtasia Editor.
How script-based editing works in Camtasia Audiate
Audiate transcribes narration into editable text.
Open the video, select the mistaken words, and delete them as you would edit a document. Use filler-word removal to clear repeated “ums” and “ahs,” then play the surrounding sentence to confirm the cut sounds natural.
For a line that needs replacement, use AI voice generation instead of scheduling another presenter session. Disclose that the replacement is AI-generated, and review its pronunciation, meaning, and tone. This workflow helps instructional designers correct narration without advanced timeline skills, while leaving subject-matter judgment to the trainer.
If you can edit a doc, you can edit a video
Stop fearing the timeline. Camtasia Audiate transcribes your recording so you can edit your video just by editing the text.
Free Download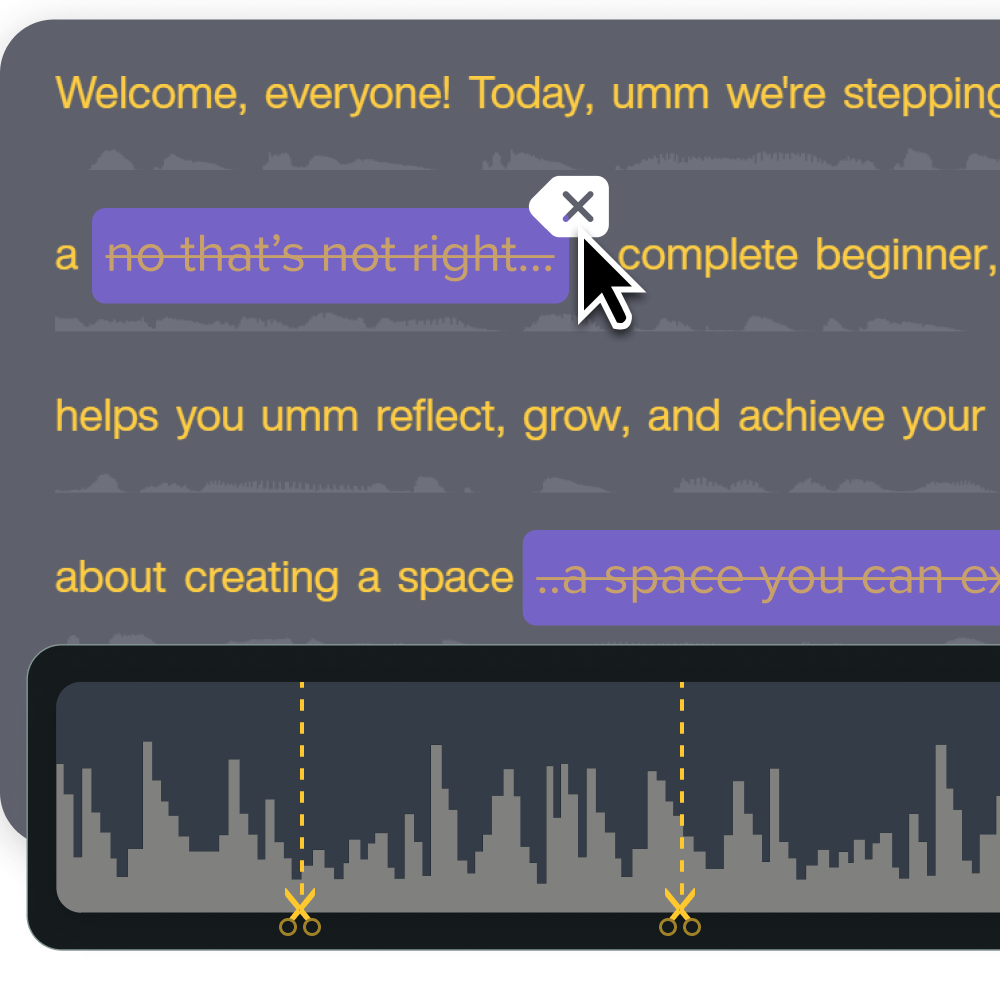
How your correction syncs back to Camtasia Editor
Send the corrected media back to Camtasia Editor so the timeline reflects your text edits and is ready for visual polish. The timeline updates with your narration changes.
Confirm the corrected section appears at the right point, then play the words before and after it. Check that the narration stays aligned with the screen action.
Use Camtasia Editor for the visual finishing pass. Adjust cursor emphasis, callouts, and other on-screen details instead of repeating the audio cleanup. This keeps your recorded-video editing workflow focused: Camtasia Audiate handles spoken corrections, and Camtasia Editor handles the on-screen finishing touches.
How to add captions and close the loop with stakeholder review
Add and verify captions before routing the video through Screencast for time-stamped, frame-specific stakeholder feedback.
Accurate captions support accessibility. Check names, technical terms, punctuation, speaker changes, and timing, then correct errors in meaning or synchronization.
In Screencast, ask stakeholders to flag caption, instruction, or visual issues with frame-specific comments. Resolve each comment and check captions once more before publishing.
Which Camtasia tool fits your editing moment?
Use Camtasia Online for lightweight edge trims, and move to Camtasia Editor when you need mid-clip corrections, separate-track control, or instructional polish.
Treat them as complementary tools. Start with Camtasia Online, then move the project into Camtasia Editor when accuracy, learner clarity, or approval raises the editing risk. Matching tools to the task is one of several ways teams can manage training video costs without sacrificing quality.
Camtasia Online for quick trims
Use Camtasia Online when the edit only needs a clean start or ending. It keeps lightweight recordings moving fast.
Record a short demo, coaching clip, or internal walkthrough in your browser. Trim the setup before your instruction begins, and remove dead air after your final point. This keeps a simple screen recording ready to share without installing software.
Move the project to Camtasia Editor when the correction sits in the middle of the recording or needs deeper timeline control.
Camtasia Editor for clip splitting and polish
Use Camtasia Editor when you need to split clips, repair seams, add callouts, or polish a tutorial. It’s built for the deeper corrections covered above.
Record your screen, camera, system audio, and microphone in one capture session. Camtasia Editor places each source on its own editable track, giving you precise control over every part of the recording.
That track-level control is what makes it the right move once an edit needs more than a clean start or end. This is where mid-recording corrections happen, not just trims at the edges.
Stop restarting your videos and start correcting them instead
A single mistake doesn’t have to cost you the whole recording. Split out the bad take, tighten pacing with silence removal, fix spoken errors in the transcript, and add captions before it goes to review. Each fix stays local to the problem, not the whole video.
Camtasia’s suite is built around that same idea: Camtasia Editor handles the timeline and visual polish, Camtasia Audiate handles spoken corrections, and Screencast keeps stakeholder feedback in one place instead of scattered across email.
Put it to the test on your next recording, and see how much editing time you get back when you stop starting over.
Ready to stop starting over? Get Camtasia to fix more without re-recording.
Frequently asked questions
Can I edit a screen recording on Windows or Mac without changing my original file?
You can edit a screen recording on Windows or Mac while keeping the original file untouched. Save a copy before editing, then work in Camtasia Editor or another editor that supports non-destructive timeline edits. This gives you room to test cuts, pacing, and audio fixes before export.
How do I edit a screen recording from an iPhone or Android phone for training?
Phone editors work well for quick trimming, cropping, and basic cleanup after a screen recording. For training videos, move the file to a desktop editor when you need callouts, cursor emphasis, audio cleanup, or branded templates. That extra control helps technical steps stay clear on larger screens.
What should I remove from a screen recording before sharing it with learners?
Remove setup time, private information, repeated attempts, long loading screens, and any explanation that doesn’t support the learning goal. For software demos, also review account names, customer data, browser tabs, and notifications before export. Use blur, crop, or re-record a short section when sensitive details appear on screen.
How do I keep edited screen recordings from feeling choppy?
Choppy screen recordings often come from cuts that remove too much context around the learner’s next visual cue. Leave a small beat before important clicks, then use zooms, cursor effects, or callouts to guide attention.
When should a team move from basic screen recording tools to Camtasia?
Teams should move beyond basic screen recording tools when videos need review cycles, captions, reusable branding, or frequent updates. Camtasia supports that workflow with purpose-built tools for editing, narration cleanup, accessibility, and stakeholder feedback. For business teams, individual product licenses can help deploy the right tools to the right creators.
Share