









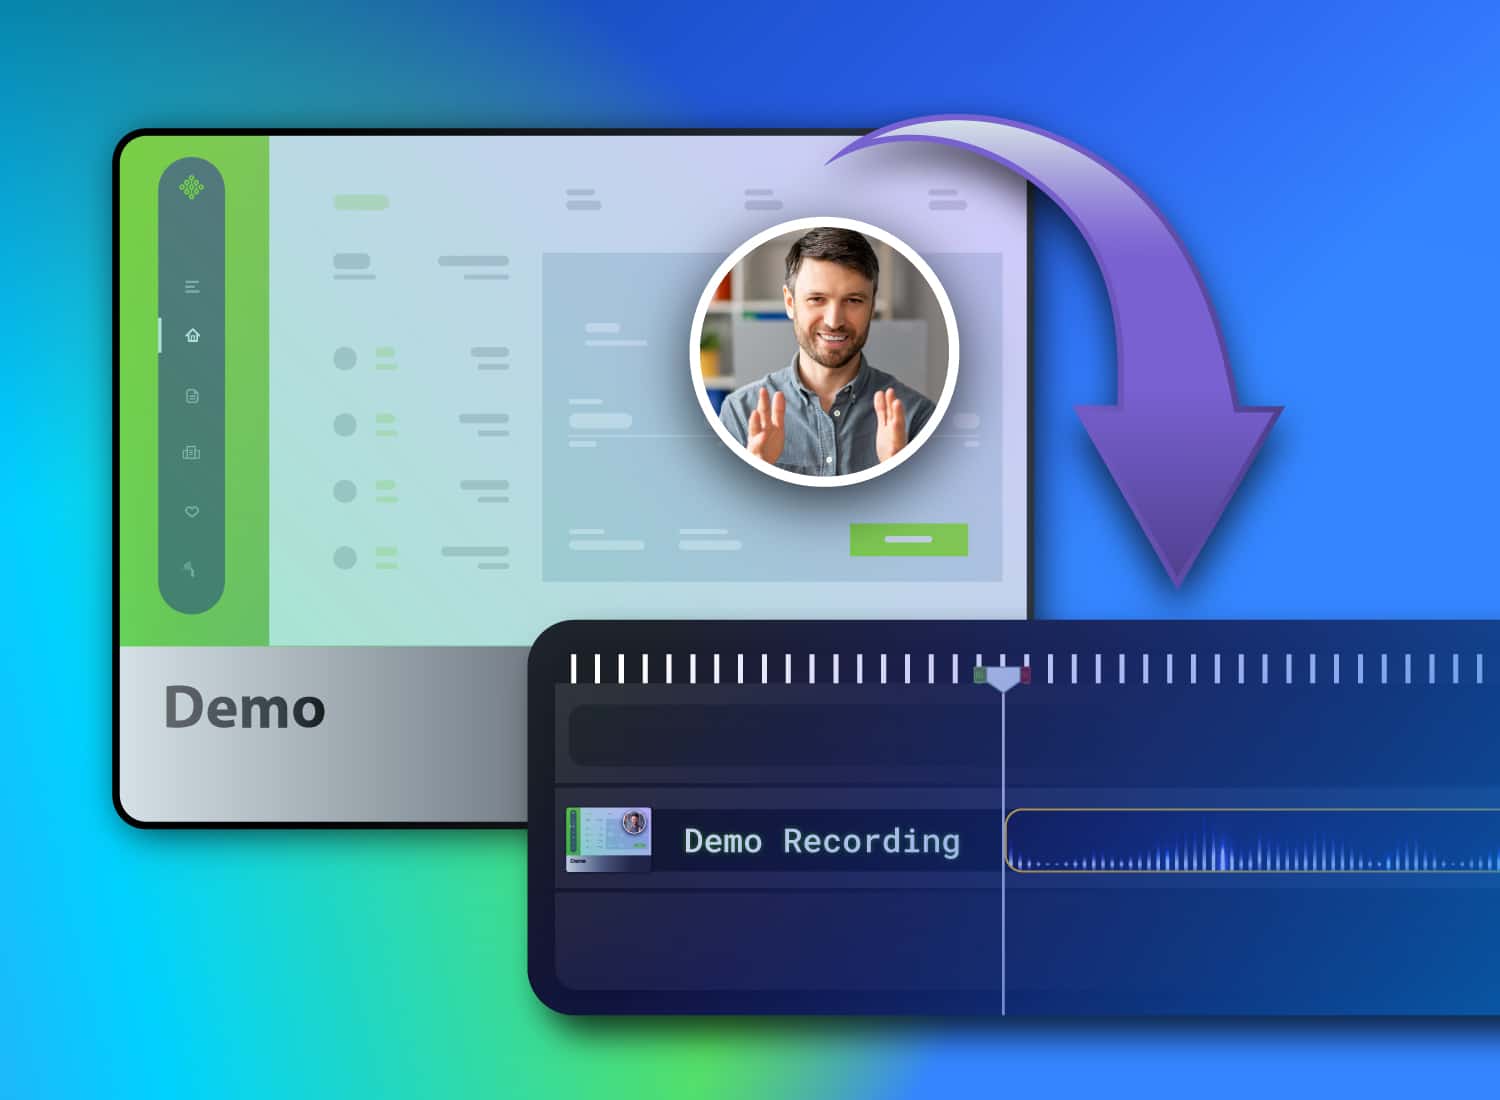
You recorded a great product demo, hit stop, and thought the hard part was over. Then you opened the raw recording. Between trimming mistakes, removing awkward pauses, and cleaning up accidental clicks, polishing a recording can quickly take longer than expected.
The good news is that you don’t need advanced editing skills to make a demo video that looks and sounds professional. With a simple, repeatable workflow and Camtasia Editor, you can quickly turn raw recordings into polished, branded demos without having to learn a complex video editor.
Key takeaways
- The fastest way to edit videos is to cut mistakes, pauses, and dead air before adding any effects, branding, or captions.
- Callouts and zoom effects can make a demo recording easier to follow by directing attention to the exact feature, field, or click that matters.
- Cleaning up background noise and uneven audio may help your demo recording feel professional and keep viewers focused on the product, not the recording flaws.
- When teams edit videos for prospects or internal training, the final cut usually works better when pacing, branding, and detail match the audience.
- AI features in Camtasia can speed up video editing by helping with captions, removing silence, and handling other repetitive cleanup steps.
Why editing is the hardest part of making a demo video
Recording a product demo is the easy part. Editing is what determines whether it feels clear, credible, and worth sharing. Most of the work happens after the recording ends, when teams need to remove errors, tighten pacing, highlight key moments, and create a version viewers can trust.
As screen recordings become a standard part of remote work, customer education, and digital sales processes, the demand for faster, more efficient editing workflows continues to grow.
Step 1: Cut the mistakes, pauses, and dead air first
Edit first. Decorate later. Your first goal should be making the recording feel smooth and intentional. Start with a ruthless editing pass that removes restarts, mouse slips, filler words, long silences, and any dead air that slows viewers down. Resist the urge to add transitions, music, callouts, or branding elements until the core recording is clean.
For even faster editing, use transcript-based tools like Camtasia Audiate. Instead of scrubbing through a timeline to find mistakes, you can edit the transcript directly to remove unwanted words, pauses, and sections, helping teams clean up demo recordings in a fraction of the time.
Pro tip: The fastest edit starts with a clean recording. Recording with Camtasia’s screen recorder gives teams a head start by capturing separate audio tracks, isolating system audio, and producing cleaner screen captures from the beginning. The fewer distractions and mistakes you capture, the less time you’ll spend removing them later.
Step 2: Add callouts and zoom effects to guide the viewer
Viewers should never have to guess where to look. Clear visual guidance is especially important when demonstrating complex product interfaces.
After trimming your demo, add callouts to highlight key buttons, settings, pricing details, or workflow handoffs. These visual cues reduce confusion and keep viewers focused on what matters most.
Use zoom effects, cursor highlights, annotations, and simple crop adjustments only when they improve comprehension. The goal is to reduce search time — not add motion for the sake of motion.
Go from screen recording to polished video
A screen recording is just the start. Camtasia’s editor helps you add the callouts, animations, and edits you need to create a truly professional video.
Free Download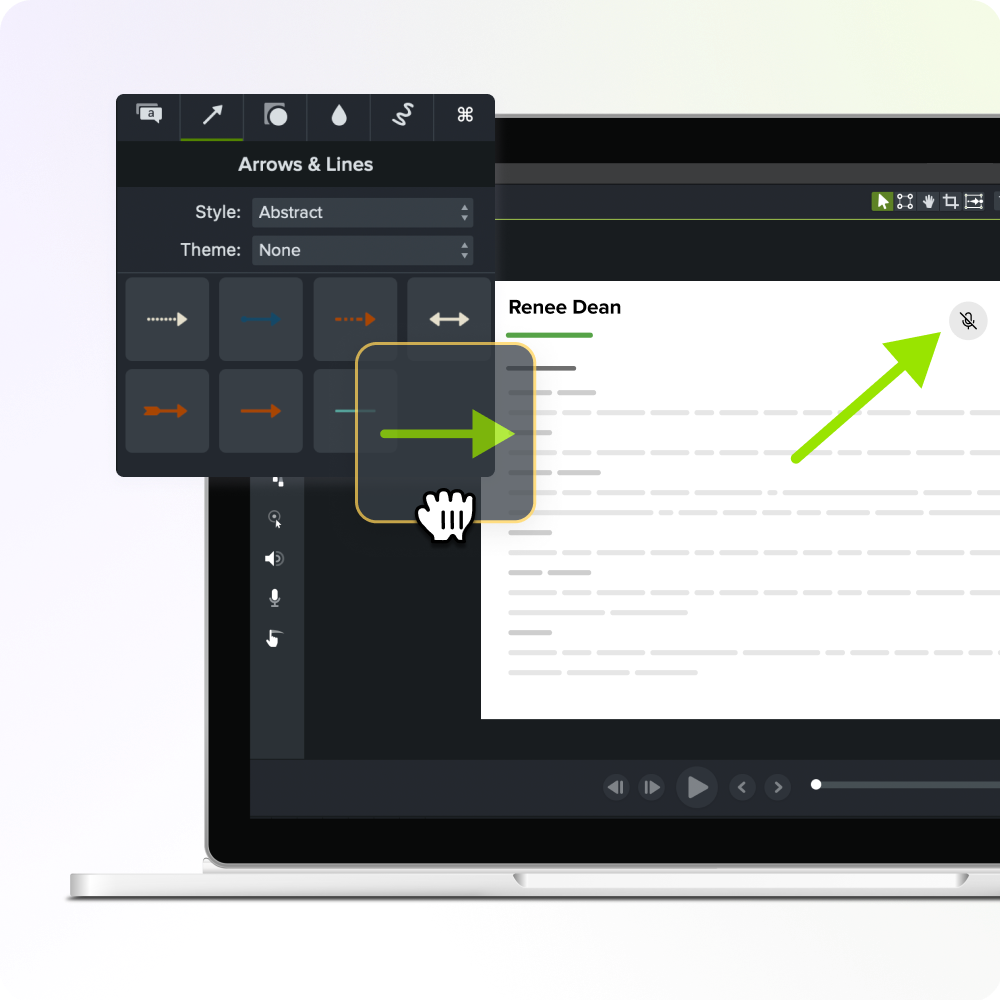
Step 3: Clean up your audio
Poor audio can make even a strong demo feel unprofessional. In most cases, viewers will tolerate imperfect visuals long before they tolerate distracting sound issues.
Before moving to final production, take time to reduce background noise, remove microphone bumps and clicks, balance volume levels, and listen for any sections where the narration becomes difficult to follow. If a few lines still sound awkward or unclear, rerecord only those segments instead of starting over from scratch.
For faster audio cleanup, use Camtasia Audiate to edit your narration through the transcript. You can quickly remove filler words, cut unwanted pauses, fix mistakes, and refine voice-overs without hunting through a timeline. Once the audio is cleaned up, send the updated track back into Camtasia Editor to complete the rest of your demo editing workflow.
Step 4: Apply branding so every demo looks like it came from the same team
A polished demo should feel consistent from one team member to the next. Strong branding builds trust and reinforces professionalism.
After editing, add logos, brand colors, lower thirds, and intro/outro slides to create a recognizable viewing experience. Reusable templates make it easy for teams to start with approved layouts instead of building each demo from scratch.
At scale, shared templates and standard export settings help L&D, Marketing, Sales, and Customer Success teams collaborate more easily and create more consistent demos with less review and rework.
Step 5: Add captions for accessibility and reach
Captions improve accessibility for those with auditory impairments, but the benefits go beyond compliance. They help busy viewers follow along with the volume muted, make content more searchable, and support workplace training across different environments and learning needs.
The best time to add captions is after you’ve finished your cuts, audio cleanup, and final narration changes. That way, you don’t have to regenerate or retime captions every time the script changes. Once the content is locked, you can generate, review, and publish captions with confidence.
Editing for external prospects versus internal training
Not every demo serves the same goal. Your editing decisions should reflect the audience before anything else.
Many video editing guides treat all product demos the same, but the best approach depends on who will watch the final recording. A prospect evaluating your product has different needs than a new employee learning a process. Matching the editing style, pacing, and delivery format to the audience helps the demo support the right outcome.
Demos for prospects and customers
External-facing demos should be concise, focused, and outcome-driven. Prospects often decide quickly whether a product is worth further attention, so every section should reinforce value. Remove anything that doesn’t support the core story, keep the pace moving, and use visual guidance to highlight the actions and outcomes that matter most.
Branded intros, selective callouts, zoom effects, and annotations can help viewers understand key features without overwhelming them. End with a clear next step, such as scheduling a deeper demo, starting a trial, or contacting sales. For review and collaboration, teams can share demos via Screencast, allowing stakeholders to comment and provide feedback without having to download large video files.
If you can edit a doc, you can edit a video
Stop fearing the timeline. Camtasia Audiate transcribes your recording so you can edit your video just by editing the text.
Free Download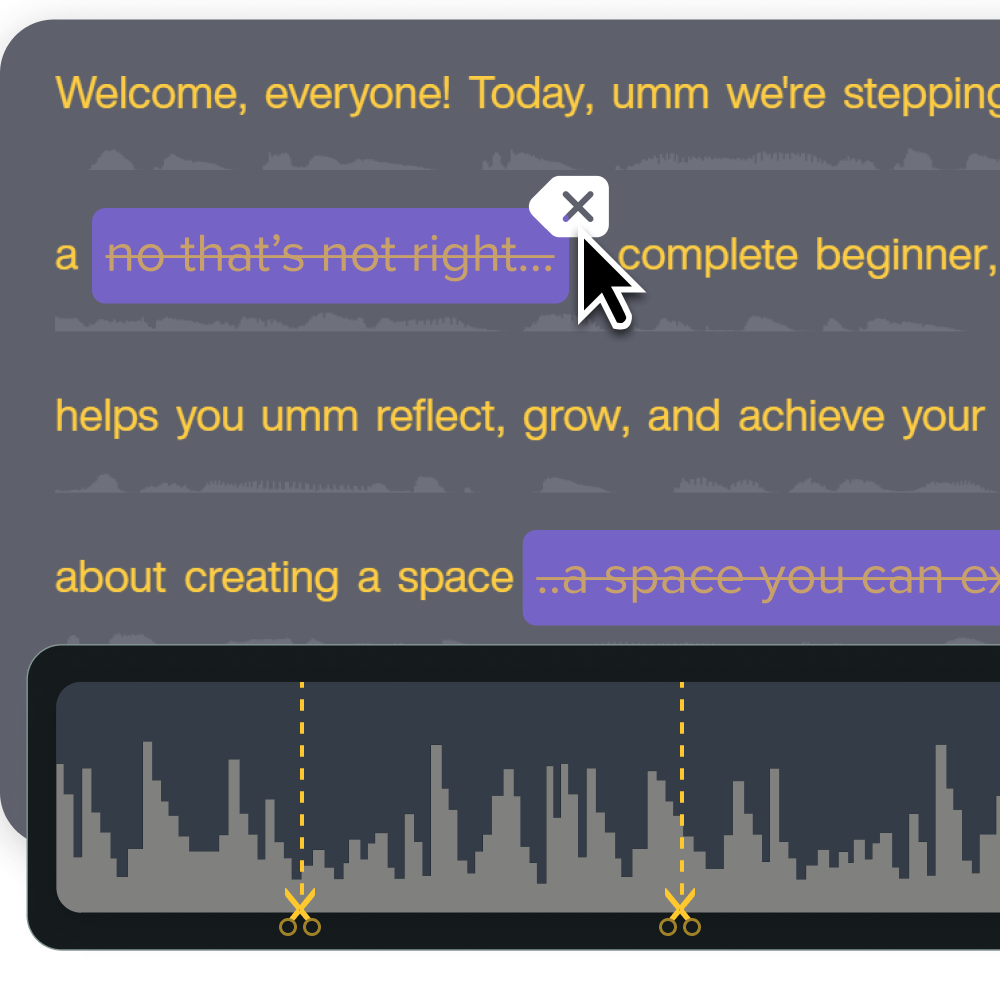
Demos for onboarding and internal training
Internal training videos have a different purpose. Instead of persuading viewers, they serve as how-to videos that show employees how to complete tasks accurately and consistently. Keep the full workflow context, slow the pace when needed, and avoid cutting details that employees may need when revisiting the video later.
Captions, chapter markers, and consistent formatting make training content easier to follow. Because employees often return to these videos during onboarding or troubleshooting, clarity should take priority over speed. Share videos in formats that work with LMS platforms, knowledge bases, and other self-service training resources.
Step 6: Export and share your finished demo
Exporting is where your editing work becomes useful. The right format depends on where the demo will ultimately live and how viewers will access it.
Start by thinking about purpose and destination:
- A demo shared in a sales follow-up email may need a simple link for quick viewing.
- A product overview on a landing page should be optimized for easy embedding.
- Training videos may need to be uploaded to an LMS.
- Process walkthroughs often work best when stored in a knowledge base where employees can access them on demand.
- For external audiences, publishing demos to YouTube can help increase reach, improve discoverability, and provide an easy viewing experience across devices.
Before creating final exports, share a review version through Screencast. This allows stakeholders to watch, comment on, and approve the video in a centralized location, reducing confusion and keeping feedback tied to specific moments in the recording.
Once the review cycle is complete and the demo is approved, export your video using your team’s standard settings for quality, resolution, and distribution requirements.
How AI features in Camtasia speed up every step
AI should eliminate repetitive, tedious editing work. It should never replace good judgment about the story you’re trying to tell.
The value of AI is that it can help teams edit videos faster by trimming recordings, cleaning up audio, removing filler content, and generating captions, so they can spend more time focusing on clarity, pacing, and viewer experience.
For many teams, the biggest time saver is text-based editing in Camtasia Audiate to remove mistakes, filler words, awkward pauses, and off-topic sections. That’s especially useful when demo creators record unscripted and need to clean up the story after the fact.
From there, Camtasia Editor handles the visual polish, including callouts, zoom effects, branding, and captions.
Turn your next raw recording into a polished demo today
The fastest way to edit a product demo is to focus on the fundamentals in the right order. Start by cutting mistakes and dead air, then guide attention with callouts and zoom effects, clean up the audio, apply consistent branding, add captions, and export your video for the audience you’re trying to reach.
With the right workflow and tools, teams can create professional videos faster, reduce editing time, and deliver a more consistent experience for prospects, customers, and employees alike.
Ready to turn raw recordings into polished, shareable demos? Start creating faster with Camtasia and simplify your editing workflow. Download Camtasia today.
Frequently asked questions
How do you edit a product demo video?
Start by cutting out mistakes, pauses, and repeated clicks so the viewer can reach the key workflow quickly. Then add editing options like callouts, zooms, clean audio, branding, and captions so the demo feels clear, consistent, and ready to share.
Can I edit screen recordings?
Yes, and screen recordings usually edit best in tools built for timeline control, cursor movement, callouts, and screen-focused zoom effects. Camtasia Editor keeps that workflow simple, so sales, marketing, and training teams can polish raw demos without a traditional video production setup.
What is the fastest way to turn a raw screen recording into a professional demo?
In many cases, the fastest workflow is to record in short sections, cut ruthlessly, and guide attention with a few clear annotations. AI features, such as transcript-based edits in Camtasia Audiate and quick polishing in Camtasia Editor, may further shorten cleanup time.
Should a demo be live or recorded?
Recorded demos work well when buyers or employees need a clear walkthrough they can watch on their own schedule. Live demos still matter for questions, but an edited recording usually improves pacing, consistency, and reuse across onboarding, enablement, and follow-up.
What tools do you use to make a demo video?
The Camtasia product suite covers the full demo video workflow. Use Camtasia Editor as your main video editor, Camtasia Audiate for transcript-based cuts or faster voice cleanup, and Screencast to share drafts so reviewer feedback stays attached to the video before launch. If you create demo recordings regularly, trying the suite on a real project is the fastest way to see what fits.
Share