Presets automatically remember your capture settings. Use presets to:
- Save commonly used capture settings.
- Quickly switch between capture types based on the task at hand.
- Automatically add effects such as borders or capture information.
- Directly save captures to your preferred file format without opening Snagit Editor.
Capture with a Preset
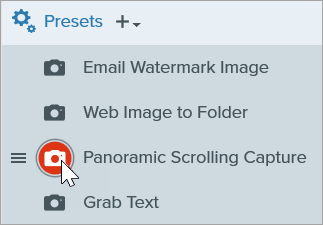
- In the Capture window, click the Presets button.
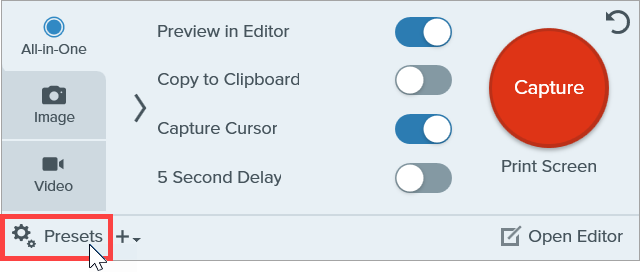
- The list of available presets expands. Hover the cursor over the desired preset until a red Preset Capture button appears. Click the button to start the capture.
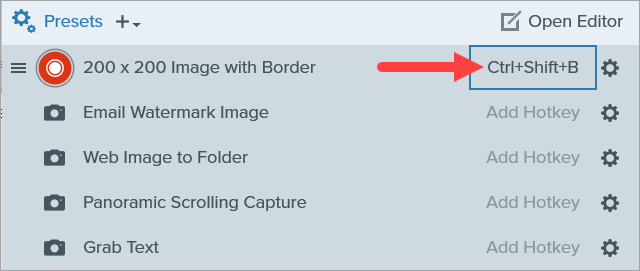
Tip: Assign keyboard shortcuts to Presets.
To assign a keyboard shortcut to a Preset, click the Add Hotkey (Windows) or + Shortcut (Mac) field and press the desired key combination on the the keyboard.
Add a New Preset
Quickly add a new preset based on currently selected settings.
- In the Capture window, adjust the settings to the capture you want to create a preset for. For details about capture settings, see Capture an Image or Record a Video with Snagit.
- Click the Add Preset dropdown.
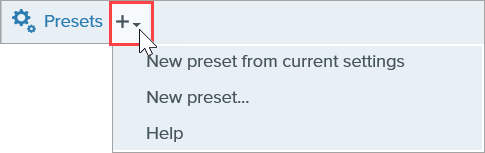
- Select the New preset from current settings option from the dropdown.
Note: You can also choose to add a preset by selecting New Preset and then manually pick the capture settings to add to the preset in the window that opens.
- A new preset is added to the saved presets list. Type a name for the preset and press Enter.
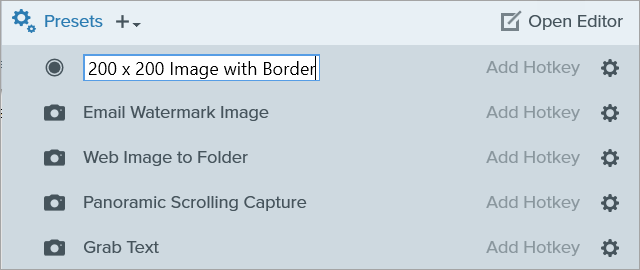
- To assign a keyboard shortcut, click the Add Hotkey (Windows) or + Shortcut (Mac) fields and press the desired key combination on the keyboard.

Common Capture Presets
Here are some common captures requested by Snagit users and the Capture settings to create presets for them:
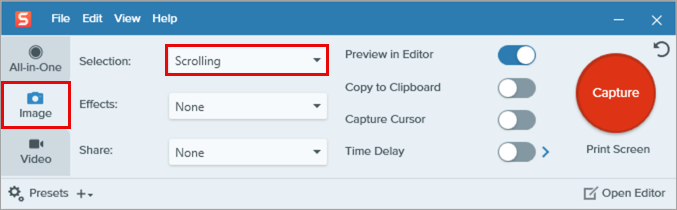
Take a scrolling image capture
Scrolling Capture is included in Snagit for Windows as a default preset.
To re-add it on Windows or to add it as a new preset in Snagit for Mac, on the Image tab select the Scrolling option in the Selection dropdown.
To learn more about scrolling captures, see Capture a Scrolling Area.
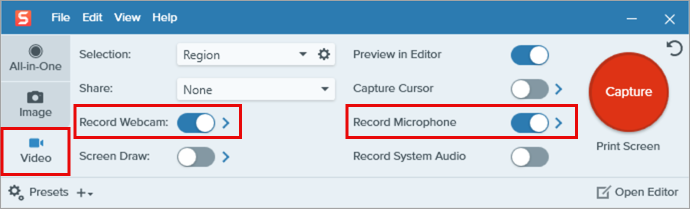
Record video with a picture-in-picture webcam
On the Video tab, enable the Record Webcam and Record Microphone options. Click the arrow next to each option to select devices and other settings.
For details about picture-in-picture options, see Record a Picture-in-Picture Video.
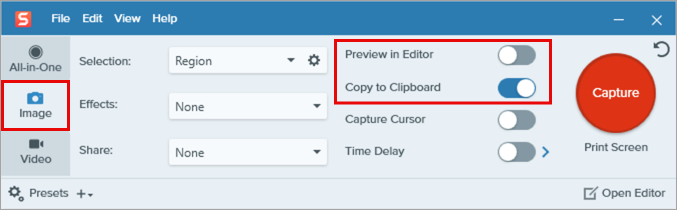
Copy an image capture to the clipboard and do not open Snagit Editor
On the Image tab, disable Preview in Editor and enable Copy to Clipboard.
Save an image capture as a JPG or PNG and do not open Snagit Editor
Windows

- On the Image tab, select the File option in the Share dropdown.
- Click the gear icon next to File. Set the preferred file type from the dropdown and any other file preferences. Click out of the File options dialog to save your changes.
- Disable the Preview in Editor option.
Mac
- On the Image tab, disable the Preview in Editor option.
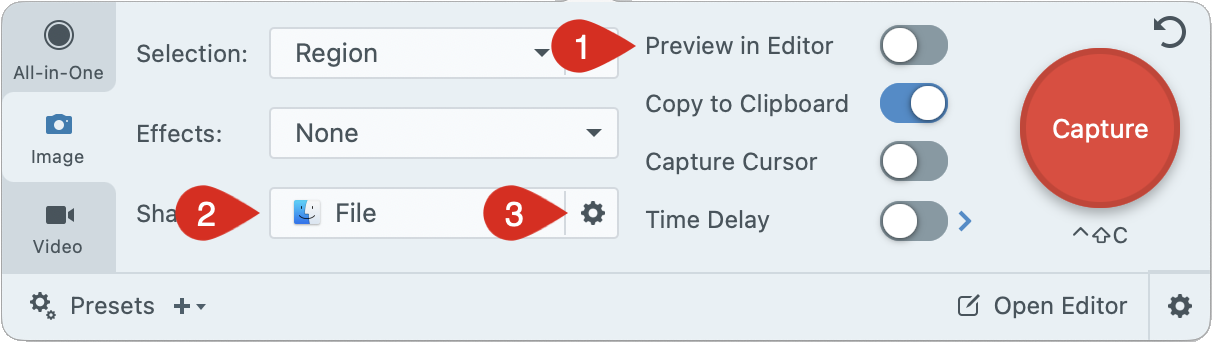
- Select the File option in the Share dropdown.
- Click the gear icon next to the File option.
- On the Share tab in the settings dialog, set your preferred options for file name and folder location.

- On the Advanced tab in the settings dialog, select the JPG or PNG option in the Default sharing format dropdown.
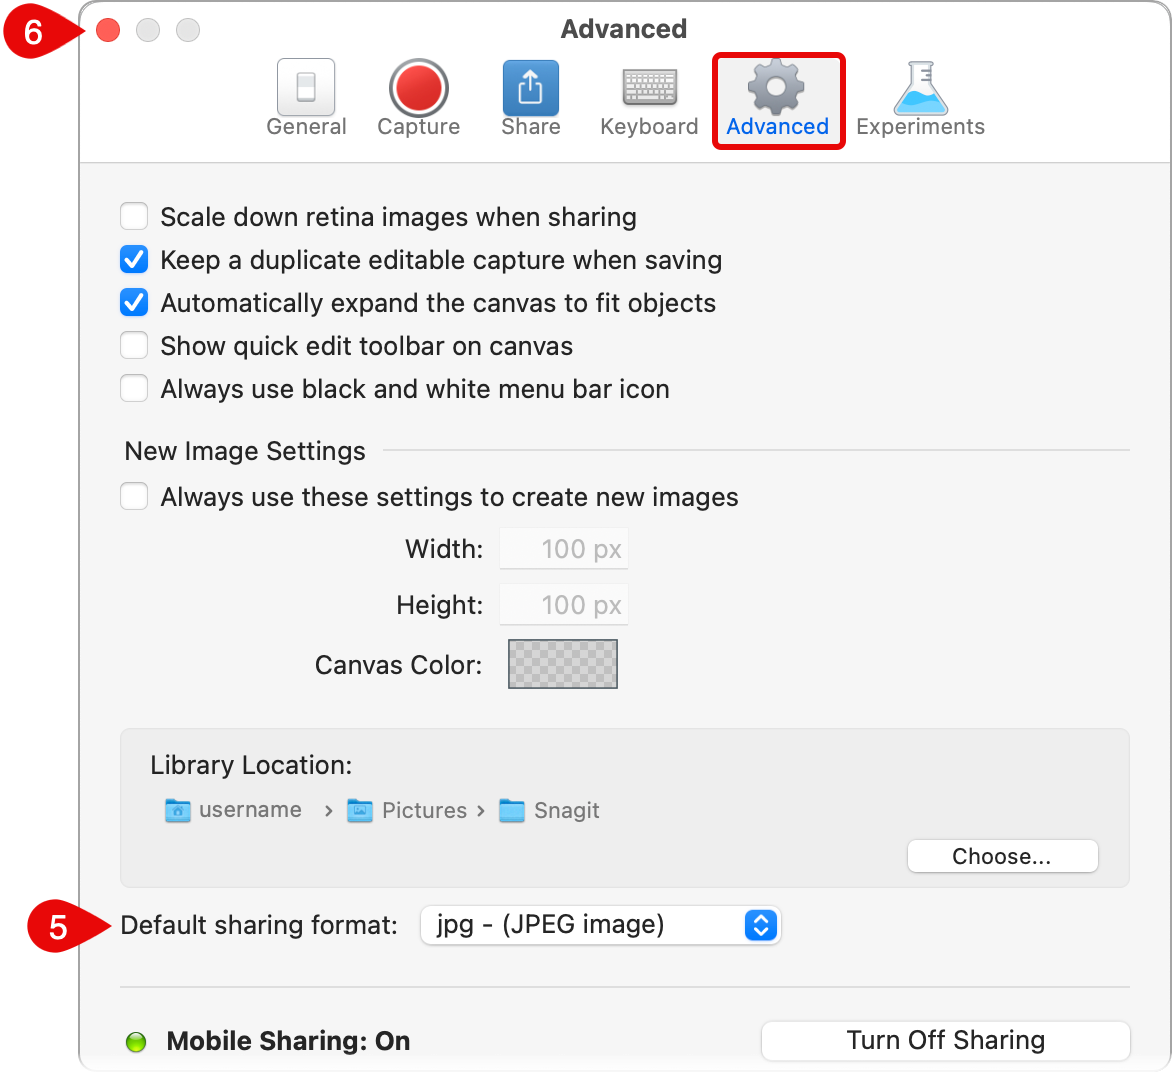
- Close the settings dialog.
- Reopen the Capture window.
After adjusting the settings in the Capture window, add the new preset from the current settings.
Edit a Preset
- In the Capture window, click the Presets button.
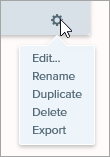
- The list of available presets expands. Click the
 icon to the right of the preset name and select one of the options in the dropdown.
Arrange the Preset List (Windows)
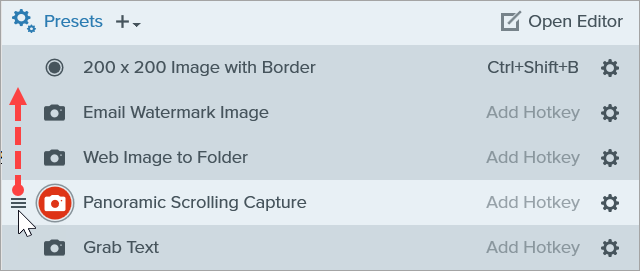
- Hover your cursor over the desired preset until the
 icon appears.
- Click and drag the icon to move the preset up or down in the preset list.
Share Presets (Windows)
Import and export Snagit presets (.snagpresets) to share your capture settings with others.
Import a Preset
- In the Capture window, select File > Import Presets.
- Select a Snagit Preset file (.snagpresets) and click Open. Control+click (Windows) or Command+click (Mac) to select multiple presets.
- Snagit adds the imported presets to the saved Presets list.
Export a Preset
- In the Capture window, click the Presets button.
- The list of available presets expands. Click the icon next to the preset to export and select Export.
- The Save As dialog appears. Select a location.
- Enter a file name.
- Click Save.
Note: This tutorial is for Snagit version 2024. Previous versions may look or function differently.
All Snagit Tutorials