









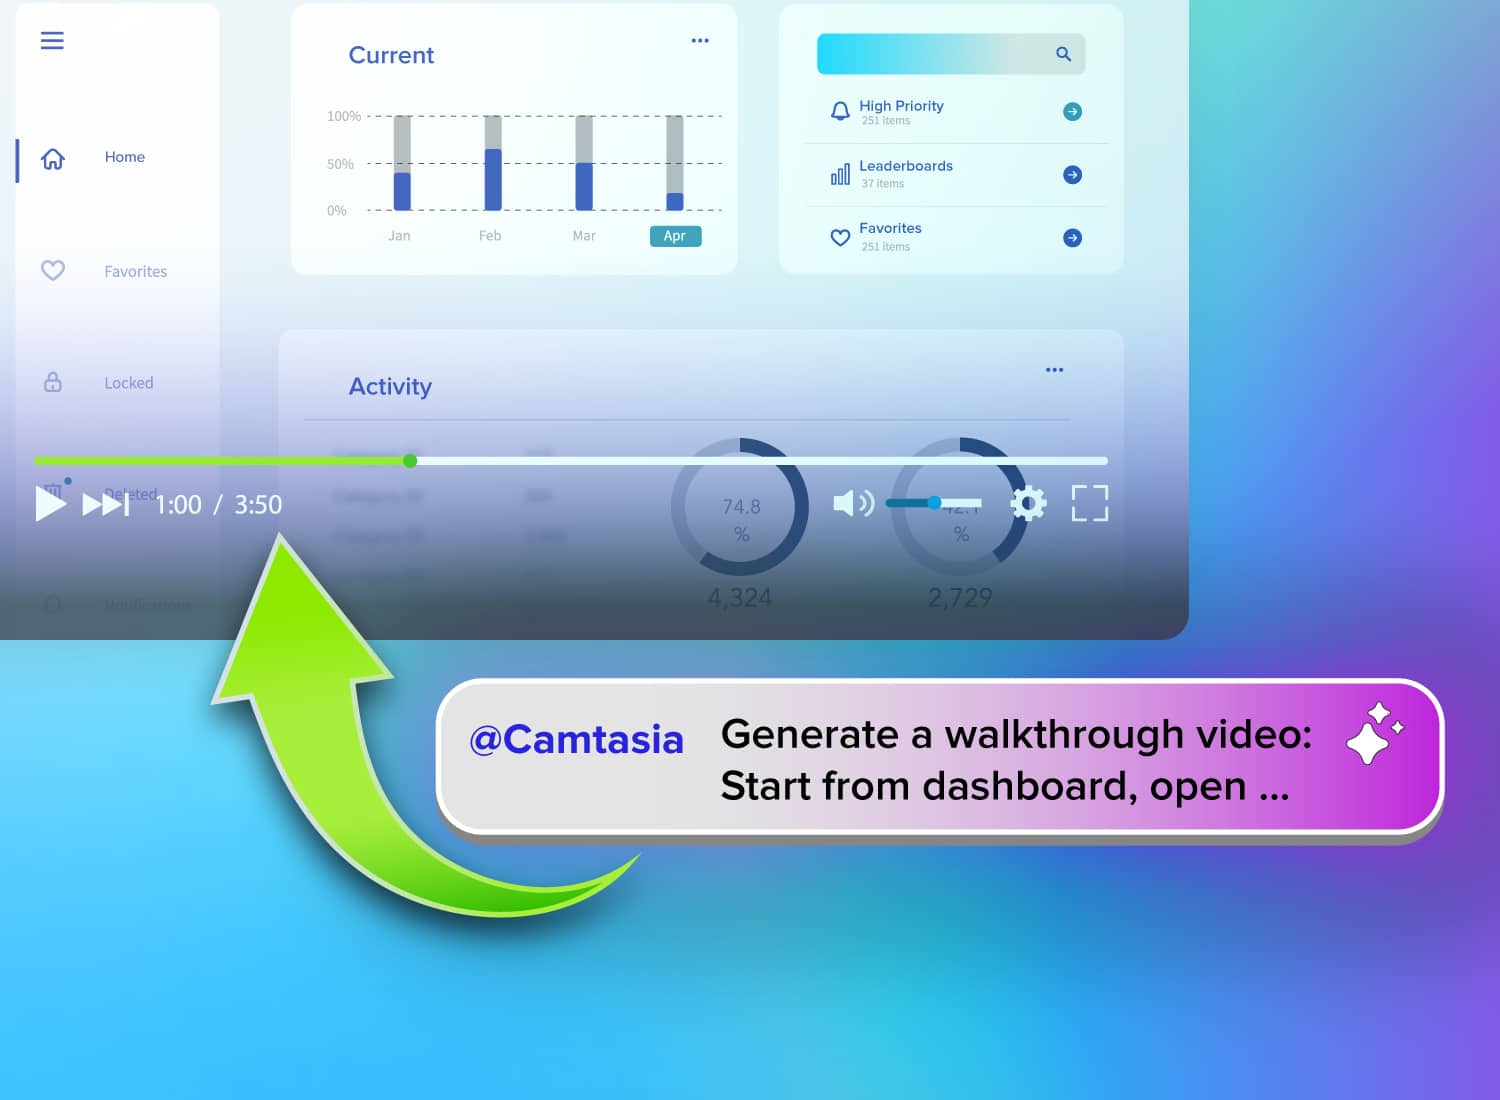
Your training deadline is in three days, and you have an approved script sitting in a doc but no recorded footage to go with it. An AI video from script assembles that pasted text into a finished-looking video using generated narration and visuals. It’s a fast fix when narration carries the message, but software procedures still demand screen capture to show the exact clicks and interface states learners need to see.
You need to know which situation you’re in before you build anything.
Get that decision right, and you’ll save hours of rework, avoid publishing inaccurate steps, and know exactly when to blend AI narration with authentic screen recording.
Key takeaways
- AI video from script turns written text into scenes with generated narration, avatars, stock visuals, and captions.
- It works best for presenter-led explainers, conceptual training, marketing messages, and internal announcements that don’t require exact software actions.
- Step-by-step software training still needs screen recording to show accurate cursor movement, interface states, and real process details.
- A hybrid workflow can pair AI-generated narration or avatars with software capture, editing, and static, numbered guides through the Camtasia Product Suite.
- Keeping an avatar small on screen helps learners focus on the software demonstration while preserving a presenter-led experience.
What “AI video from script” means today
Script-to-video AI is a distinct production method because it assembles editable scenes around a script rather than capturing real actions on screen. A pasted script becomes generated scenes, narration, captions, and avatars. A screen recording preserves the actual cursor path and application response.
Let Audiate write your script!
No more blank pages! Instantly generate amazing, customizable scripts in any length, tone, and style!
Get Audiate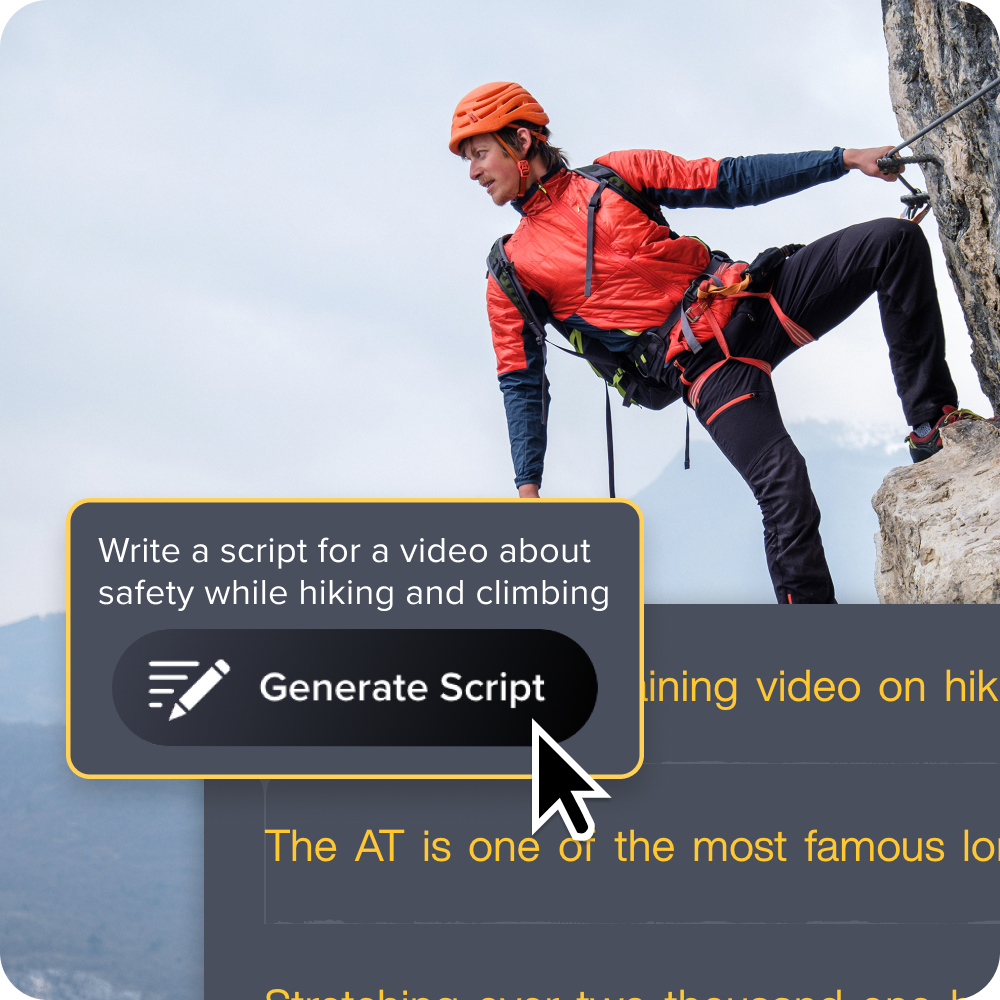
How these platforms turn a script into a finished video
Script-to-video platforms move from pasted text to export by splitting the script into scenes, assigning visuals and narration, and giving you an editable draft that still needs your review before publishing. The workflow follows a repeatable order every time.
- Paste your approved script into the platform.
- Let it split the text into individual scenes.
- Review the visuals and narration it selects for each scene.
- Check timing between narration and scene changes.
- Swap out any weak or inaccurate assets.
- Export the video.
That review step matters most. Generated timing can rush a complex point, visuals can misrepresent a process, and terminology can drift from your house style. Treat every export as a draft that needs your eyes on it before it becomes a training asset ready to publish.
The technology behind AI avatars and generated narration
AI avatar video combines five distinct processes: text encoding, image generation, frame consistency, lip synchronization, and speech synthesis. Text encoding reads your script and maps its meaning so the system knows what to show and say. Image generation, often built on diffusion, creates the avatar’s face and body from that encoding.
Frame-to-frame consistency, or temporal coherence, keeps that generated face looking like the same person across the whole video. Check for this by watching for shifting facial features or flickering backgrounds between frames.
Lip synchronization and speech synthesis matches mouth movement to the audio, and speech synthesis produces the voice itself. Listen for flat stress patterns or mispronounced names as signs the synthesis needs correction.
Commercial templates give you controls to fix these gaps: adjusting pronunciation, swapping the avatar, or re-timing lip movement before export.
Where AI video from script delivers value
Script-to-video AI saves the most effort when narration carries a repeatable lesson that doesn’t depend on exact software actions. Before publishing, verify accuracy, tone, accessibility, disclosure, and brand fit every time. Use generated scenes when the lesson doesn’t need evidence from a live interface.
Presenter-led and conceptual explainers
Policy summaries, software overviews, theory, and multilingual introductions are strong fits for generated presenters, because these lessons depend more on explanation than verified clicks. Learners need clear context and steady delivery more than proof that a real cursor followed a real path.
A new CRM rollout shows the boundary clearly. An avatar can open the lesson by explaining why the CRM exists and what problem it solves for the team. Once the lesson turns to logging a call or updating a deal stage, switch to screen capture so learners see the actual fields, menus, and confirmation messages they’ll use themselves.
Marketing messages and internal announcements
Campaign variants, executive updates, change announcements, and short internal messages are strong fits for generated presenters, because speed and consistent delivery matter more than live demonstration.
Before, producing five regional campaign variants meant scheduling a presenter, a room, and a separate shoot for each one. After, you generate five variants from one script and spend your time reviewing them instead of filming them.
That review step is required. Before you publish, confirm:
- AI disclosure compliance and any required consent from people referenced or depicted
- Correct pronunciation of names, products, and terms
- Accurate captions and translation for every language variant
- Compliance with your organization’s policy and the platform’s or industry’s rules
Keep sensitive or personal announcements human. Changes to benefits, compensation, or other personal topics land better coming from a real person, not an avatar, even when speed is tempting.
Where AI video from script breaks down for software training
Script-to-video AI breaks down when your learners need proof of what the software does after each click rather than a narrated description of what should happen. You have a working application with menus, permissions, and error states that change over time, and a learner who must reproduce the task exactly. Avatars work best in a supporting role for this kind of training.
Avatars can’t capture cursor movement or UI states
Avatars can narrate a workflow, but they don’t generate trustworthy cursor movement or application responses. A lip-synced explanation looks polished because it’s generated to look that way. That polish doesn’t confirm it matches your software.
Generated footage regularly misses the details that make a task work: an open dropdown that requires a specific click sequence, a permission prompt tied to a specific user role, a loading delay before a button becomes active, a validation error triggered by invalid input, or a dashboard view that only appears for certain accounts.
Before you publish any avatar-led demonstration, open the application under the same user role and permission set the learner will have. Step through every screen the avatar describes and confirm each state matches. If it doesn’t, that section needs real screen capture instead.
Step-by-step walkthroughs and process documentation
Screen capture is the right choice for setup instructions, troubleshooting guides, compliance procedures, and support documentation, because learners must reproduce these tasks exactly as shown.
Any procedure where a missed click or wrong menu path causes a failed install, a support escalation, or a compliance gap belongs in front of a recorder, not a script generator.
Camtasia Snagit Step Capture handles this well. It records your clicks automatically and produces a static, numbered guide with a screenshot for each step, ready to share on its own or drop into Camtasia Editor as source material for a full video.
Run the process in a clean test environment first, then verify each screenshot and step against the current interface before publishing or starting editing.
Build your next training video with Camtasia
Record your screen or camera. Then, use the video editor to add polish and clarity.
Learn More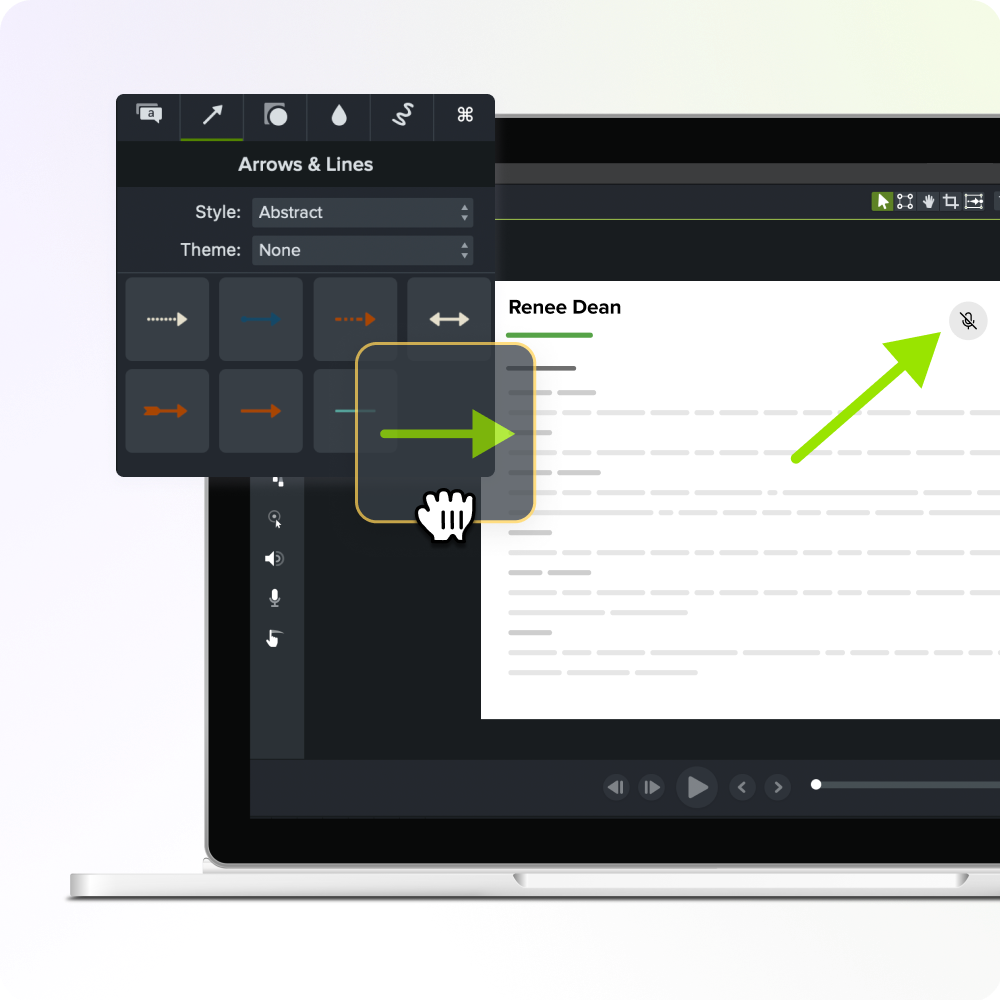
Do you still need screen recording if AI can generate the video?
Keep screen recording whenever viewers need to follow an actual interface or verify a result. Any lesson where an incorrect menu label, missing step, or false result could cause a support ticket or a compliance failure needs real footage, not generated scenes.
Apply a simple sequence: generate what you can describe, capture what learners must demonstrate, and combine both when a lesson needs context plus verified action.
| Criteria | Script-to-video AI | Screen recording | Hybrid |
| Learning objective | Concept, explanation | Exact procedure | Context plus procedure |
| Visual evidence | Generated, generic | Authentic, verified | Verified where it counts |
| Update frequency | Fast text edit | Re-record needed | Re-record segment only |
| Production speed | Fastest | Slower | Moderate |
| Error consequence | High if unverified | Low, if verified | Low |
A few habits make that segment-only update possible. Build screens with simplified UI graphics instead of screenshots where you can, use a custom cursor in Camtasia Editor so clicks aren’t locked to the original recording, and record in small, separable chunks. All three make it faster to swap only the changed piece instead of re-shooting the whole video.
The combined workflow: AI narration and screen capture together
A hybrid workflow uses generated narration or an avatar for scalable explanation and screen capture for the procedural proof learners need to trust. Below, scripting and narration belong to Camtasia Audiate, demonstration and layering belong to Camtasia Editor, and avatar placement gets handled with restraint. For the full production sequence, see how to create training videos with AI.
Generating scripts, voiceovers, and avatars with Camtasia Audiate
Camtasia Audiate speeds up script drafting, voice over or avatar generation, transcription, filler-word removal, and text-based narration edits ahead of assembling the software demonstration.
Draft the script, generate a voice over or avatar, transcribe existing audio, strip out “um” and “uh,” and edit the narration by editing text rather than scrubbing a timeline.
Before you write a word, run Camtasia Snagit Step Capture on the actual workflow and use that guide as planning material or a starting point for your script and shot list. Apply the same disclosure and review checklist covered earlier before this material moves into editing.
Capturing and layering software demos in Camtasia Editor
Camtasia Editor records your screen, webcam, system audio, and microphone together in one session, then splits each into its own editable track so you can mute, replace, or adjust any one of them without touching the others. That separation makes revisions manageable later, since a menu label change or a UI update only requires re-recording one track rather than the whole video.
Follow a consistent capture order every time you build one of these videos:
- Record your screen, webcam, system audio, and microphone as separate tracks so you can mute, replace, or adjust any one of them without touching the others.
- Import your Camtasia Audiate narration and drop it onto its own audio track.
- Synchronize that narration with the real interface actions on the timeline, nudging clips until the spoken instruction lines up with the click or screen change it describes.
- Add cursor effects, callouts, annotations, and captions to reinforce what’s happening on screen.
- Apply a saved template or reusable style so every video your team produces uses the same fonts, colors, and callout treatment.
Camtasia gives you a number of tools to help bring your software demo to life:
- Cursor effects and callouts draw attention to the exact click a learner needs to reproduce, which matters more than narration alone when the task is procedural.
- Captions make the video usable for viewers who are deaf, hard of hearing, or working without sound, and they belong in every training video by default.
- Templates and reusable styles keep multiple team members’ output looking consistent, so a new hire’s first video matches the library your veterans already built.
Why a smaller avatar footprint keeps learner focus on the content
A small picture-in-picture avatar keeps a software demonstration visually dominant while still giving learners a presenter to connect with. The avatar sits in a corner, the interface stays in full view, and the learner’s attention goes where it needs to go: the menus, fields, and cursor movement that teach the task.
This isn’t a style preference. Camtasia’s own research found that picture-in-picture avatars produced about 76% quiz accuracy, roughly 10 points higher than other formats, while fullscreen avatars made it easier for viewers to spot robotic traits and shift focus away from the task.
Reserve a larger, fullscreen presenter for moments when the presenter is the lesson, such as a welcome message or a policy explanation that doesn’t involve an interface.
Before you export any software demo, run this check:
- Confirm the avatar doesn’t sit on top of menus, fields, or buttons the learner needs to see.
- Confirm it doesn’t block captions.
- Confirm it never covers cursor movement at the exact moment an action happens.
If any of those checks fail, shrink the avatar or reposition it before you publish.
One more thing to weigh before you build a library of avatar-led videos: Avatar vendors can shut down or change platforms, and that can mean rebuilding every video that relied on them. Treat this like any other vendor dependency and factor it into how much you invest in avatar-heavy production.
A simple framework for choosing the right method for each video
Choose the method after defining what learners must understand or perform. Don’t let tool novelty determine instructional design: If a lesson is close to that CRM walkthrough from earlier, a script-to-video draft will get you there fast. If it’s closer to a step someone has to click through themselves, only a real recording proves the path still works. AI narration earns its keep fastest on content that changes often, like a process or policy you revisit every few months, since regenerating a script beats re-scheduling a presenter every time it shifts.
Pull up your next training request and ask one question before you open any tool: What happens if a learner does this wrong? A quiz on terminology can tolerate a generated voice over and stock visuals. A compliance procedure or a software workflow with real consequences needs your screen, your cursor, your verified steps.
That’s exactly why treating this as an either-or choice sells your training short. Draft your narration and tighten your script in Camtasia Audiate, then send the verified pacing straight to Camtasia Editor for the screen capture, callouts, and captions that make the steps unmistakable. The same project can carry both a scalable voice and a proven demonstration without you rebuilding anything twice.
Get started with Camtasia today to generate scripts, voiceovers, and avatars the right way from the first draft.
Frequently asked questions
Do I still need screen recording if AI can generate a training video from a script?
Screen recording is still necessary when learners must follow an actual software interface. Script-to-video AI works well for conceptual explainers, software overviews, and presenter-led messages, but real capture shows accurate cursor movement, menus, field entries, and UI states. A hybrid workflow provides production speed without sacrificing procedural accuracy.
What is the difference between an AI avatar video and a screen recording?
An AI avatar video delivers a script through a synthetic presenter, usually with generated narration and lip-synced speech. A screen recording captures the actual interface, including cursor movement, menu selections, field entries, and UI state changes. Use an avatar when learners need explanation and a screen recording when they need to reproduce precise actions.
Can AI script-to-video tools create software tutorials or step-by-step walkthroughs?
Generated visuals from AI script-to-video tools may not match the current interface or exact workflow, though these tools can still produce a useful draft. Reliable software tutorials should capture each action in the real application and use AI for narration, avatars, or script refinement. Review every step, label, interface state, caption, and instruction for accuracy and accessibility before publishing.
Does AI keep my script exactly as written?
AI does not always keep your script exactly as written. Some script-to-video tools preserve the wording, while others may rewrite text to adjust tone, timing, or scene structure. Check the generation settings, compare the output with the approved script, and restore required terminology before publishing. This review is especially important for compliance language, technical instructions, product names, and branded terminology.
Can I combine an AI avatar with my own screen recording?
An AI avatar can be layered with a real screen recording. You can generate an AI voice or avatar in Camtasia Audiate and combine it with authentic software capture in Camtasia Editor. Keep the avatar small during demonstrations, clearly disclose that it is AI-generated, and make sure it does not cover task-critical interface elements or captions.
Share