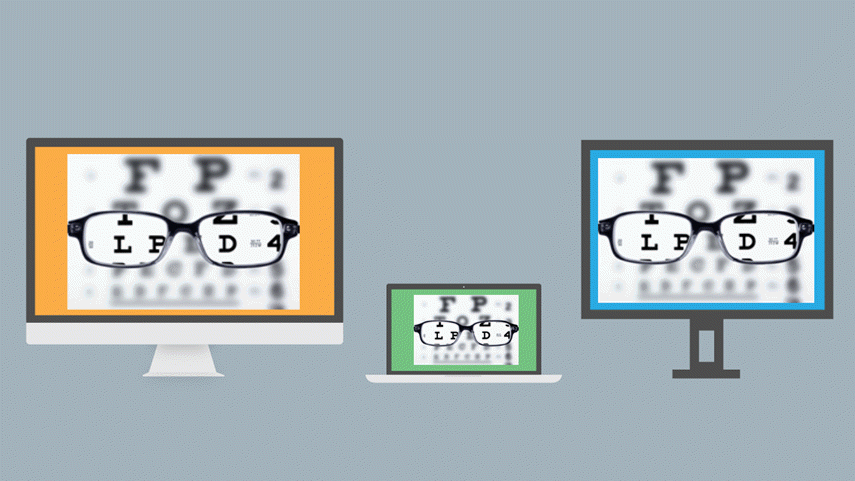
There are lots of great reasons to use screen video. Maybe you want to record a simple video showing a coworker how to submit time off on the new system or even a more elaborate corporate training video. Or maybe you want to respond to a client’s question by showing them the numbers you see on screen with some webcam video to add personality. Regardless of the reason, you don’t want to end up with blurry or distorted screen video.
You’ve come to the right place! In this blog post, you’ll learn how to use recording dimensions, project dimensions, and production settings to get crisp, clear screen video. So, let’s start learning.
Let’s start with three key things you need to know to get crisp video. Keep these definitions in mind as we go along to better understand how you can avoid blurry video.
Camtasia makes crisp video easy!
Ready to create stunning, clear videos with ease? Download Camtasia now and start your journey to producing high-quality content that stands out!
Get started free!
Three Keys to Crisp, Clear Video
Recording Dimensions
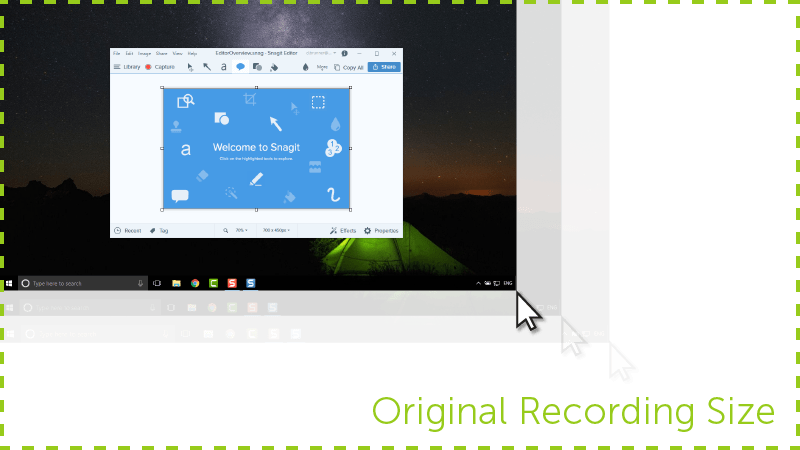
This is the size of your recording. If you record the full screen, it’s usually the same as the resolution of your monitor.
Project Dimensions
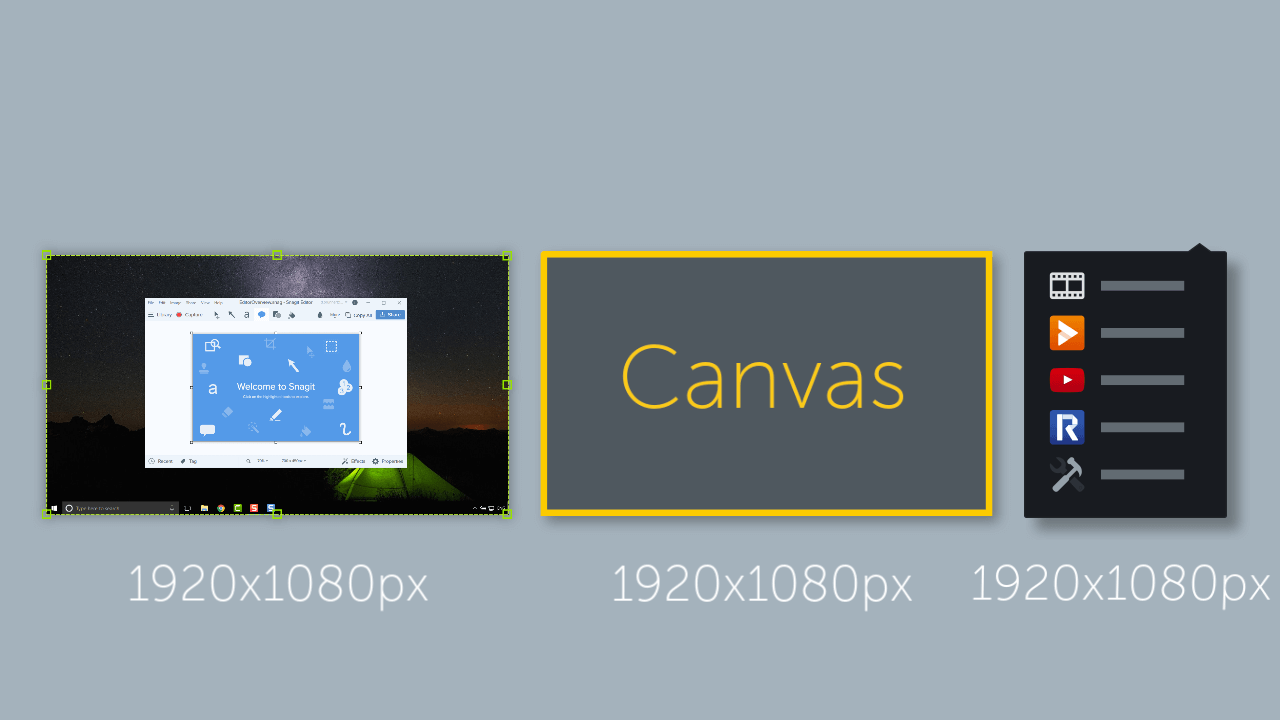
This is the size of your canvas in Camtasia, or the area in which you build your video
Production Settings
These are the options you choose when producing your video, including the size of your video.
Now, that we have those terms under our belt, the rest should make a lot more sense.
Screen Video Loses Quality When Scaled
You may have noticed that when you scale images the quality often decreases. Screen video is no different!
Scaling is stretching or shrinking a screen recording to display it at a size different than the original recording size. This causes screen video to quickly lose quality and appear blurry or distorted.
To help ensure crisp, clear screen video, remember to display your screen video at its original size, which avoids any scaling.
A Shortcut to Crisp, Clear Video
Match your recording dimensions, project dimensions, and productions settings to help ensure crisp, clear screen video.
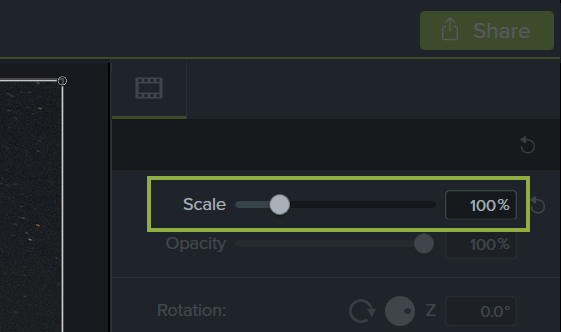
This guarantees your screen recording shows at its original size, or 100% scale—the highest quality you can get from screen recordings.
That’s great advice and all, but what if you can’t avoid scaling? Don’t worry! Sometimes it’s not possible to match your recording and project dimensions. For example, if you record a screen that is bigger or smaller than the size of the video you want to create, or if your monitor doesn’t fit a standard 16:9 aspect ratio.
In these situations, scaling the recording is unavoidable. But, you can use scaling to your advantage, and I’ll walk you through how to do it.
Use Scaling to Your Advantage
Our instructional designers here at TechSmith often use scaling to create tutorial videos. They record on a monitor that is twice the size of their project dimensions. They know that when they fit the screen recording to the project, it will be displayed at half its original size and will have some quality loss. It works for them because they spend most of their time zoomed in and focused on specific parts of the user interface, which is where they want to see the highest quality.
To get the highest quality and most detail, they zoom to the original size of the recording, or 100% scale. When we need to show something on an adjacent part of the screen, they pan over, remaining at 100% scale. (You can learn more about zooming in TechSmith Camtasia by checking out our Animations In-Depth tutorial).
That brings me to my last point. When in doubt, keep your screen recording at 100% scale so it displays at the highest quality possible.
Camtasia makes crisp video easy!
Ready to create stunning, clear videos with ease? Download Camtasia now and start your journey to producing high-quality content that stands out!
Get started free!
I hope after reading this blog post you feel more confident in recording crisp, clear screen video! And if you’re looking to learn more about video, check out our blog post on 50 tips for better video.



Share